How to Draw a Fruit
Today, in this lesson, I want to show you how to draw a fruit step-by-step. I’m sure you’ll like this simple tutorial.
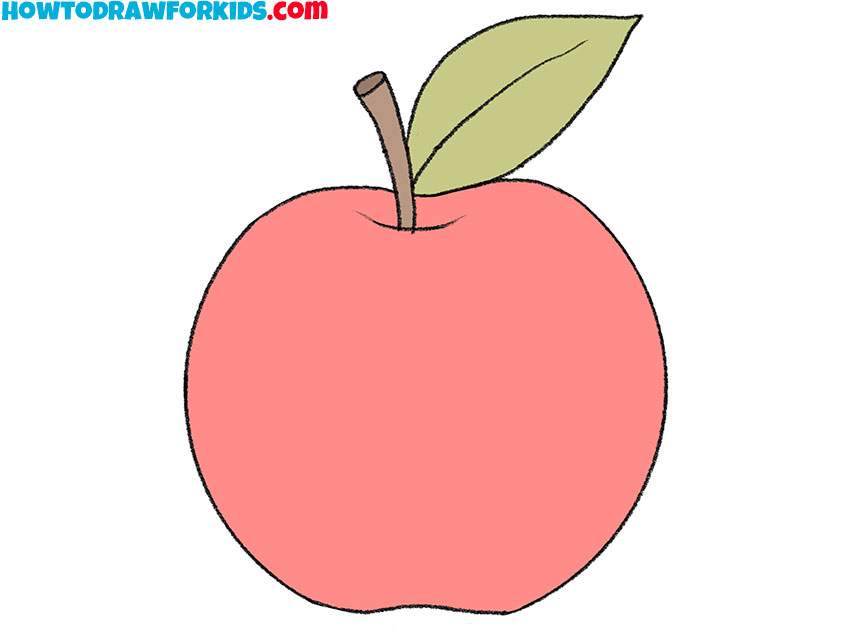
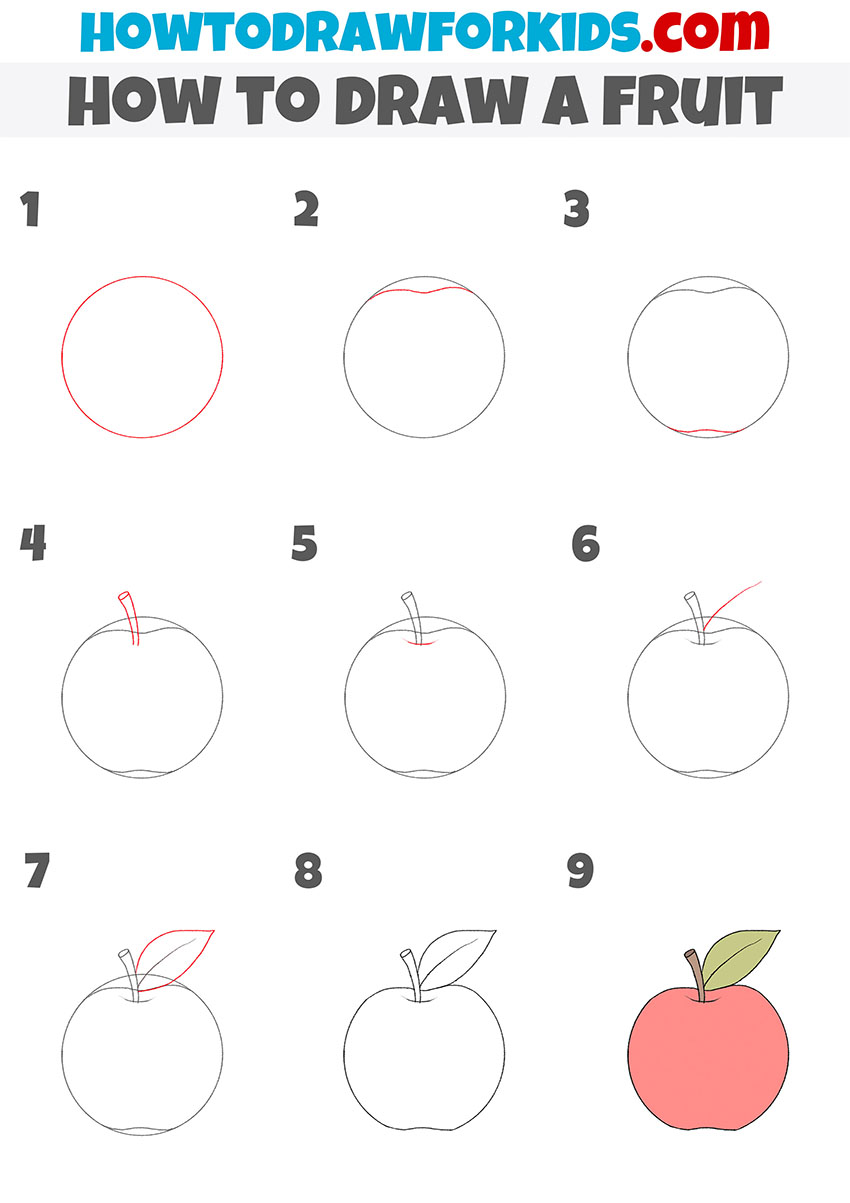
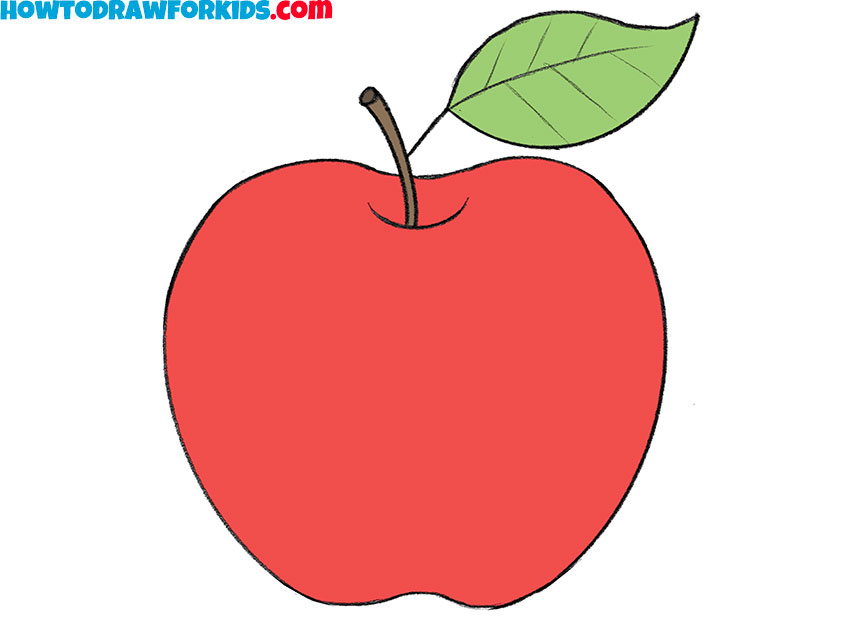
Here is a step-by-step instruction showing how to draw a fruit. As an example, I decided to choose an apple, because this fruit is well known to you, and you know very well what an apple looks like in real life.
This lesson will require your ability to draw smooth, rounded lines. Try to correctly depict the outer contour of the apple, and you will complete all the other elements without much difficulty.
For coloring the apple, you can use the same color as shown in the instructions, or you can use any other color of your choice. For example, you can color an apple green or yellow, you can also use two shades at once.
Materials
- Pencil
- Paper
- Eraser
- Coloring supplies
Time needed: 30 minutes
How to Draw a Fruit
- Draw the outer outline.
Determine what size your drawing will be and draw an even circle.

- Add the top of the fruit.
Depict a smooth curved line at the top, as shown in the example.

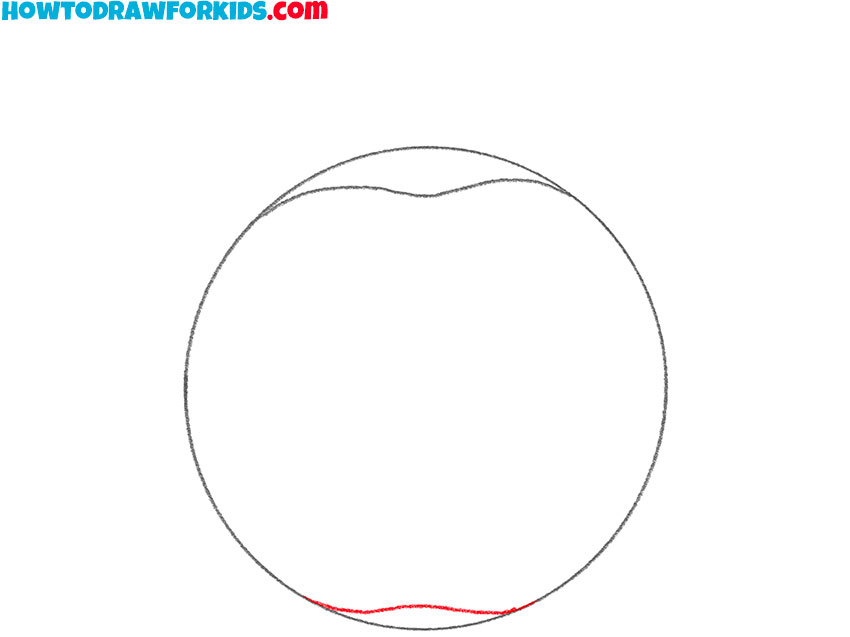
- Depict the bottom of the fruit.
Draw a similar line at the bottom, but a smaller.
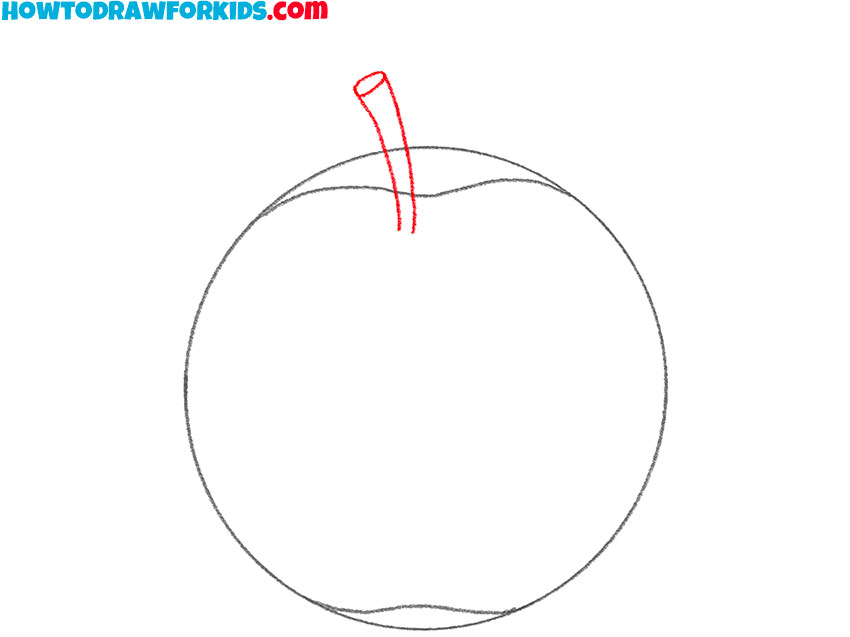
- Sketch out the stem.
At the top of the apple, draw the thin, short stalk.
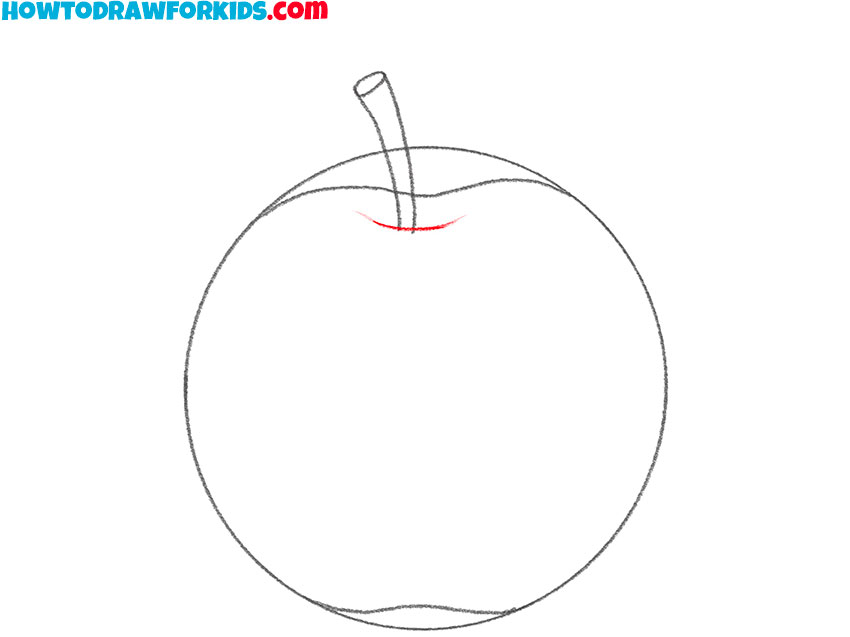
- Add the relief.
Draw a small rounded line at the base of the stem.
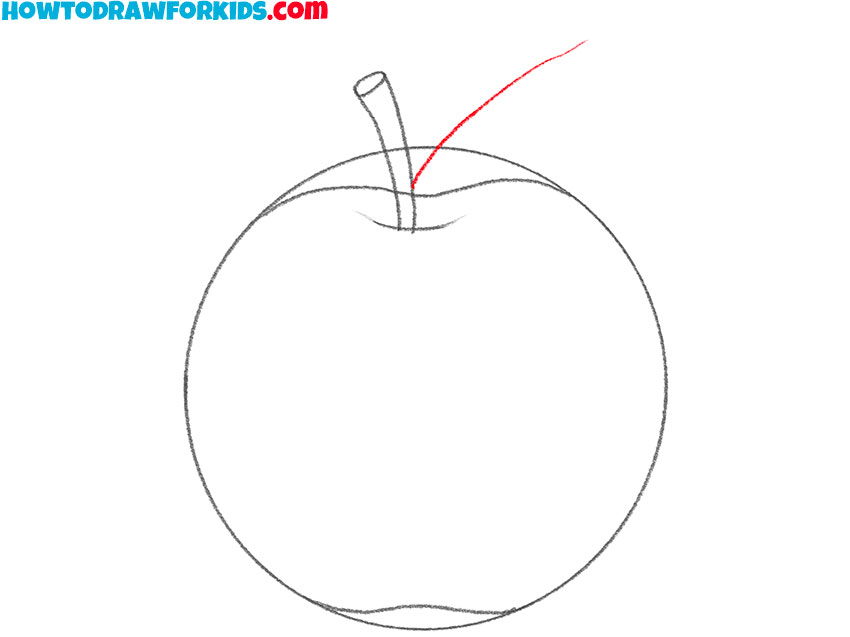
- Draw the stem.
On the right side of the stem, depict a smooth line.
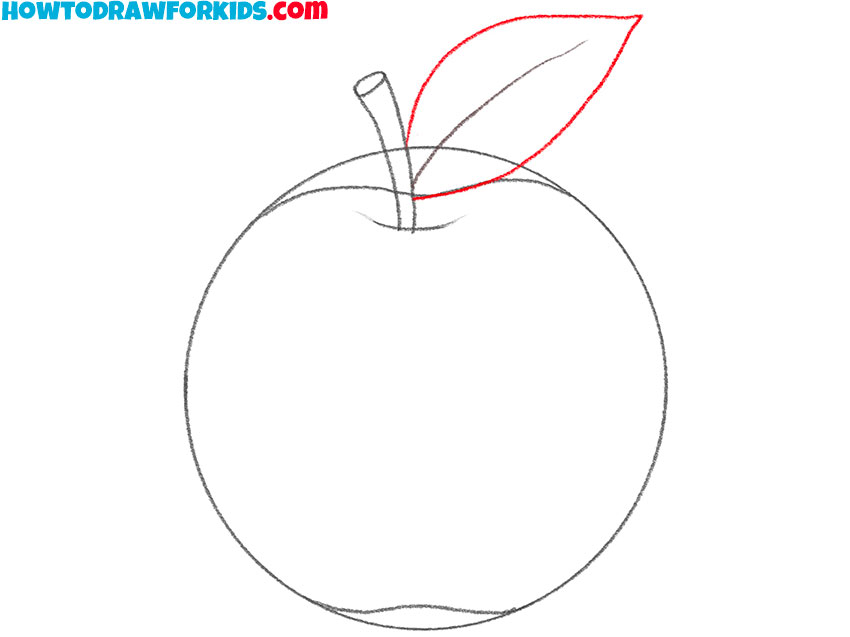
- Depict the leaf.
Add smooth lines to draw the pointed leaf.
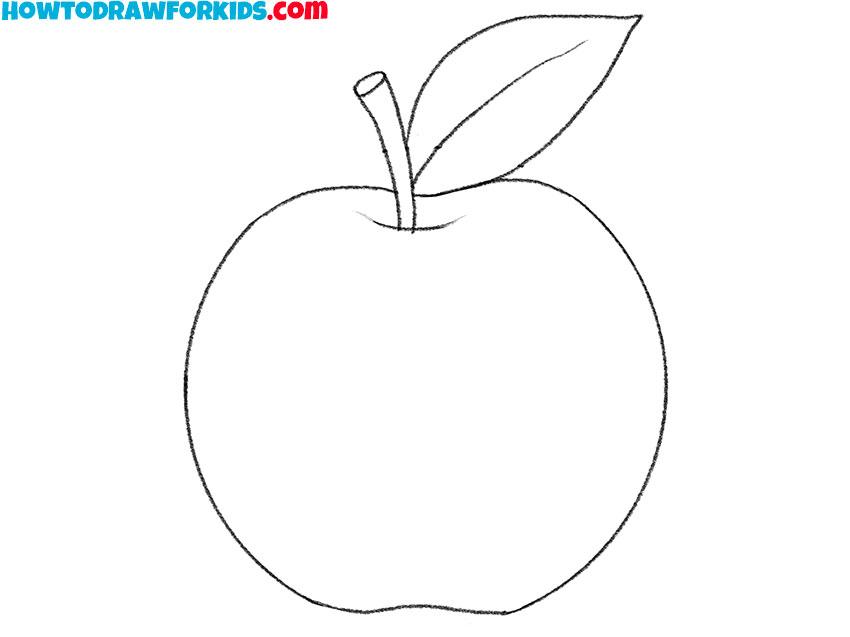
- Correct inaccuracies.
Use the eraser to remove all unnecessary lines.
- Color the fruit.
Color the fruit in red, the leaf in green and the stalk in brown.

For your convenience, I have created a short version of the lesson as a PDF file. Rather, download the file so that you do not lose this drawing lesson and can return to it at any time.


