How to Draw a Hibiscus
This simple lesson will show you, in an easy yet detailed manner, how to draw a hibiscus the way real professional artists do.

How to Draw a Hibiscus: Introduction
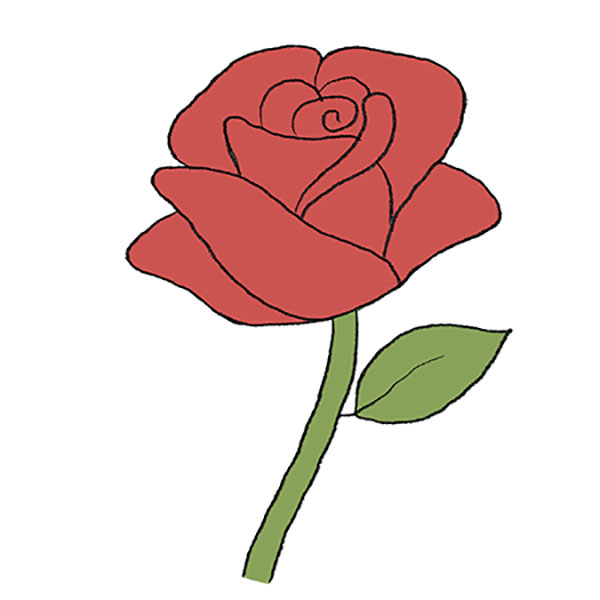
We often draw flowers, either as single examples, depicting a flower as the sole and central object of the drawing, or as detailed floral compositions. For instance, we’ve previously learned how to draw a rose.
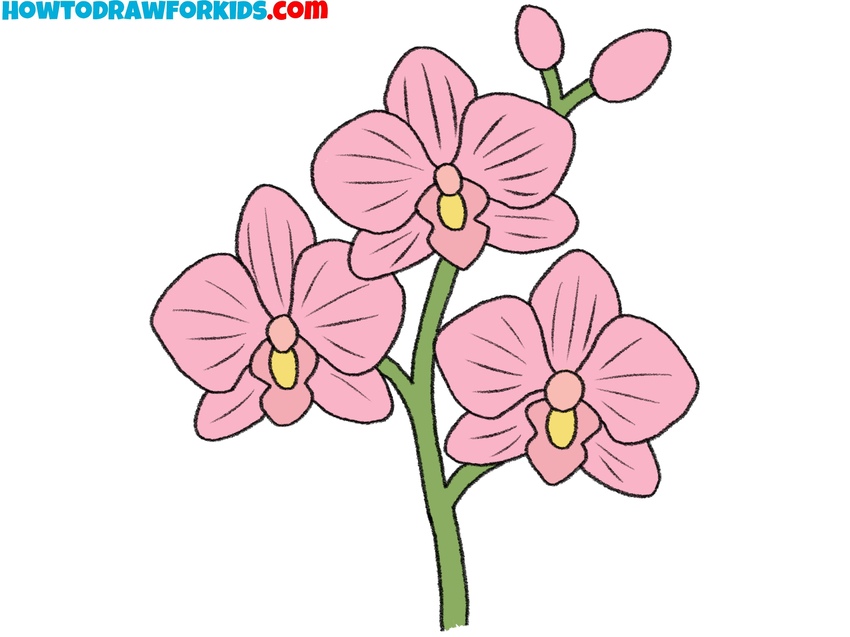
Additionally, we’ve learned how to draw a bouquet of flowers or flowers in more complex compositions. To further deepen our practice of drawing flowers, today I’d like to show you how to draw a hibiscus in 9 simple steps.
Besides the main lesson, at the very end you’ll find two additional hibiscus drawing tutorials, which demonstrate entirely different methods of drawing this beautiful flower.
Of course, I’d like to remind you that this hibiscus drawing lesson essentially serves as a set of basic instructions. You can freely add or remove details according to your preference – for example, you might depict more leaves in the background or include additional flower buds.
Hibiscus Drawing Tutorial
Materials
- Pencil
- Paper
- Eraser
- Coloring supplies
Time needed: 30 minutes
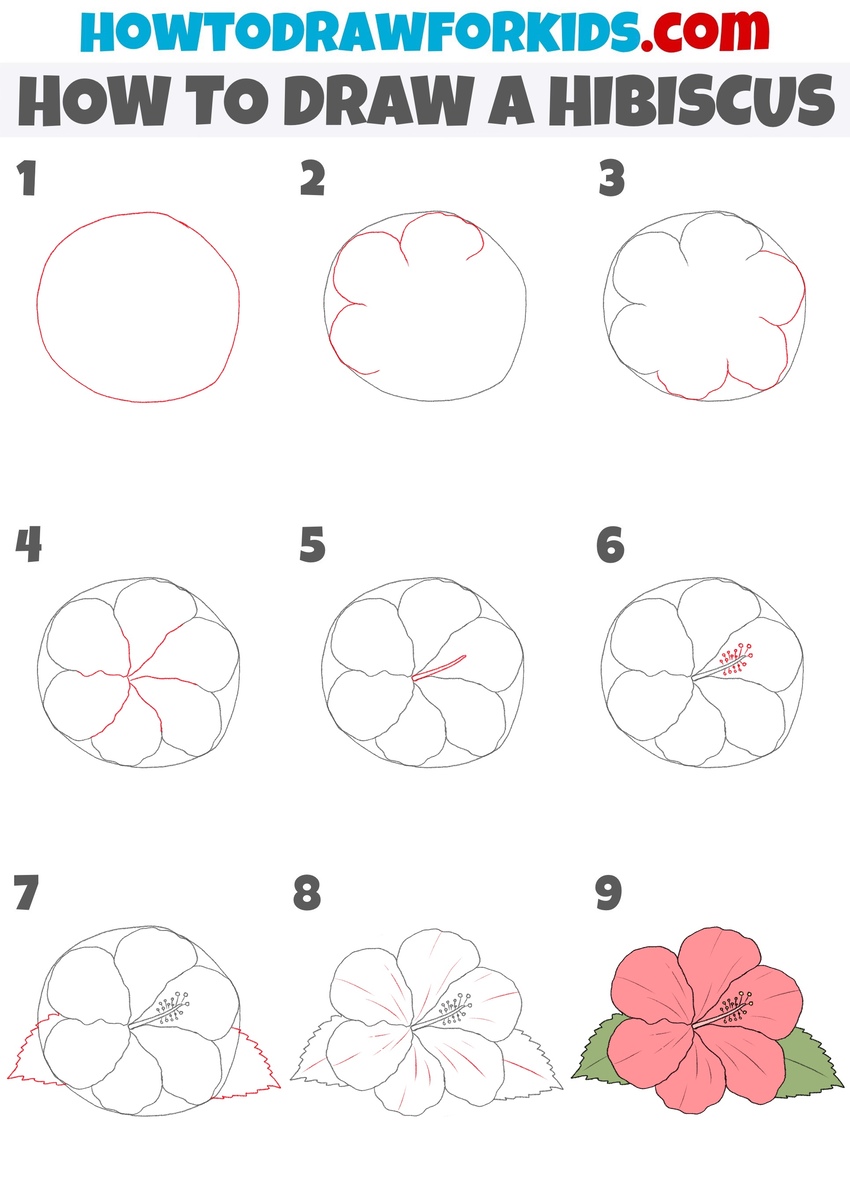
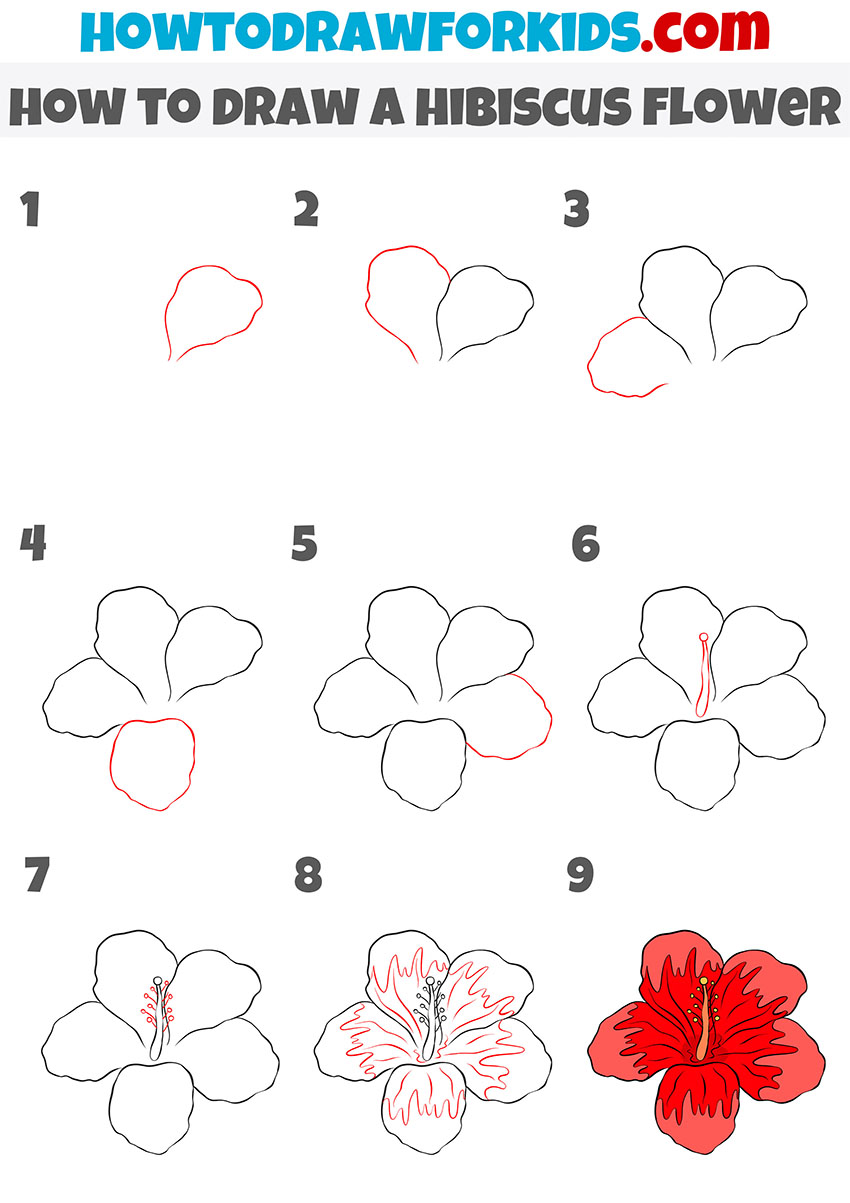
How to Draw a Hibiscus
- Draw the outline of the hibiscus.
Draw a basic circle in the middle of your page, keeping it light and loose. This circle doesn’t have to be perfect because it’s only serving as a guide for the shape and placement of the petals. As with many flower drawings, starting with a circle helps you create proportional petals.

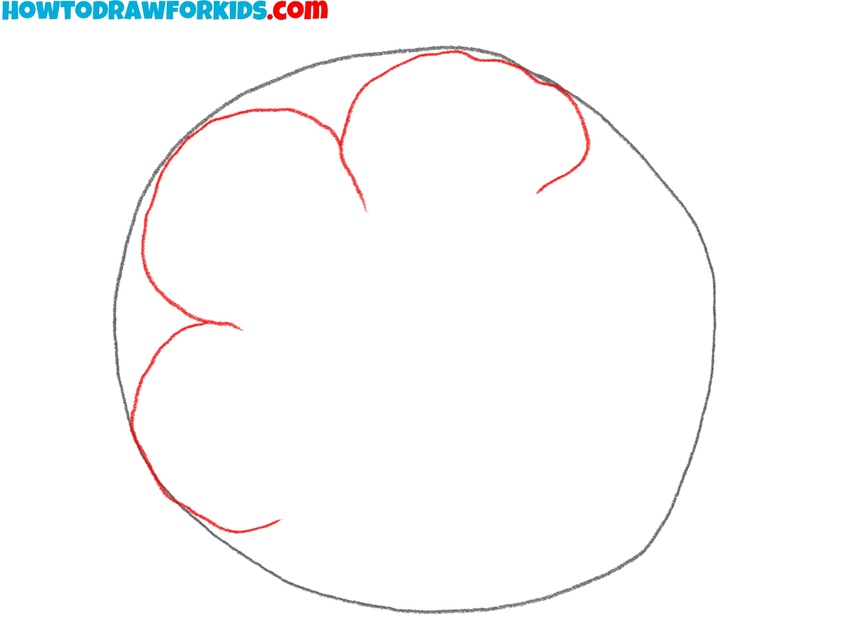
- Sketch the upper petals.
Next, let’s draw the upper part of the hibiscus flower by sketching the first few petals at the top of your circle. Start drawing from one side of the circle, making curved lines to create soft, rounded petals. Hibiscus petals usually overlap slightly, so include a gentle overlap between each petal.
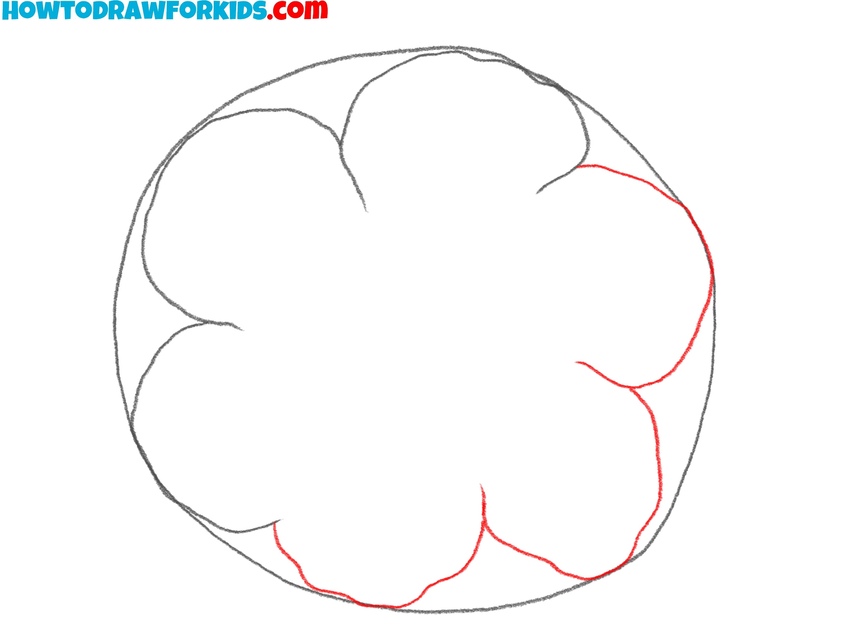
- Complete the petals.
Now that the upper petals are in place, continue sketching the remaining petals around the bottom half of the circle. Similar to the previous step, use smooth, rounded curves to form each petal. Aim to create petals of similar width and size, but with natural variations that make your hibiscus drawing more lifelike.
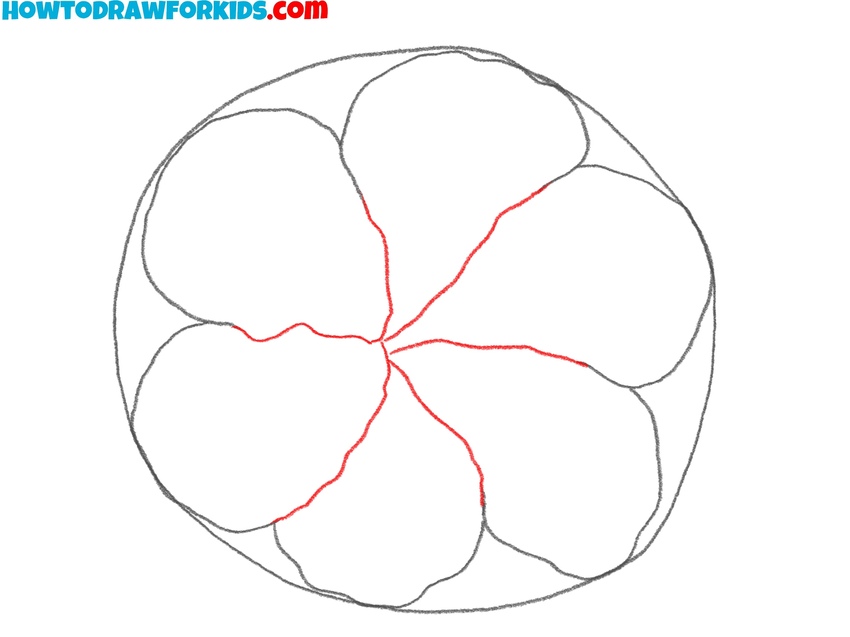
- Divide the petals of the flower.
Now, from the central point of the flower, draw gently curving lines extending outward into each petal. These lines will divide your hibiscus creating individual petals. Try to keep the petals roughly equal in size and shape, but slightly varied for more realistic appearance.
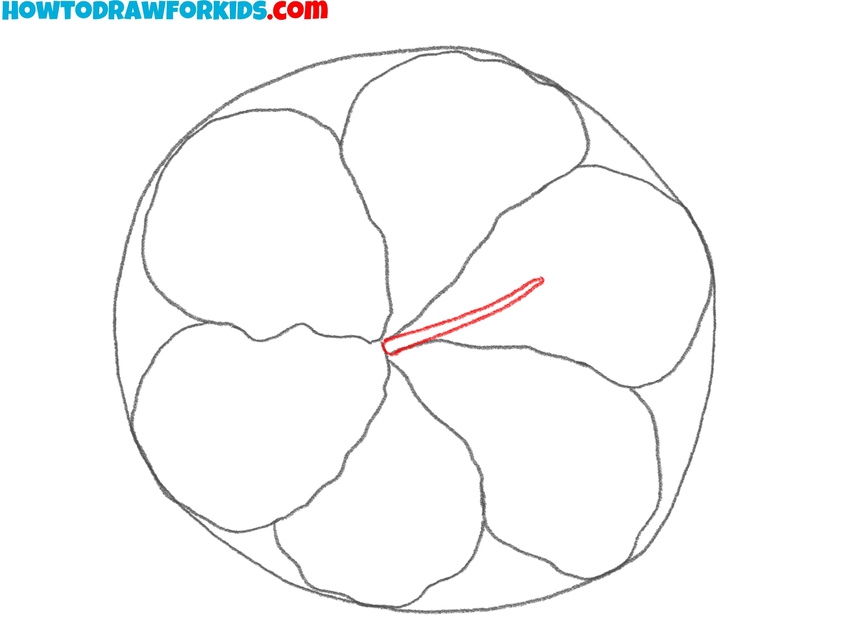
- Add the stem of the stamen.
Next, it’s time to draw the central feature of the hibiscus – the stem of the stamen. To do this, sketch a thin, slightly curved shape extending outward from the flower’s center. Make sure the shape is delicate and thin, tapering towards its tip. Carefully position the stamen so it complements rather than obstructs the petals.
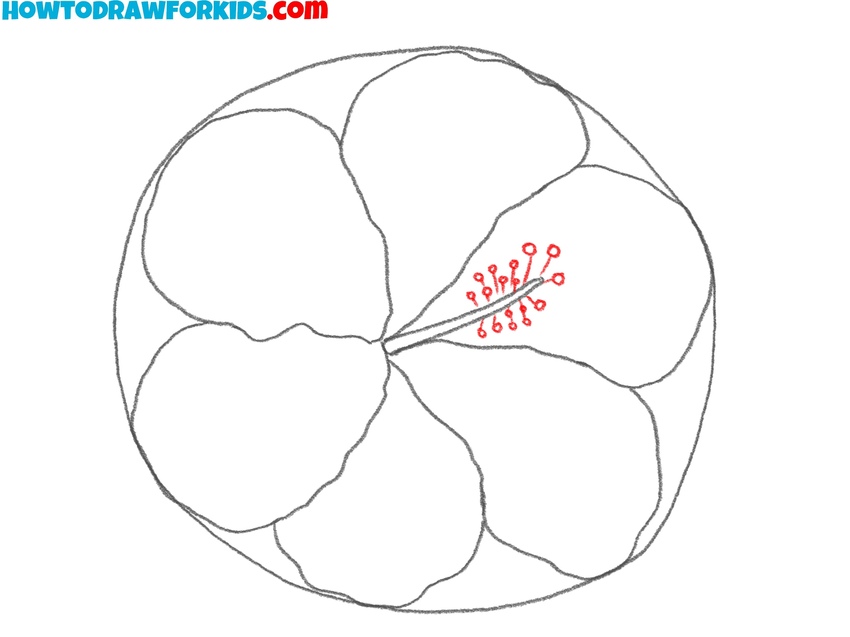
- Draw the anthers and pollen.
Now, draw several small circular or oval shapes around the tip of the stamen to depict anthers clearly. Then add a few tiny dots around these shapes to suggest pollen grains, which give the flower a more realistic and detailed appearance.
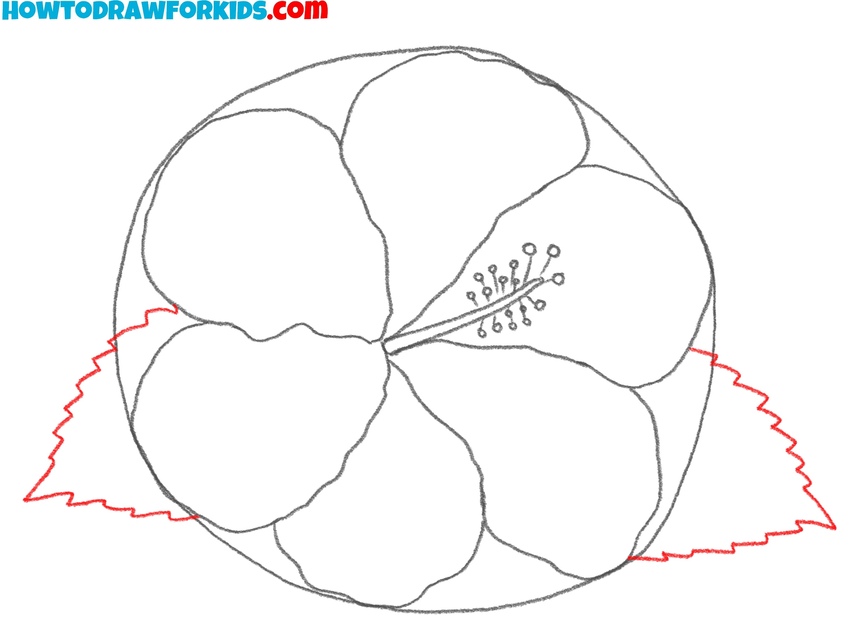
- Draw the leaves of the hibiscus.
Sketch gently curved outlines behind the flower, creating a natural background for the petals. Hibiscus leaves typically have a distinct jagged or slightly serrated edge, so carefully incorporate small zig-zag shapes into the outlines to show this characteristic.
- Refine the lines and erase guidelines.
Carefully erase any initial guidelines or unnecessary pencil marks to clean up your artwork, making it polished and professional-looking. Strengthen the key outlines, particularly around the petals, stamen, and leaves, using firmer pencil strokes. Add subtle lines within each petal to create texture.

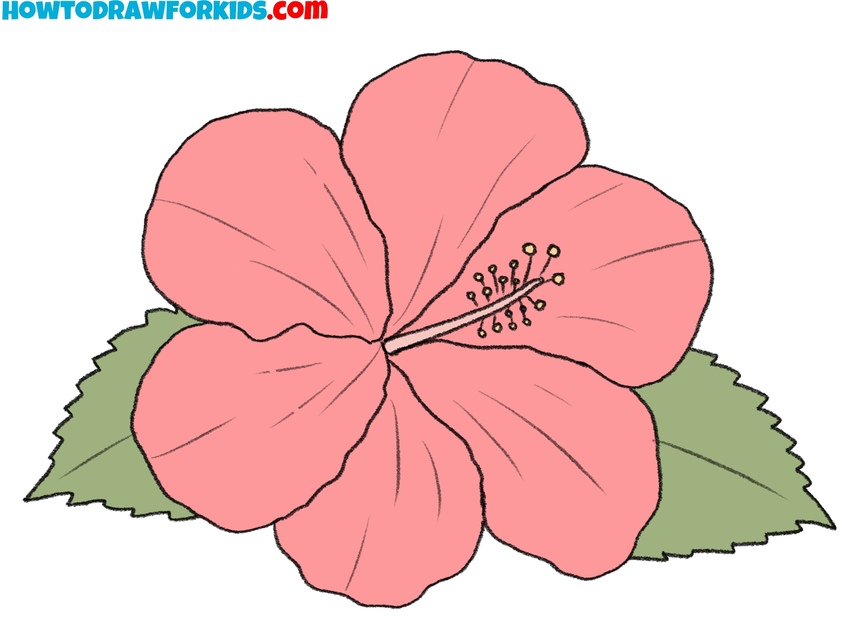
- Color the hibiscus drawing.
Traditionally, hibiscus flowers feature vibrant hues, so select bright shades like reds, pinks, yellows, or oranges for the petals, depending on your preference. Color the leaves with different shades of green. Additionally, highlight the stamen with complementary colors, such as yellows or oranges.
How to Draw a Hibiscus: Alternative Tutorials
In addition to the main hibiscus drawing tutorial you’ve just completed, I’d like to offer two more drawing lessons that show alternative ways to draw a hibiscus. These extra tutorials are simple and clear, giving you the chance to practice your skills further or try a new drawing style. Check out these additional tutorials below, and choose the one you’d like to try next to continue learning how to draw a hibiscus.
Simple Hibiscus Drawing Tutorial
This tutorial shows how to draw a hibiscus in a simpler, less detailed style compared to the first drawing tutorial. It uses fewer guidelines, simpler shapes, and minimal detail, making it easier for beginners. Unlike the first tutorial, this version omits preliminary circles and starts immediately with petals, simplifying the flower’s form.
Begin drawing by sketching one upper petal of the hibiscus. Add two more petals below, forming a basic flower shape. Next, add the remaining petals on the left side, completing the flower’s general outline. Draw the prominent central stamen with an irregular elongated shape, including the pollen at the tip. Next, draw three pointed leaves positioned behind the flower, clearly visible between petals.
Continue by adding two more leaves on the opposite side. Add short, curved lines inside each petal, representing veins to improve realism while keeping the hibiscus drawing simple. Also, include subtle vein lines on each leaf, further detailing the illustration. Finally, carefully color your hibiscus. Use red for petals, green for leaves, and a lighter shade for the stamen to match the example provided.

Detailed Hibiscus Drawing Tutorial
This method of drawing a hibiscus flower is noticeably more detailed than the previous tutorial, focusing clearly on realistic petal shapes, subtle curves, and precise internal details, including accurate petal veins and a distinct stamen structure. Unlike the first tutorial, this one does not start with a circular guideline and has each petal drawn separately with clear outlines.
To learn how to draw a hibiscus flower with this technique, sketch the first petal shape with uneven, slightly wavy lines. Continue drawing petals around the initial one, carefully overlapping and placing them naturally around the center. Complete the flower by adding five petals in total, ensuring each is slightly unique in form. Next, clearly draw the hibiscus flower’s stamen, extending it from the center outward, ending with a rounded tip.
Carefully add small dots at the tip of the stamen to represent pollen details. Proceed by adding natural-looking texture within each petal, using short, curved lines radiating from the flower’s center outward. The texture should gently follow each petal’s contour. Finish the flower by coloring it with bright, natural colors, such as red for petals, yellow for the stamen, and green if leaves are added.
Conclusion
Today, we’ve studied in detail how to draw a hibiscus using three completely different methods. Remember, you can find many other drawing tutorials for various flowers on the website. For instance, you could draw a tree or look for another drawing lesson that suits your interests.
You’ll definitely find what you’re looking for, whether you’re interested in drawing plants, people, animals, or fictional characters. Additionally, you can visit the continuously updated coloring pages category to spend some enjoyable time coloring.