How to Draw a Jacket
Now you will learn how to draw a jacket. In this lesson, I will give you some useful tips and skills you can apply in the future.
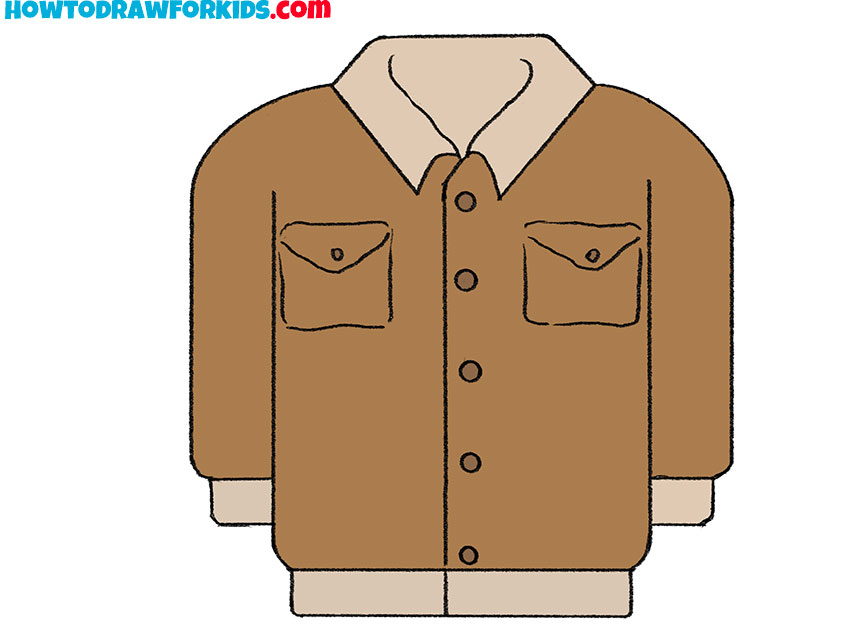
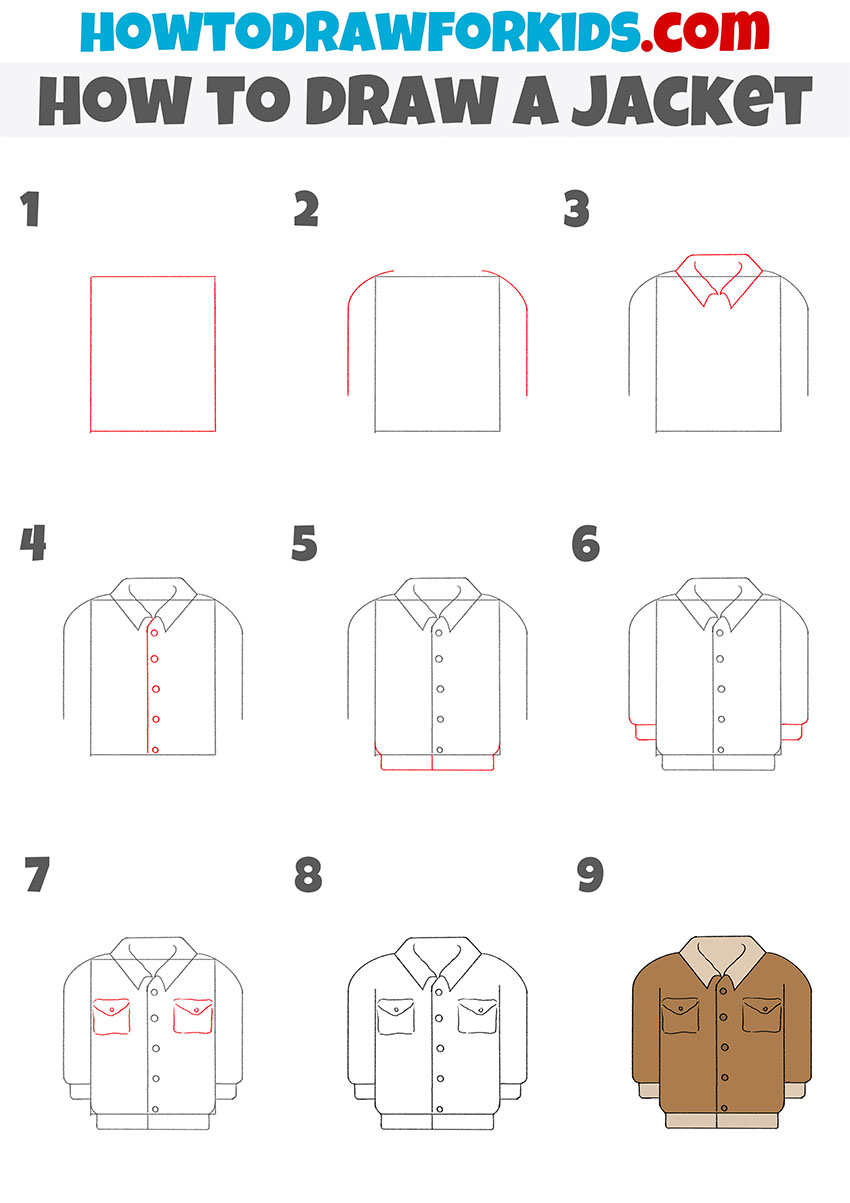
I have prepared a new interesting lesson for you, which relates to the subject of clothing. Here I will show in detail how to draw a jacket step by step. The jacket consists of several elements that you can easily draw.
Memorize all the drawing steps so that you can easily draw such clothes when necessary, for example, when you want to draw a human figure.
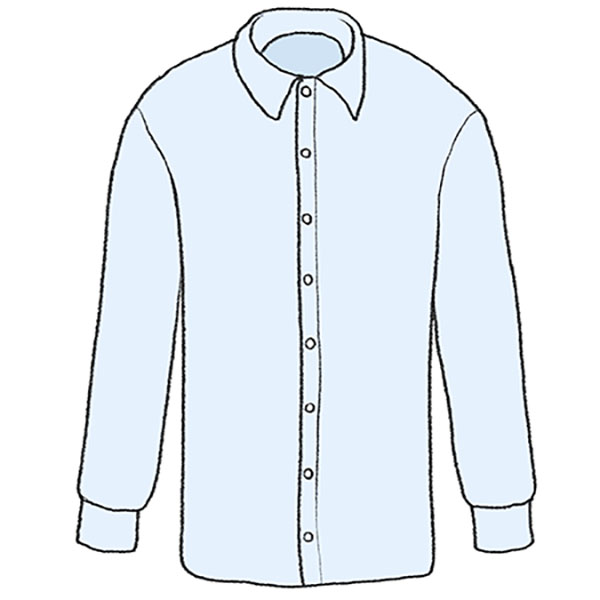
The style of the jacket can be very different. This picture shows a simple model that has chest pockets, buttons, collar, cuffs, and hem.
For coloring, you can use the same colors as in the example or use any other colors of your choice.
Materials
- Pencil
- Paper
- Eraser
- Coloring supplies
Time needed: 30 minutes
How to Draw a Jacket
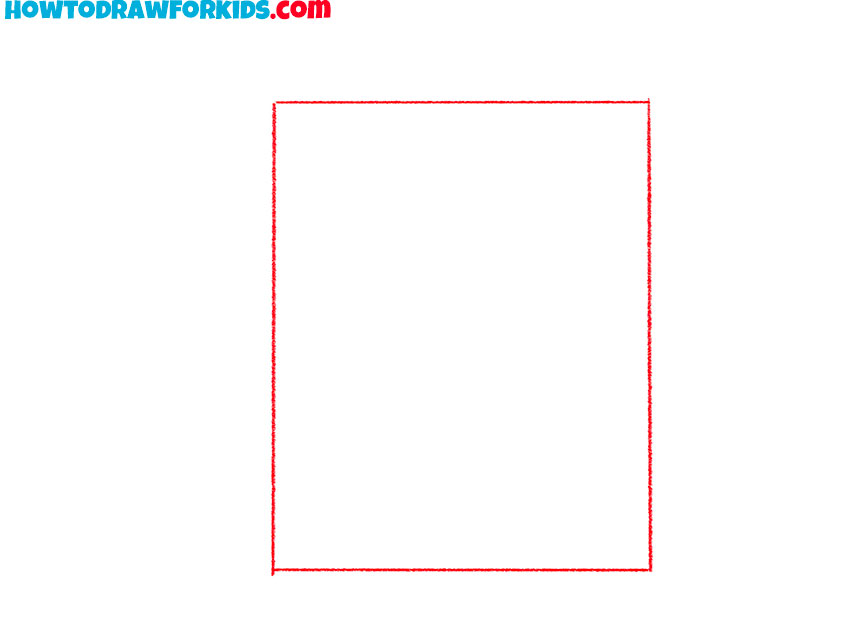
- Draw the outline of the jacket.
Determine the size of the drawing and draw a rectangle.
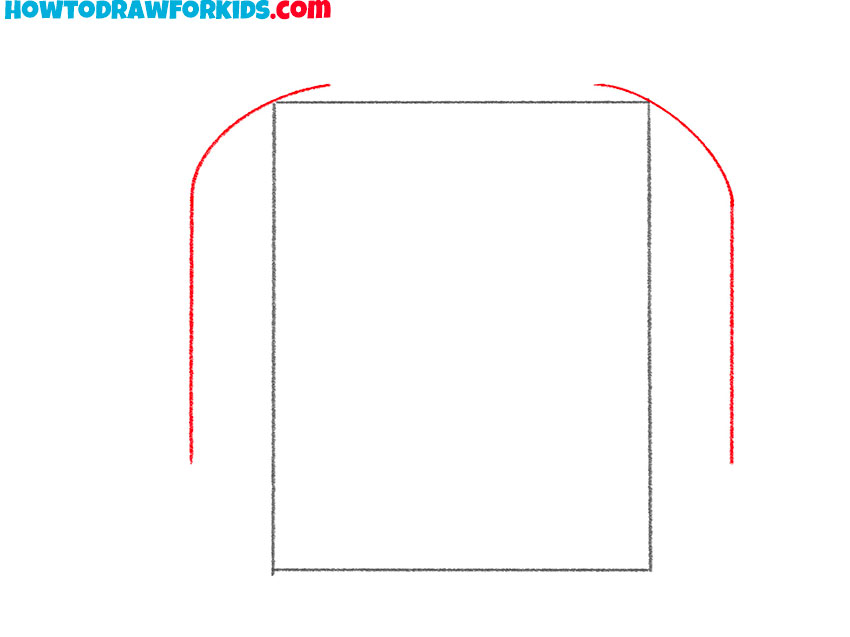
- Depict the shoulders.
Draw a smooth rounded line on each side.
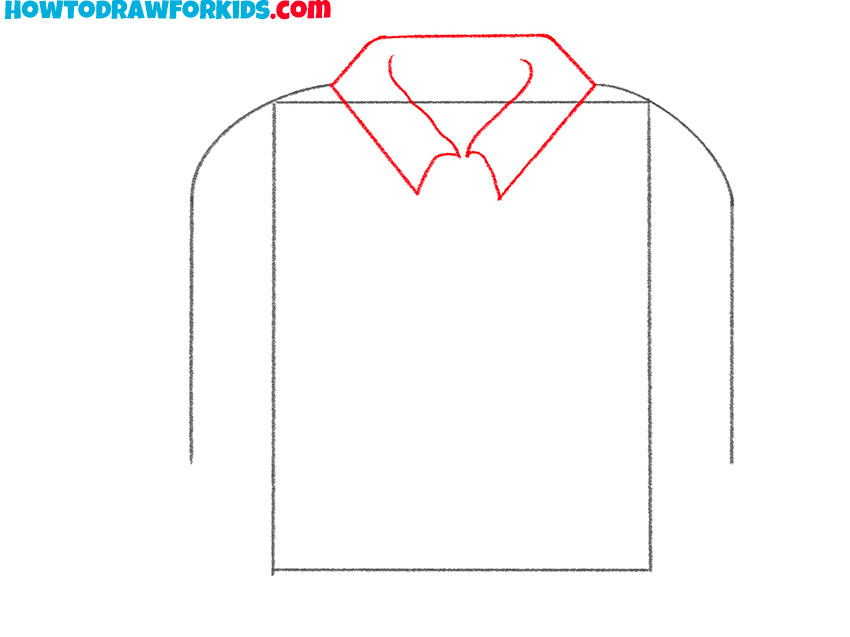
- Sketch out the collar.
Using a few smooth lines draw the collar of the same shape as in the example.
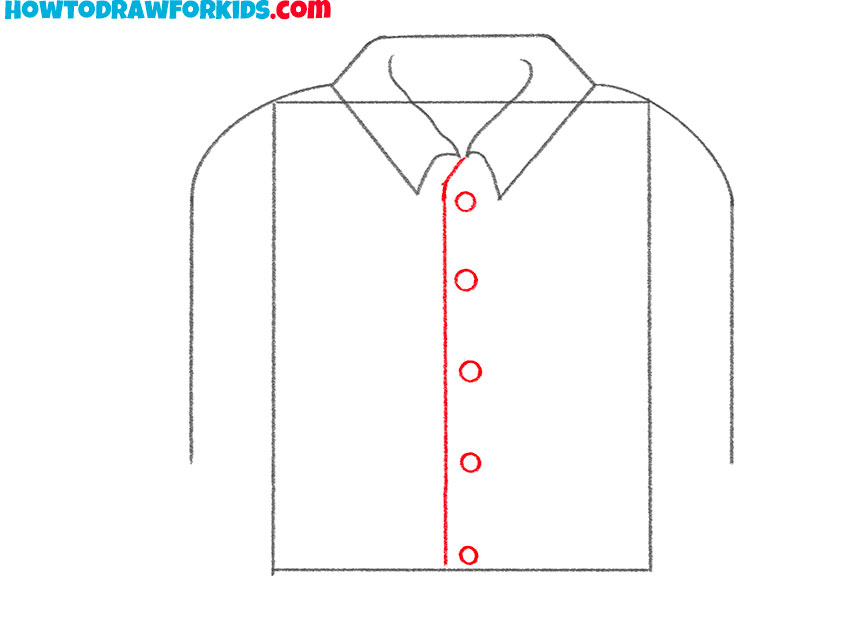
- Add the clasp.
Depict a straight vertical line and draw the buttons on the side in sequence.
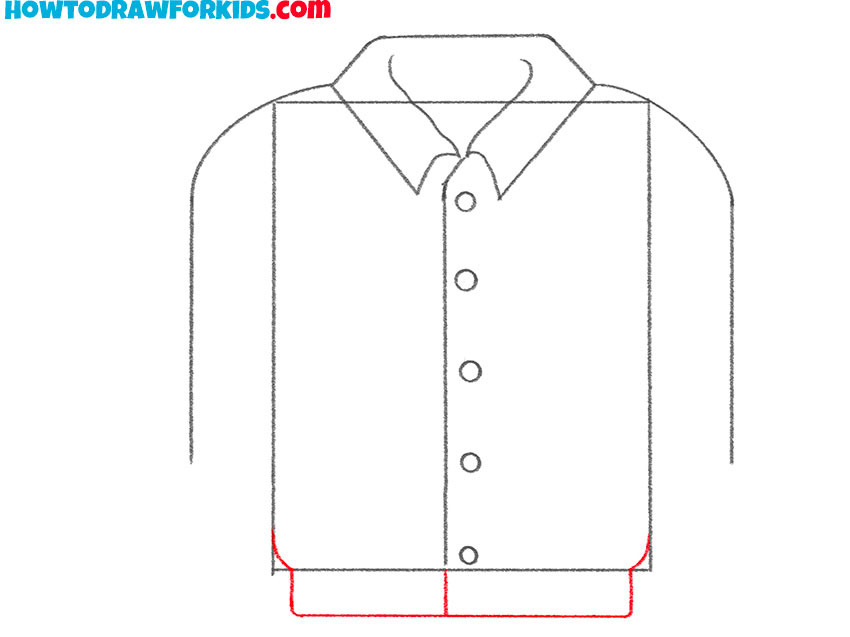
- Draw the bottom of the jacket.
Continue the lines and add the bottom part which is rectangular in shape.
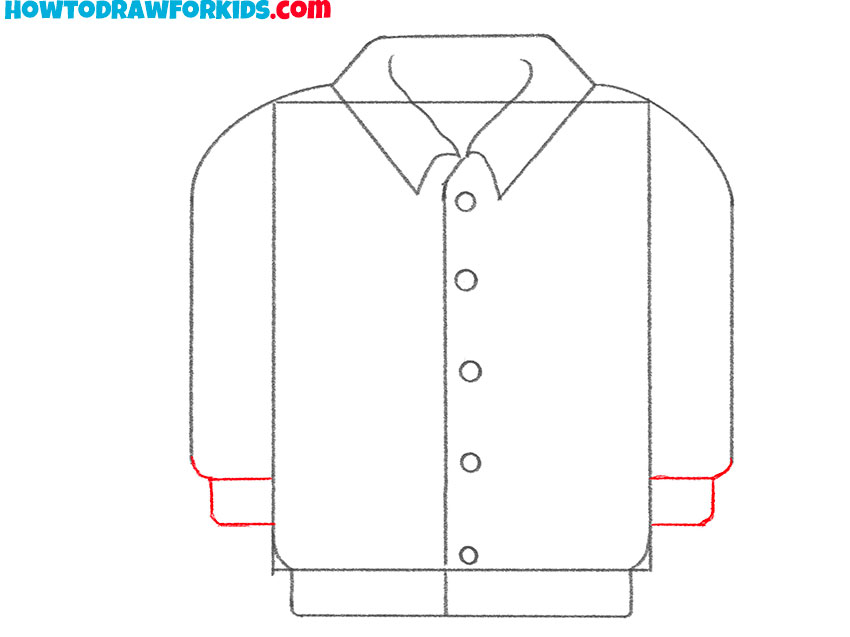
- Sketch out the cuffs.
Draw the cuff at the bottom of each sleeve.
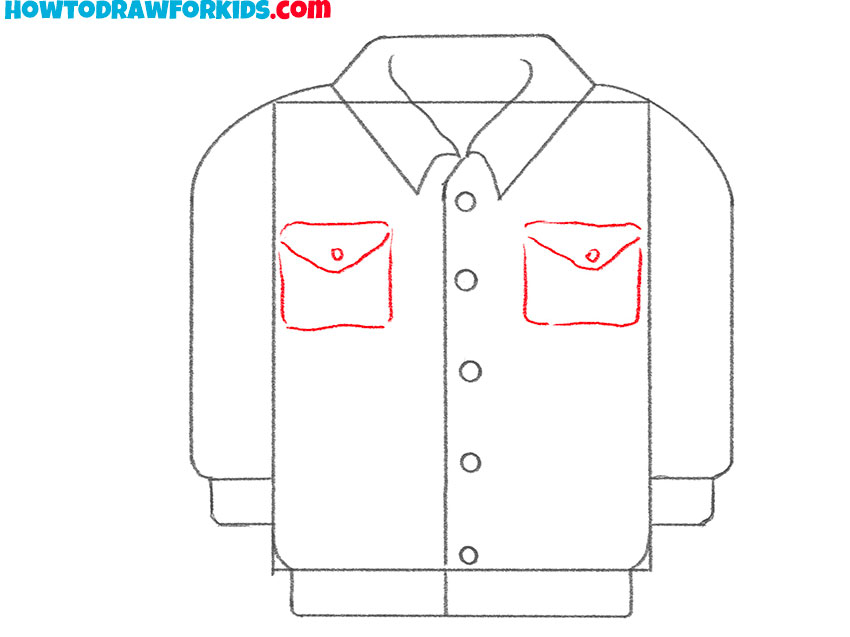
- Add the chest pockets.
The pockets are square and fastened with the buttons.
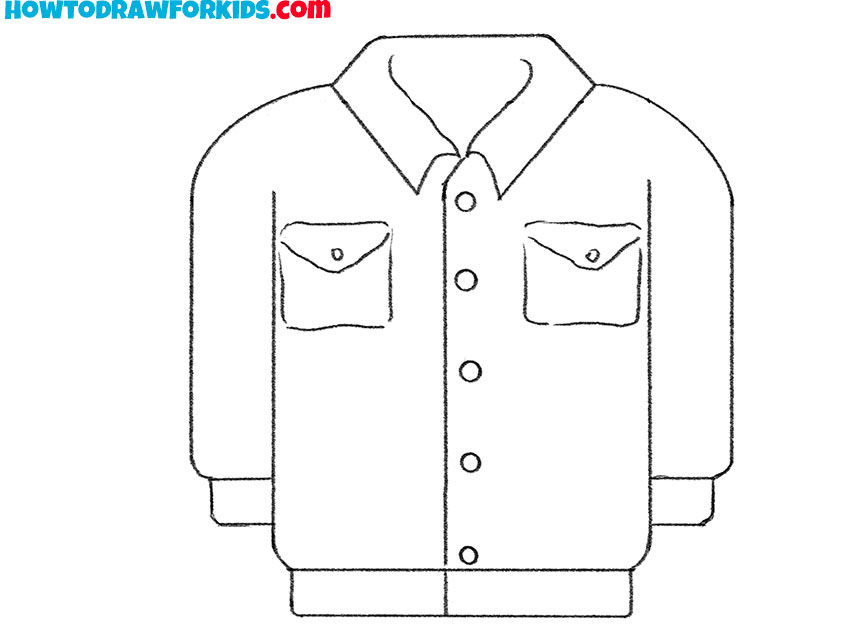
- Correct inaccuracies.
Carefully remove unnecessary lines.
- Color the jacket.
Use brown and beige.

The lesson is over and now you know how to draw a jacket step by step. You can draw several more models of jackets, each time slightly changing the style, for example, the shape of the pockets.
As a reminder, you can download a PDF file that contains a short version of the lesson and additional useful materials. This will help you return to the lesson at any time.

