How to Draw a King
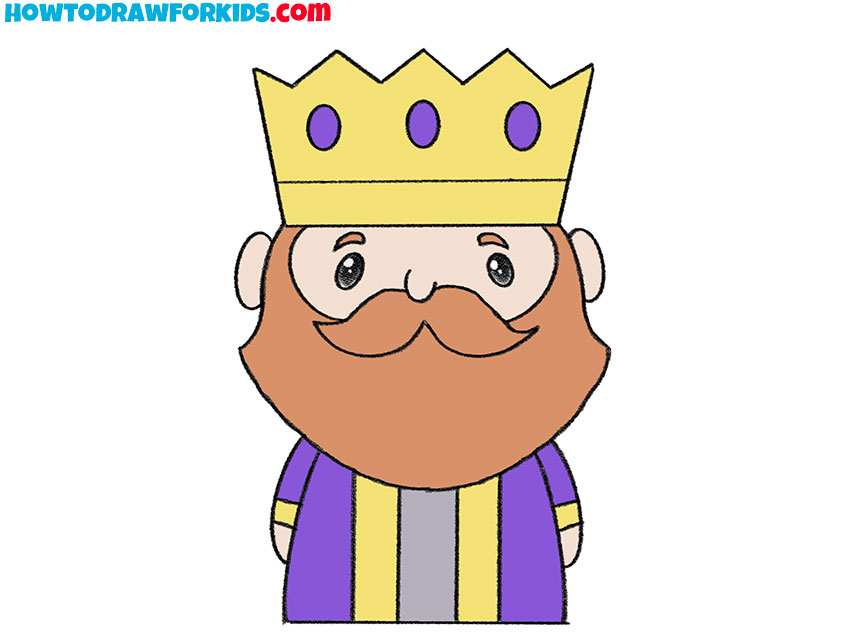
In the realm of drawing, every line and curve tells a story, and today’s tale is about royalty. With my guide on how to draw a king, I’ll lead you through a series of simple steps that unfold into the stately image of a monarch. This lesson strips down the complex regalia into basic shapes, making it accessible to all skill levels.
How to Draw a King: Basic Information
Creating a king in art starts with a circle, the most basic foundation for the dignified face that will soon emerge. With every line and curve, you will piece together the visage of sovereignty. This guide, how to draw a king, is designed so that artists at any level can evolve from simple sketches to a fully-realized royal portrait.
In the draw a king phase, you’ll refine the crown and facial expressions, bringing the simple sketches to a royal climax. It’s a deliberate and thoughtful progression, perfect for eager learners to hone their craft. This lesson is crafted to encourage your artistic growth, with each step building upon the last, culminating in a drawing that’s both fulfilling and stately.
Through this tutorial, you’ll see how simple circles and lines come together to form a stately king, complete with a crown and regal attire.This is a sequence of steps that teaches you how to draw a king, while each mark you make creates an atmosphere of nobility. The final result is a king, exuding dignified elegance, ready to take his place on your canvas.
King Drawing Tutorial
Materials
- Pencil
- Paper
- Eraser
- Coloring supplies
Time needed: 20 minutes
How to Draw a King
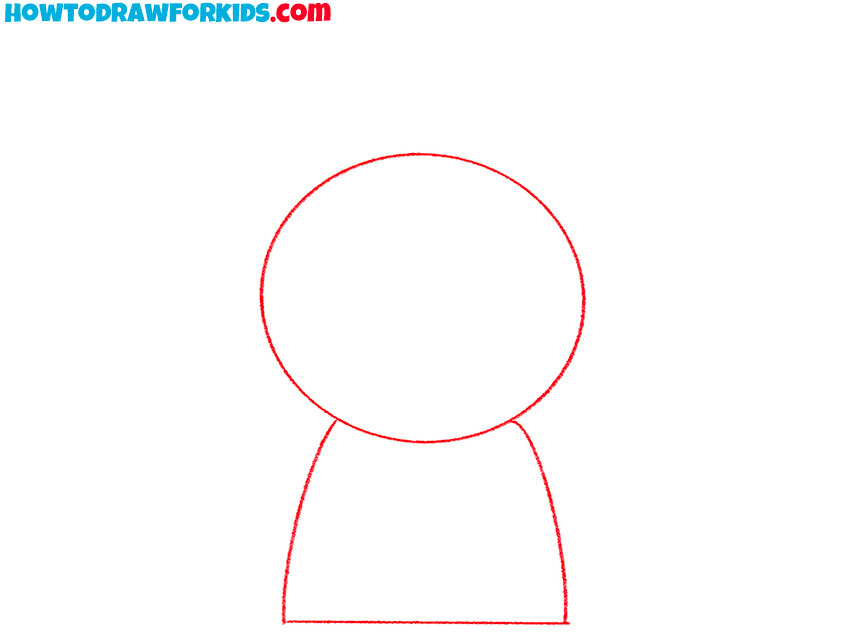
- Draw the head and torso.
You should draw a circle and add a torso at the bottom with curved and straight lines.
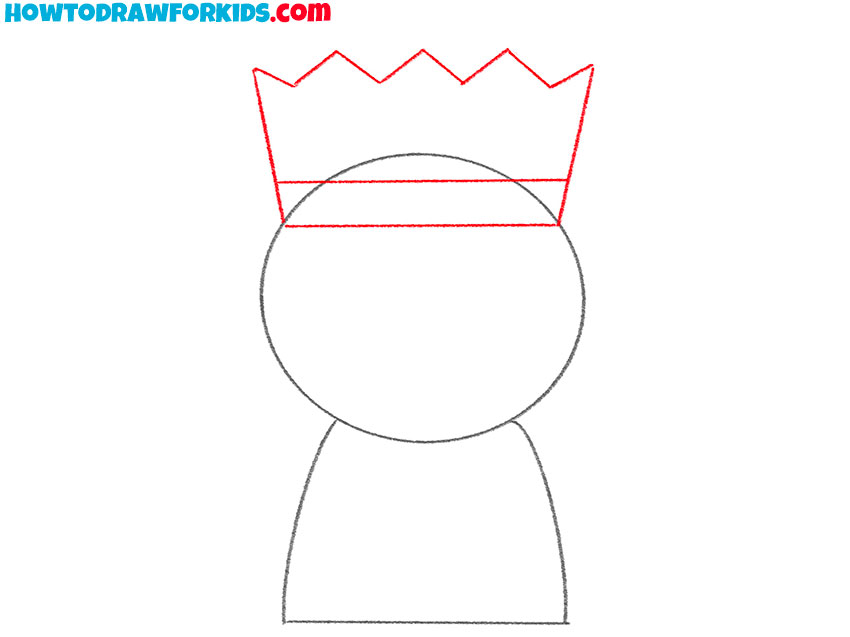
- Depict the crown.
At the top of the head draw horizontal and oblique lines, and add a zigzag on top.
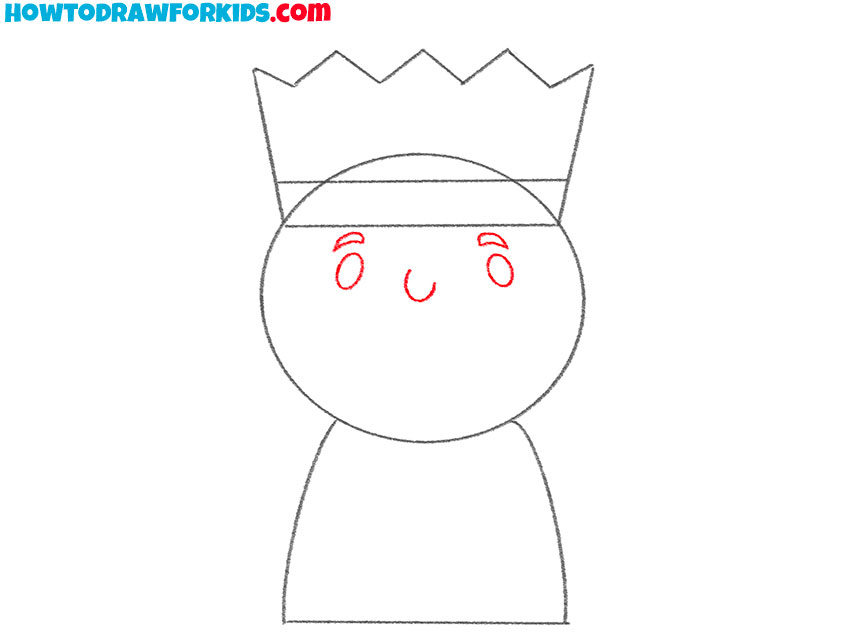
- Add facial features.
Inside the circle add eyes, eyebrows, and nose, by using curved lines and small ovals.
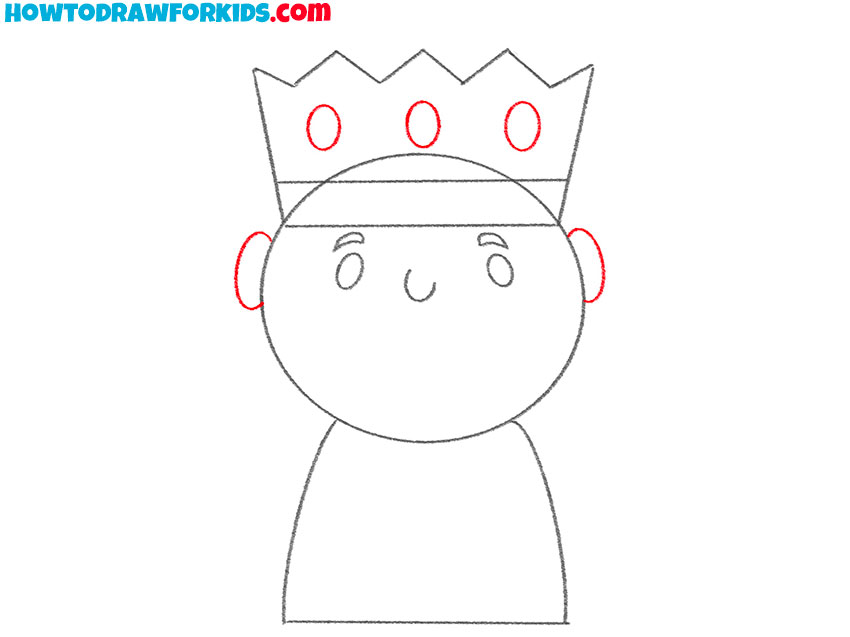
- Draw the ears and decorations on the crown.
The ears are shaped like incomplete ovals. Draw three small same ovals on the crown.
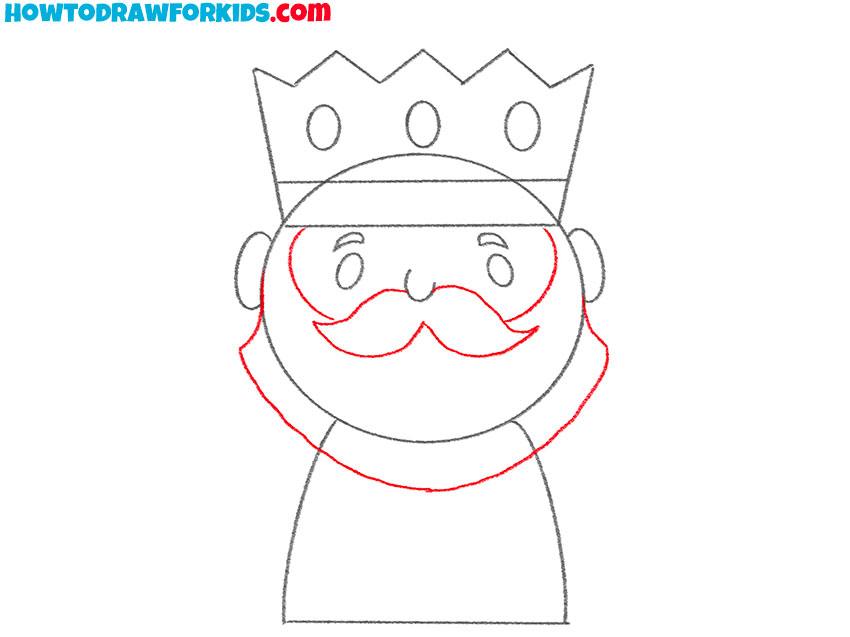
- Outline the mustache and beard.
Using curved lines, draw a lush mustache and add a big beard on the king’s head.
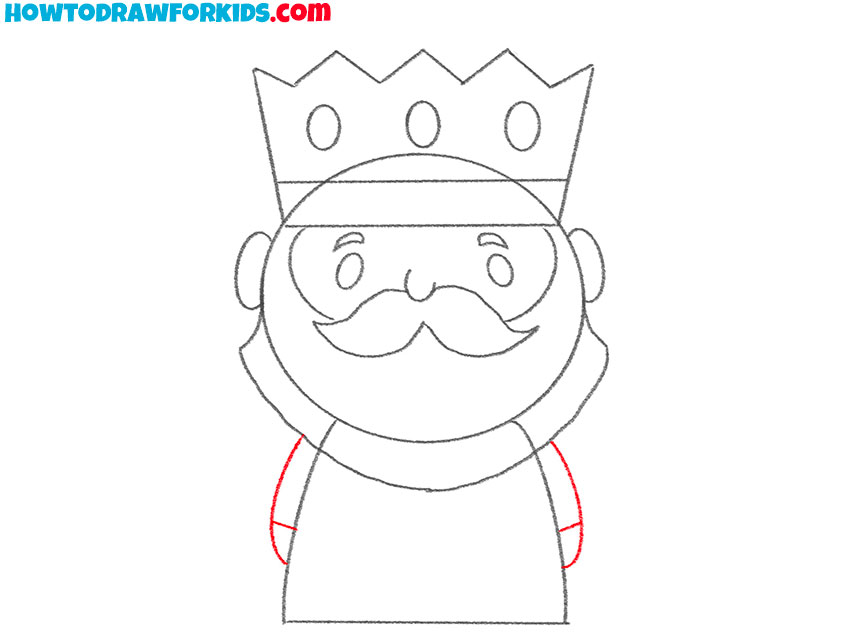
- Depict the hands.
Below the beard on both sides of the torso draw symmetrical arms hanging down.
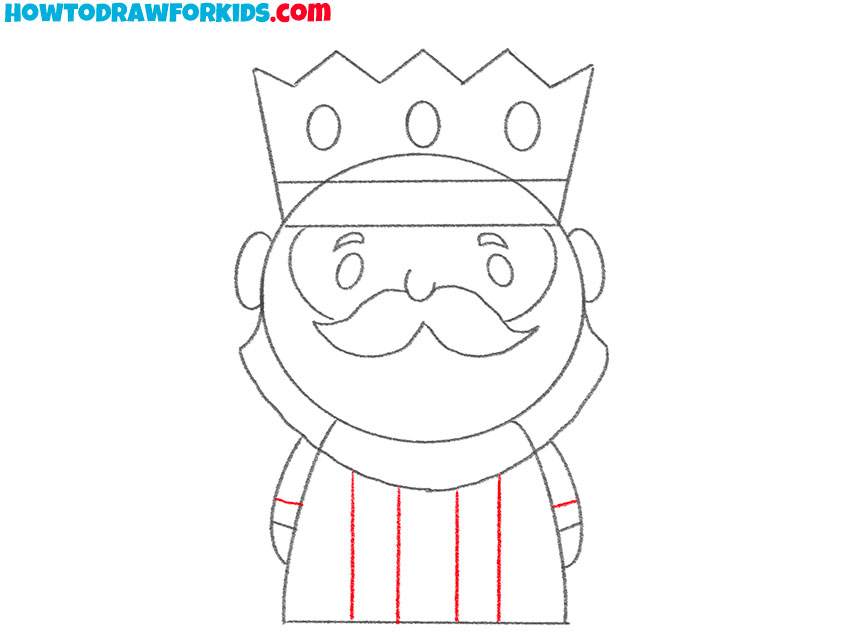
- Add the decorative elements.
Draw four straight vertical lines on the king’s torso and add two short lines on his sleeves.
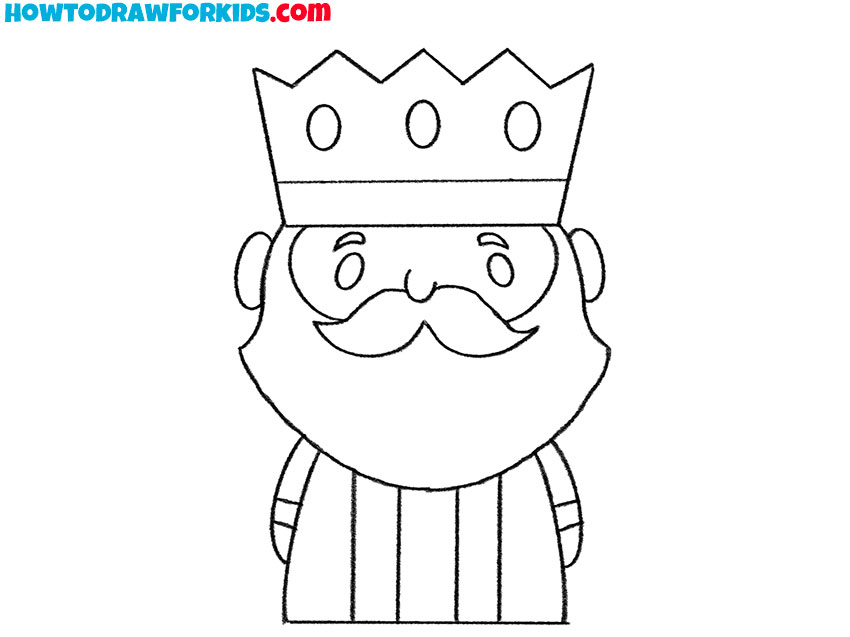
- Erase unnecessary lines.
Use an eraser to remove auxiliary lines that appeared during the drawing process.
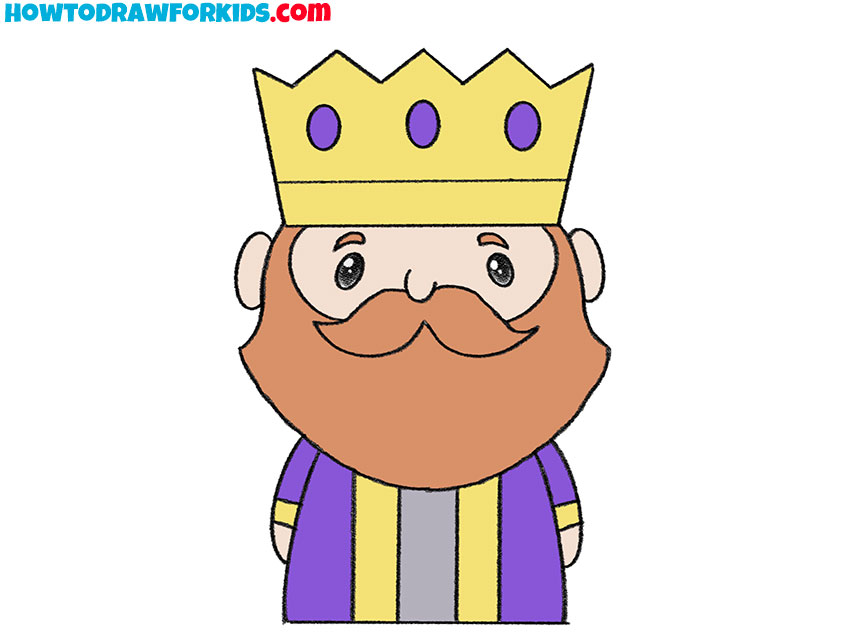
- Color the drawing.
Use yellow, brown, black, shades of purple, and any color to paint the king’s skin.
Additional Content
In crafting this guide, my goal extended beyond the usual steps and tips. Hence, I created a comprehensive PDF file to complement your learning. This downloadable companion is not a mere echo of the lesson but a treasury of further exercises and insights.
It’s designed to refine your skills, providing a richer, more nuanced understanding of drawing once you’ve mastered the basics. Available offline, it’s a bridge to continuous learning, ensuring that even when you step away from the tutorial, your development as an artist doesn’t pause.
Finally, this additional resource represents my commitment to your artistic growth. Beyond the foundational techniques learned in the lesson, this file will help you study the material better, encouraging you to experiment and evolve. It’s my gift to you, a tool to keep the embers of creativity alight as you progress in your artistry.
Alternative Drawing Technique
In addition to the traditional approach, I have developed an alternative method to draw a king in a charming chibi style that incorporates a bit more detail. This method is designed to be simple, allowing you to focus on adding personality and intricate touches without feeling overwhelmed.
While maintaining the accessible nature of the chibi style, this new technique includes enhanced features such as more elaborate garments and expressive facial expressions. These additions are ideal for artists looking to add depth to their characters while keeping the playful essence of chibi art.
By using this modified approach, you’ll practice refining small details in a fun and engaging way. It’s an excellent chance to enhance your abilities in crafting characters that are adorable and brimming with distinct features and personality. This method strikes a balance between simplicity and detail, perfect for those ready to take their chibi drawings to the next level.
How to Draw a King: More Practice
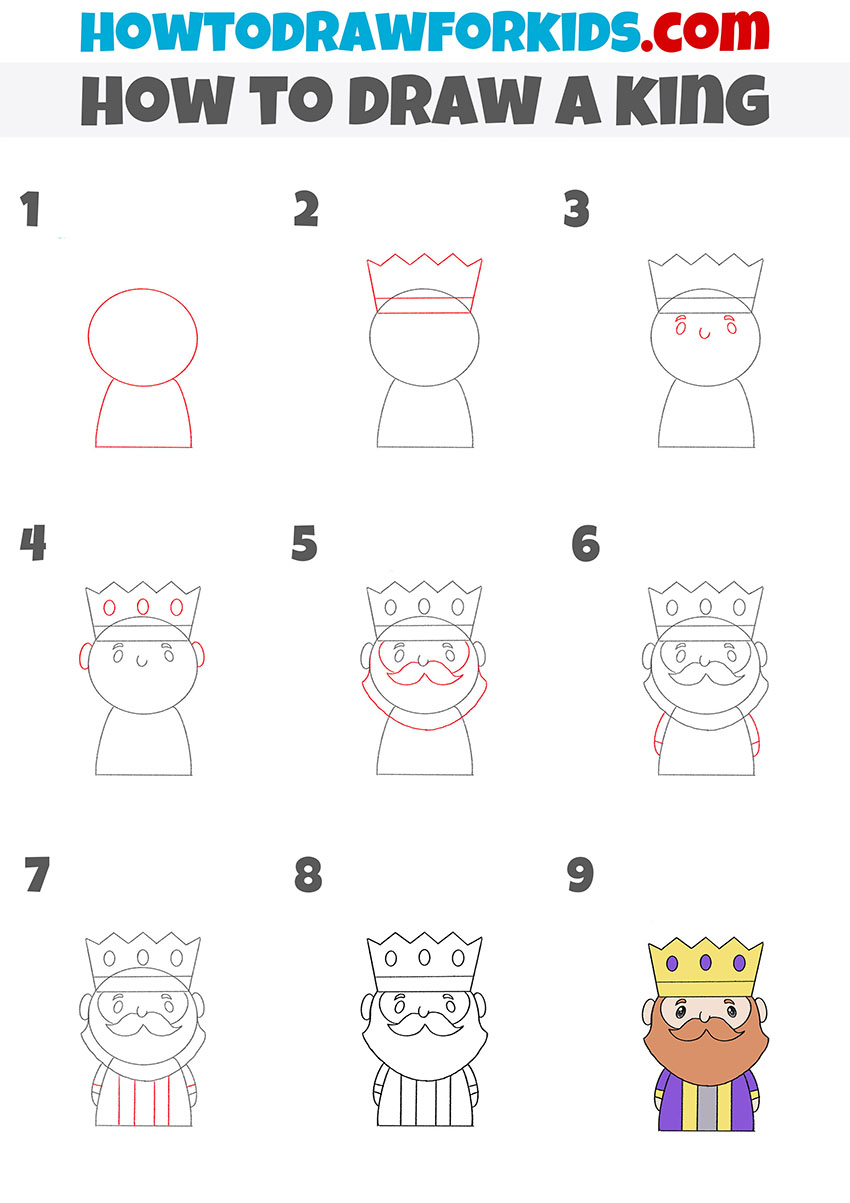
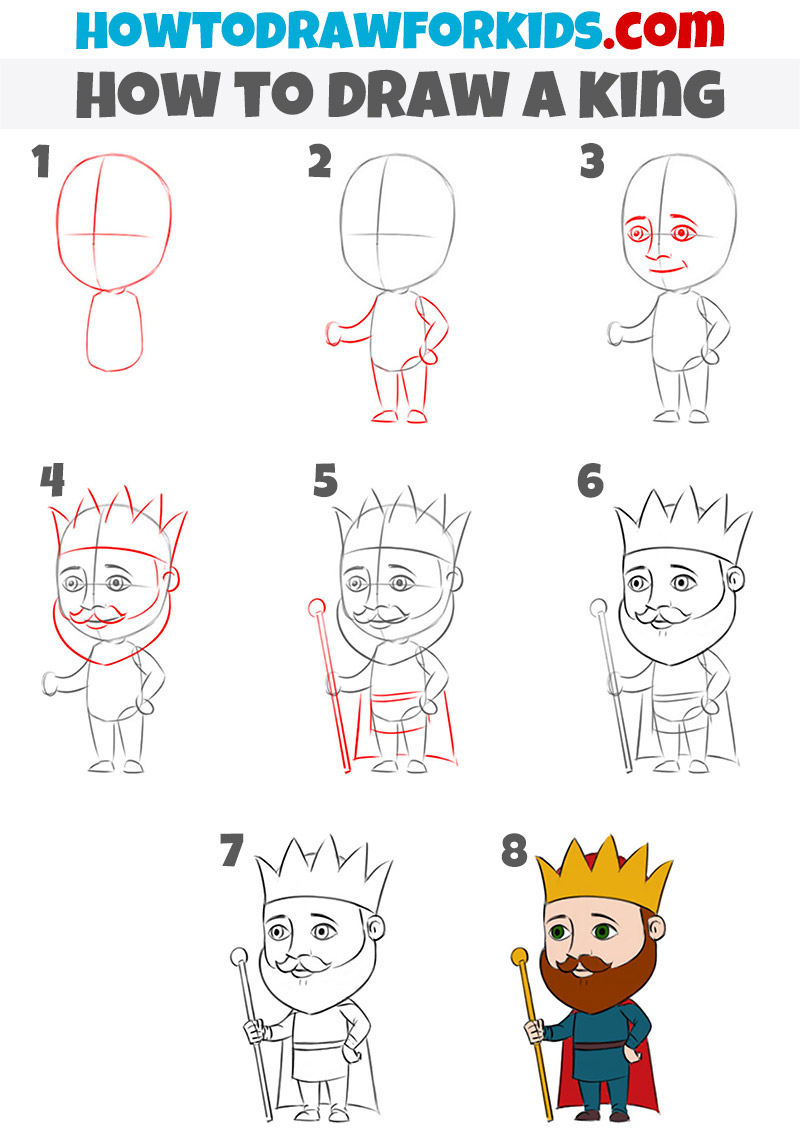
This illustration presents an alternative, step-by-step method for drawing a cartoon king, suitable for kids or beginners. The process starts with simple geometric shapes and gradually adds details to create a character.
Initially, a basic outline of the head and body is sketched using circles and lines, ensuring proper proportions. This scaffolding is fundamental for positioning facial features and the body accurately. The second phase introduces elementary forms for limbs, providing a framework for subsequent detailing.
Final touches bring the character to life, transforming the basic sketch into a regal figure. A crown, beard, and scepter, along with clothing details, are carefully added. The final step shows the king in full color, with bold hues accentuating his royal attire and attributes.
Drawing Royalty: Crafting a Full Kingdom Narrative
To enhance your drawing of a king, consider expanding the scene to include other royal elements and characters. Here are some suggestions to bring more life and context to your artwork:
- Sketching the Queen: Craft a noble companion for your king by drawing a queen with elegant attire and a crown, positioning her as an equal in stature and grace.
- Developing the Royal Court: Behind the king, illustrate an elaborate throne room, with high arches and stained glass windows to suggest a grand setting.
- Royal Companions: Depict a stately falcon perched on the king’s arm, or a noble steed by his side, showcasing his connection to the animal kingdom.
- The King’s Crown and Scepter: Embellish these symbols of power with gems and intricate gold filigree, refining your skill with details.
- Variations in Royal Robes: Play with velvet textures and embroidered silk patterns for the king’s attire, reflecting his wealth and status.
- Loyal Royal Guards: Place stoic guards in polished armor nearby, their presence underscoring the king’s importance.
- Castle on the Horizon: Behind the entire scene, draw a majestic castle atop a hill, its ramparts and banners flying high to represent the king’s domain.
Expanding on the original drawing by adding these elements can create a vivid tableau that tells a story of royalty, legacy, and the grandeur of the kingdom you’ve envisioned.
Conclusion
The completion of this king drawing tutorial marks a checkpoint, not an endpoint, on your artistic path. On my site, you’ll find a variety of subjects to tackle next, from the undulating curves of ocean waves to the majestic stance of a reindeer. Each lesson is a step that builds your skills and enhances your ability to see the world through an artist’s eyes.
For the freshest updates on new lessons, I welcome you to follow my social channels. Your input is crucial, it shapes what comes next on my site. Eager to master a particular technique or craving to capture a certain scene? Drop a comment below. Let’s continue to fill the canvas of our artistic exploration with vivid colors and unique expressions.

