How to Draw a Magic Wand
With this simple lesson, you’ll learn how to draw a magic wand using only a few basic shapes and simple lines.

If you want to draw another magic object, then you should use this lesson on how to sketch a magic wand step by step. I’m sure this lesson will put you in a great mood and you too can feel like a magician!
A magic wand is a tool of every wizard, with the help of which a spell pronounced aloud or silently, followed by a certain movement of the wand, gives the desired result.
Usually, a magic wand looks like a wand or stick, which is thick at the base and thin at the end. You can use these skills if you want to draw a fairy or to make your wizard drawing look more authentic.
To depict this magic wand, you need to be able to draw straight lines. Follow my instructions, then you can easily draw this magic wand, even if you have no drawing experience at all and if you are just a child. You can start doing this great lesson right now!
Magic Wand Drawing Tutorial
Materials
- Pencil
- Paper
- Eraser
- Coloring supplies
Time needed: 15 minutes
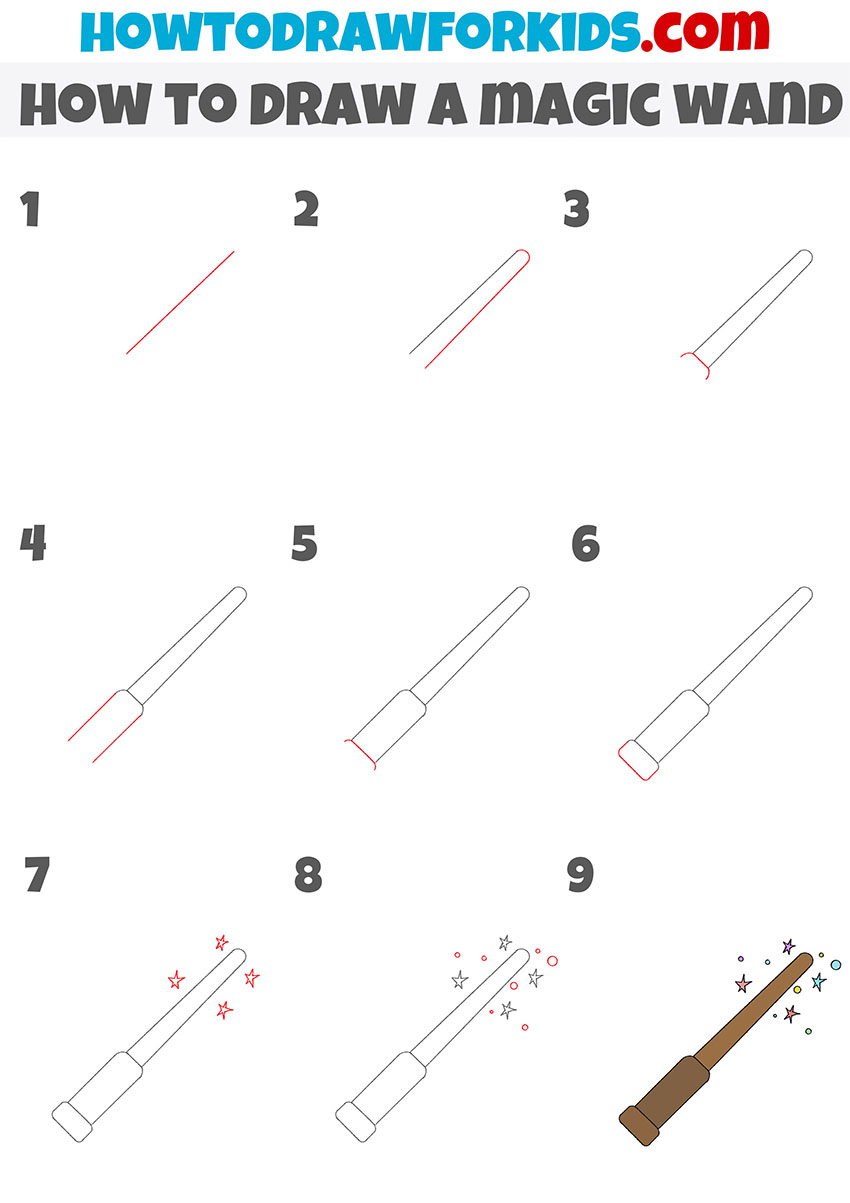
How to draw a magic wand step by step
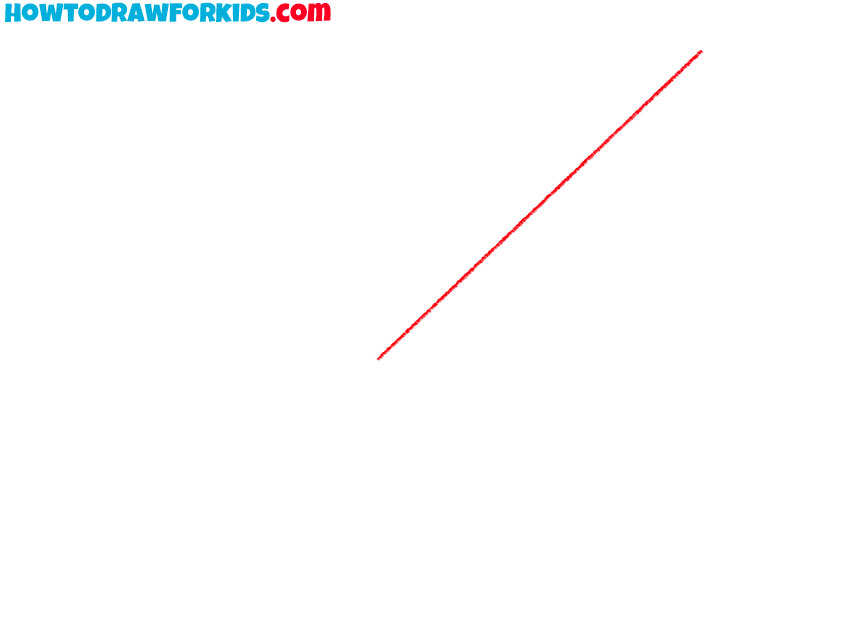
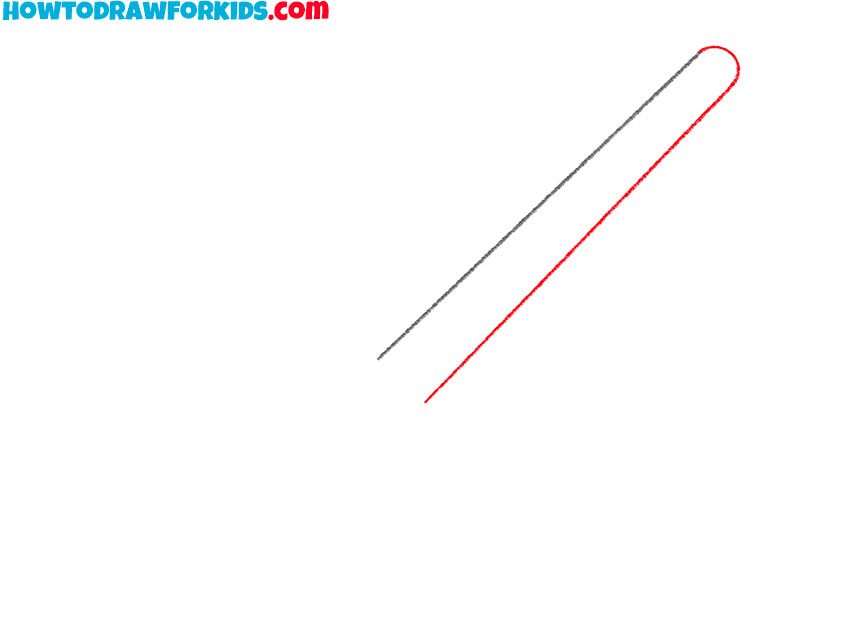
- Sketch the left edge of the shaft.
Firer, draw a single straight diagonal line slanting up to the right. This will be the left edge of the wand’s shaft. Keep the stroke light and even. Leave open space around the line for parallel edges and later decorations.
- Add the parallel edge of the wand.
Parallel to the first edge, draw a second diagonal line of equal length. Cap the right end with a short rounded arc close the top of the stick. Keep the spacing between lines narrow. Let the left end remain open because a collar and handle will attach there.
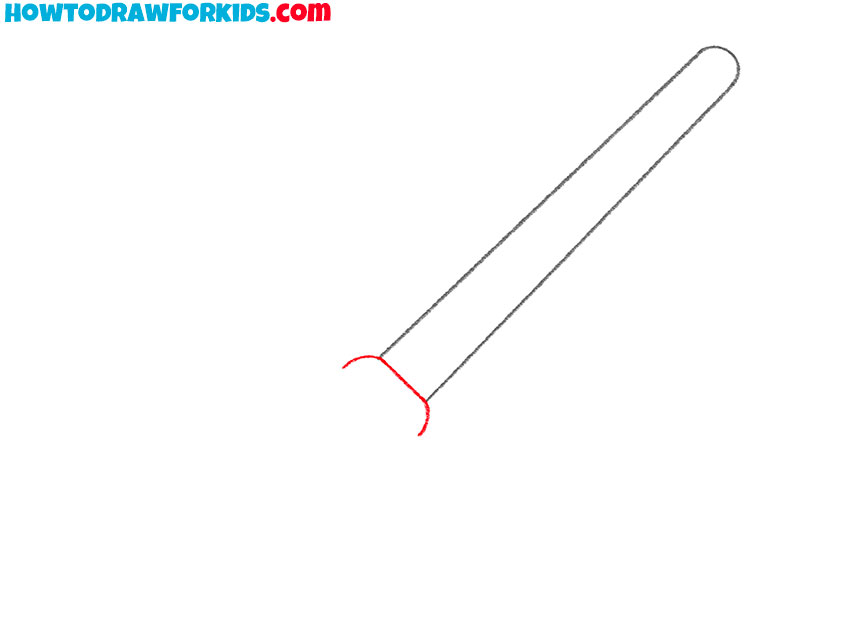
- Start sketching the handle.
At the open left end, draw a simple line with small curves at the ends that bulges slightly outward, connecting to both shaft edges. This line is the upper edge of the handle.
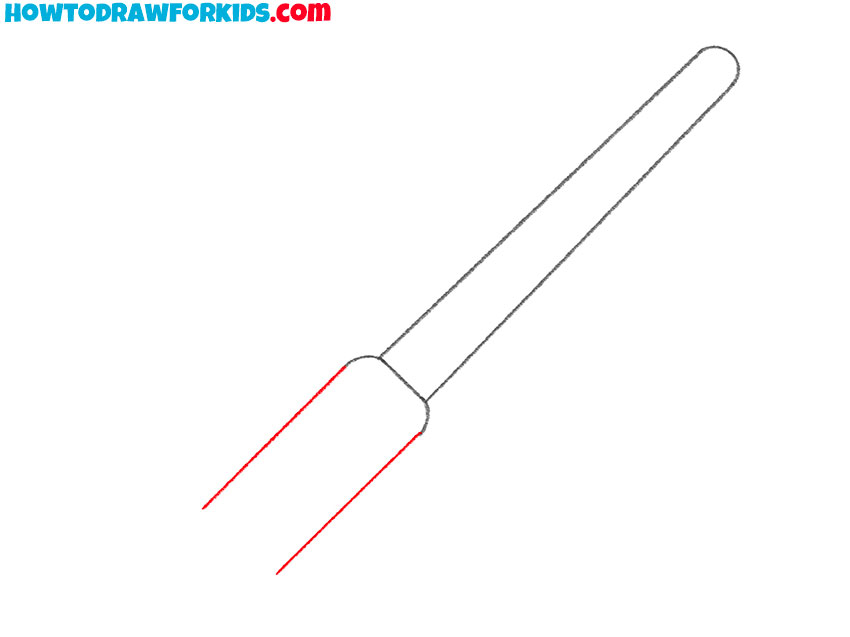
- Draw the magic wand handle edges.
From the collar, extend two straight lines along the same diagonal, slightly wider than the shaft, to create a short rectangular grip segment.
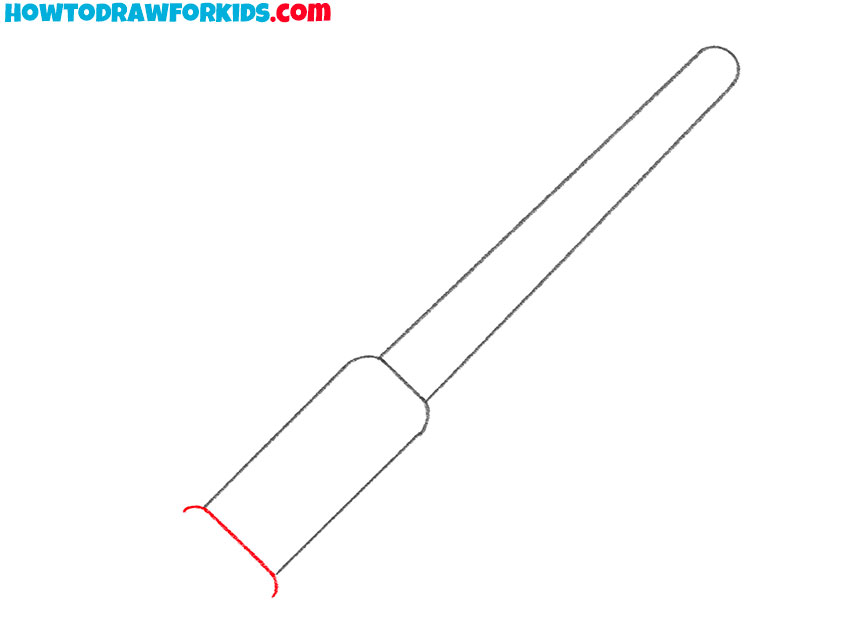
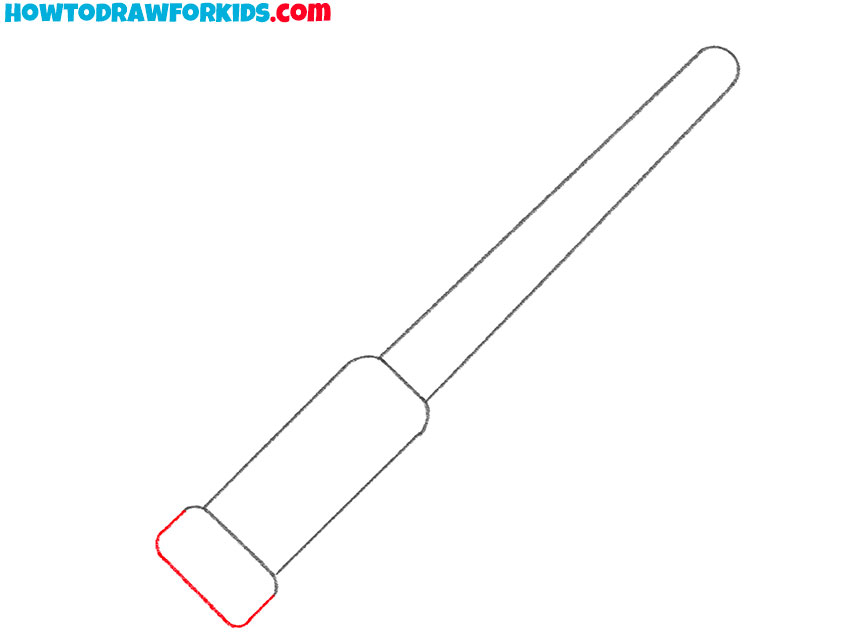
- Start sketching the stick pommel.
At the very bottom of the handle, sketch a short horizontal line similar to the one you drew above, but slightly wider. This line should also have slight curves at the edges.
- Finish sketching the pommel.
Add a small rounded cap at the far left of the handle, slightly wider than the grip, like a protective pommel. Use one smooth rectangle with fully rounded corners for this part.
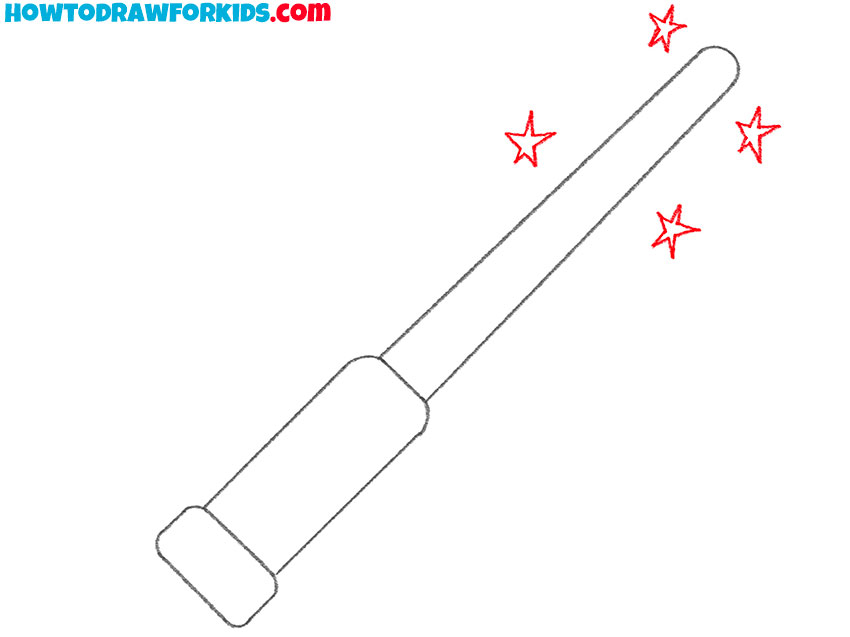
- Draw the magic stars around the wand.
Around the right tip, draw stars of different shapes with five small points. Vary size and rotation. Add only a few now; you will expand the effect later.
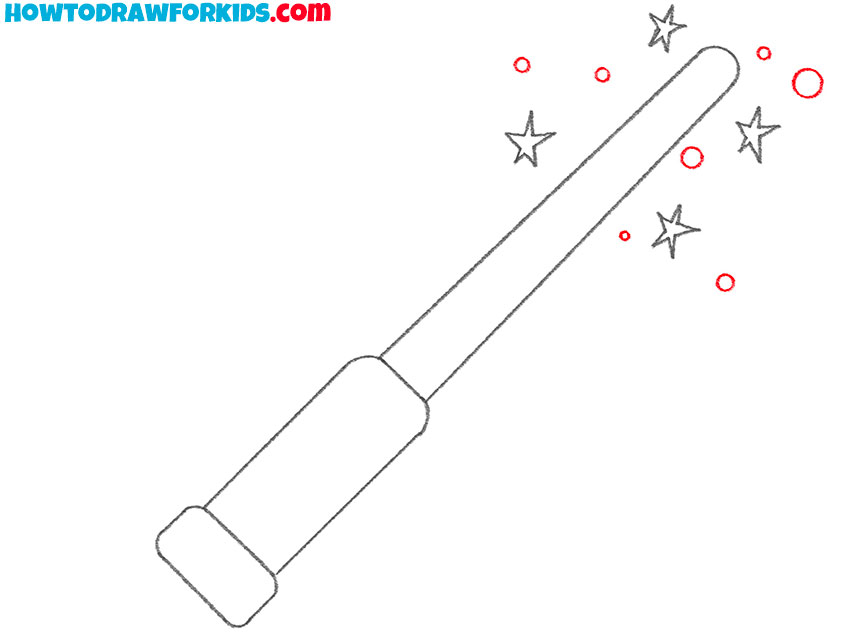
- Finish drawing the magical effect.
Now, to create a more convincing magical effect, add additional shapes, such as smaller circles or stars, placing them around the shapes from the previous step. Darken the final contour of the stick. Erase construction lines if any.
- Paint the stick magic around.
Paint the shaft and handle of the magic stick warm brown to represent carved wood. Make the handle a slightly darker brown. Fill the stars and circles with mixed bright colors.
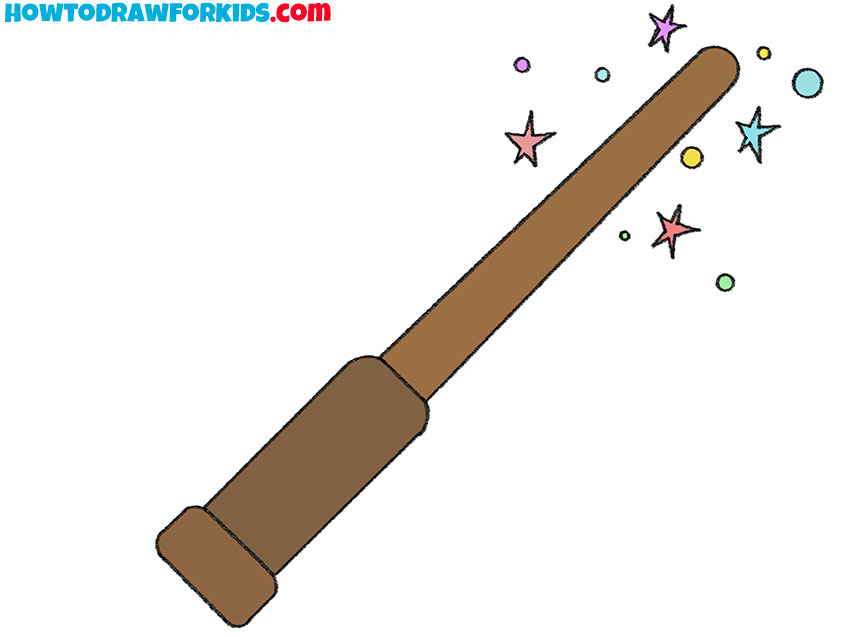
This lesson is finished and now you know how to draw this magical object. Traditionally I have prepared for you a PDF file in which you can see a short version of this lesson and other additional interesting and useful materials.