How to Draw a Pine Tree
In this tutorial, I’ll show you how to draw a pine tree using a few simple steps. You’ll learn how to create the characteristic shape of this evergreen tree and add the basic details that make it easy to recognize.
How to Draw a Pine Tree: Basic Information
In this tutorial, I’ll show you how to draw a pine tree using simple lines and steps. By the end of the lesson, you’ll have an easy pine tree drawing that you can use in landscapes, nature scenes, and other artwork.
A pine tree may look complex at first, but it is actually made up of a few simple shapes repeated throughout the drawing.
In this tutorial, I’ll will help you draw the characteristic layers of branches and create a simple pine tree illustration.
At the end of this tutorial, you’ll also learn how to draw an even simpler version of a pine tree using just a few basic lines and strokes.
Pine Tree Drawing Tutorial
Materials
- Pencil
- Paper
- Eraser
- Coloring supplies
Time needed: 30 minutes
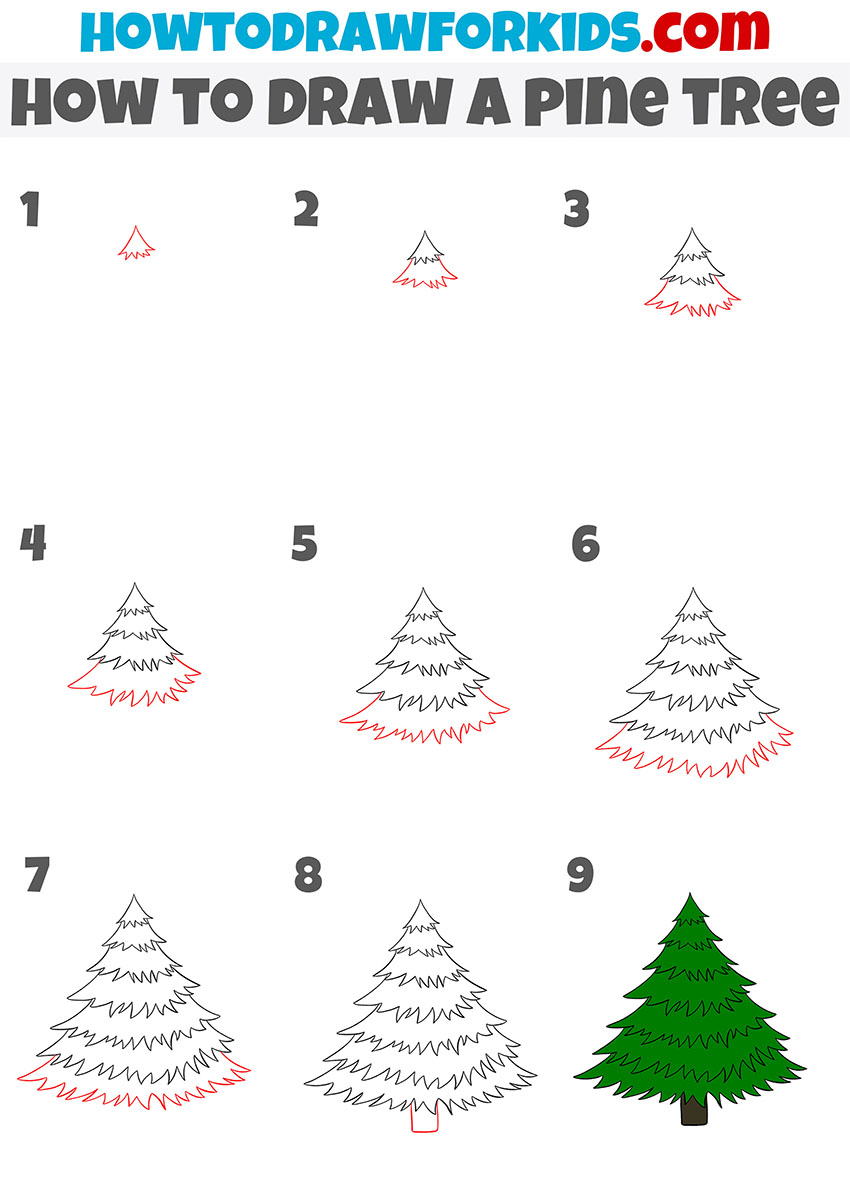
How to Draw a Pine Tree
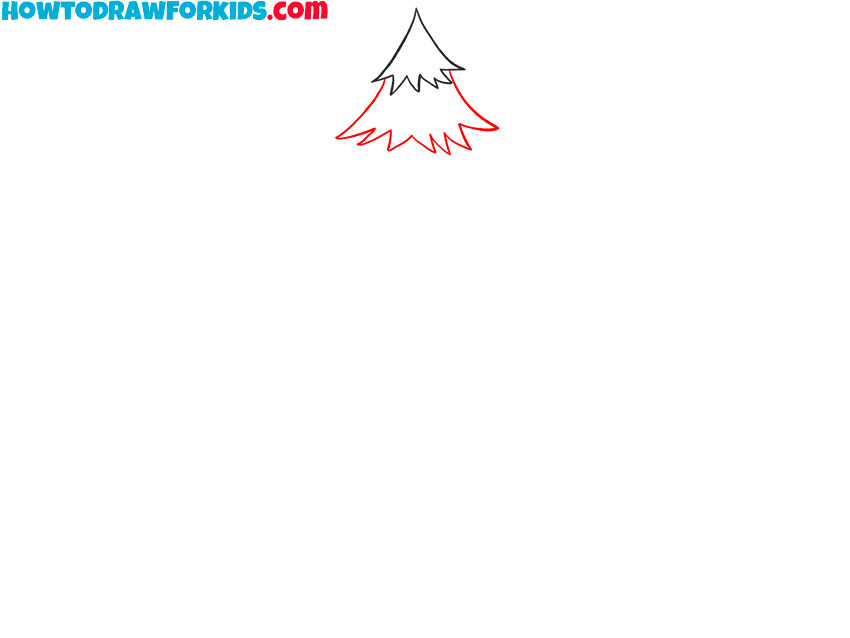
- Draw the top of the pine tree.
Depict two curved lines, and then connect their lower ends with a zigzag.

- Add the second tier of the pine tree.
Below the top of the pine, add two more curved lines and connect their ends with a zigzag.
- Sketch out the third tier of pine tree.
This tier of pine tree is similar to the previous one, but the zigzag lines are slightly longer.
- Depict the fourth tier of the pine tree.
Use curved lines of different lengths, as shown in the example.
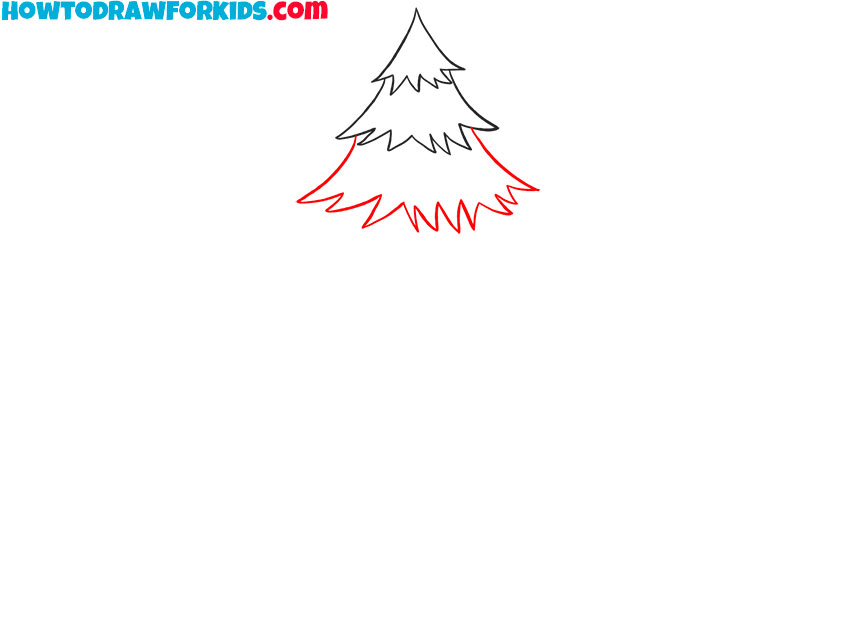
- Draw the fifth tier of the pine tree.
Continue drawing the tiers of the pine tree in the same way as in the previous steps.
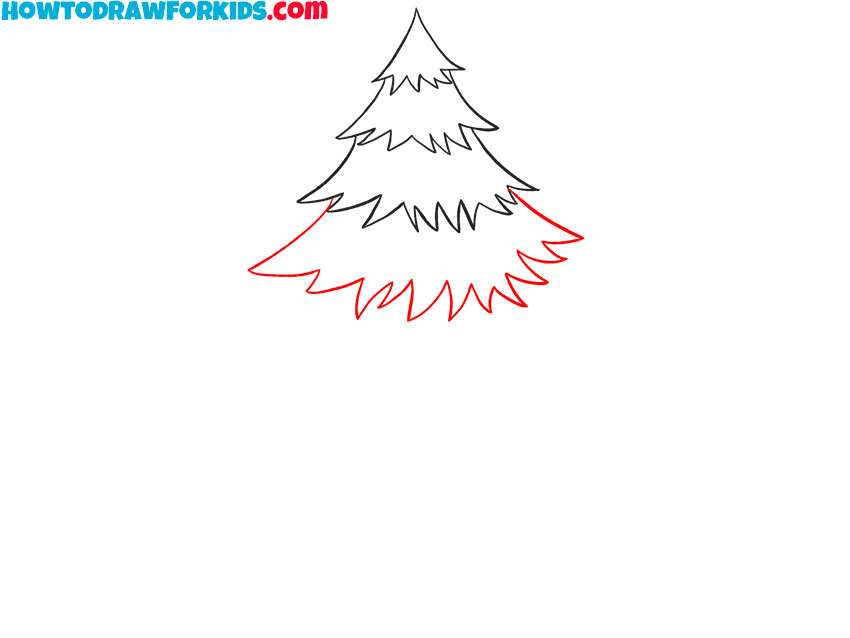
- Add the sixth tier of the pine tree.
To complete this step, use curved lines of varying lengths as shown.
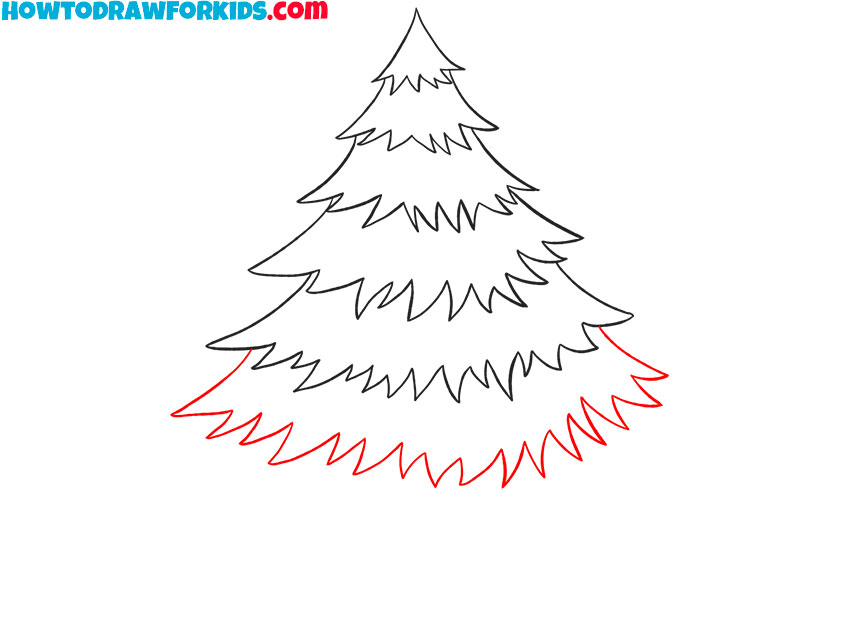
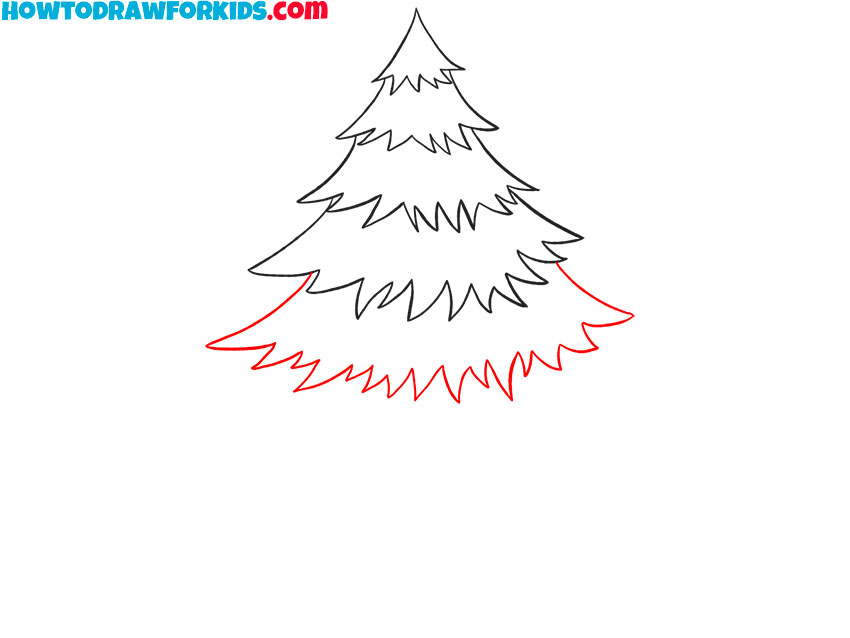
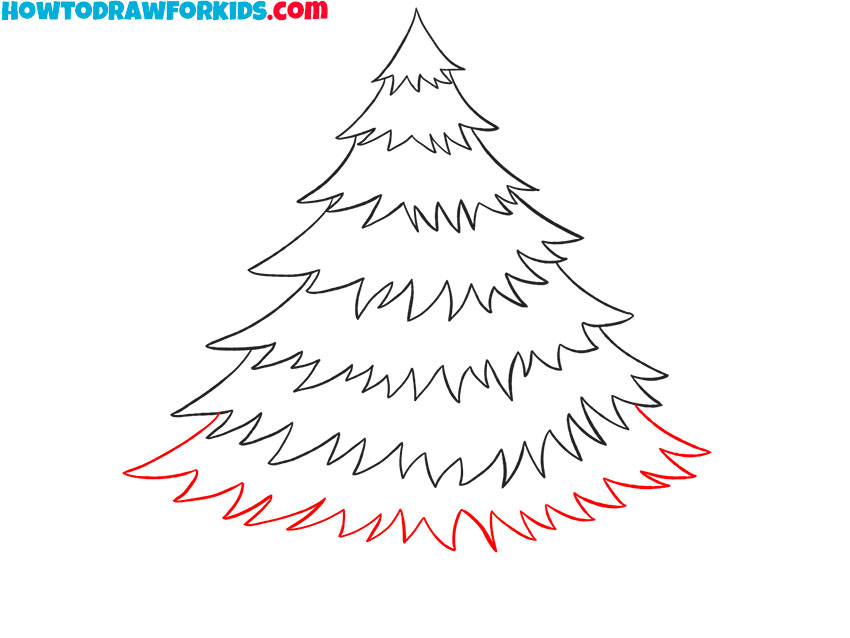
- Draw the last layer of the pine tree.
Below the previous tier, add many curved lines of varying lengths.
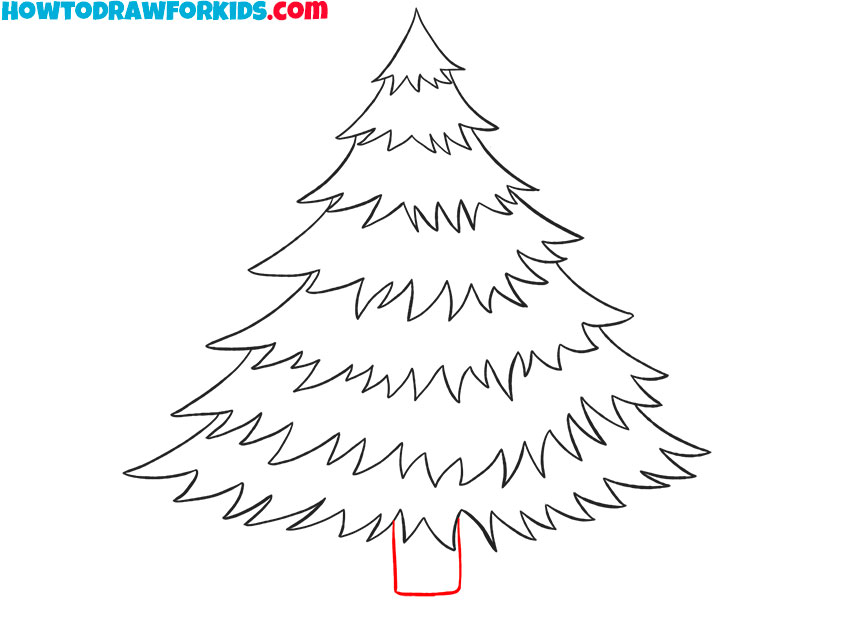
- Sketch out the tree trunk.
Below the previously drawn tier, add three straight lines.
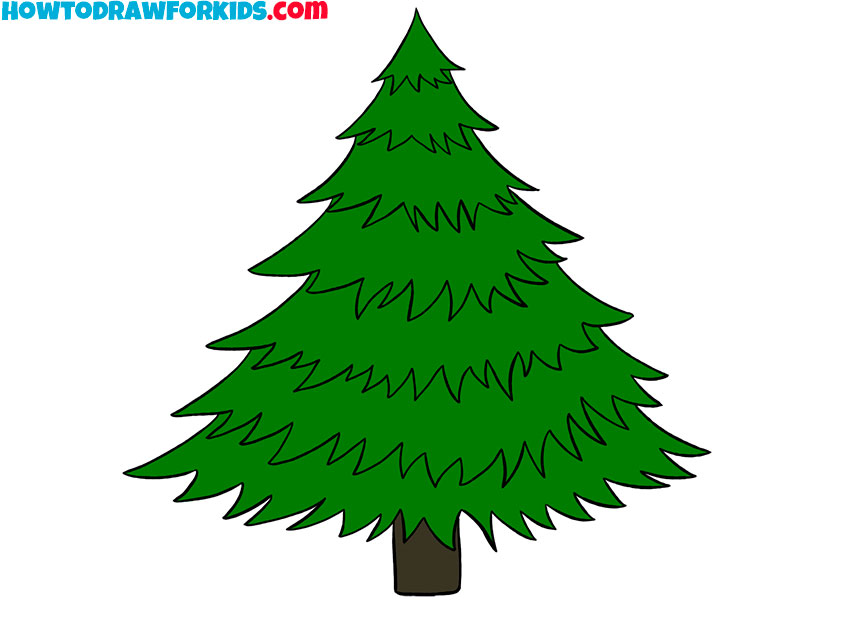
- Color the drawing.
To color the pine tree, you need to use green and brown.
Additional Content
And as always, I want to present a PDF version of this tutorial, where I’ve combined the main steps in a simplified format for offline use. It also includes additional materials, such as a coloring page, tracing worksheet, and a grid drawing worksheet. And of course, it is absolutely free to download and use offline.
Alternative Drawing Method
To help you get more drawing practice, I’ve also created an additional pine tree drawing method. This version uses even fewer shapes and details, making it a good option for beginners and young artists. It can also be useful when drawing forests, landscapes, or other scenes that require multiple trees.
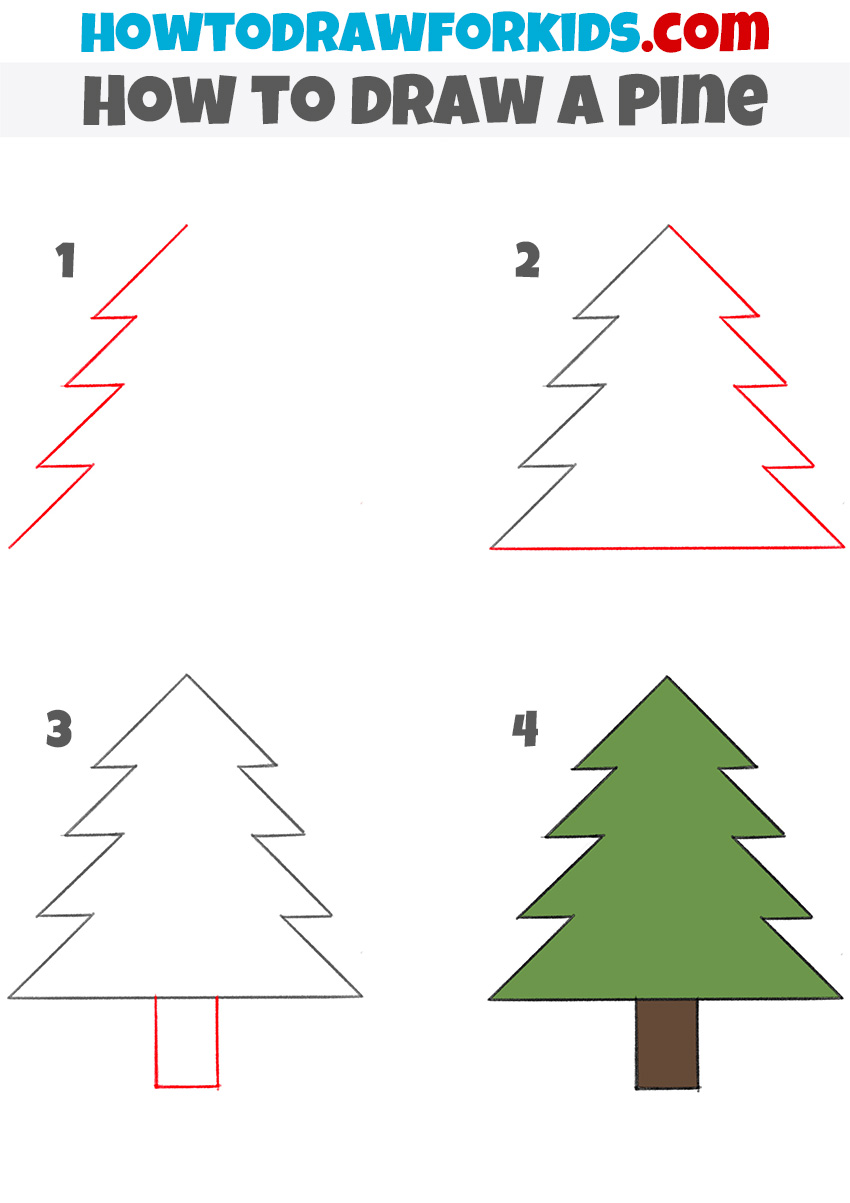
How to Draw a Pine Tree for Kindergarten
This alternative pine tree drawing method consists of just four simple steps. Start by drawing a zigzag line to create the top of the tree.
Next, extend the lines downward to form a simple triangular shape. In the third step, add a rectangular trunk beneath the tree.
Finally, color the pine tree green and the trunk brown to complete the drawing.
Pro Tips for Drawing Simple Pine Trees
When drawing a pine tree, pay attention to its overall shape. Most pine trees are narrower at the top and gradually become wider toward the bottom.
Try to keep the left and right sides balanced, and don’t rush to darken the lines until you’re satisfied with the proportions.
If you decide to color the drawing, using more than one shade of green can help make the branches look more distinct.
Once you’ve completed the lesson, try drawing a few pine trees with different heights and widths to practice using the same basic shape in different ways.
Try to keep the trunk centered so the tree does not appear tilted to one side. If you’re having trouble drawing the zigzag outline evenly, you can place a few small guide marks before connecting them with lines.
After completing the basic shape, consider adding a little shading to one side of the tree and trunk to make the drawing look less flat.
As you become more comfortable with the process, you can also experiment with different pine tree shapes by changing the width, height, or number of branch layers.
Ideas for a Pine Tree Scene
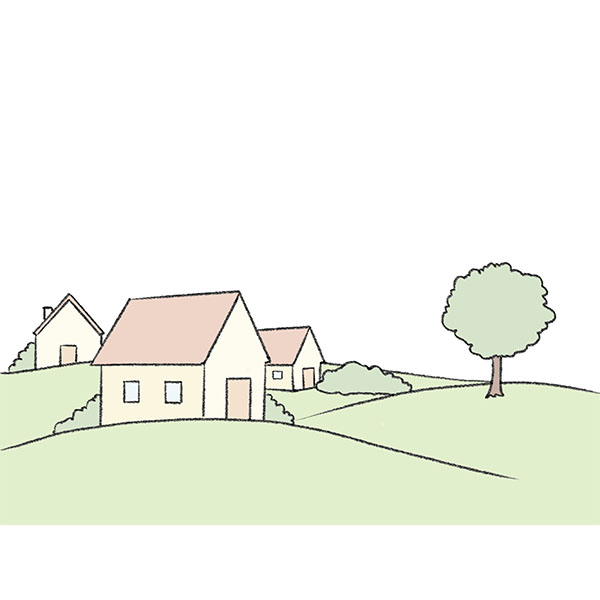
After drawing a pine tree, you can try adding other objects to create a simple scene. For example, you can draw a cabin, tent, campfire, or forest path next to the tree
Animals such as squirrels, deer, or birds can also help make the drawing more interesting.
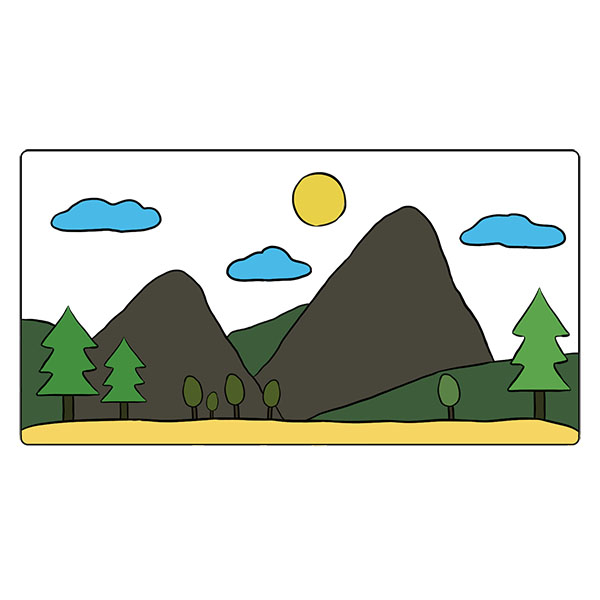
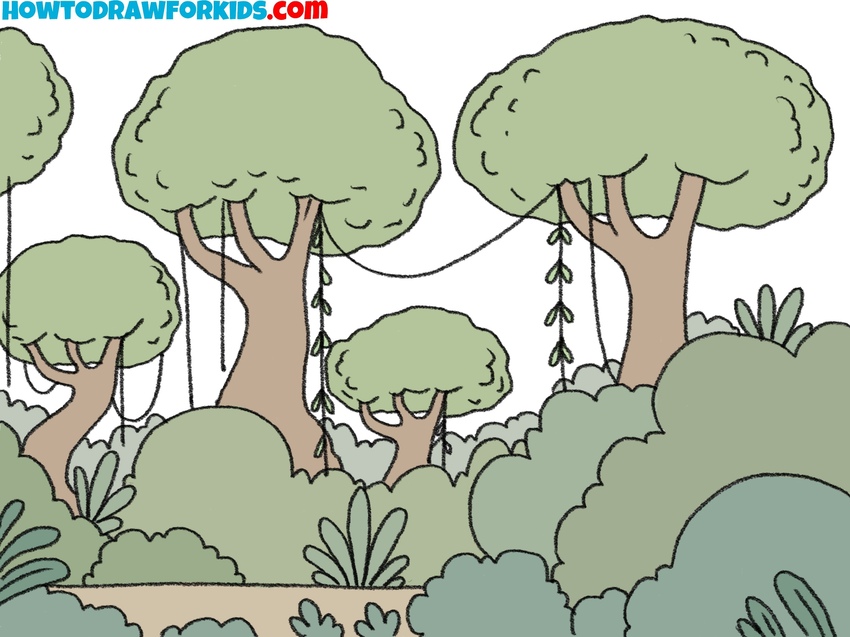
You can place several pine trees together to create a forest, add grass and flowers around the base, or draw snow if you want a winter scene.
Rain, clouds, mountains, and other landscape elements can also work well with pine trees.
The ideas above can help you create a simple scene around your pine tree and give you additional subjects to practice. You can use any of these elements individually or combine several of them in a single drawing.
Pine Drawing Tutorial is Complete
If you enjoyed this tutorial, be sure to follow us on social media so you don’t miss new drawing lessons. You can also leave a comment below and let me know which drawing tutorial you’d like to see next.