How to Draw a Plate
If you are learning the basics of still life, this lesson on how to draw a plate will give you a solid foundation.
How to Draw a Plate: Introduction
In this tutorial, I will show you how to draw a plate. This will be one of the easiest lessons, and you will see for yourself. There is nothing difficult here. In just six easy steps, your drawing will be ready. All you need is the ability to draw smooth, rounded lines.
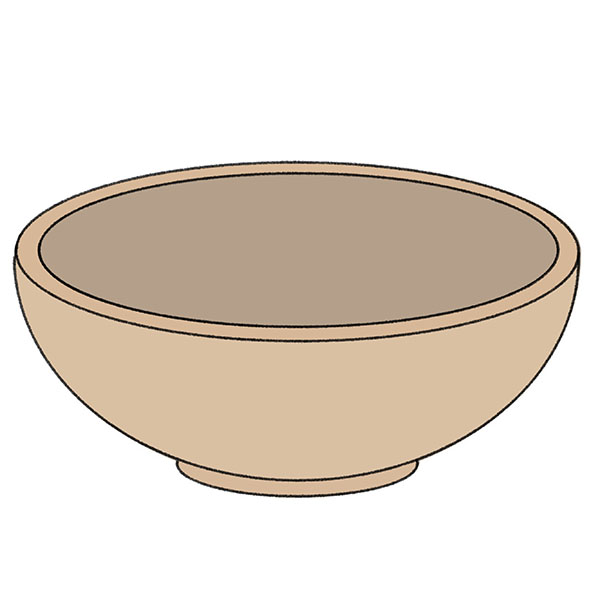
The plate is a common household item that we use every day. In the picture, you can see a wide flat plate that is great for main courses and snacks. The plate has a beautiful yellow color similar to gold. In your work, you can use the same shade, or you can paint the plate in any other color.
You can also decorate the finished plate beautifully. For example, you can paint any pattern in the center of the plate or around the edges. It will be very beautiful if you decorate the plate with ornaments. Do as your imagination allows you.
Plate Drawing Tutorial
Materials
- Pencil
- Paper
- Eraser
- Coloring supplies
Time needed: 15 minutes
How to Draw a Plate
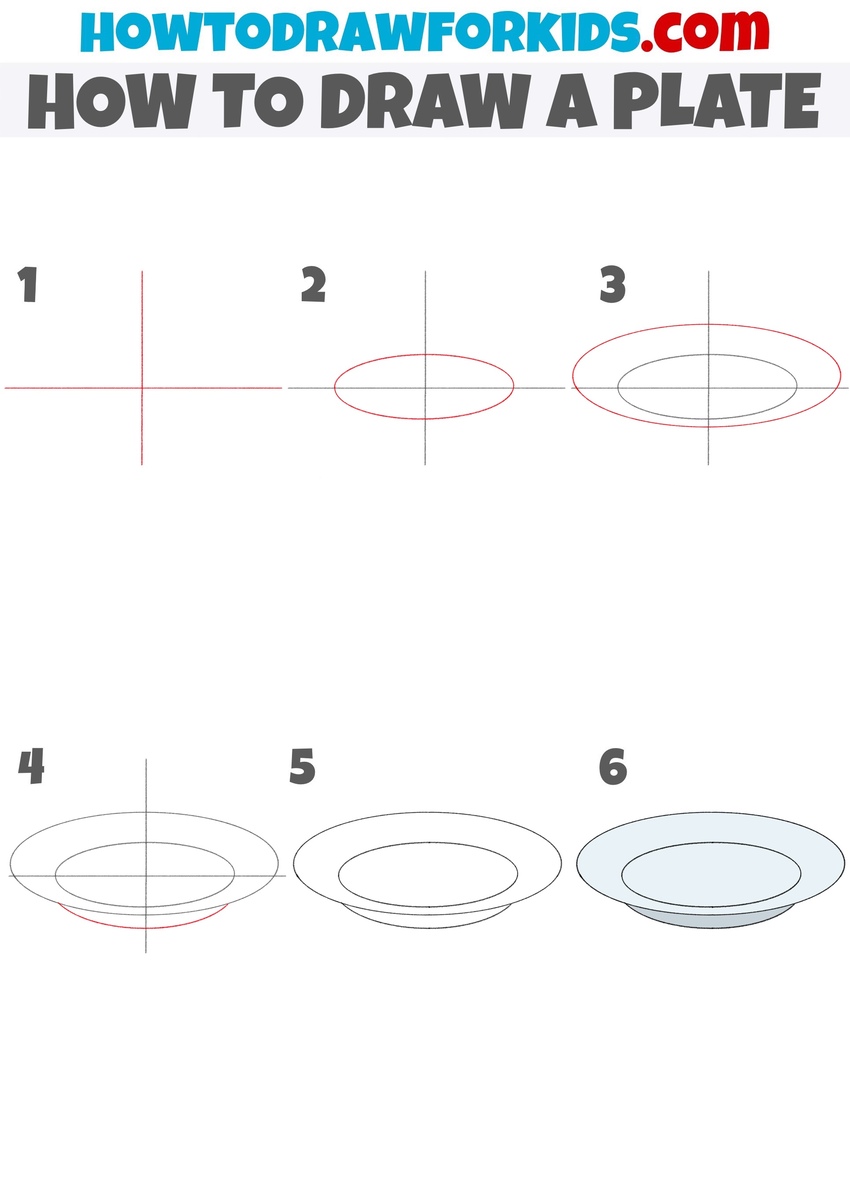
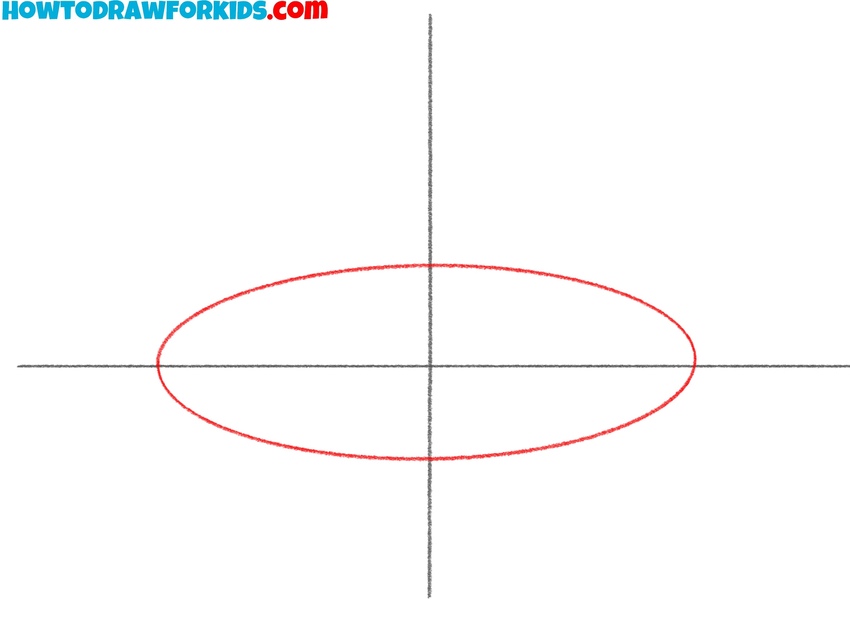
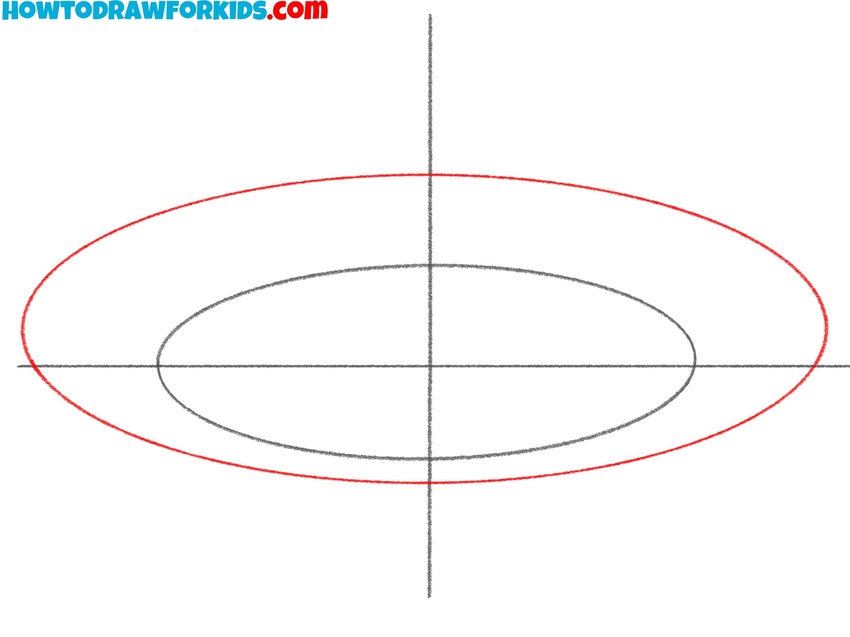
- Sketch the center guide lines.
To start this drawing, it helps to create a simple framework that will guide the proportions of the plate. Sketch a vertical and a horizontal line that cross at the center. These will serve as construction lines, helping you keep the oval shapes symmetrical on both sides.

- Draw the inner oval of the plate.
Plates are circular in real life, but when viewed from an angle, they appear as ellipses. On the cross lines, sketch a neat oval shape in the center. This represents the flat inner part of the plate where food usually rests. Turn your paper slightly as you draw, so your hand moves more naturally around the curve.
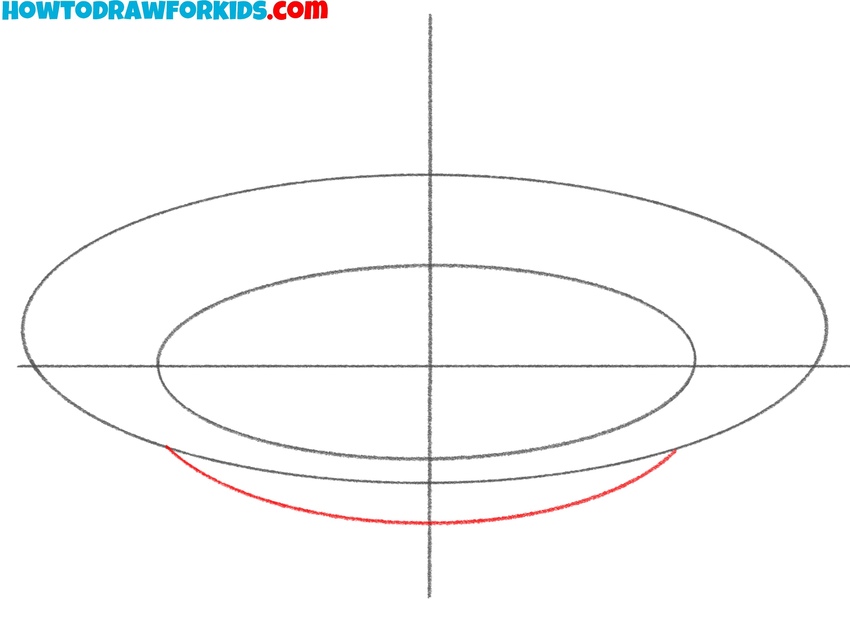
- Draw the rim of the plate.
Now that the center is in created, draw a larger oval around it to form the rim of the plate. This should follow the same shape as the first oval, just placed farther out. Make the distance from the inner oval a little larger on the sides for correct perspective.
- Outline the bottom part.
Every plate has a small base underneath that lifts it slightly from the table. Draw a narrow curved line below the rim, following the same perspective as the ovals above. This will give the illusion that the plate is not flat on the paper but has height.
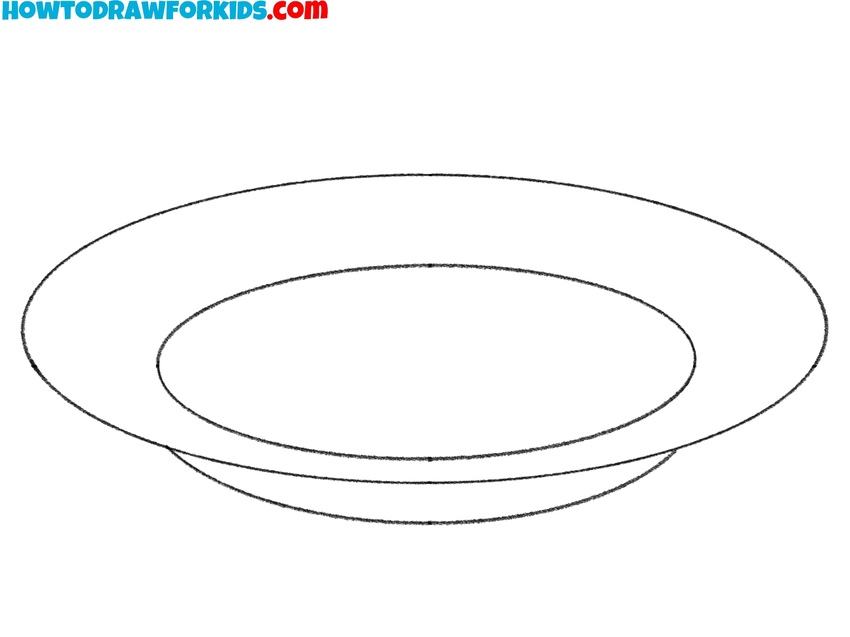
- Remove helper lines.
With the main structure of the plate completed, it’s time to clean up the drawing. Erase the vertical and horizontal guidelines, along with any extra construction lines, leaving only the neat ovals and the base. Go over the outlines carefully, darkening them with smooth strokes.
- Add light blue shading.
To finish the drawing, lightly paint the plate with a pale blue or gray tone. This helps to convey that the surface is smooth and ceramic. Try not to make it too dark, as plates are usually light in color. If you want to practice shading, you can add a soft shadow under the basel, like it is resting on a table.

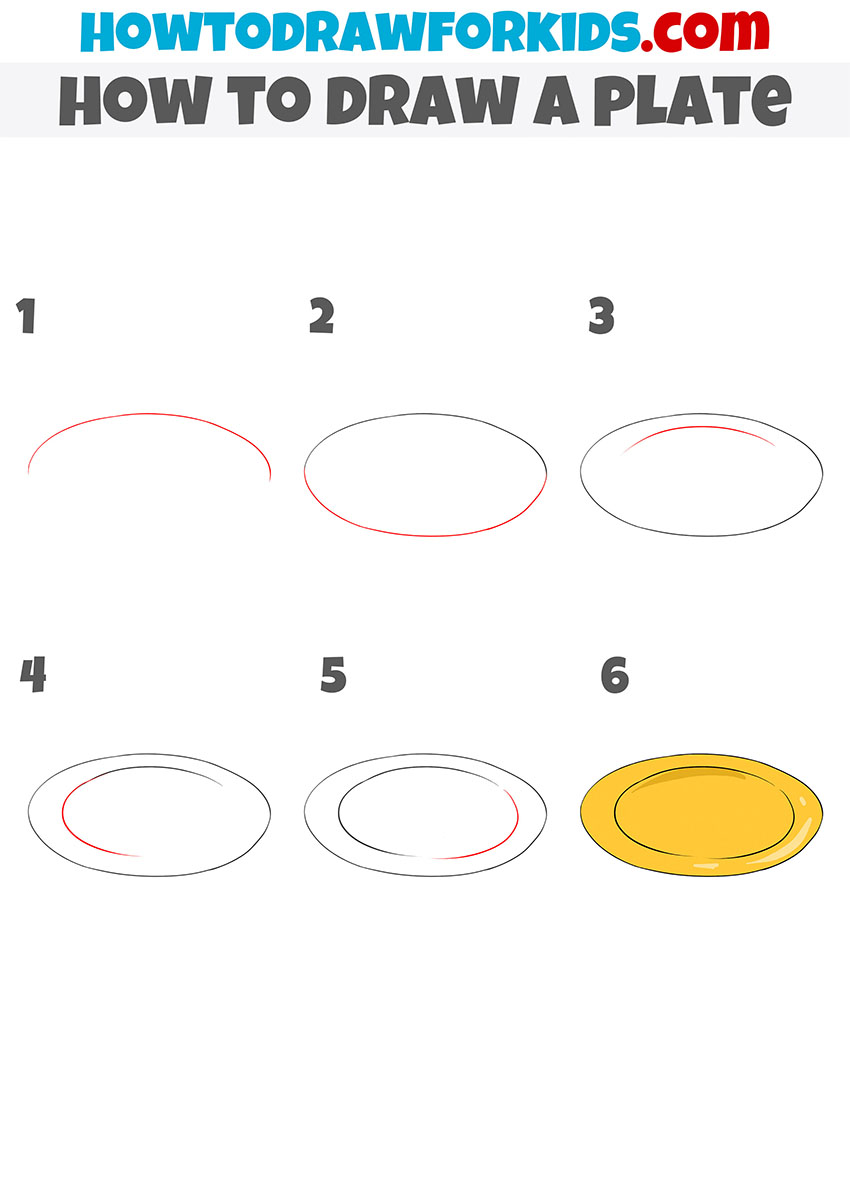
Easy Plate Drawing Tutorial
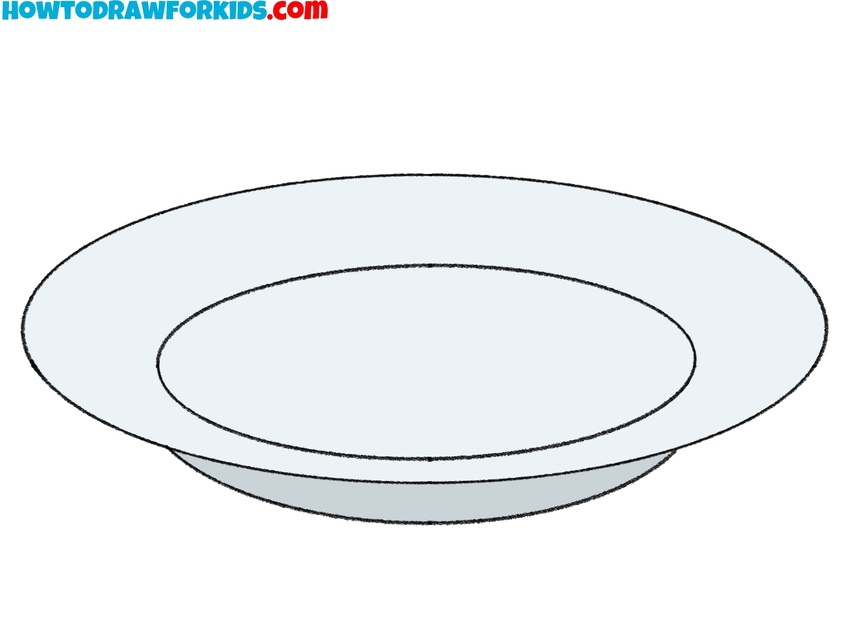
Sketch a smooth oval to outline the main form of the plate, checking that both sides are even. Add an inner oval inside the first one, leaving enough space between the two to represent the rim. Keep the lines light and smooth.
Erase any extra marks to leave a clean plate contour. For coloring, use a single tone like yellow, gray, or white, and add a few highlights to convey reflection.
Conclusion
The plate is ready! Everything turned out to be very simple. I hope this tutorial was interesting and useful for you. You can use the acquired skills whenever you want to draw a still life. For example, you can draw an avocado on the plate or draw a tomato if want to add a vegetable instead of a fruit. Show your imagination and try to draw different options.