How to Draw a Present Bow
In this drawing lesson, you will learn how to draw a present bow. This lesson is going to be simple, and it only consists of eight steps.
So, I am very happy to bring to your attention this useful and fascinating drawing lesson, in which I will tell and show you how to draw a present bow step by step. Any novice artist or child can easily cope with the implementation of this lesson.
You will need the ability to draw a present bow if you want to draw any gift, and then decorate your drawing with the image of a bow, which is presented in this instruction. You can also depict this bow as the main object of your drawing, or add it to a card you have drawn, a drawing of a Christmas tree, or some other picture.
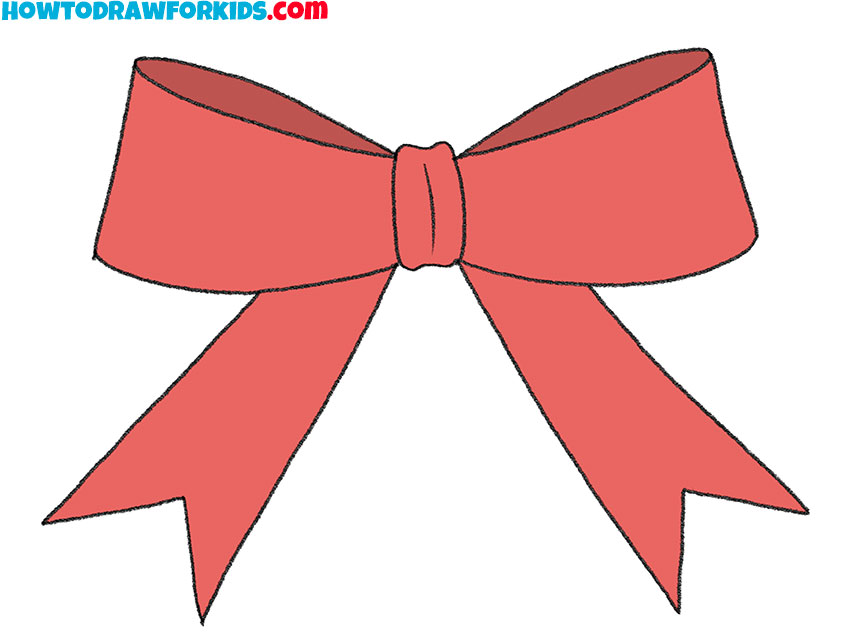
Surely you have seen present bows more than once as an element of present decor. The present bow is not a mandatory element of gift wrapping, but it is believed that absolutely everything is important in a good gift. Most often, red or gold bows are used for gift wrapping, as these colors look the brightest, attractive and festive.
Present Bow Drawing Tutorial
Materials
- Pencil
- Paper
- Eraser
- Coloring supplies
Time needed: 30 minutes
How to Draw a Present Bow
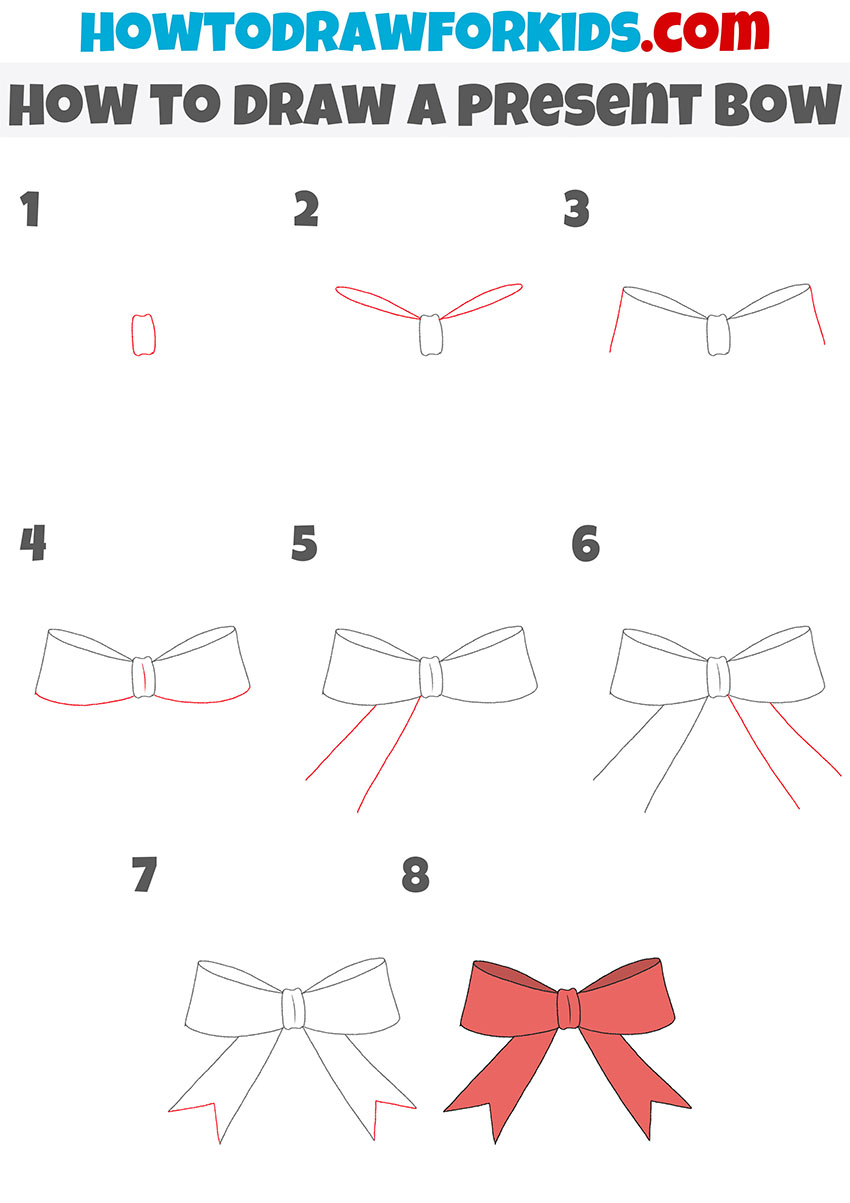
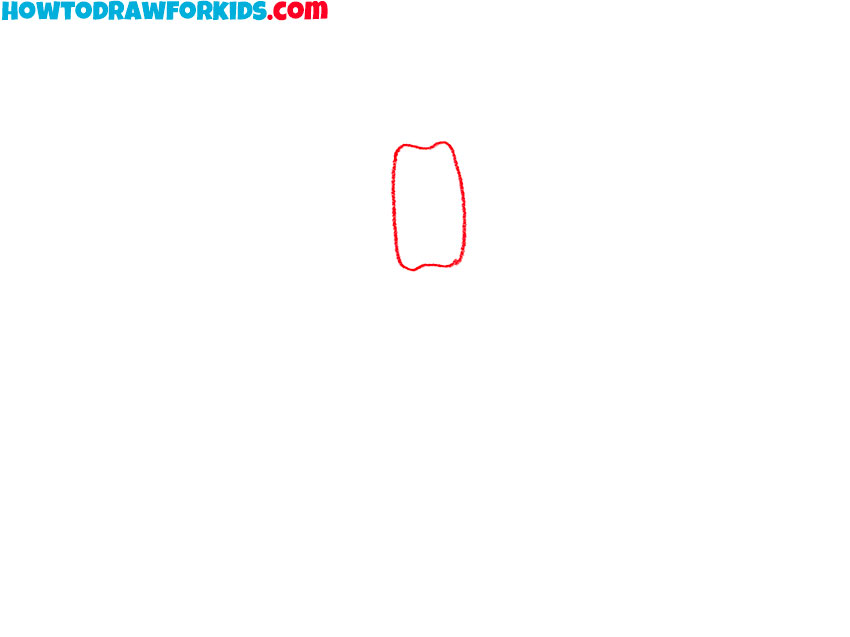
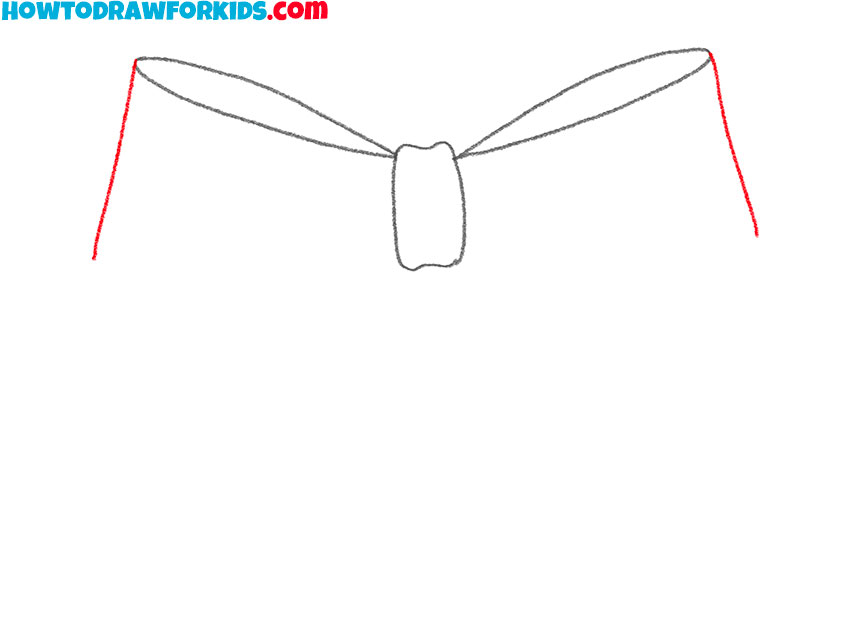
- Draw the outline of the present bow knot.
To complete this step, you need to depict the shape as shown in the image using a curved line.
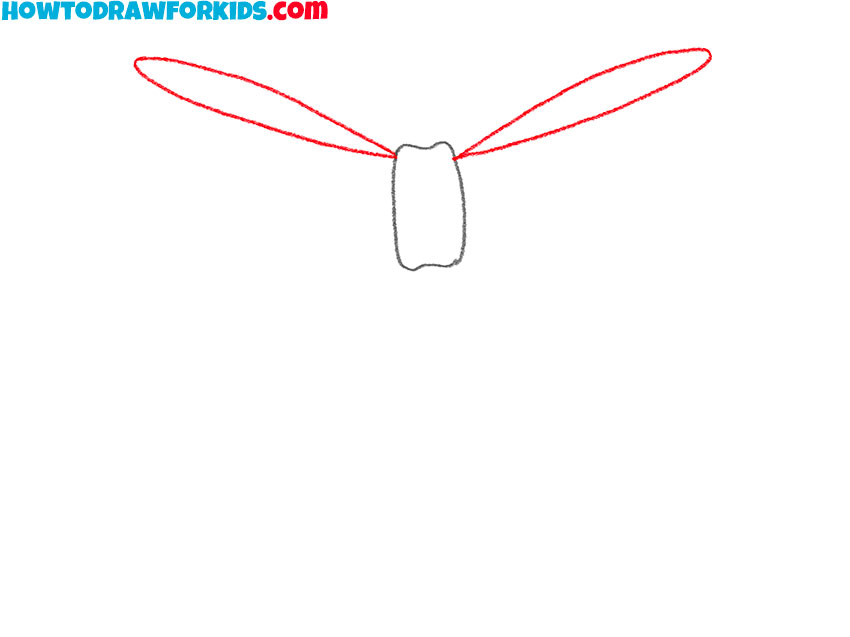
- Add the inner loop of the present bow.
On the right and left sides of the previously drawn shape, depict two loops using curved lines.
- Depict the side edges of the bow loops.
Near the previously drawn elements, draw down two symmetrical lines, as shown in the figure.
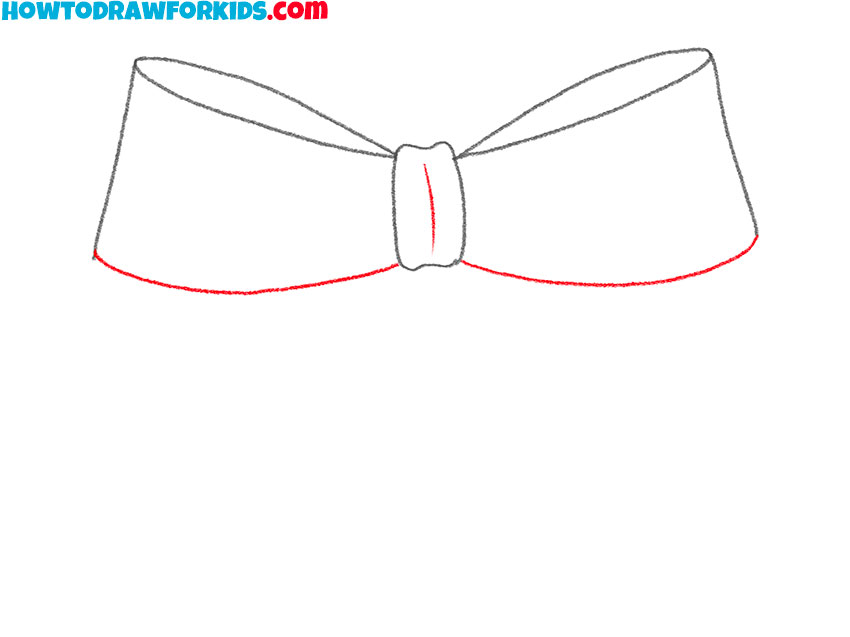
- Finish drawing the knot and outline of the bow.
Use two arcs to connect the side edges and the knot of the bow, and add a short line.
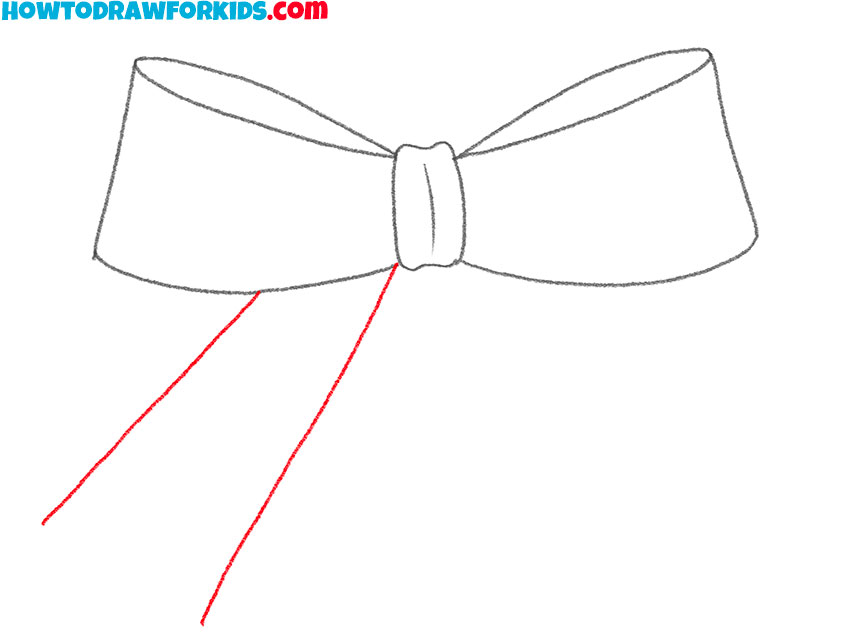
- Start drawing the outline of the ribbon.
Below the drawn bow, draw two straight lines to start drawing the free edge of the ribbon.
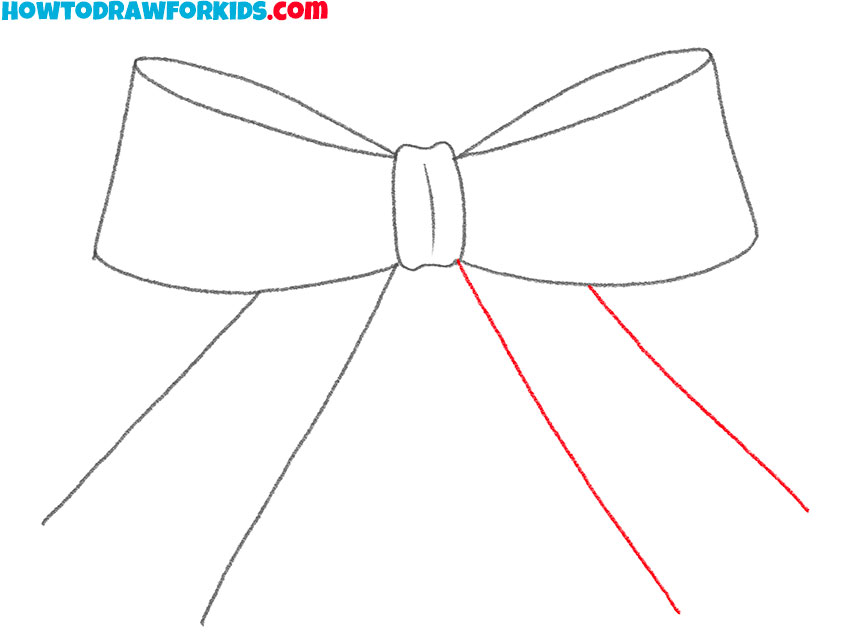
- Sketch out the second free edge of the tape.
Now you need to draw two lines similar to those drawn earlier, placing them on the right side.
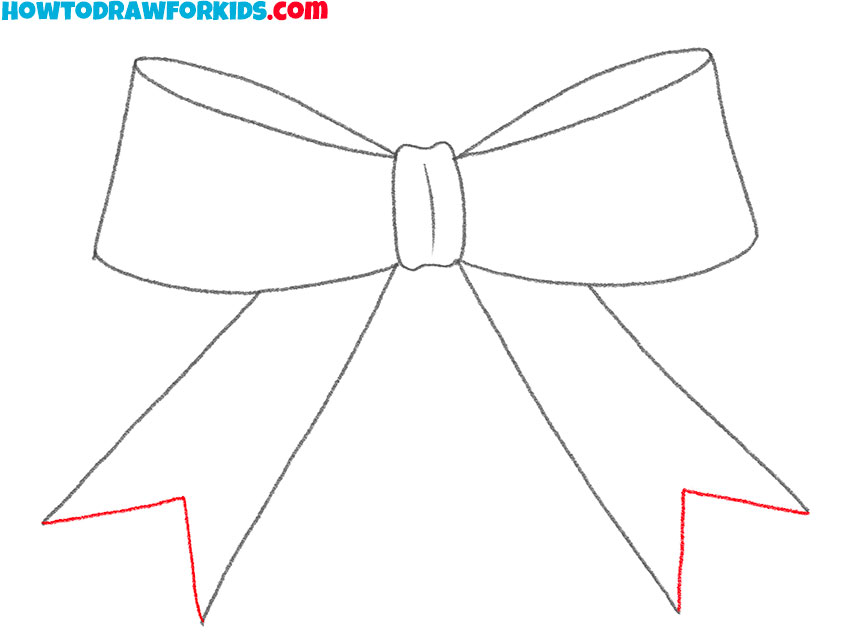
- Finish drawing the edges of the free ends of the tape.
To draw the pointed decorative ends of the bow ribbons, add straight lines at their free ends.
- Color the drawing.
To color the present bow, you should use red and burgundy colors.
You are done with this simple drawing lesson! Now you know how to draw a present bow step by step. On our site, you can find many other useful drawing lessons dedicated to depicting holiday-themed items. Leave your comment, so I know if you enjoyed this tutorial. You can also offer your ideas for future drawing lessons. Download the PDF file, which contains a short version of this lesson, as well as additional useful materials for you.