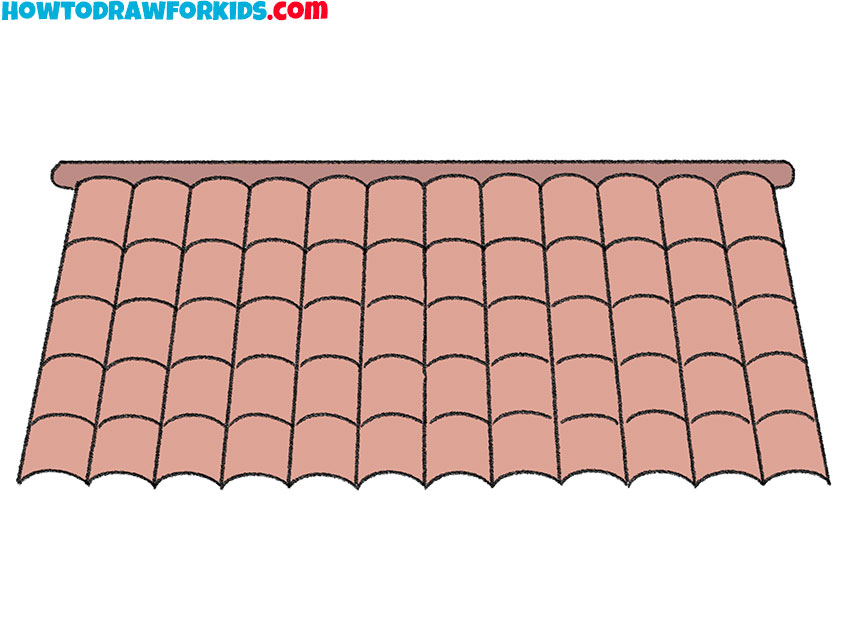
How to Draw a Roof
This drawing lesson will help you learn how to draw a roof step by step. This instruction will be useful for every artist.
So, I am glad to bring to your attention this wonderful and very useful drawing lesson, in which I will tell and show you how to draw a roof step by step.
I created this lesson specifically for beginner artists and children, so when you complete it, you will not encounter too complex elements. This lesson will help you to practice drawing straight lines and arcs, as well as adhere to the rules of symmetry and draw similar elements.
There is a roof on every house and edition. The roof is the upper structure of the building, which serves to protect against precipitation, rain and melt water. Its other main function is thermal insulation, that is, heat preservation and protection against overheating.
The top shell of the roof is called the roof. It must be waterproof. Roofs can have a different shape, be flat or with an attic. Also, the roof can be covered with various building materials. The appearance and strength of the roof depends on the selected coating.
Having learned how to draw a roof with the help of this step-by-step instruction, you can easily depict any house in the future, and then complete your picture with an image of a roof of the kind presented in this drawing lesson.
If you want your drawing to look perfect, then you can use a ruler to draw straight lines. Also, if you want to draw a house, you can paint the roof as shown in this tutorial, or get creative and paint it in any other color you want.
Roof Drawing Tutorial
Materials
- Pencil
- Paper
- Eraser
- Coloring supplies
Time needed: 30 minutes
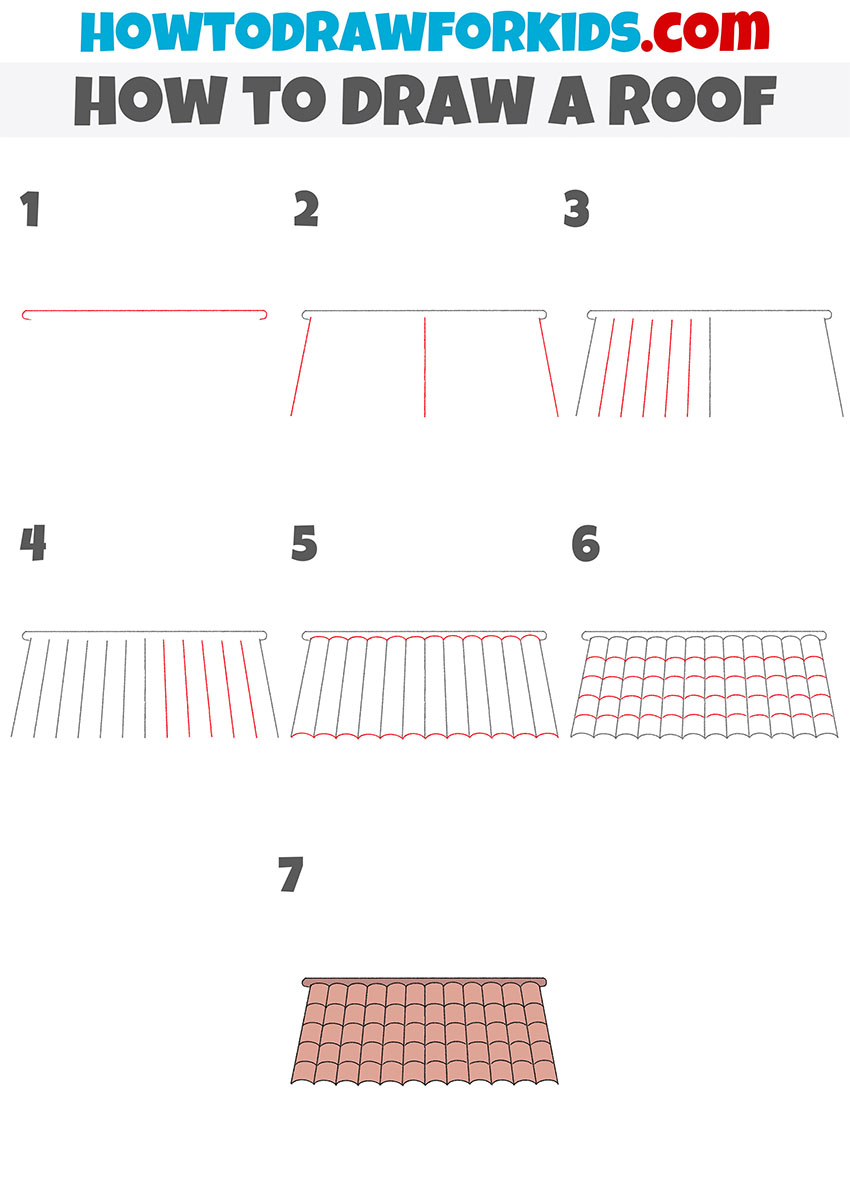
How to Draw a Roof
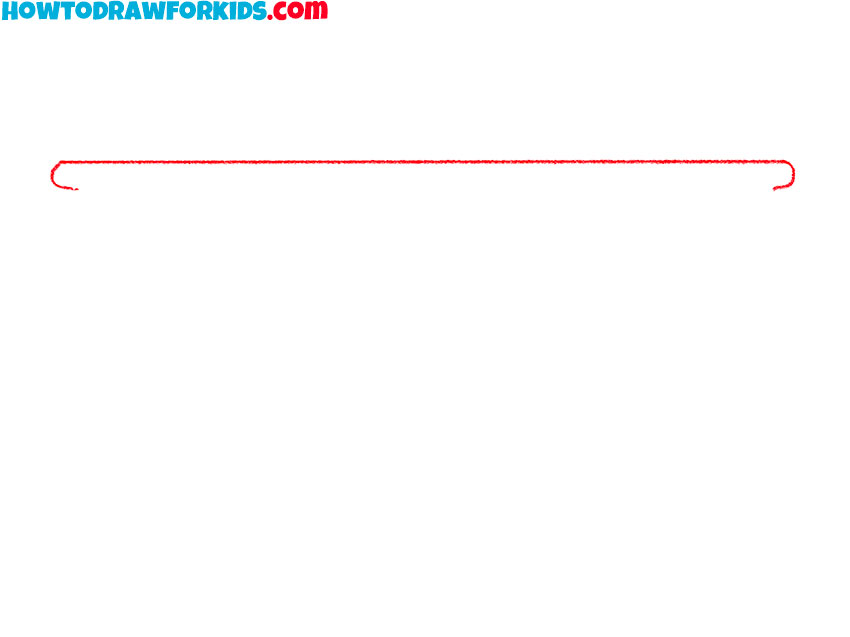
- Draw the top of the roof.
You need to draw one straight horizontal line and add arcs around the edges.
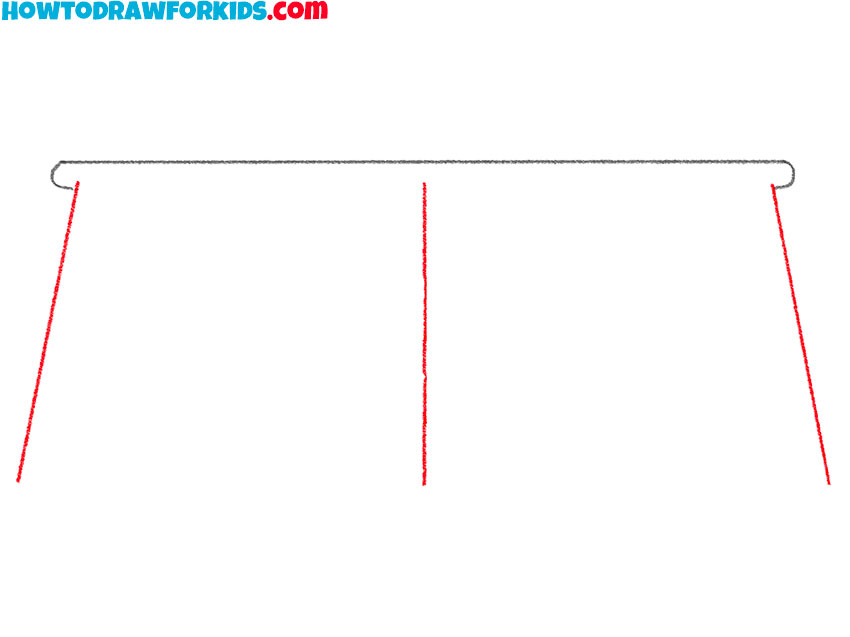
- Add the side edges of the roof and the line of symmetry.
From the ends of the drawn arcs, draw two straight lines, and add a straight line between them.
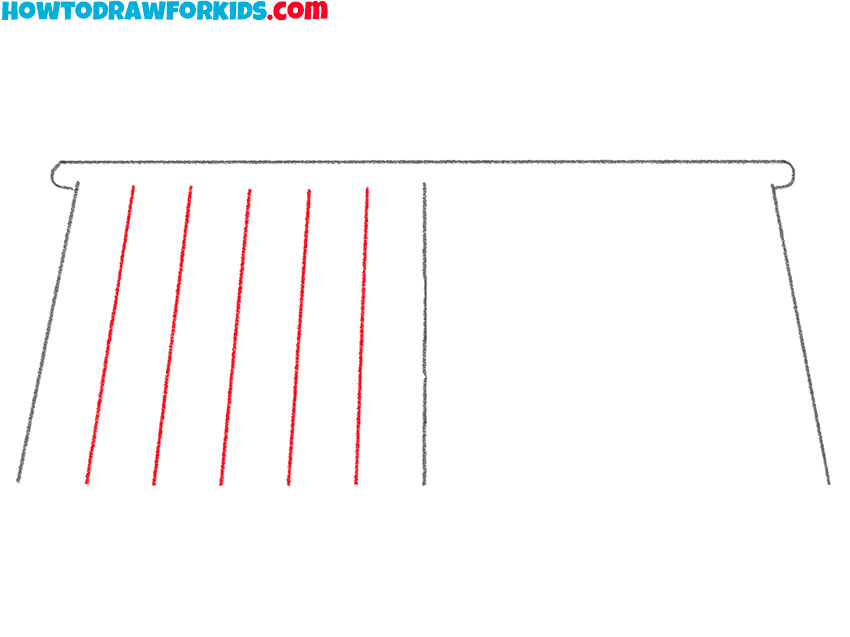
- Start drawing the elements of the roof covering.
Between the two previously drawn straight lines, draw several straight lines of the same length.
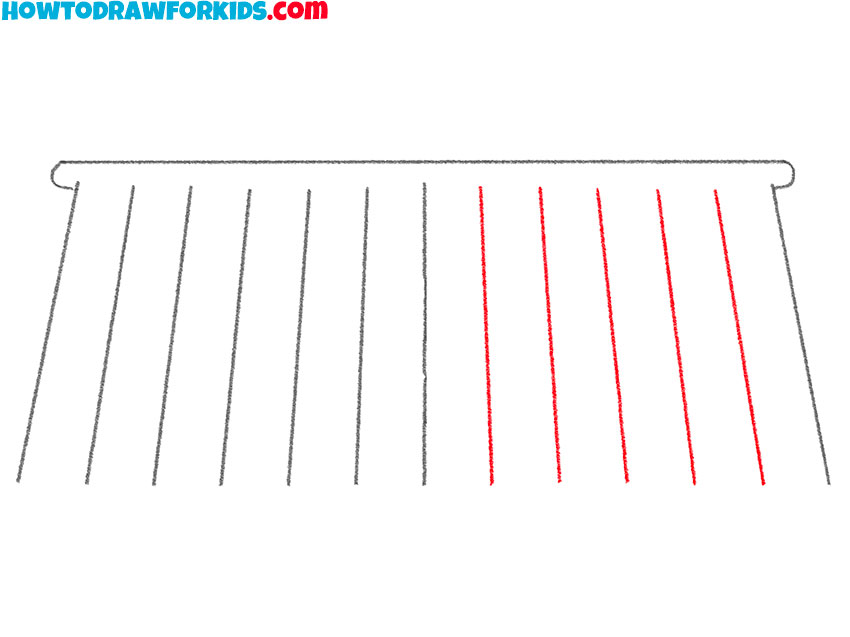
- Add some more roof elements.
You should draw a few more straight lines, placing them between the side and center lines.
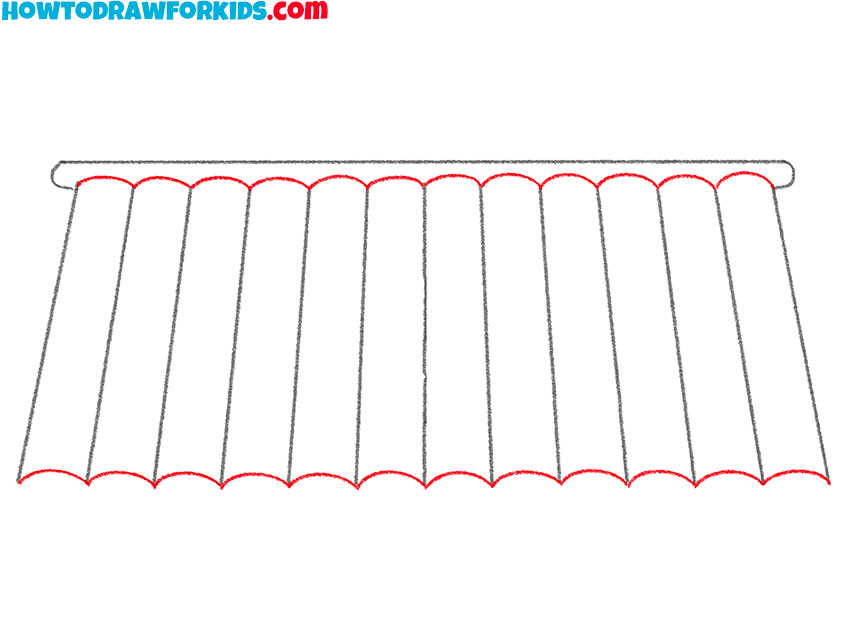
- Finish drawing the top and bottom of the roof.
Draw many arcs to connect the previously drawn lines at the top and bottom ends with them.
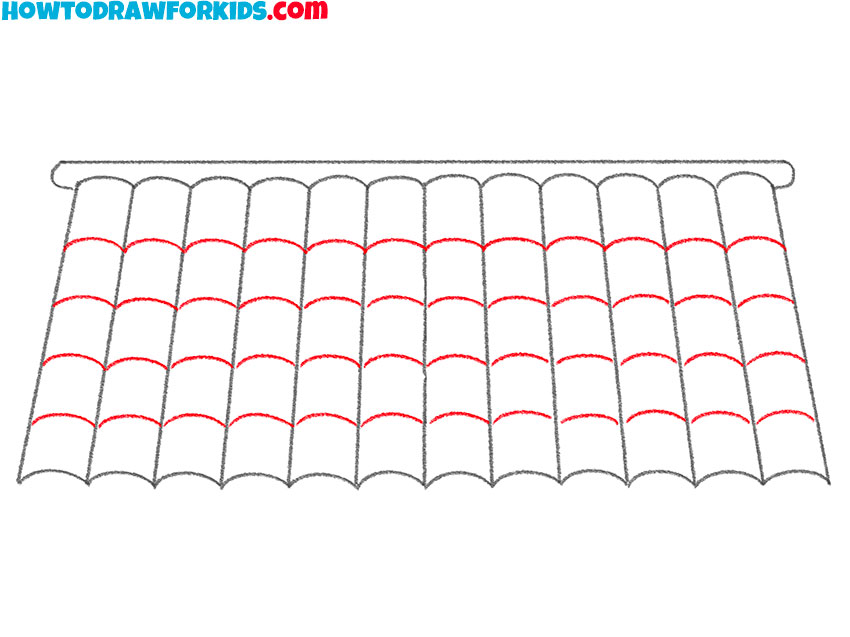
- Finish drawing the roof covering.
Now you should add many more arcs of the same length, arranged in four rows.
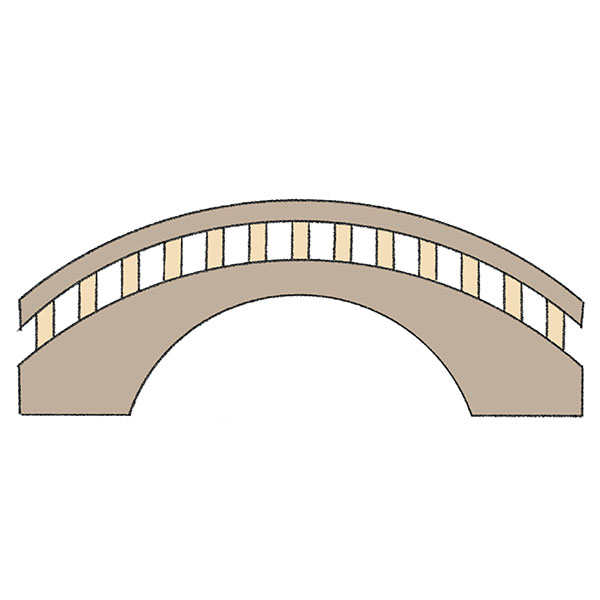
- Color the drawing.
To color the roof you’ve drawn, use different shades of brown.
For your convenience, I have prepared a PDF file that contains all the useful information from this lesson, as well as additional practice materials that will help you develop your artistic abilities. You can download this file right now, so you don’t lose it in the future, and return to this tutorial even without an internet connection.