How to Draw Rain
Welcome to a delightful and cute tutorial on how to draw rain. Learn to sketch clouds and raindrops with simple steps.
How to Draw Rain: Basic Information
I often say that it is important to know how to draw various elements of nature, and rain is a particularly valuable subject. Drawing rain can boost your art skills by improving your understanding of texture and atmosphere.
When drawing rain, there are several key aspects to consider. First, the shape and layering of clouds are crucial for creating depth and realism. Understanding how to vary the raindrop lengths and angles can simulate the natural variety of a rain shower, adding authenticity to your work.
Additionally, color gradation within the clouds helps to convey a three-dimensional form, while directional rain can imply wind within the scene.
In addition to the main tutorial, this page provides two alternative methods for drawing rain. I will also discuss advanced techniques and ways to incorporate your rain drawings into more complex landscapes and compositions.
Rain Drawing Tutorial
Materials
- Pencil
- Paper
- Eraser
- Coloring supplies
Time needed: 20 minutes
How to Draw Rain
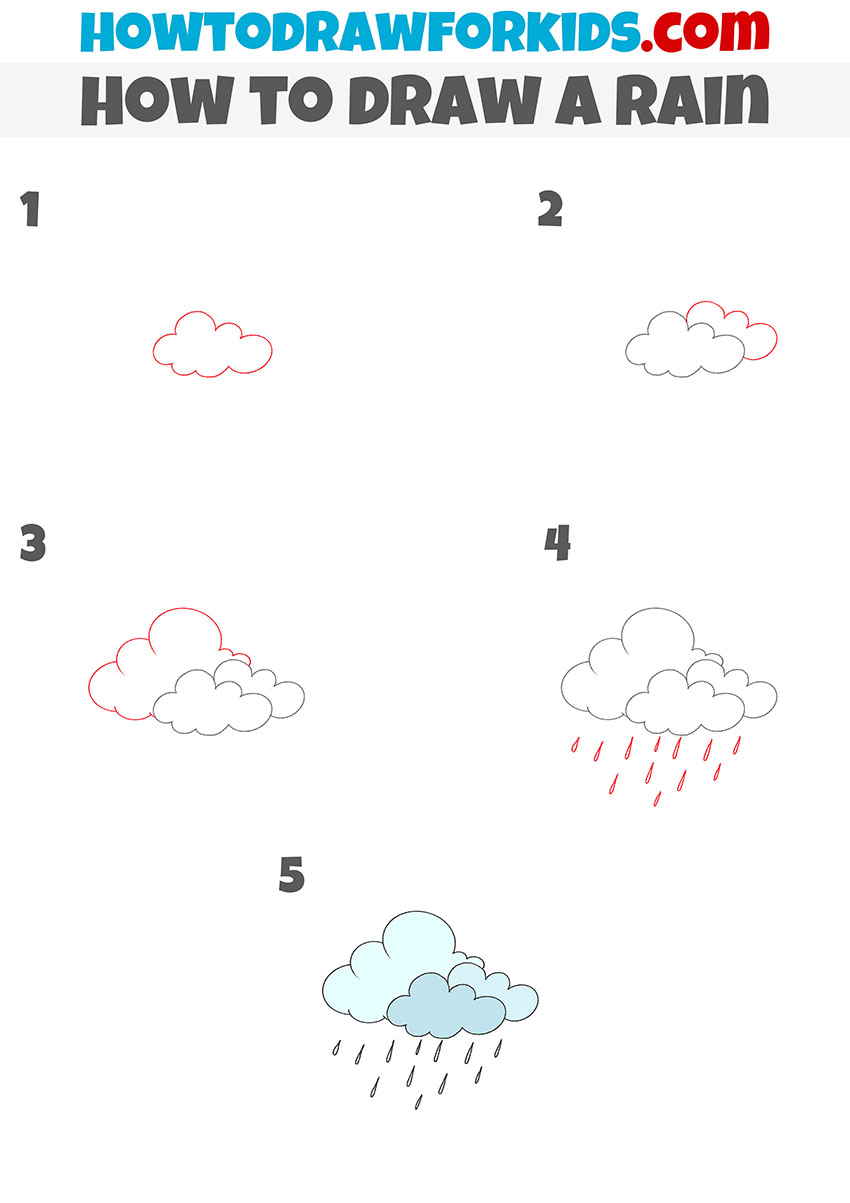
- Draw the first rain cloud.
Begin by drawing the outline of a small, fluffy cloud in the center of your page. Use smooth, curved lines to create the cloud’s puffy appearance, making sure the lines are rounded and soft to mimic the natural shape of a cloud. This initial cloud will serve as the base for the rest of your drawing.

- Add another cloud.
Next, draw a second cloud partially overlapped by the first one. This cloud should be of the same size. Use the same rounded, puffy lines as you did for the first cloud. Position the second cloud so that it sits slightly behind the first, creating a layered effect.

- Add the largest cloud.
To complete the cluster of clouds, draw a third, even larger cloud overlapping the first two. Place this third cloud above and behind the initial clouds, using the same soft, rounded lines. This cloud should give the impression of being the largest and most dominant in the group.

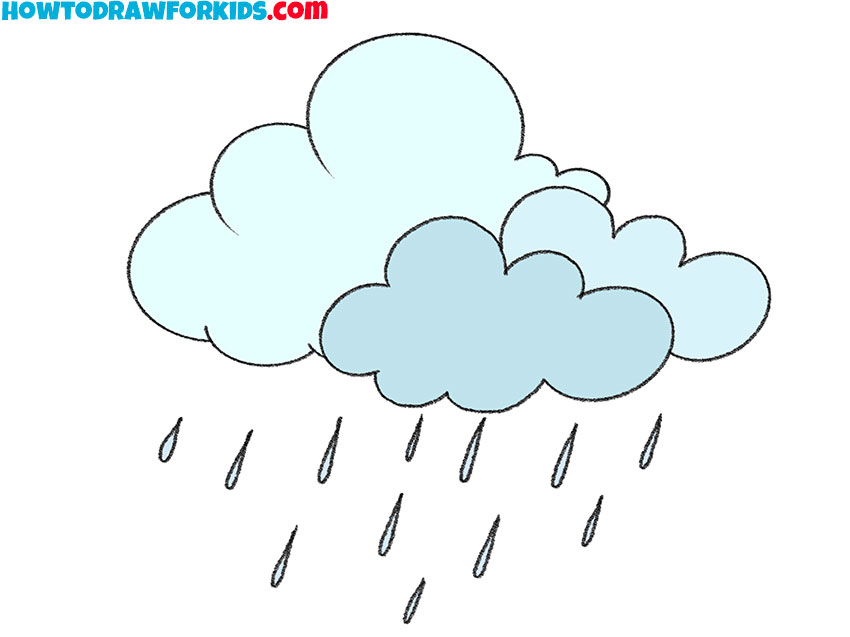
- Draw the raindrops.
With the cloud cluster complete, it’s time to draw the rain. Below the clouds, draw several raindrops falling in vertical lines. Each drop should be teardrop-shaped, with the pointed end facing upwards. Vary the sizes and positions of the raindrops to make the rainfall appear more natural.

- Color the rain drawing.
Use light shades of blue or grey to color the clouds, giving them a soft, fluffy appearance. For the raindrops, use a slightly darker or lighter shade of blue to distinguish them from the clouds. Apply the color lightly, ensuring it stays within the lines.
Additional Content
To build on the skills you’ve just learned from drawing rain, I have prepared a free PDF file for you. This condensed version of the lesson is now yours to use anytime, available even without internet access. It is filled not with steps, but with additional materials aimed at developing your drawing skills further once you’ve grasped the basics.
Inside this PDF, you’ll find a series of drawing exercises designed to train your ability to depict simplified but natural elements. This collection of tasks stimulates you to observe and replicate various forms of precipitation and the clouds that surround them, each aimed at strengthening your new skills.
Consider this PDF an extension of this tutorial, a tool that will assist you in practicing and perfecting the art of depicting weather in your drawings.
How to Draw Rain: Alternative Techniques
I’ve also created two simple alternative techniques for drawing rain. These techniques focuse on the fundamentals, using basic shapes and lines to help beginners practice without the pressure of perfection.
These new methods help to train repetition and rhythm, the key elements that give the impression of rain. This is a great way to develop muscle memory for drawing natural elements.
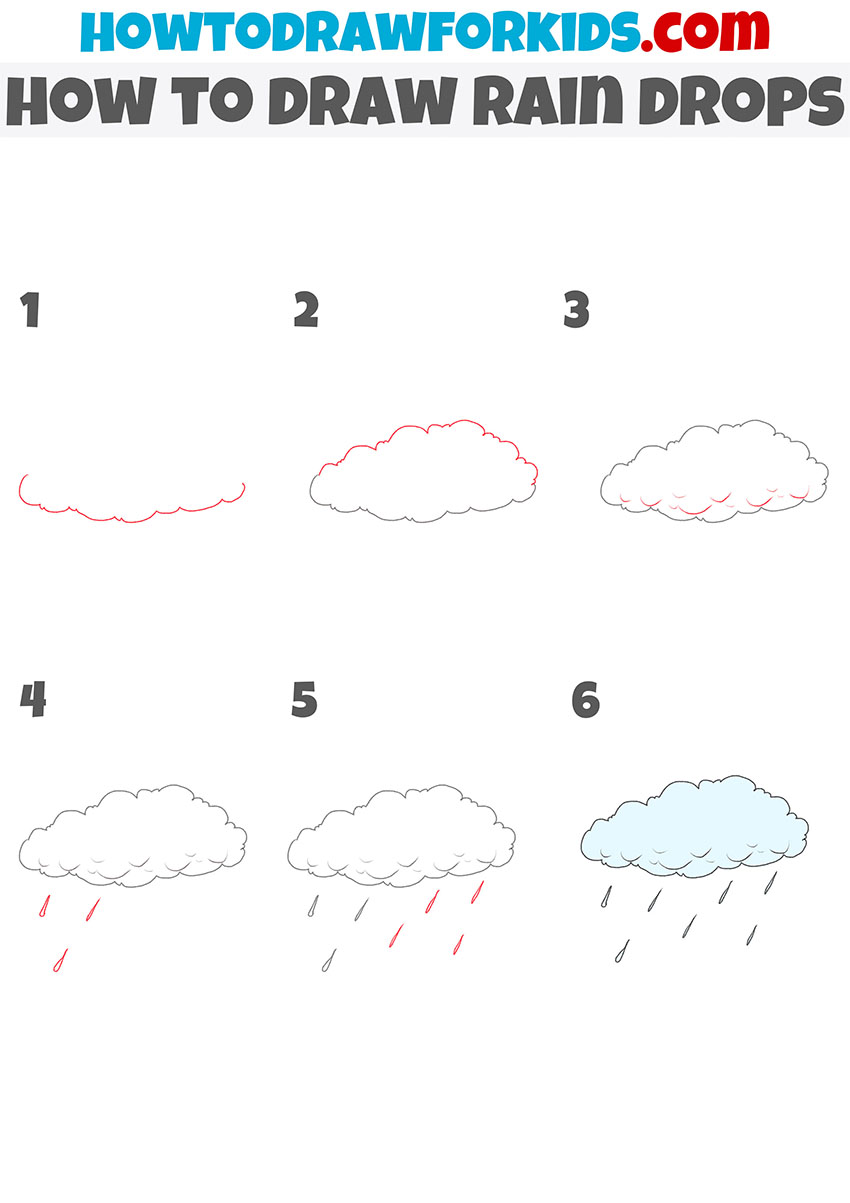
How to Draw Raindrops
This is an additional tutorial designed to complement the first one on how to draw rain. While the initial tutorial focused on creating a detailed and layered cluster of clouds with raindrops, this one simplifies the layering but makes the cloud more detailed.
To start, draw a simple, wavy line to form the bottom of the cloud. Next, build upon this by adding the top part of the cloud, using rounded, fluffy shapes. Then, add smaller curves inside the cloud to give it texture and depth. Following this, draw several raindrops falling from the cloud. Ensure they are teardrop-shaped and vary in size for a natural look.
Continue by adding more raindrops, filling the space below the cloud evenly. Finally, color the cloud in light shades of blue or grey and the raindrops in a darker blue to complete your drawing.
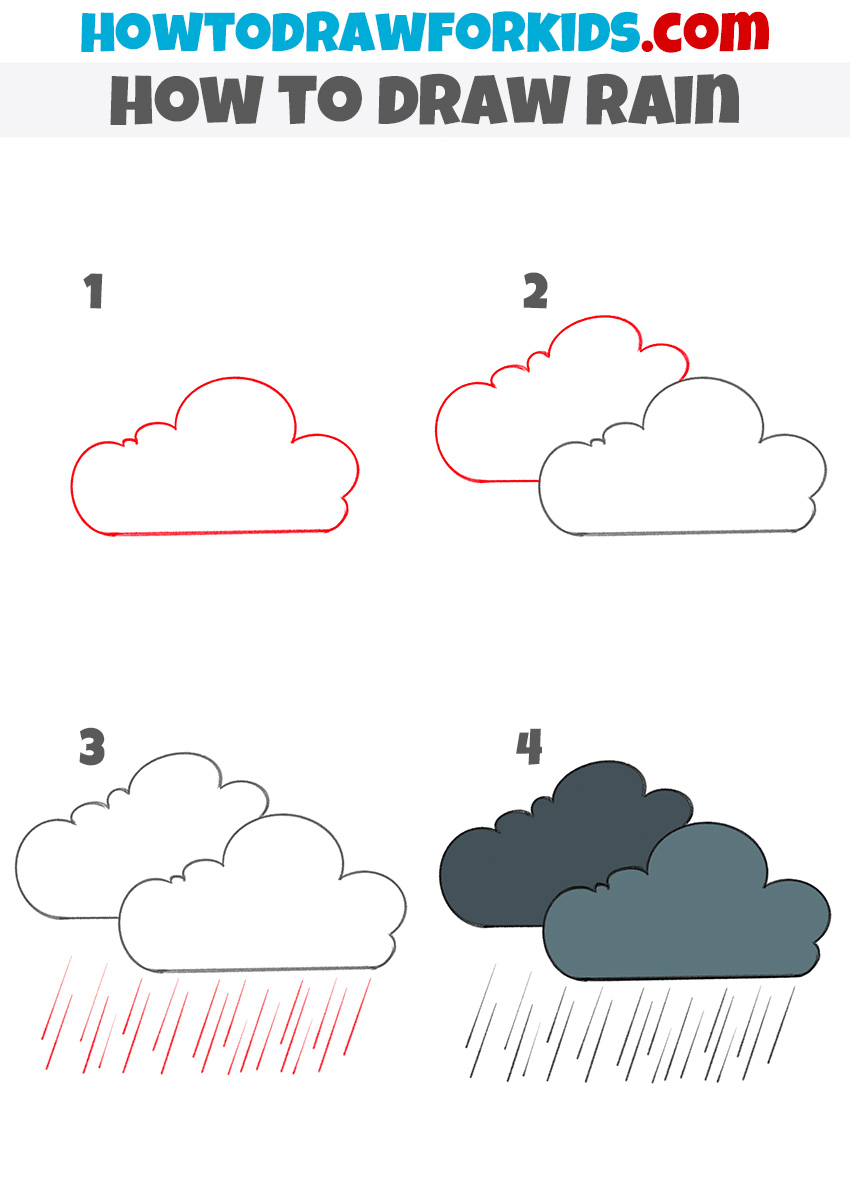
How to Draw Rain for Kindergarten
For our little learners in kindergarten, I’ve put together a four-step process to draw rain. Step one begins with a single fluffy cloud, using just three simple bumps to create its outline. It’s a fun way to start and gets children comfortable with creating the basic shapes that form the basis of our rain scene.
As we move to step two, we add another cloud behind the first, slightly larger to give a sense of depth. This is where our young artists begin to learn about layering and how it can add dimension to their drawings. Each cloud is like a soft pillow in the sky, waiting to be filled in with color.
By step three, we bring the clouds to life with streaks of rain. The children draw straight lines cascading down, practicing their hand control and linearity. And in the final step, we color our clouds and rain, teaching the little ones about color choices and how they can change the mood of their artwork.
How to Draw Rain: Advanced Strategies
In concluding our session on sketching rain, it’s important to train your skills more. Here are some advanced insights to add complexity and feeling to your rainy compositions.
Creating a dynamic and voluminous sky begins with stacking various cloud shapes. By layering different cloud forms, you can achieve a sense of depth, adding realism to your artwork. This technique mimics the natural appearance of clouds floating at different altitudes in the atmosphere.
Incorporate variation in your raindrops to simulate a natural rain shower. Use a mix of short and long lines to represent different raindrop sizes, creating a more lifelike depiction. This variation adds realism and makes your rain scene more visually interesting.
To create a three-dimensional form, start with light hues at the top of your clouds and gradually transition to darker tones at the base. This gradation technique mimics the way light interacts with clouds in the sky, giving them a more realistic and volumetric appearance.
To convey the presence of wind and movement within the storm, add slight angles to your raindrops. This directional approach shows the influence of wind and adds a dynamic element to your sketch, making the rain appear more animated.
Incorporate shadows beneath the clouds to indicate the position of the sun and add more the three-dimensional effect. Shading adds depth and contrast, making the clouds appear more substantial and realistic. It also helps to ground your clouds within the scene.
Rain Scenes for Artistic Expression
To add more variety to your rain drawings, consider experimenting with different backgrounds. Each setting can bring a unique atmosphere and context to your artwork. Here are some background ideas to inspire your rainy scenes:
- Draw a city skyline with buildings and streetlights reflecting off the wet pavement. Add a few people with umbrellas to depict a rainy night in the city.
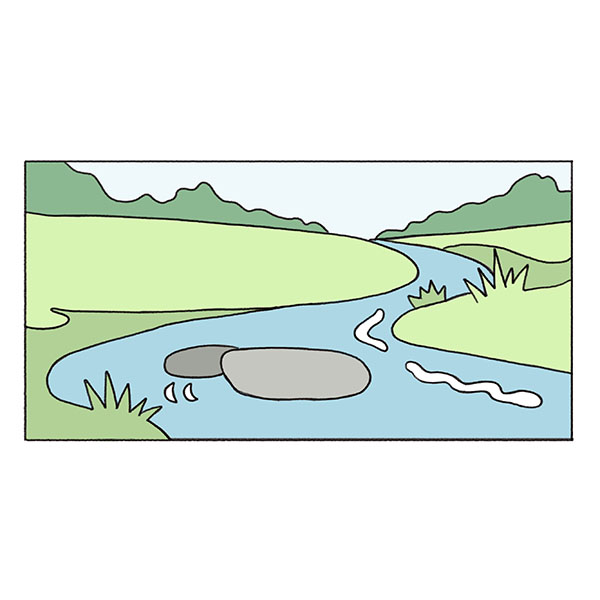
- Sketch rolling hills with a cottage among trees. Rain falls on the landscape, creating puddles and streams, with a path leading to the cottage.
- Draw a shoreline with waves and sand. Palm trees sway in the wind, and raindrops create ripples in the water. A beach umbrella stands out against the scene.
- Depict a cobblestone street with old buildings. Rainwater flows down gutters, and shop signs hang over the sidewalk. A few people walk along, adding movement to the scene.
- Draw a forest with a small clearing. Rain drips from leaves and collects in a pond. A deer stands at the edge, drinking from the water.
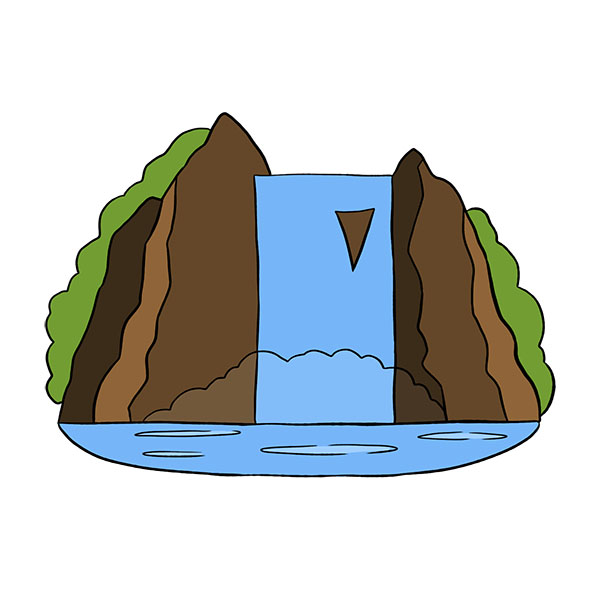
- Illustrate mountains with mist and clouds. Rain falls heavily, creating waterfalls on the cliffs. A cabin with smoke rising from its chimney sits in the foreground.
Conclusion
In this tutorial, you learned how to draw rain with detailed steps, including layering clouds, varying raindrop lengths, and adding color gradation. You also learned how to create different background ideas to make your rainy scenes more interesting.
If you enjoyed this tutorial, please share it with your friends and on social media. Don’t forget to subscribe to my social media for more drawing tutorials and tips. Also leave your comments, questions, and suggestions below.