How to Draw a Ship
How to draw a ship? If you’re having difficulty with this, don’t worry; I am here to assist you with a few really simple methods.
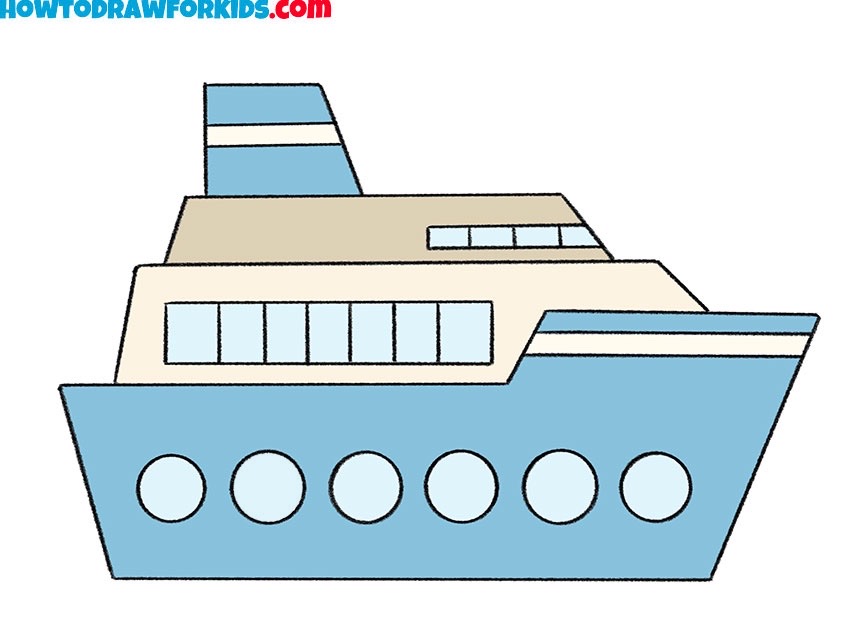
How to Draw a Ship: Introduction
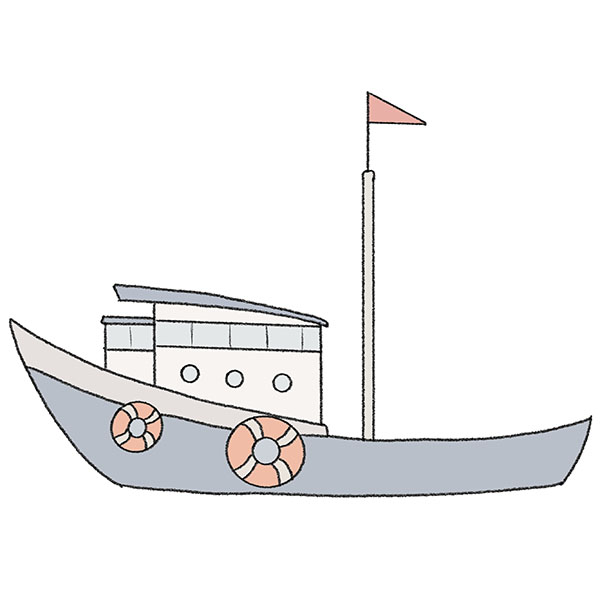
In this lesson, we will lear how to draw a ship. Ships have recognizable features that make them both challenging and interesting to illustrate. For example, take a look at the pipes – these emit powerful steam, a characteristic of many large ships. Then, there’s the hull, sometimes referred to as the “belly” of the ship. This part is typically large and sturdy, designed to cut smoothly through vast bodies of water, whether in the sea or the ocean.
Let’s get comfortable and spend the next 20-30 minutes drawing a ship – huge, beautiful, and powerful. And you don’t need to be intimidated by a lot of details. It will be more interesting with them.
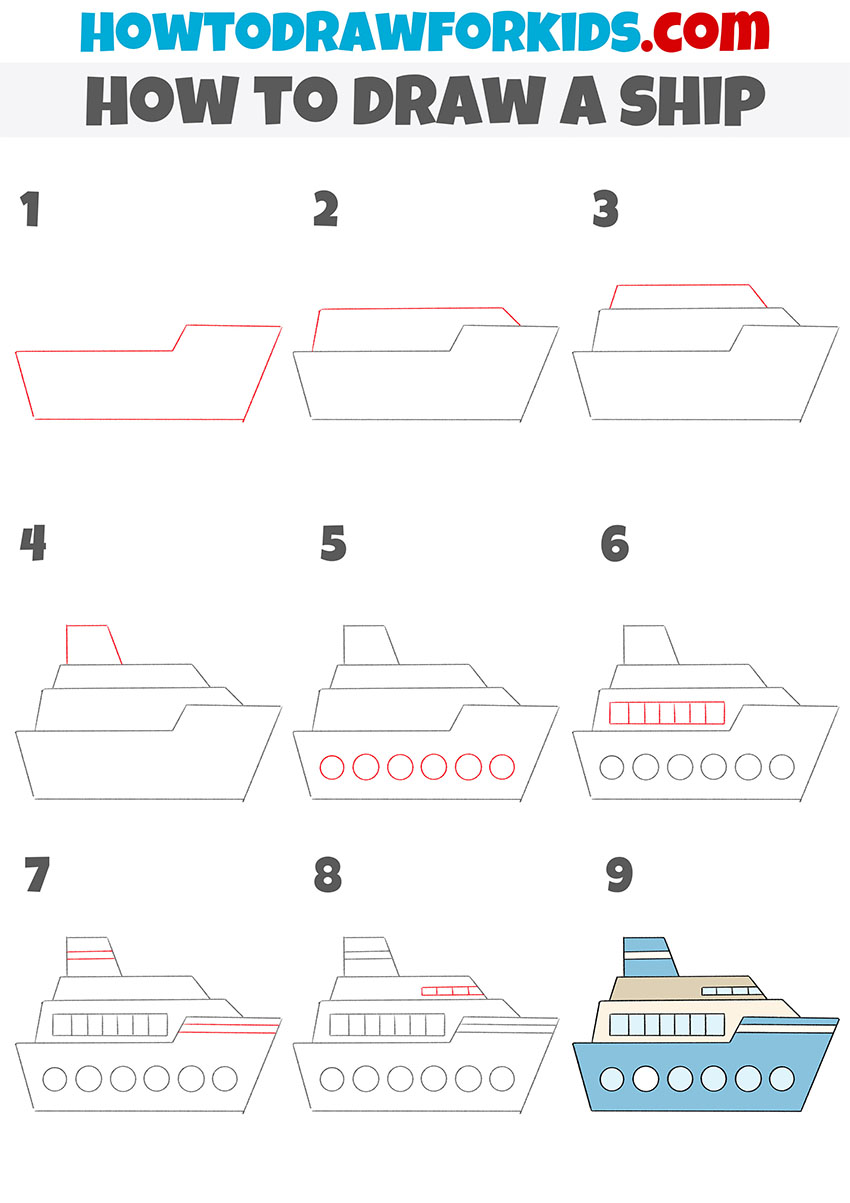
To teach you how to draw a ship, I have used a few simple methods. First, I will guide you through a basic tutorial where you will draw a simple ship in a slightly cartoonish style. After that, I will present three additional methods, each providing a different approach and displaying the ship in a distinct style.
If you’d like a copy of this tutorial to use at a later time, there is a downloadable PDF file available at the end of this guide. This file contains all the steps needed to draw a ship, allowing you to revisit the lesson whenever you need a refresher.
Ship Drawing Tutorial
Materials
- Pencil
- Paper
- Eraser
- Coloring supplies
Time needed: 30 minutes
How to Draw a Ship
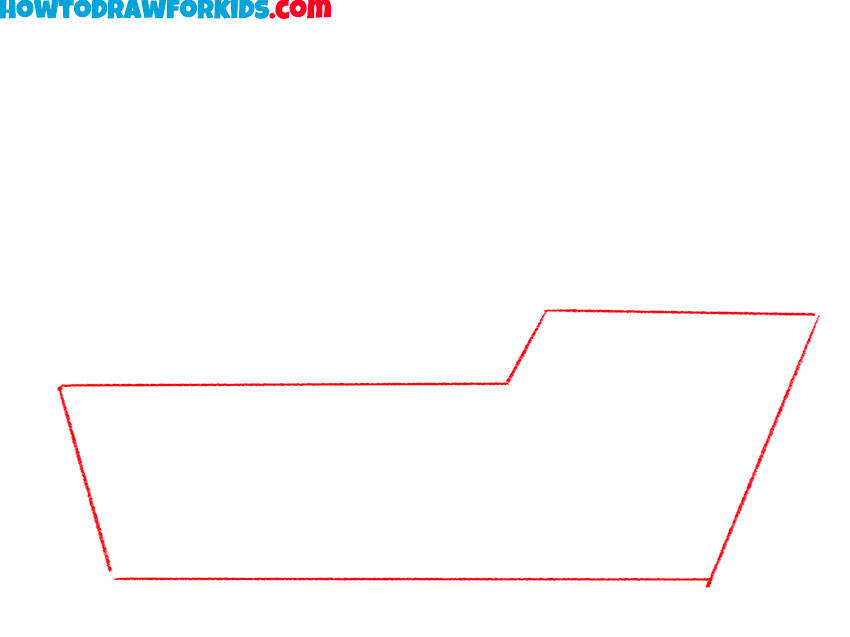
- Draw the base of the ship.
Begin drawing the ship with the main base shape of the vehicle, which forms the hull, or the “body” of the ship. In this step, draw a long, slightly rectangular shape with a slanted line on the right side to create the front part of the ship. This will serve as the foundation of your ship drawing.
- Illustrate the middle deck.
In this step, add a rectangular shape above the hull to form the main upper structure of the ship. This part will represent the middle deck, where most of the ship’s rooms areas are located. Draw a smaller rectangle directly above the main body, slightly offset to add a natural effect to the ship’s structure.

- Build the top deck of the vehicle.
Now, add another layer on top of the previous structure, which will represent the top deck of the ship. Draw a smaller, slightly narrower rectangle, aligning it above the previous layer. The body and decks will later be detailed with more features, but for now, just create correct outlines of these parts.

- Draw the chimney of the ship.
Next, add a simple rectangular shape at the back of the ship’s top deck to create the chimney. The chimney, or funnel, is a key feature on many ships, used to release steam or exhaust. Place it near the upper deck to show its position above the main body of the ship.

- Add the portholes.
In this step, draw a series of circular shapes along the side of the hull to represent the ship’s portholes. These small, round windows are typical features on ships, allowing light and air into the cabins below deck. Place them in a straight line along the hull, keeping the circles smooth and round to create a neat look.

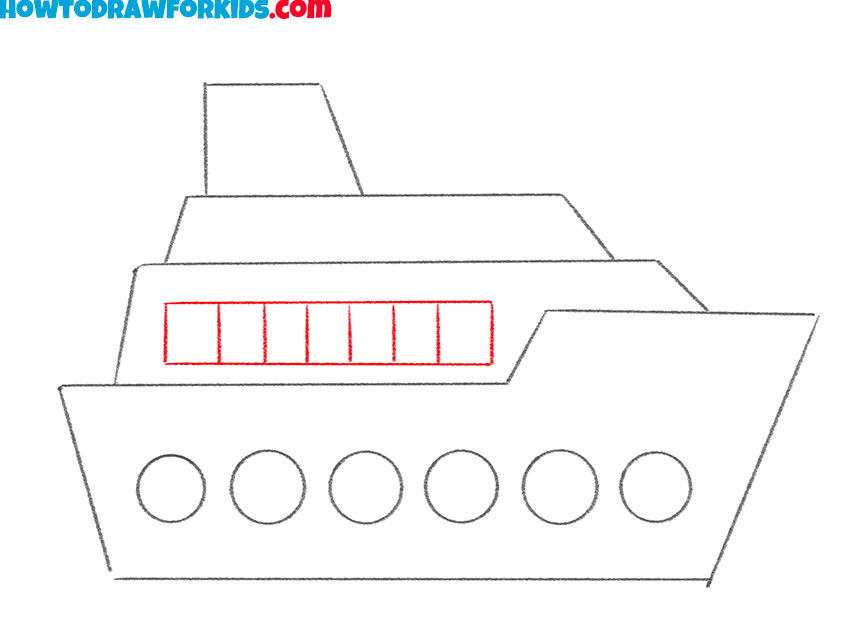
- Draw the windows of the middle deck.
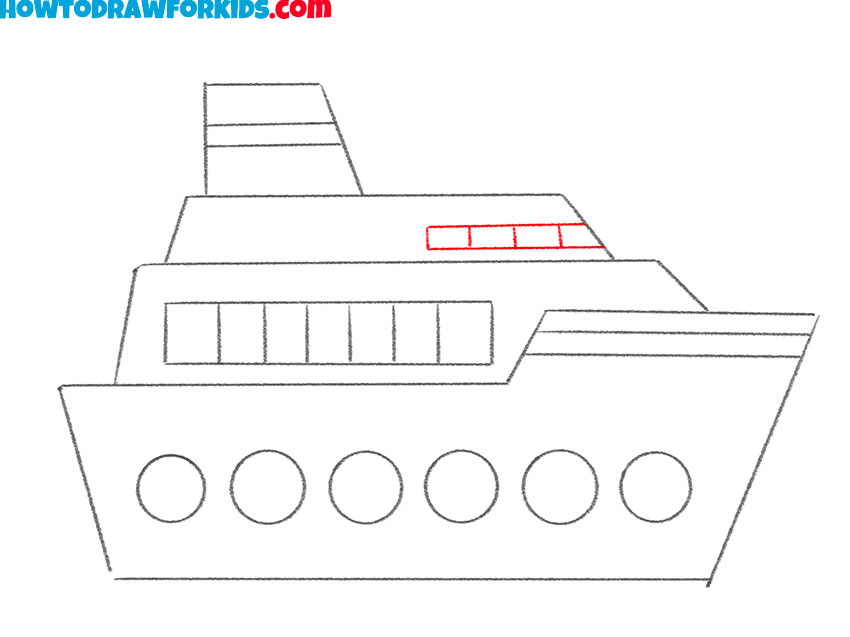
Add a series of rectangular windows on the upper deck of the ship to represent the rooms of the ship. To draw this part of the ship correctly, first draw two parallel horizontal lines. Next, draw a series of short vertical lines, equally spaced, to complete the detailing of the ship’s window section.
- Detail the chimney and front part.
Now, draw some horizontal lines across the chimney to give it additional detail and make it look more realistic. These lines can represent layers or rings around the chimney, which are common in ship designs. Next, draw a couple of similar lines on the front of the ship’s body .

- Draw the windows on the top deck.
In this step, add a few more details to the upper deck by drawing another small shape, such as windows for the control room area. Also, go through the entire drawing of the ship, finding and correcting mistakes, as well as adding any details you wish.
- Color the ship.
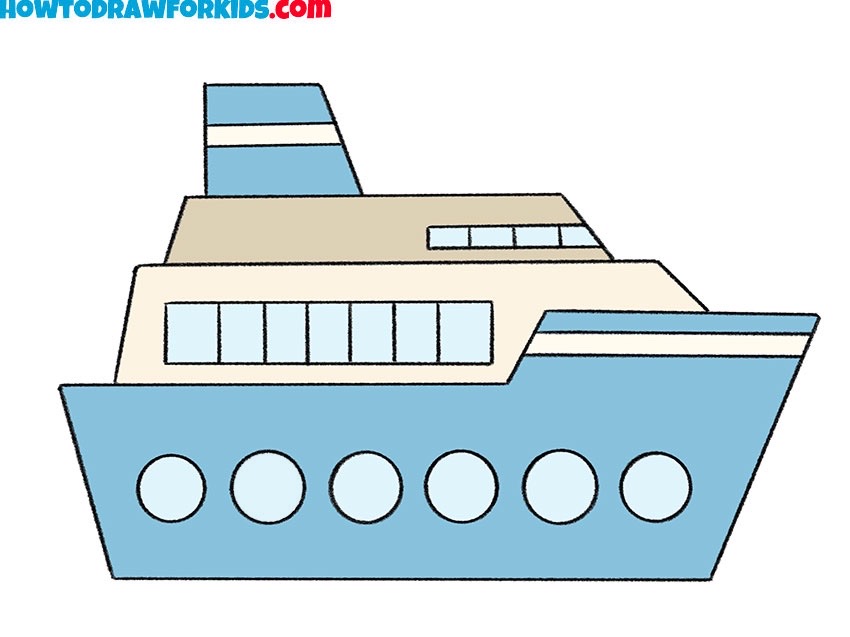
Use shades that represent the typical colors of a ship – blue for the hull, gray or white for the upper structure, and any additional colors for windows and the chimney. But of course, the colors I have presented are just examples, you are free to use any other color combination.
Additional Content
Here is the traditional PDF file with additional materials for this lesson on drawing a ship. In it, alongside the steps of the lesson, you will find a coloring page, a tracing worksheet, and a grid drawing grid. These materials, like the lesson itself, are created in a simple style to help you reinforce your skills and have an enjoyable time.
How to Draw a Ship: Additional Tutorials
So, the basic lesson of drawing a ship is mastered, and it’s time to move on to additional techniques and styles. Each of these additional instructions provides a completely different approach to learning. In the first one, you will see a ship on the water, then I will show you how to draw a ship with a sail, and at the very end I will demonstrate to you the easiest way for the youngest and most inexperienced artists.
Alternative Ship Drawing Technique
This tutorial on how to draw a ship differs from the first in its approach to details and the overall shape of the ship. While the first tutorial focused on drawing just a ship, this one adds elements such as waves below the ship, an anchor, and a three-pipe chimney, giving the drawing a slightly more realistic feel. This tutorial also uses curved lines and details, which make the ship look bulkier and more stylized compared to the sleeker design in the first tutorial.
To draw a ship in this technique, begin with a curved line for the waves, forming a base for the ship. Draw the main shape of the ship above it, with a slanted front for a realistic look. Add circular portholes along the side and draw an anchor on the front for extra detail.
Next, add a rectangle above the main body to create the upper deck, followed by another layer for the control room. Draw small windows on the upper deck, adding more details to the ship’s structure. Finish with three rectangles at the top to represent the ship’s chimney pipes. Finally, color the ship with desired shades.

How to Draw an Easy Ship With a Sail
This tutorial on how to draw an easy ship differs from the first two tutorials by focusing on a simple sailboat design rather than a larger vessel with multiple decks, portholes, and chimneys. It shows the basic shape of a boat and sails, making it a more simple and minimalist approach suitable for beginners. Unlike the previous designs, which involved several structural details, this easy ship tutorial is centered around creating an easy, classic sailboat with clean lines.
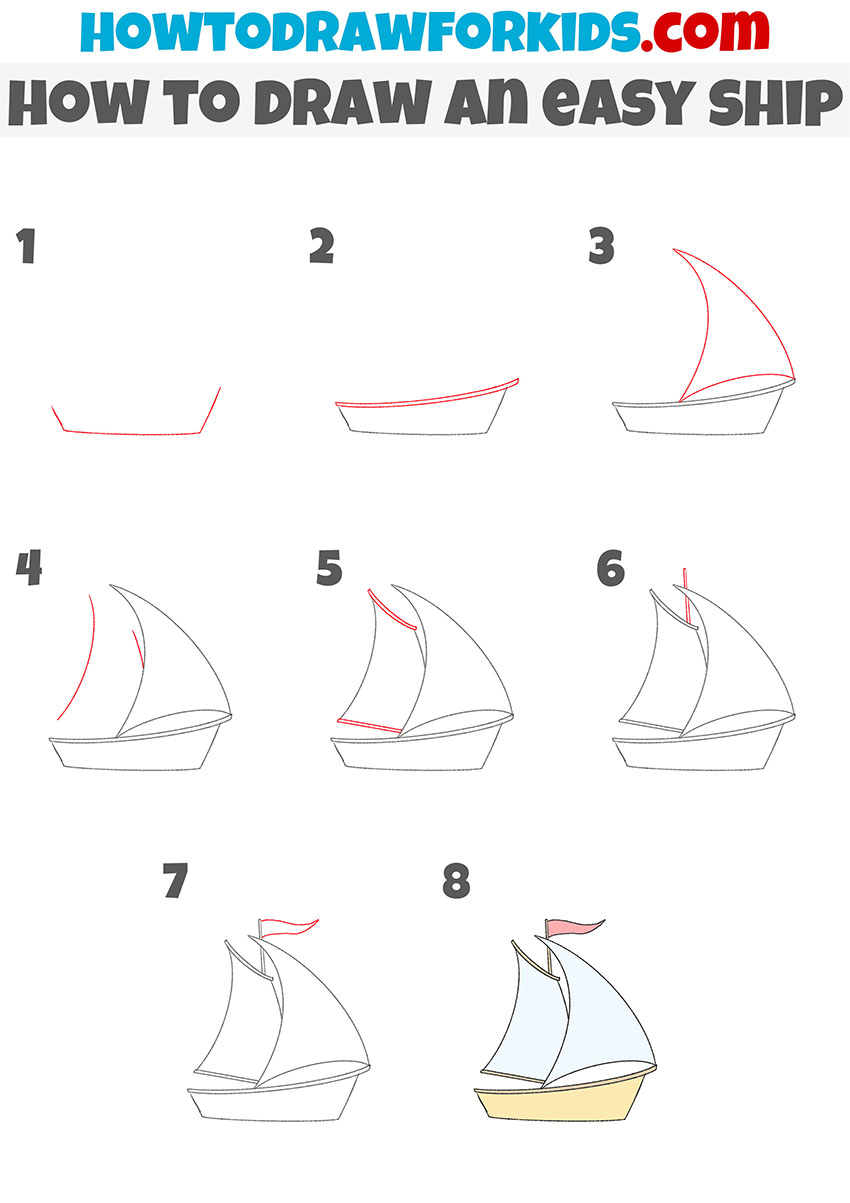
To draw an easy ship, start with the base of the boat by drawing a slightly curved horizontal line with angled sides. Then, add an upper line with a slight curve to form the boat’s edge. Next, draw the main sail by sketching a long, curved triangle extending upward from the boat.
Now, add the second smaller sail in a similar shape on the opposite side, creating a simple but realistic effect. Outline the mast between the two sails, keeping it vertical. To finish, add a small flag on top of the mast, creating a traditional sailboat look. Color the sails and boat with light, clean shades to complete this easy ship drawing.
How to Draw a Ship for Preschoolers
This tutorial on how to draw a ship differs from the previous ones by using a basic, geometric approach to illustrating a simple boat structure rather than adding detailed elements like portholes, chimneys, sails, or waves. It presents a minimalistic view of a ship, suitable for preschoolers who prefer really simple shapes without extra decorations.
To draw a ship in this technique, begin by sketching a wide, slanted rectangle to form the base of the ship. Add another, smaller rectangle on top to outline the cabin area. Next, divide the cabin section by adding two short vertical lines to define windows. Finally, add simple shading or light colors to complete the ship, with a light blue for the windows and a subtle shade for the main body.

Conclusion
So, this was a lesson in which we learned how to draw ships. First, we learned the basic method that will work for most artists. Then we learned an additional method for sketching a ship on the waves. Then we learned a version of this vehicle with a sail and the easiest way for preschoolers.
If this tutorial was really interesting for you, then most likely you will be interested in my other articles on drawing vehicles. For example, you can learn to draw a car. You may also be interested in the theme of seas and oceans. If so, then be sure to check out my lesson on drawing a fish.
And of course, be sure to subscribe to me on social networks. There you will find a lot of additional materials, and you will also be able to share your artworks with me.




Bad.