How to Draw a Wildflower
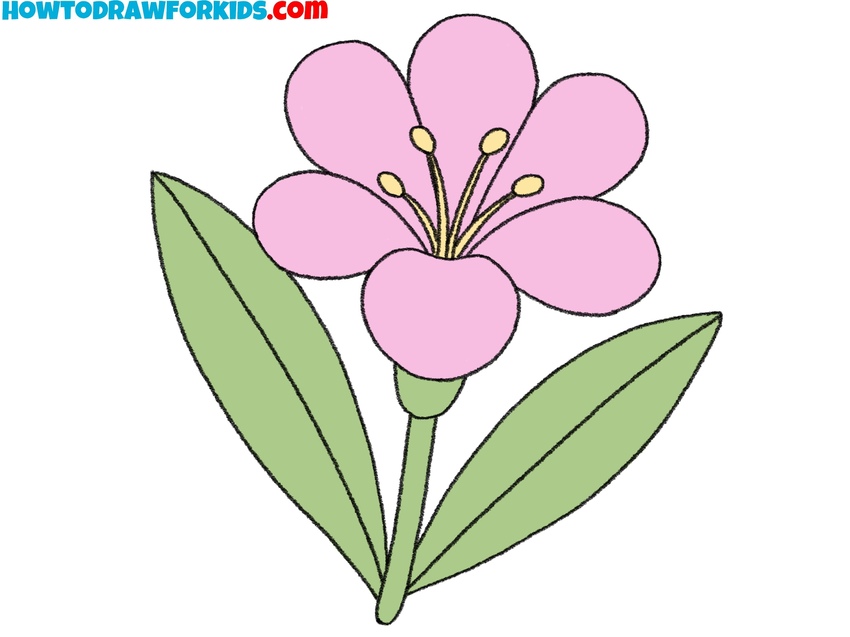
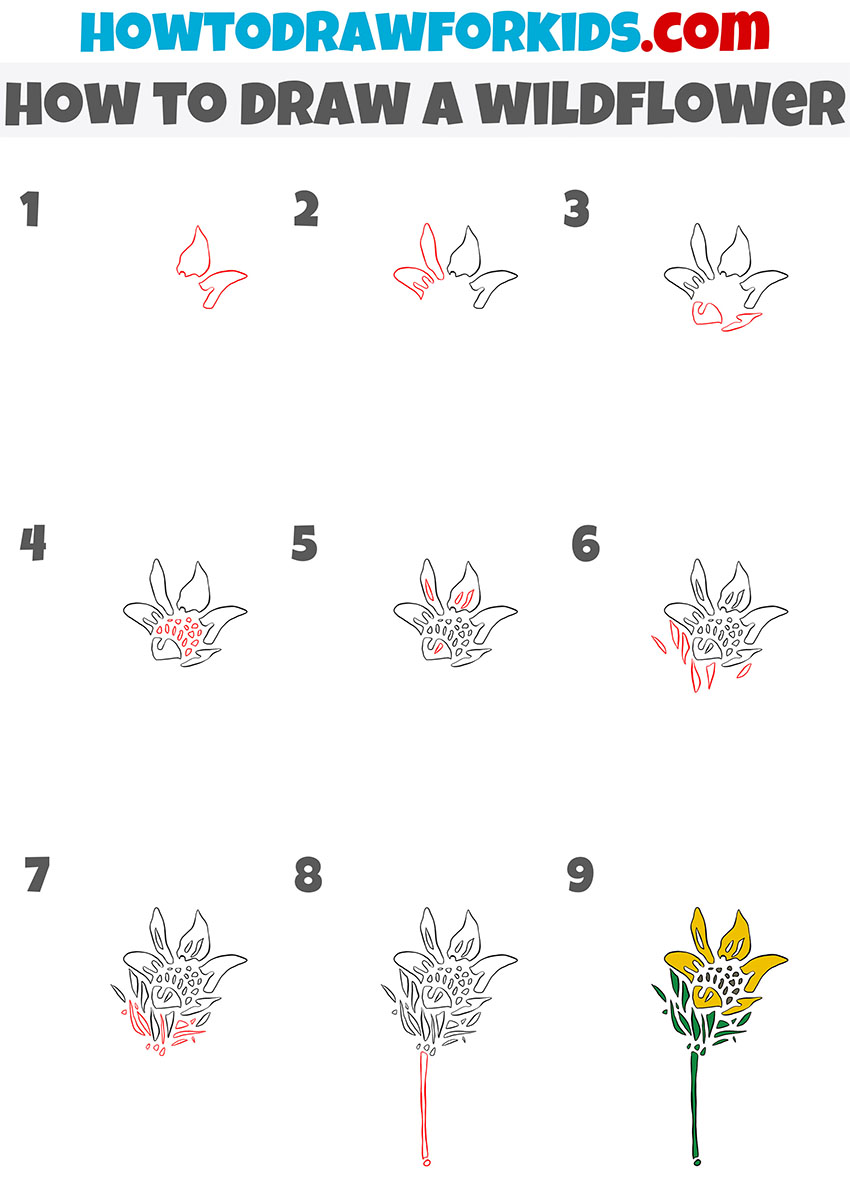
In this tutorial, I will show you how to draw a wildflower. This step-by-step instruction includes nine easy steps.
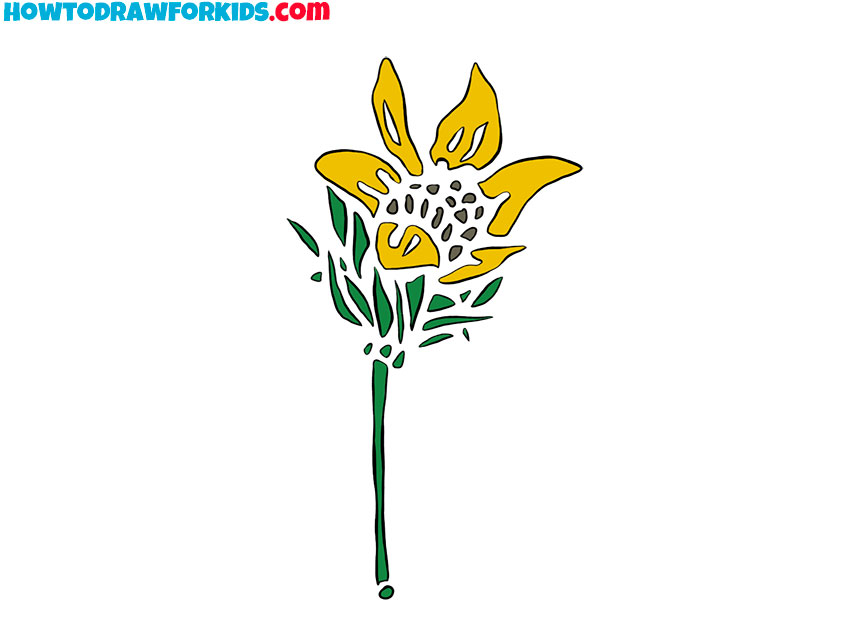
Drawing flowers is always interesting. In nature, there are a huge number of flowers and each flower is beautiful in its own way. In this tutorial, I want to show you how to draw a wildflower.
This is a beautiful plant that has a thin stem and a lush bud. With a simple step-by-step guide, you will easily draw a wildflower and will be able to apply the acquired skills in the future.
For example, you can draw a beautiful still life or draw a flower on a greeting card for your friends. Follow all steps consistently and be as careful as possible.
Materials
- Pencil
- Paper
- Eraser
- Coloring supplies
Time needed: 25 minutes
How to Draw a Wildflower
- Draw two petals.
Each petal has a sharp end and an irregularly shaped lower part.

- Add petals at the top of the bud.
Next, draw two more petals of different shapes.

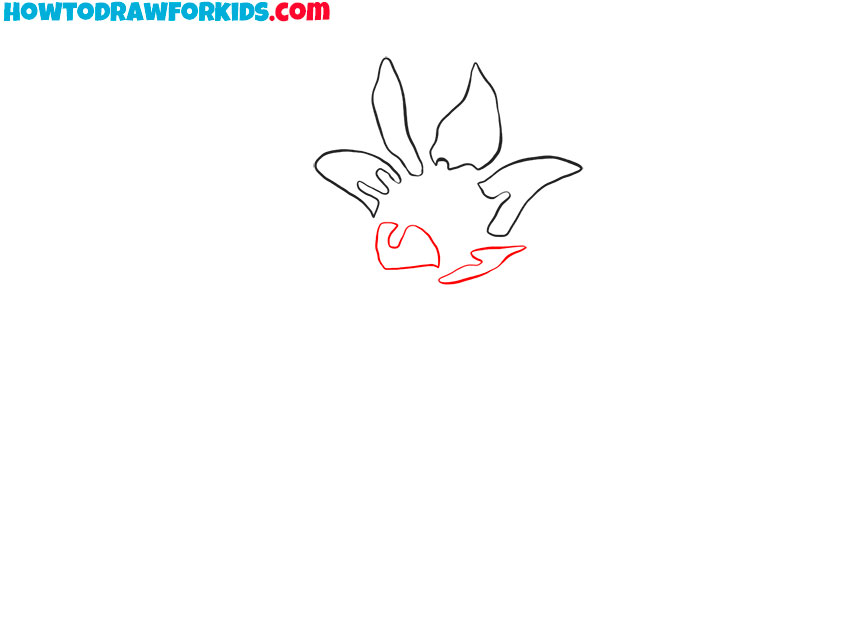
- Depict the bottom petals.
At the bottom, add two petals.
- Sketch out the stamens.
In the middle of the flower, draw many small stamens that have different shapes.
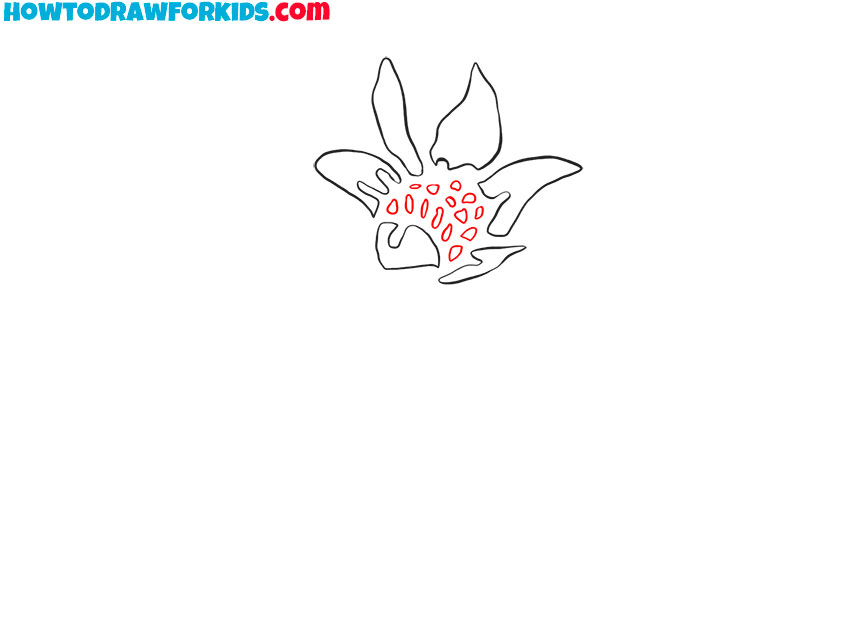
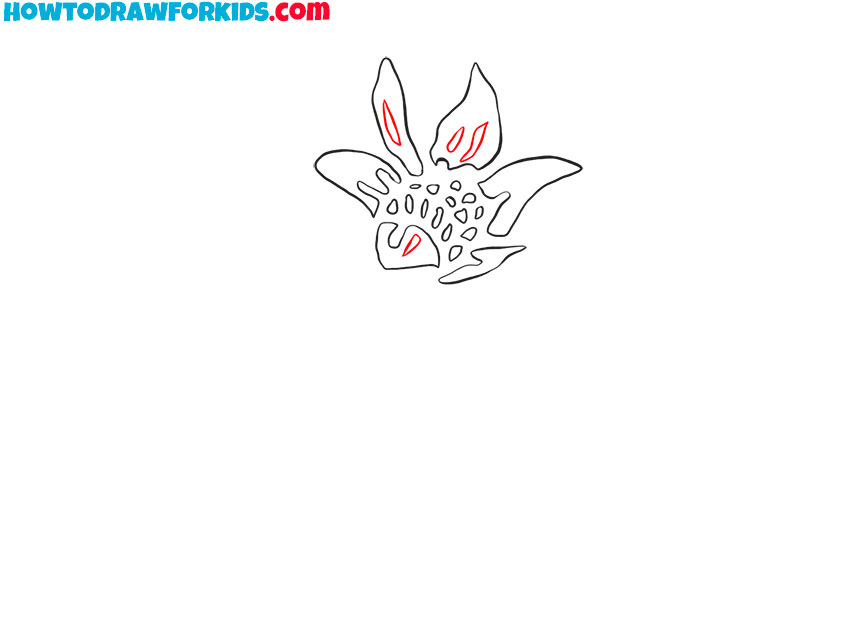
- Add relief folds on the petals.
Draw elongated veins on the petals.
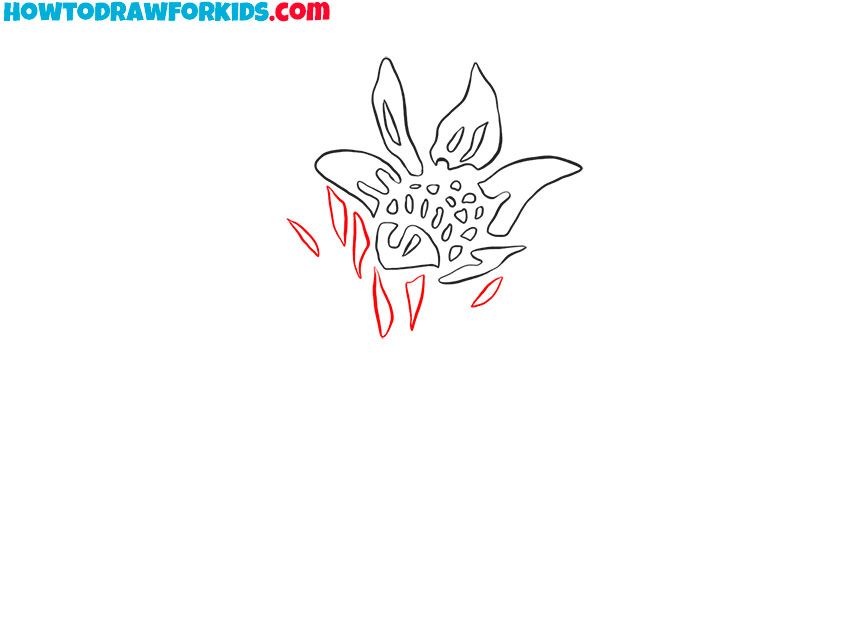
- Depict the leaves.
Draw some elongated leaves below the bud.
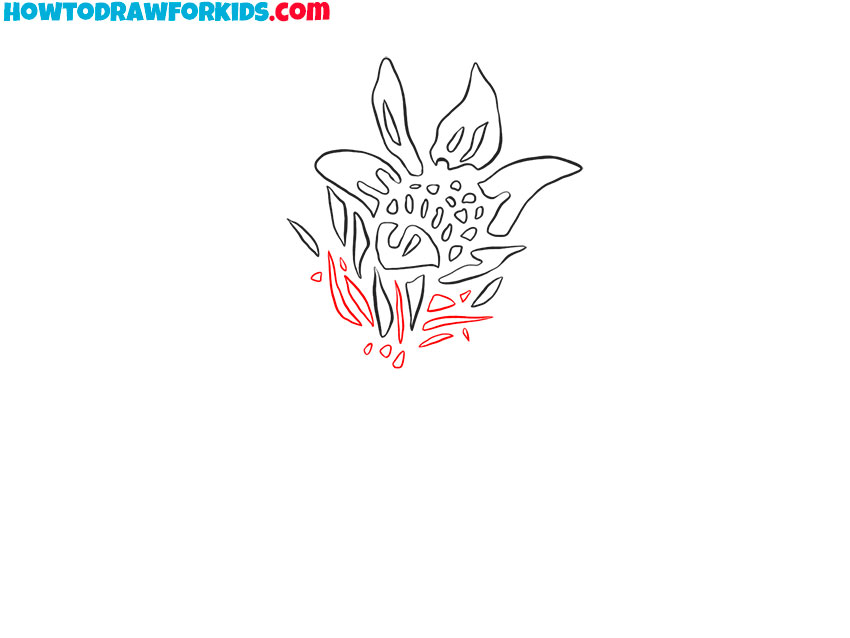
- Add leaves.
Draw small leaves of different shapes.
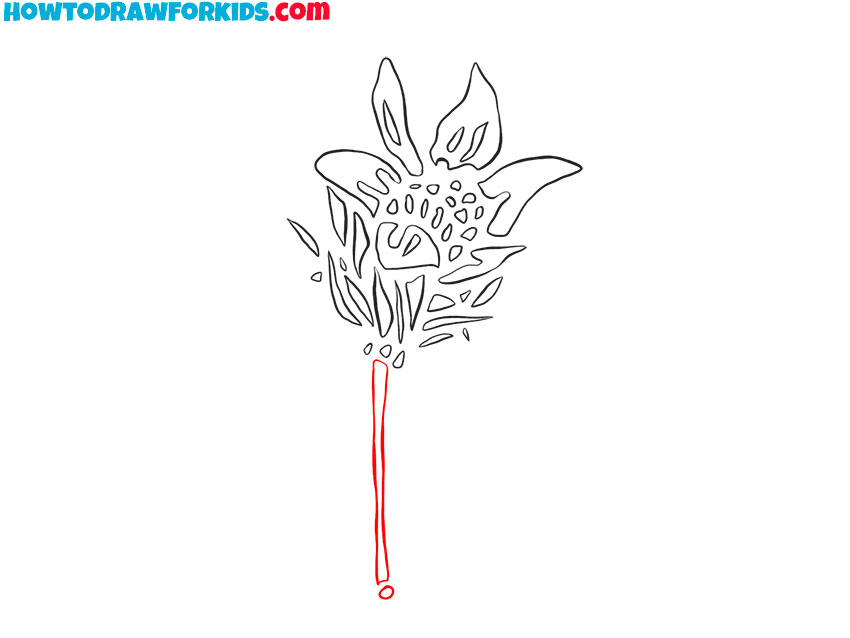
- Depict the stem.
Add the thin stem at the bottom of the flower.
- Color the wildflower.
Use green for the stem and leaves, and color the petals yellow or whatever color you like.

Lesson over! I hope that you have a beautiful wildflower, and you are proud of yourself. Show the result of your work to your friends. You can do the lessons together, which are presented on the pages of this site. Thus, you will have a good time and improve your artistic skills.
Finally, I suggest you download a PDF file with a short version of the lesson. Save this file and use it whenever you want to be creative.

