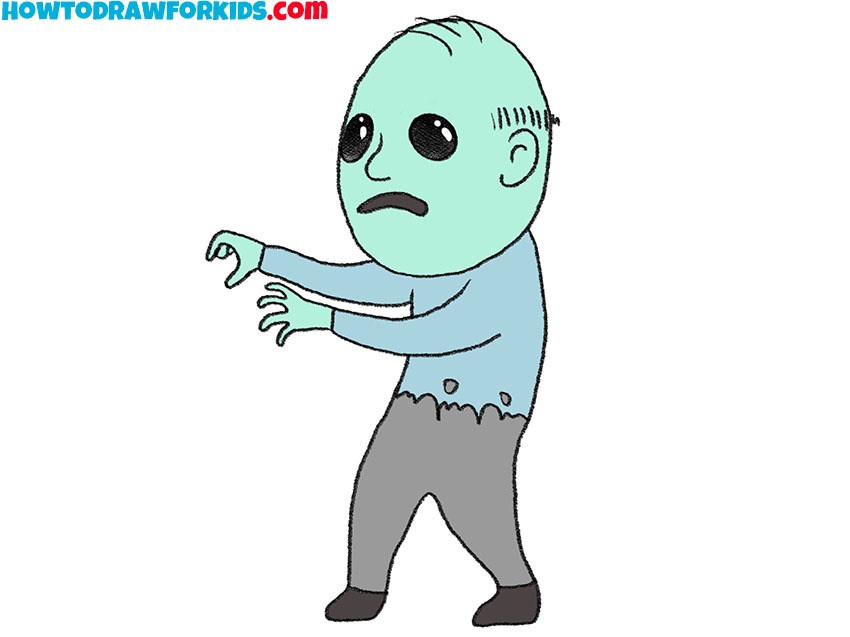
How to Draw a Zombie
Embark upon a journey through the shadowy corridors of the undead with my detailed tutorial on how to draw a zombie. Within the pages of this guide, you’ll traverse three masterfully crafted drawing techniques, each a beacon lighting the way to imbuing your canvases with the soul-stirring essence of the undead.
How to Draw a Zombie: Basic Information
Ever wondered how to draw a zombie that looks like it’s just shuffled out of a spooky tale? I’ve designed this lesson to demystify the process, using a simple approach that anyone can follow. We start with basic shapes and lines to form the foundation of our undead friend, ensuring that even beginners feel confident as they draw.
The unique aspect of this zombie drawing lies in its exaggerated features. The lopsided stance and outstretched arms create a sense of movement and eeriness. It’s these small details that capture the essence of a creature that’s both comical and creepy, perfect for a Halloween card or a fun story illustration.
In the final steps, when you draw a zombie with the guidance I’ve provided, you’ll add the finishing touches that bring your character to life – or, should I say, an amusing state of undeath! This tutorial is designed to empower you, allowing your creativity to roam as freely as a zombie in search of… brains!
Zombie Drawing Tutorial
Materials
- Pencil
- Paper
- Eraser
- Coloring supplies
Time needed: 30 minutes
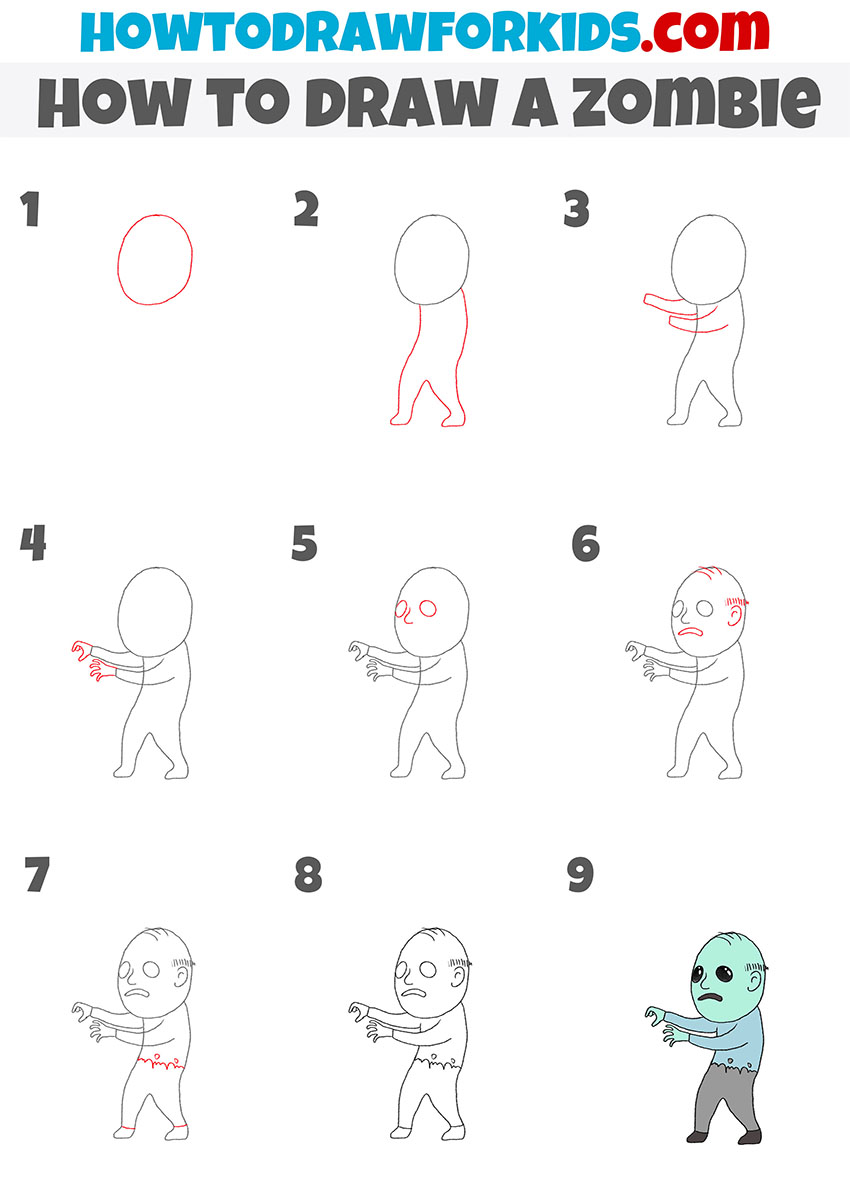
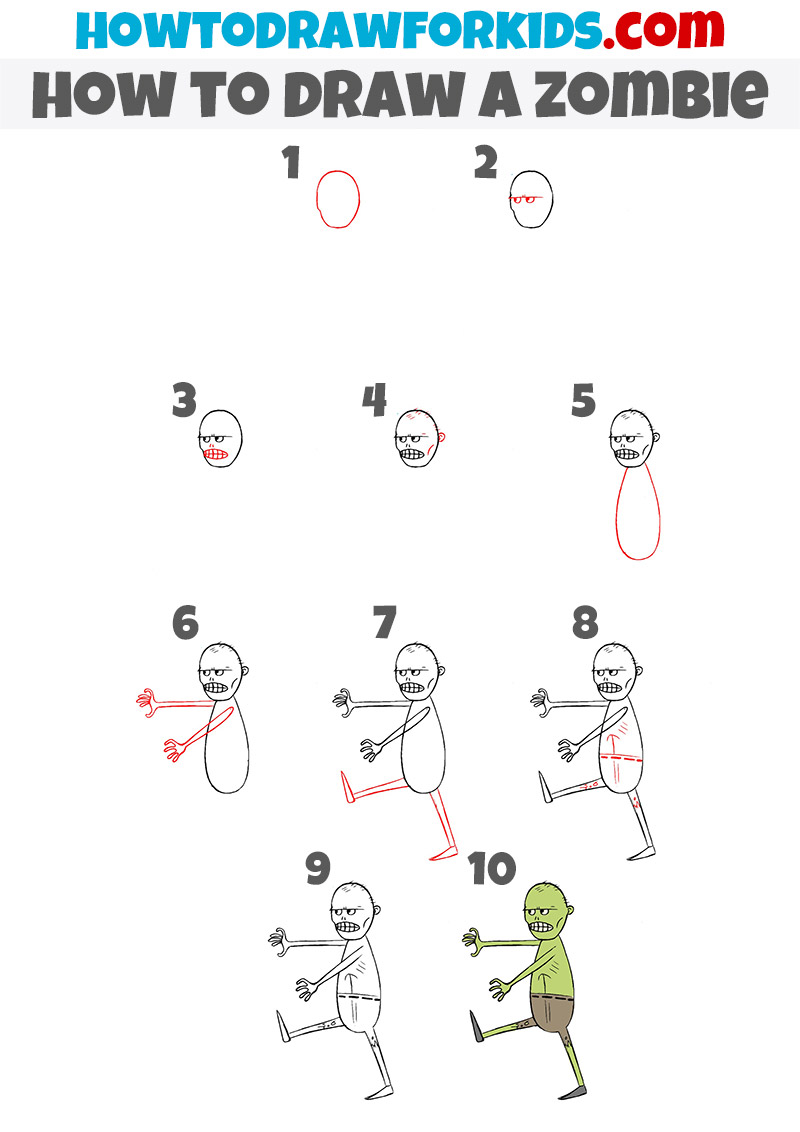
How to Draw a Zombie
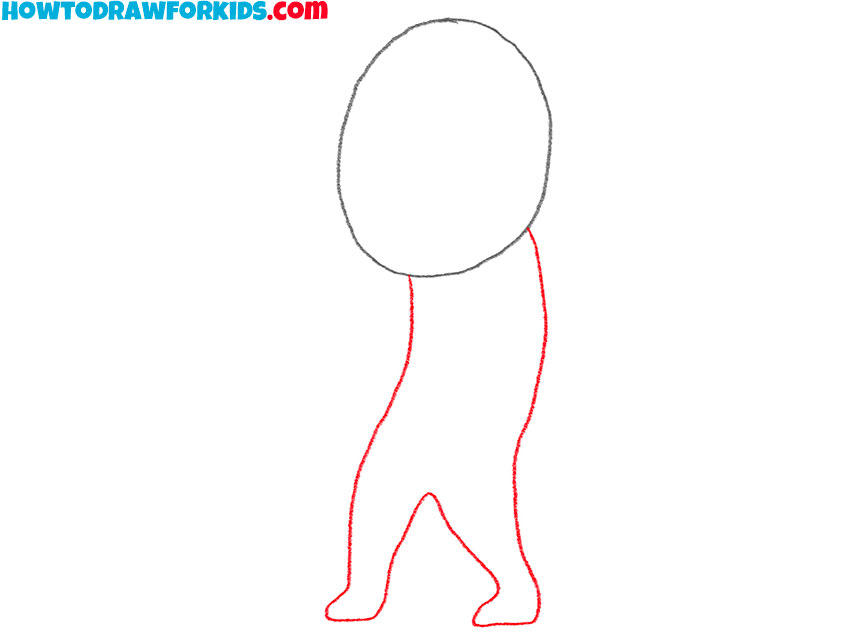
- Draw the outline of the zombie’s head.
To depict this element, draw one shape that looks like an oval.

- Add the torso of the zombie.
Below the previously drawn head, depict the torso using a long, curved line.
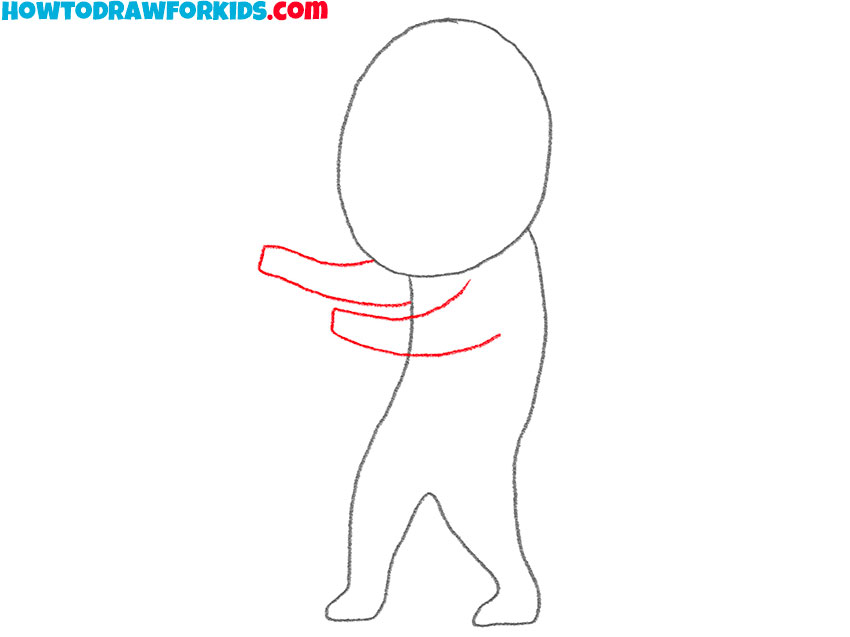
- Sketch out the arms.
With the help of two curved lines depict two arms laid aside.
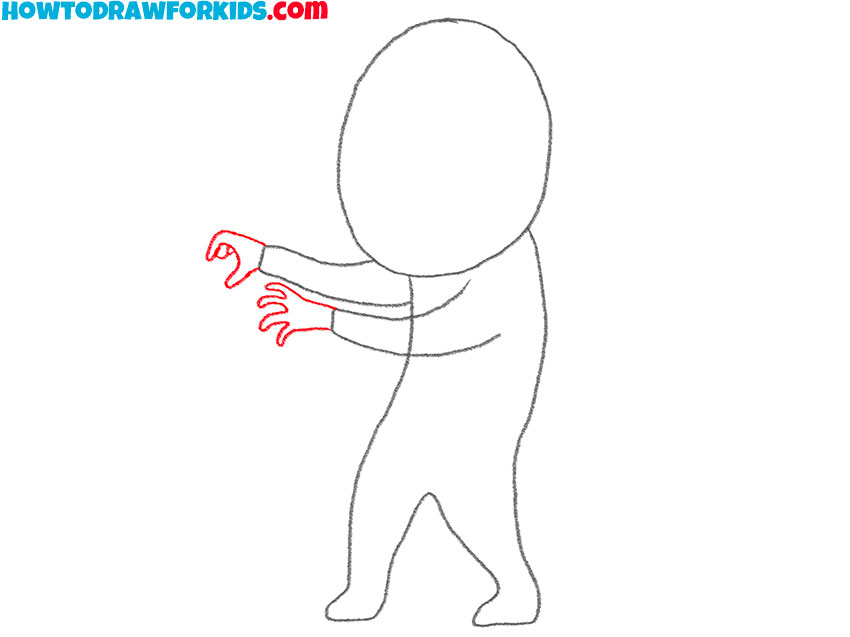
- Depict the hands.
Next to the previously drawn elements, add the hands using curved lines.
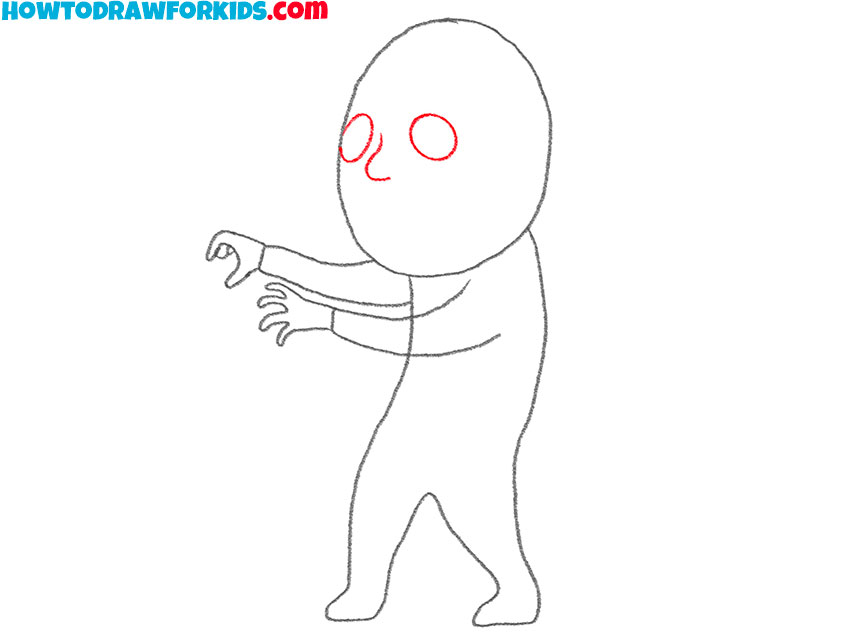
- Start drawing the facial features.
Outline the two eyes as ovals, as well as the nose using a curved line.
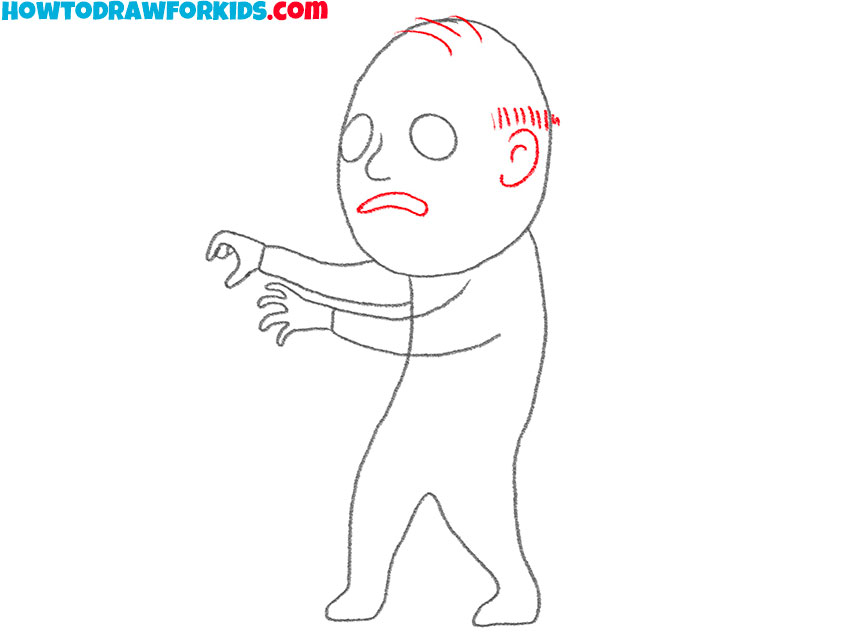
- Draw the mouth, ear, and hair.
Use semi-ovals as well as curved lines of various lengths to depict these elements.
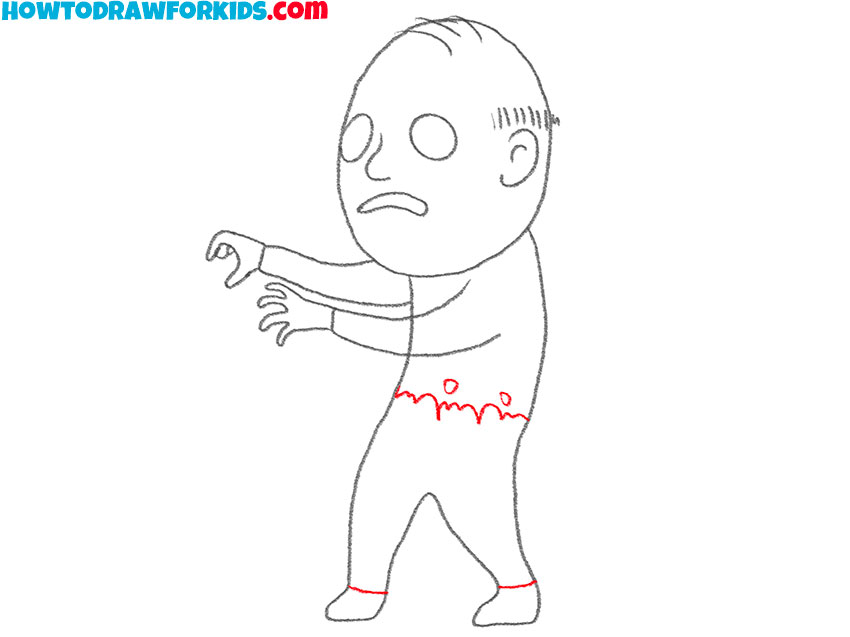
- Add details.
At the waist and bottom of the legs, add curved lines, as well as two circles.
- Correct inaccuracies.
Use the eraser to remove any unnecessary guidelines.
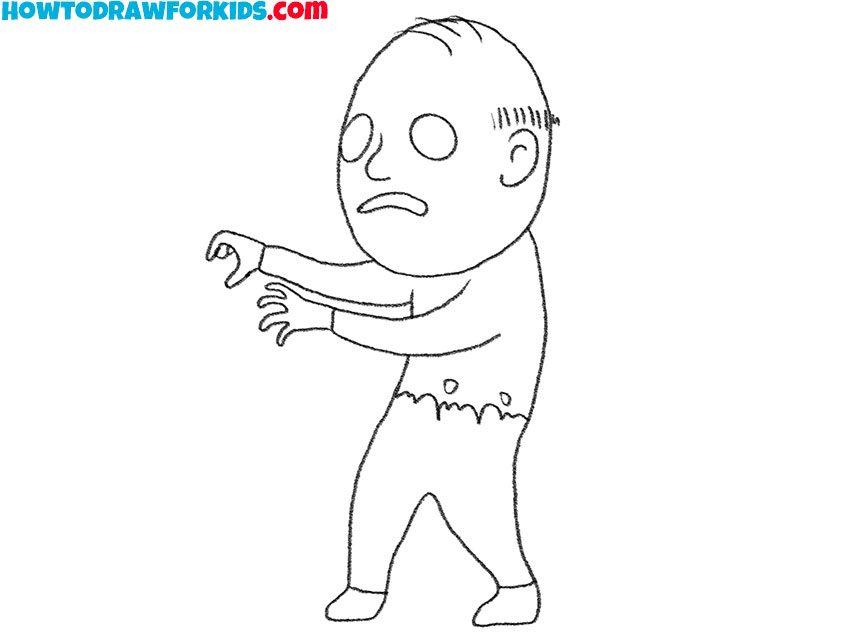
- Color the drawing.
To color the zombie, use blue, green, black, and shades of gray.
Additional Content
As an added bonus for all aspiring artists, I’ve prepared a free PDF file that complements our zombie drawing lesson. This abridged version is a convenient tool for those times when you’re away from Wi-Fi, allowing you to keep practicing your drawing skills without interruption.
It’s an offline solution to ensure your artistic journey never hits a snag due to a lack of internet access. Download it once, and it’s yours to use whenever and wherever you need it. The guide is designed to be clear and concise, making it easy to follow along and keep those creative juices flowing.
Alternative Drawing Techniques
To further support your development as an artist, I’ve created additional drawing techniques focused on zombies. These methods are designed to provide you with more practice opportunities, helping you to refine your skills.
By exploring different styles and approaches to depicting zombies, you’ll gain a broader understanding of form, shading, and expression. These techniques aim to challenge you, encouraging you to experiment and improve your ability to bring your artistic visions to life.
Drawing Zombie: Advanced Level
In the first alternative technique, I’m excited to present an advanced level of zombie drawing. This method involves more steps and a greater focus on detail, which allows for a more sophisticated final image. You’ll start with the basic outline and incrementally add elements such as clothing wrinkles and facial features.
It’s a thorough approach, aimed at those who have some drawing experience and are ready to take their skills further. The extra steps are there to help you refine each part of the zombie, from the expression in the eyes to the stance of the body, resulting in a more lifelike and convincing character.
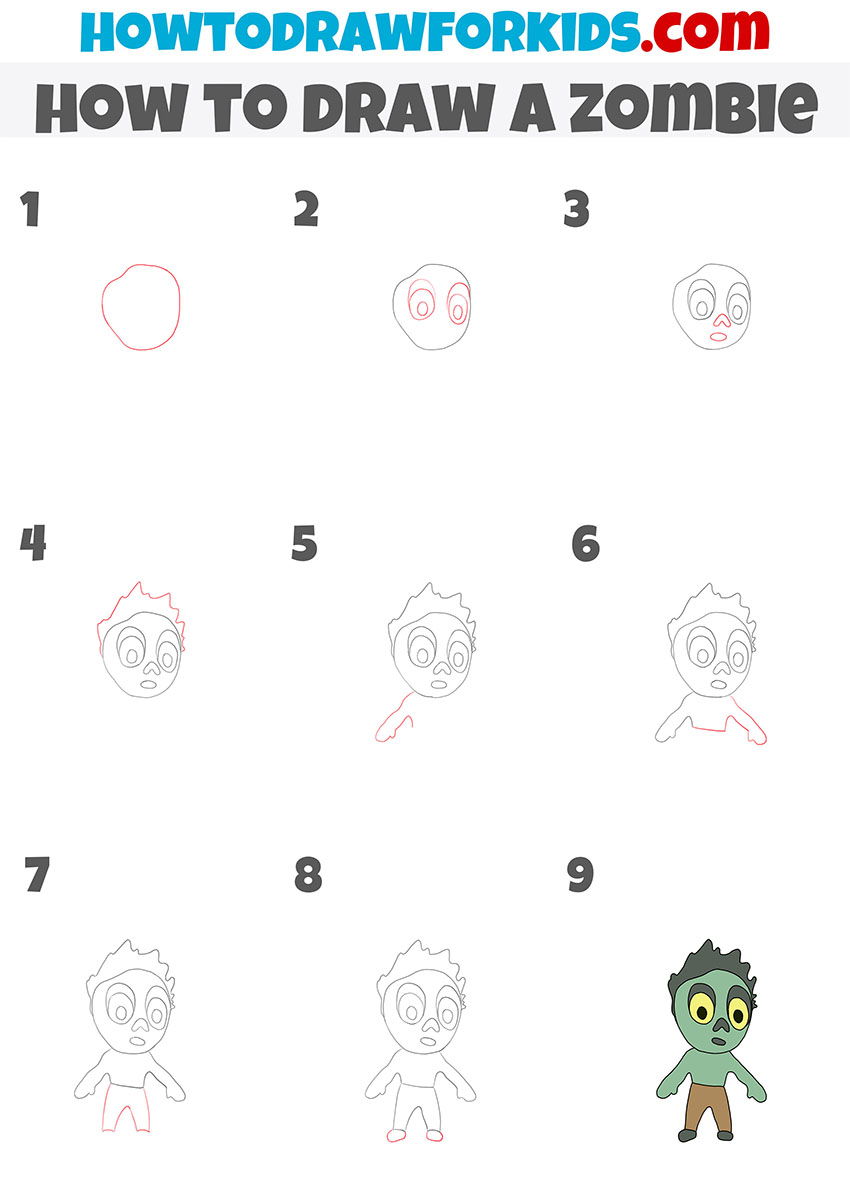
How to Draw a Zombie for Kindergarten
For our youngest artists in kindergarten, this technique is all about making drawing a zombie approachable and enjoyable. The steps are designed to be simple, with minimal complexity, allowing little ones to follow along without getting overwhelmed.
We begin with basic shapes like circles for the head and simple lines for the body. Then, we add cartoonish features that are more cute than scary, making this an ideal project for young children. It’s a perfect way to introduce the littlest learners to the fun of drawing.
Conclusion
You’ve brought your zombie to life with your amazing drawing skills! If you’re looking for more artistic fun, my website is the place to be. You can learn to draw the perfect autumn leaf or a cute goat. There’s always something new to discover.
And for the latest updates and creative tips, follow me on social media. Plus, I love hearing from you, so if there’s a drawing lesson you’re dreaming of, leave a comment below. Your ideas might inspire our next art adventure!