How to Draw a House
Train your skills in creating a cozy home on paper with my tutorial on how to draw a house in five different and very simple methods.

How to Draw a House: Introduction
Perhaps one of the very first things that any child draws is a house. Along with drawing a person, that is, himself or those whom he sees around, for example, parents, the young artist also draws the world around these people, that is, the house in which they live.
Of course, the first steps in drawing a house are the same for all children, and consist of the most basic details. But in this lesson I want to show you how to draw a house, preserving the simplicity with which children draw, but making it convincing and very beautiful.
For a deeper understanding of the topic, I supplemented this lesson with several additional lessons, which you will find at the very end, and which will help you learn how to draw a house in a variety of styles.
House Drawing Tutorial
Materials
- Pencil
- Paper
- Eraser
- Coloring supplies
Time needed: 30 minutes
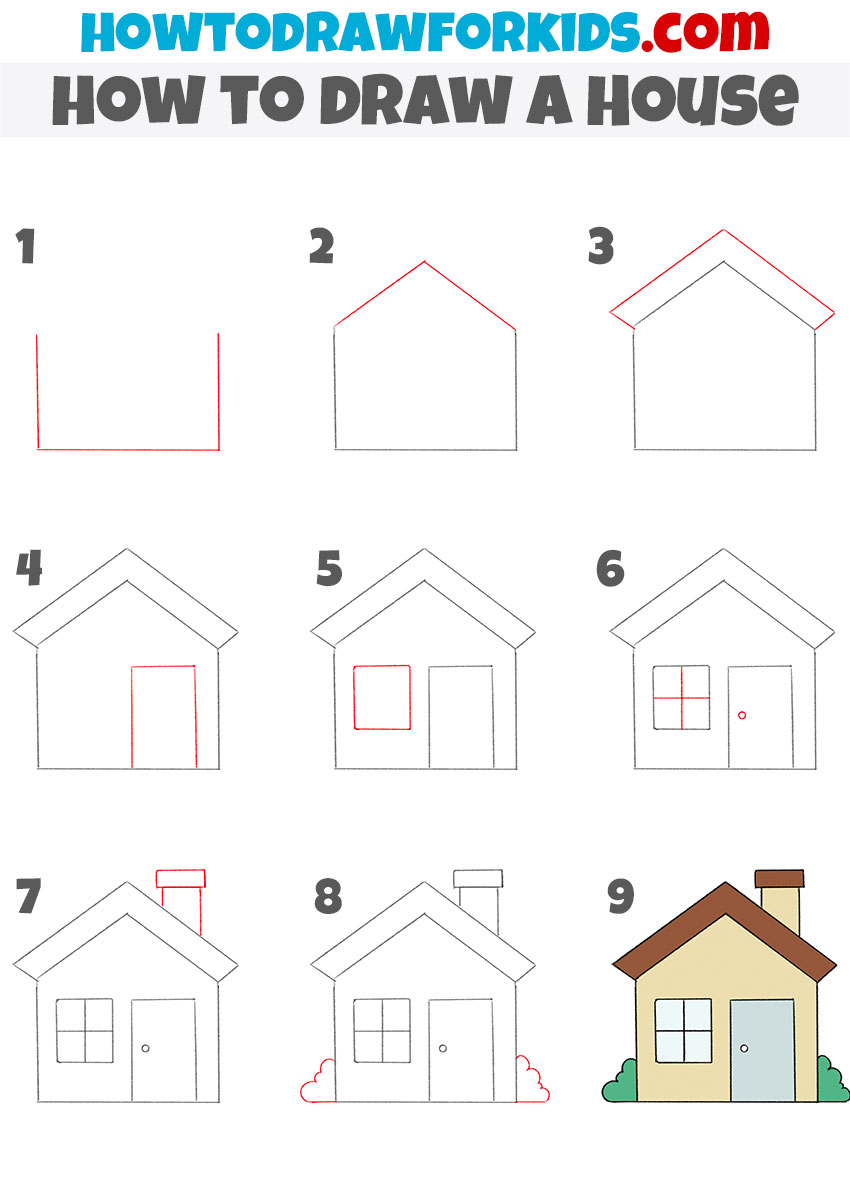
How to Draw a House
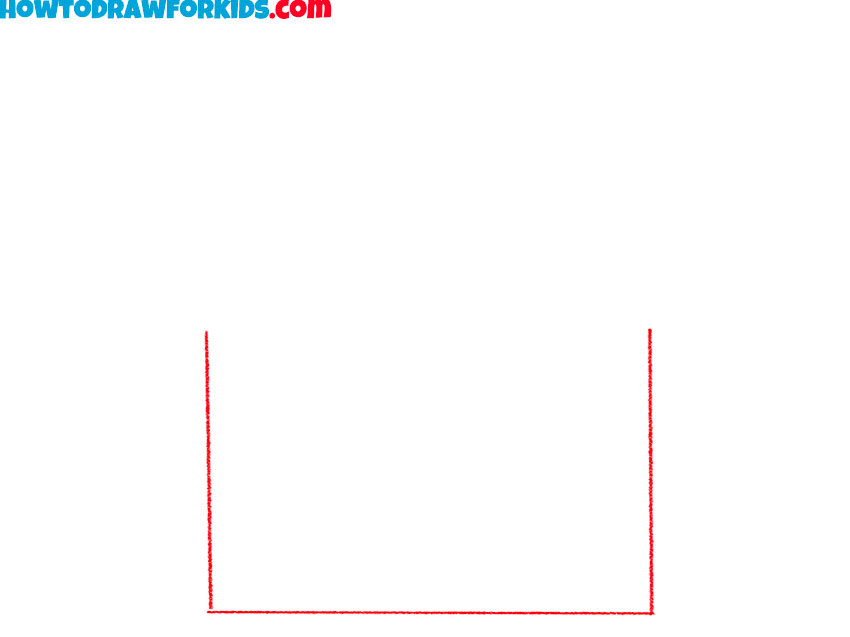
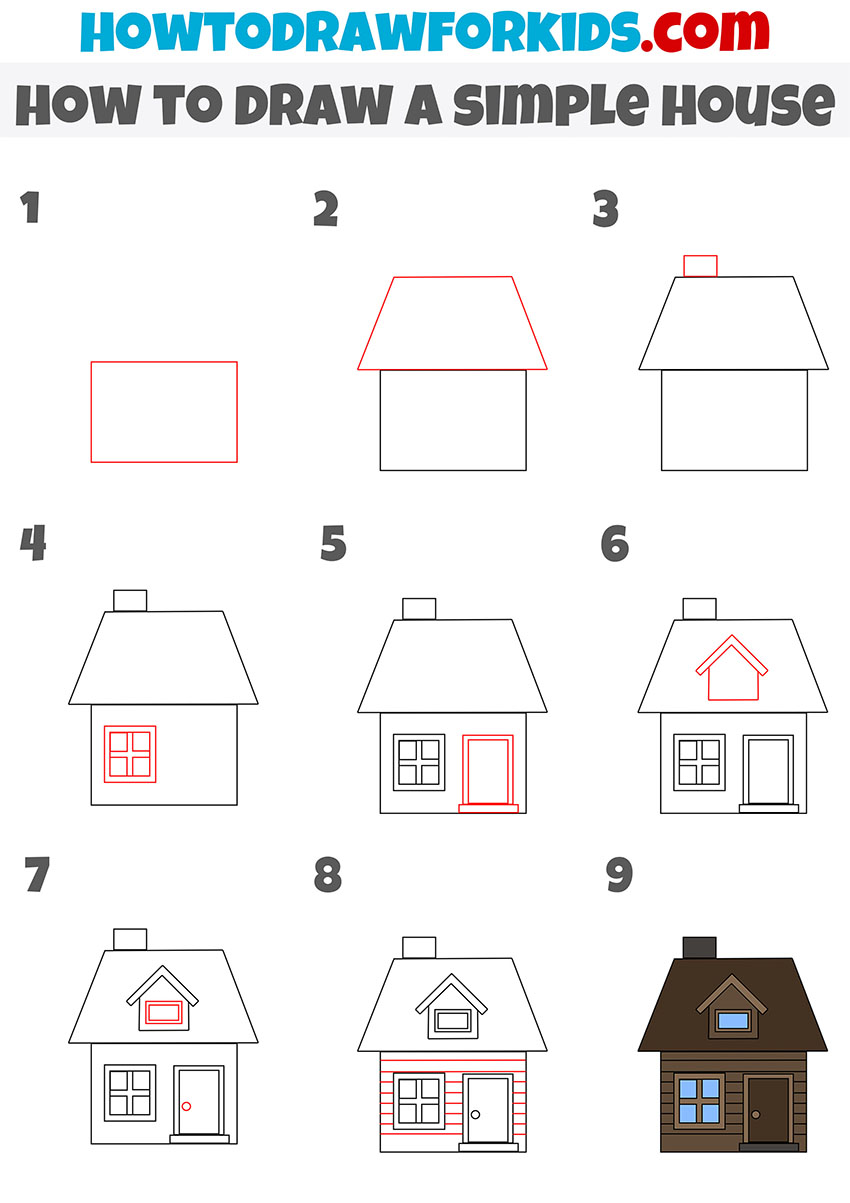
- Sketch the base of the house.
Sketch a simple square U-shape, which will serve as the bottom and side edges of the house. Keep your lines straight and confident, but don’t worry too much if they’re not perfect. This first step is just the skeleton of your house drawing, and we’ll refine it as we go.
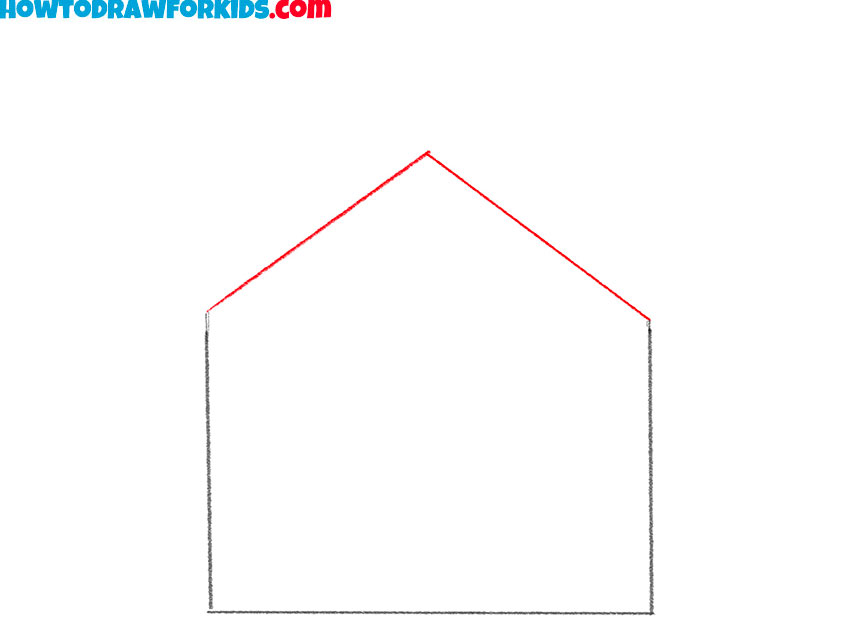
- Illustrate the roof outline.
Next, draw a simple triangle on top of the rectangle to create the roof. While you draw the roof, make sure the peak is centered, so the whole house doesn’t look asymmetrical. If your triangle looks a little uneven, lightly sketch it again until the lines meet smoothly.
- Draw the eaves of the roof.
Now illustrate a second roof outline slightly larger than the first triangle to give the house some volume and dimension. The eaves extend past the walls a little, so make sure your lines overlap slightly. Try to draw these lines parallel to the lines from the previous step.

- Illustrate the house entrance.
Draw a tall rectangle in the middle of the lower section to represent the door. When you illustrate a house, the door is one of the most important details. Imagine how a person would walk in, use that thought to size the door appropriately.

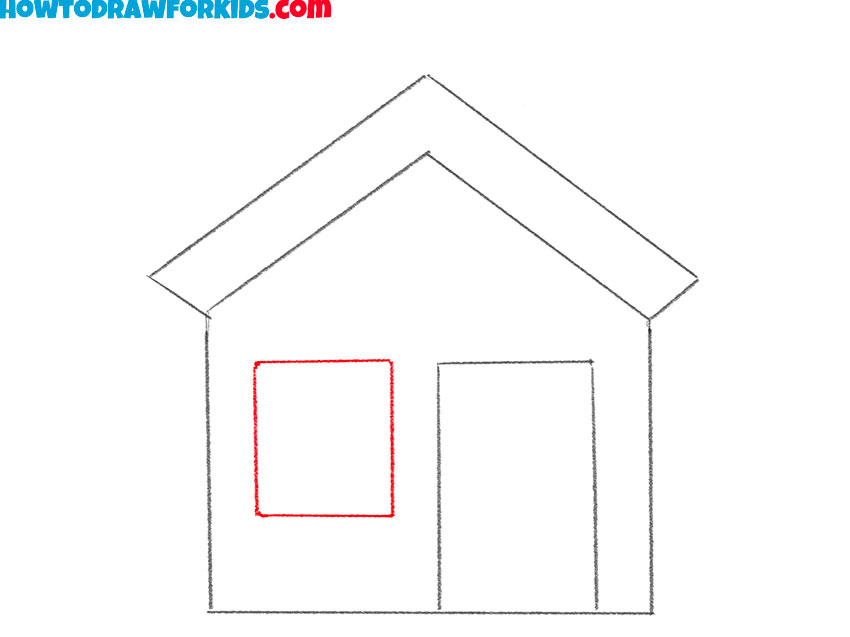
- Sketch the window frame
To draw a window, sketch a simple box shape that matches the size of the door horizontally, but smaller overall. Align the window with the top of the door. If your house looks too plain, you can later add shutters or a window sill. For now, keep it as a clean square shape.
- Mark the door handle and window sections.
Divide the window into four sections by sketching a vertical and horizontal line inside it. Then add a small circle on the door for the doorknob. Beginners often skip them, but without a doorknob or panes, the house feels unfinished. If you want, you can even add a second window.
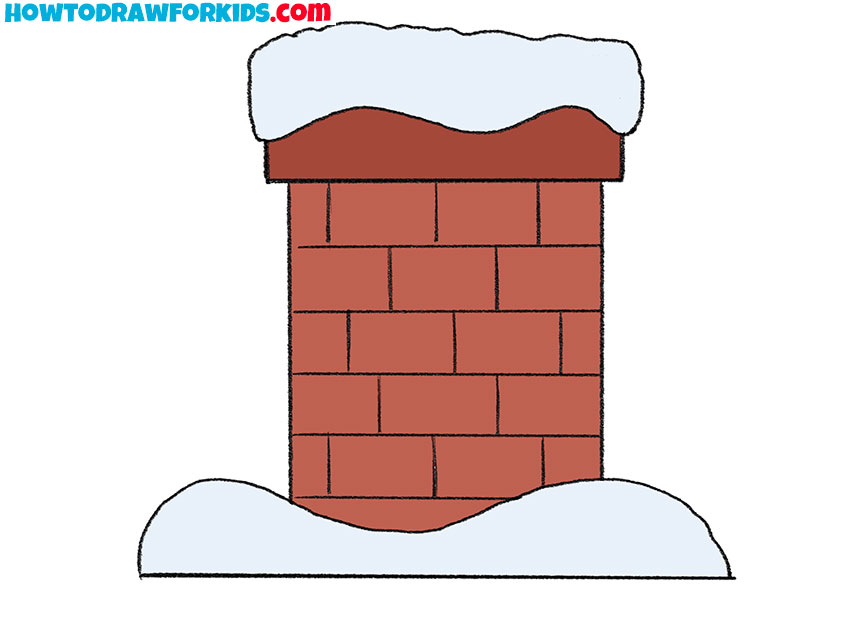
- Draw the chimney on the top of the house.
On top of the roof, sketch a small rectangle with another, slightly wider rectangle above it to form the chimney. If you want, you can later add bricks or smoke for more realism, but the basic shape should be simple rectangles stacked together.
- Draw bushes beside the house
At the bottom of the house, draw simple cloud-like shapes to represent bushes. I often remind students that every building looks better when placed in a setting. Sketching bushes or grass adds that setting. They don’t need to be detailed or realistic. You can even make one side bigger than the other or add small flowers.

- Shade the house with simple tones.
To color your house drawing, you can use any colors. For example, you can use brown or red tones for the roof, beige or yellow for the walls, and green for the bushes. The door and window frames can be gray or white. I usually suggest picking colors that feel natural and realistic.

Additional Content
I’ve created a free PDF file for this lesson, offering a condensed version of my tutorial. It’s downloadable, so you can enjoy learning to draw anytime, anywhere – even without an internet connection.
How to Draw a House: Alternative Techniques
Along with the main lesson on how to draw a house, I have prepared several additional versions that show this subject in different ways. Each of them is built from the same basic idea of combining simple geometric shapes but approaches the construction and details with its own sequence and style. These variations are useful to practice because drawing a house can be simplified in many different forms, and each version helps to train your drawing skills in its own way.
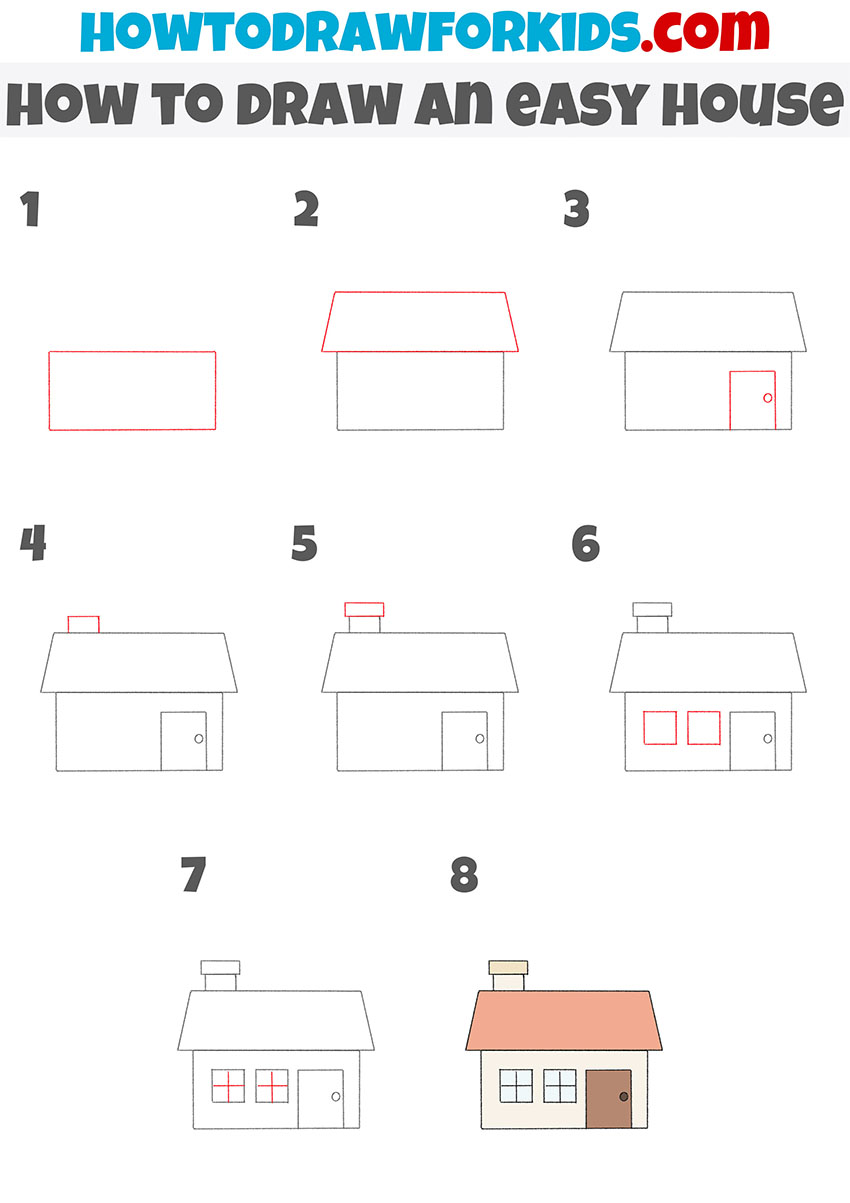
The Simplest Method
In this variation, the house is shown in its most basic and accessible form, making it especially suited for preschool learners. The design relies on large, clear shapes and avoids unnecessary detail, giving the drawing a simple and approachable look. Compared to the main house tutorial, this version presents a smaller sequence of steps and a cuter, more stylized appearance. It keeps only the most important features — the main structure, a roof, one window, and a door — which makes it easy to follow and remember.
To build the drawing, begin by outlining the main block of the house, using a rectangle with a triangular top for the roof. Extend the roof with two simple lines so it feels complete. Add a square window and divide it with two crossing lines to indicate panes. Next, sketch a tall rectangle for the door and place a small circle in its center for the handle. Keep the lines steady, without extra details, since the goal here is clarity rather than complexity. When adding color, choose a light tone for the house and a darker one for the roof to create separation between the parts. Practicing this easy house drawing helps reinforce the habit of reducing complex structures into clear, basic shapes, a skill useful in many areas of drawing.

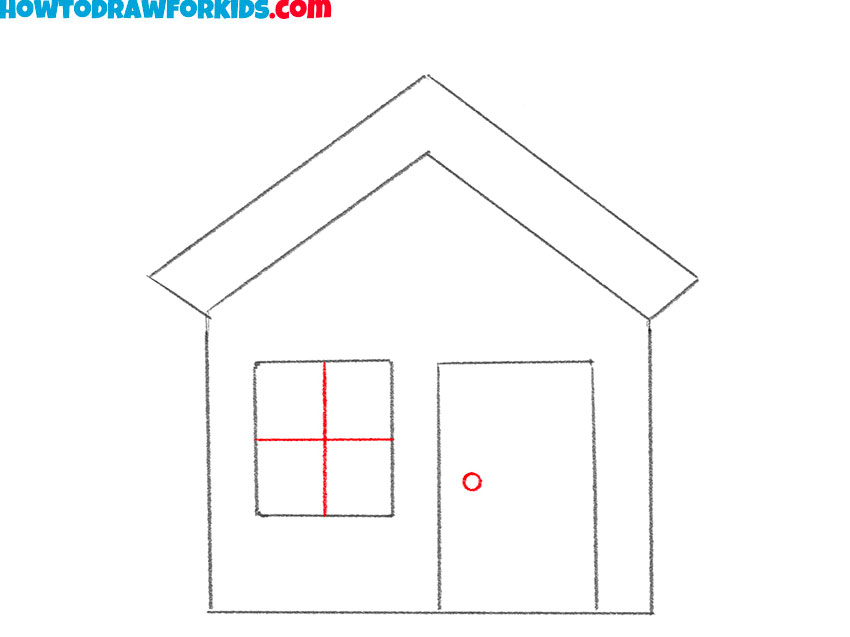
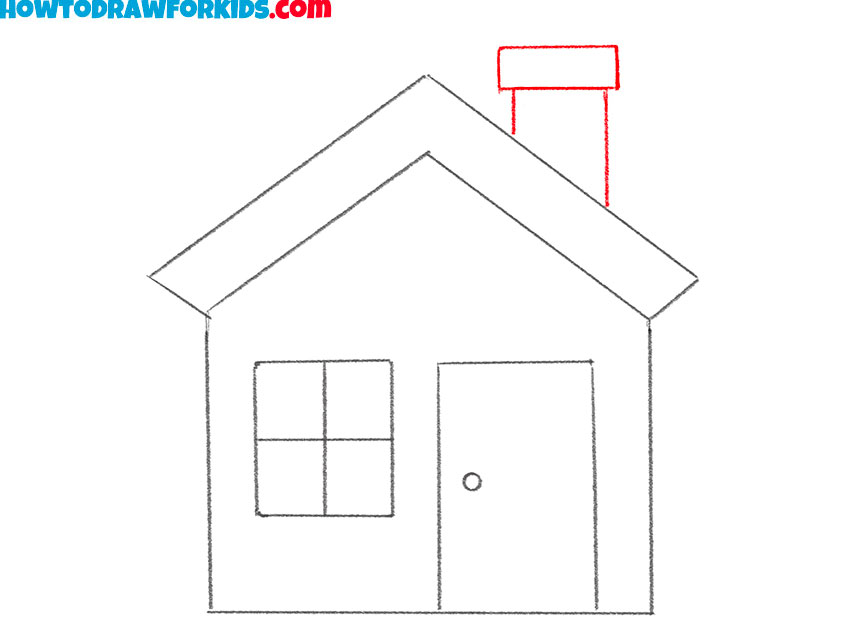
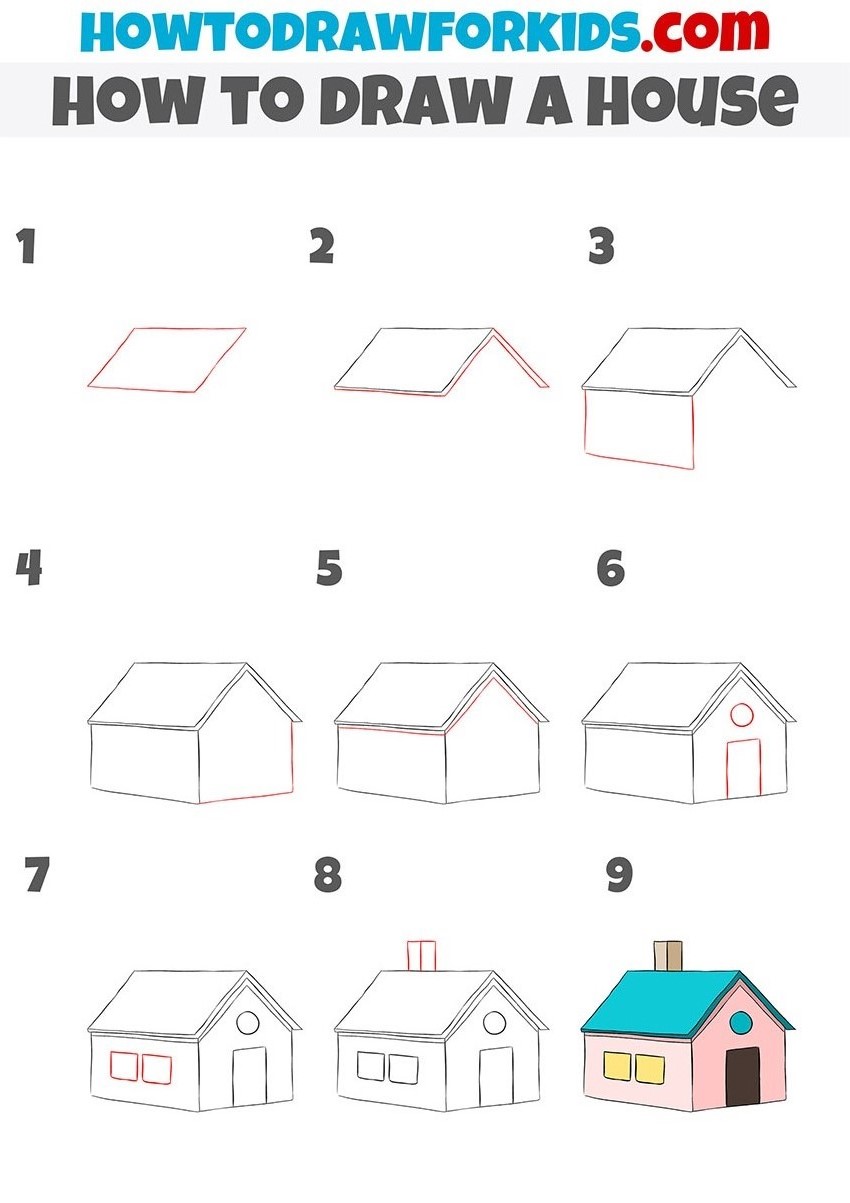
Drawing a House from the Corner
This variation shows how to draw a house viewed from a corner, which helps to the subject look more three-dimensional. Unlike the flat house drawings, this tutorial introduces perspective in a very simple form, helping to train your skills in drawing voluminous objects and compositions.
First, sketch a parallelogram to form the roof plane. Then, add the second part of the roof. After that, sketch the front and side walls as rectangles, adjusting their size so the house looks even. Add details like a circular window at the top of the front wall, then position rectangular windows and a door below. On the side wall, place additional windows to strengthen the three-dimensional impression.
Add a chimney above the roof and connect it with vertical lines. At this stage, check the alignment of the roof edges and walls, since accuracy is important in perspective drawings. Once satisfied, finalize the outline and erase construction marks. Use color to separate the roof, walls, and windows, keeping the tones flat but distinct.
Experimenting with Form
In this version, the house is presented in a very simplified style, with straight lines and easy rectangular forms. Compared to the main house tutorial, this one removes unnecessary details and keeps the shape as minimal as possible.
Draw a wide rectangle to form the main shape of the house. Add a roof above it, shaping it with straight lines. Next, place a small rectangle for the door on one side of the house and position a simple chimney at the top of the roof. As you continue, sketch in square windows and divide them with cross lines to indicate panes.
Keep your lines even and light, especially in the early stages, since clean construction helps avoid distortion later. Once the main shapes are in place, finalize the roof edges and add simple window frames. Finish the drawing by coloring the roof and walls with flat, even tones.
How to Draw a Wooden House
Here the subject is a small wooden house, drawn in a style that shows slightly more detail while still being simple. The tutorial builds a house with a roof, chimney, window, and siding lines that imitate wooden planks. Compared to other versions, this version looks more interesting and unusual.
First, create a rectangle for the base of the house, then add a slanted roof on top. Sketch a small chimney extending above the roofline. On one side, add a large window and mark it with cross lines to form panes. Then, draw a door on the front wall. Continue with the roof by adding an additional small triangular section to create an attic space. Include another small window within that triangle.
Next, use parallel horizontal lines across the walls to illustrate wooden siding. Keep the spacing even. When everything is outlined, darken the final lines, erase unnecessary construction, and add color. Using a darker shade for the roof and lighter tones for the walls will help the wooden house look simple but realistic.
Conclusion
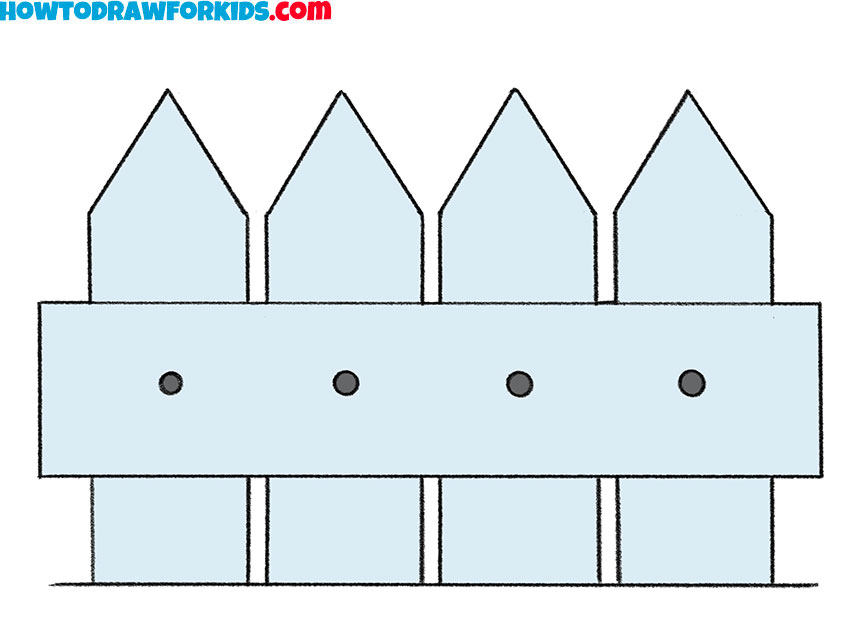
If you’d like to continue practicing, you can also try drawing a tree or a fence, which are natural additions to a house drawing. These tutorials will give you extra skills to place your house in a setting.
You can also look at the tutorial on how to draw the sun, which works well in the background of any outdoor scene. By combining these lessons, you’ll be able to create a full drawing of a house surrounded by natural details.

many have own test of design and furnishing
Huhh
Thank you, Boyd. Design and furnishing definitely allow room for creativity and personal style.
Aram is SO talented, he draws better than me🤣😝
Thank you so much, Ellie.