How to Draw Anime Hair
Perfect your anime portraits by learning how to draw anime hair using two simple methods, which include basic steps and lines.
How to Draw Anime Hair: Introduction
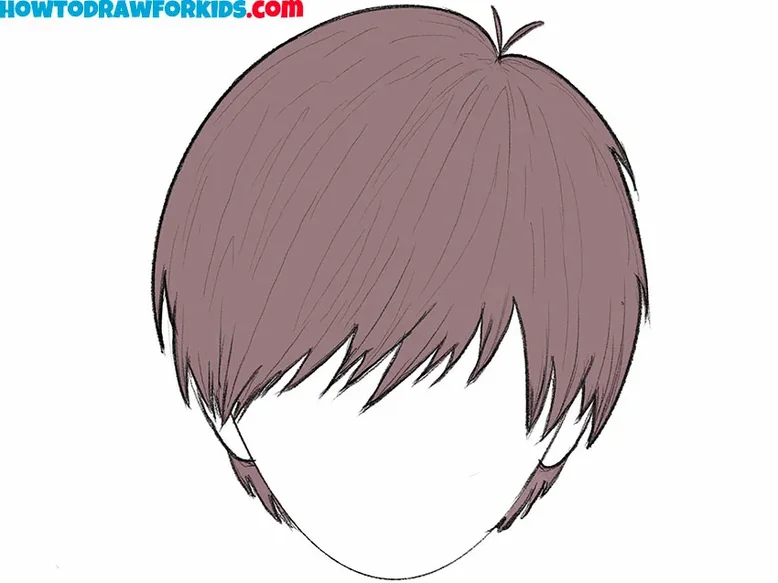
Are you ready to master drawing anime hair, whether it’s sleek, spiky, or flowing? This anime hair drawing lesson will guide you through two simple methods to help you create really cool and authentic anime character drawings and manga artworks.
Anime is a unique style of drawing with distinct and interesting characteristics. The bright colors and various shapes found in anime hair are key features of this drawing style.
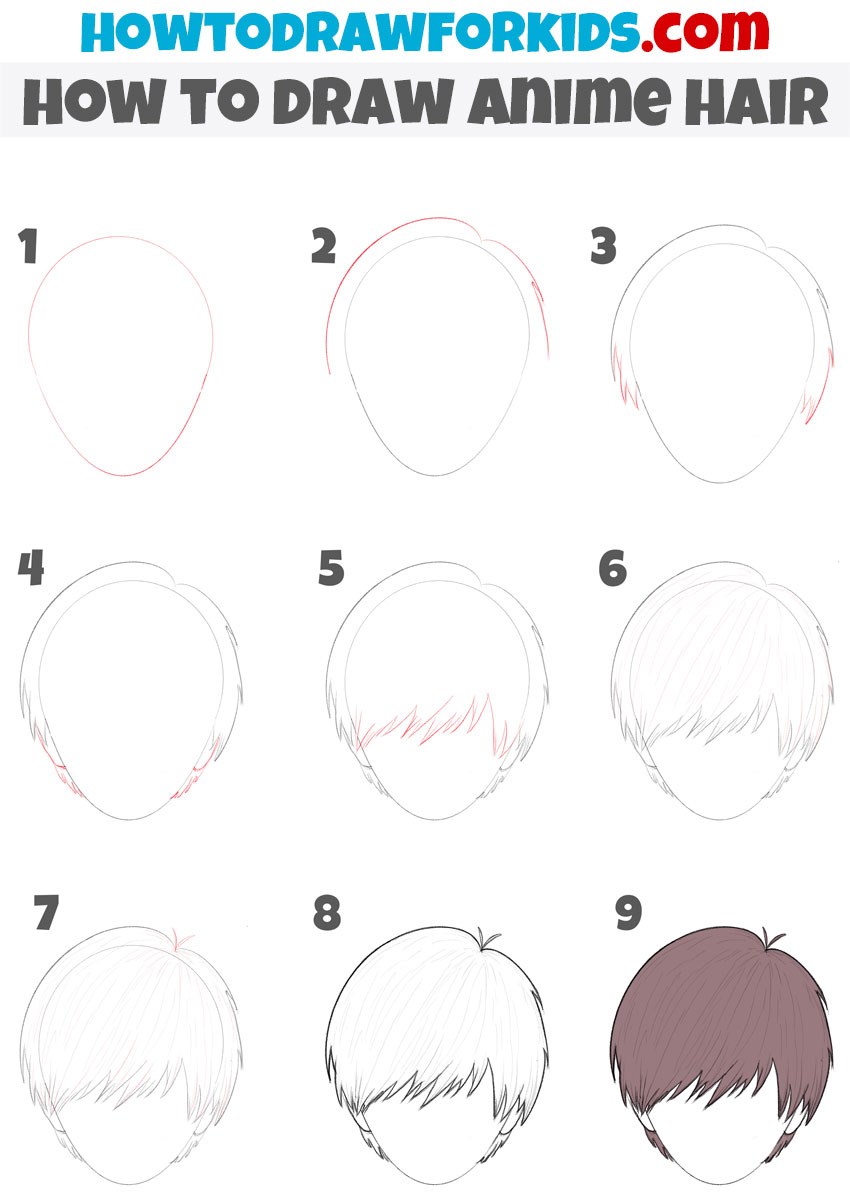
In this tutorial, you’ll learn the basics of drawing anime hair, including how to shape it properly and add volume. You’ll also discover how to create a more anime-like texture. Additionally, I’ll provide helpful tips throughout the lesson to make your anime hair drawings more authentic.
At the end of the tutorial, you’ll find an extra lesson that will teach you a simpler technique for drawing anime hair in a different style.
Anime Hair Drawing Tutorial
Materials
- Pencil
- Paper
- Eraser
- Coloring supplies
Time needed: 20 minutes
How to Draw Anime Hair
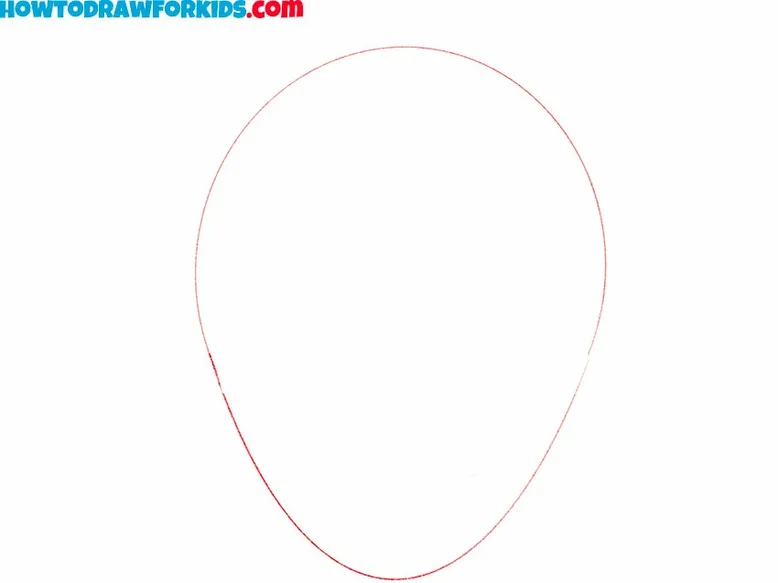
- Sketch the outline of the face.
Draw it in the form of a shape similar to an oval. We only need this step to create a base for further drawing of hair and details on it. Try not to concentrate too much on this part, because later most of this geometric shape will be removed.
- Add the hair contour on top.
Use smooth lines that form semicircle lines to draw this detail. Note that the lines in this step follow the lines of the head drawn in the last step. The line of hair is very important because it helps define the anime character’s look and hairstyle.
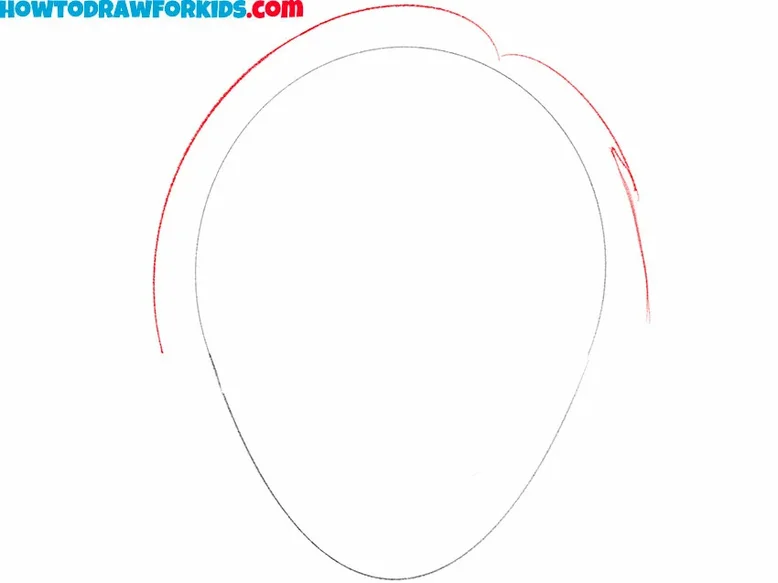
- Add the strands at the sides.
Add a few strands of hair to the sides of the head. To make the lines of the strands look more naturalistic, try to draw them from roots to ends, that is, from top to bottom. Draw the hair shape with large sweeping strokes to illustrate the hair’s flow.
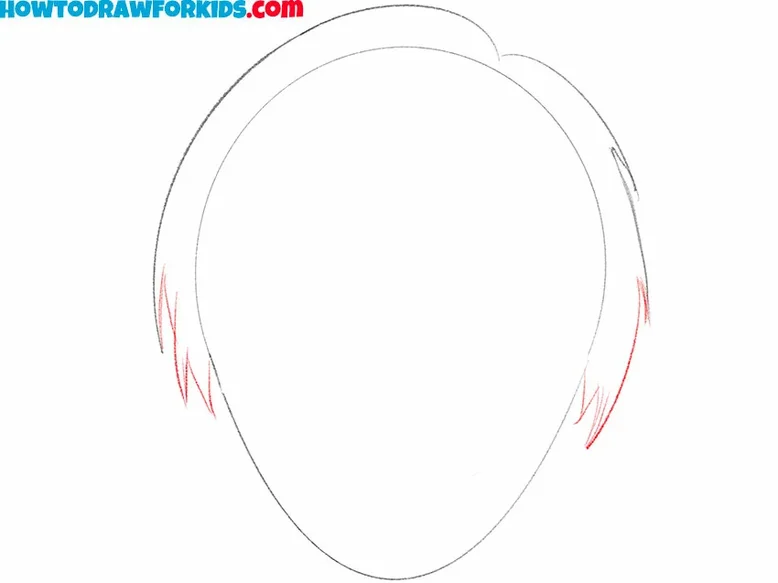
- Sketch the ears and hair at the back.
On the sides of the face, you can add ears and draw hair underneath. You can make this part of the hairstyle shorter or longer, and thereby adjust the entire length of the anime haircut. This step will give your drawing of anime hair look more dimensional.
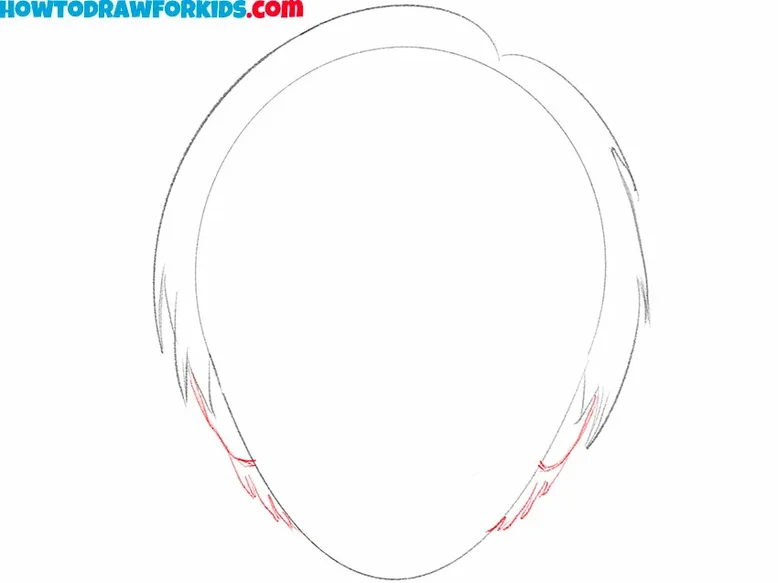
- Draw the bangs.
Use curved lines to draw this element. Pay attention to the location of these lines. The bang line can be drawn higher or lower, which will also help you control the length of the hairstyle. Don’t draw each hair individually, instead draw strands of anime hair, varying their thickness and length for greater realism.
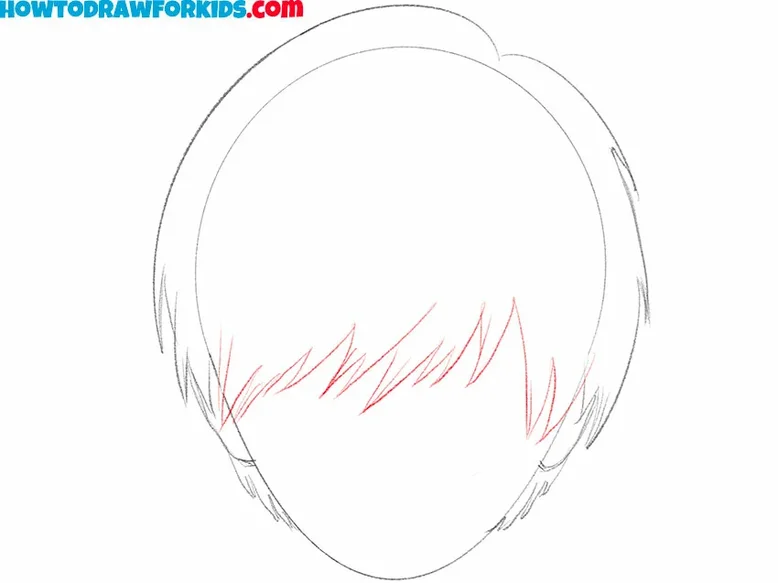
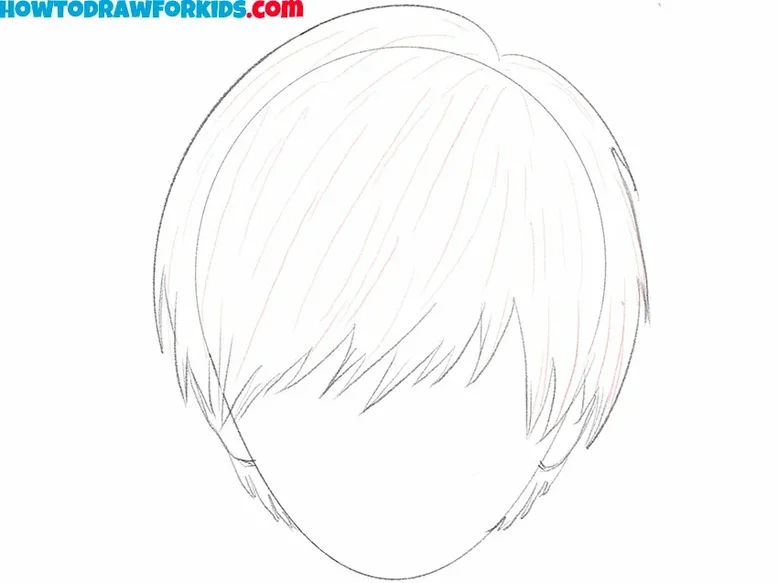
- Illustrate texture inside the outline.
Once the outline of anime hair is ready, it is time to add texture using separate lines that follow the natural position and flow of the hair. As with the outer outline, draw the texture of the anime hair from the roots to the tips for a more realistic look.
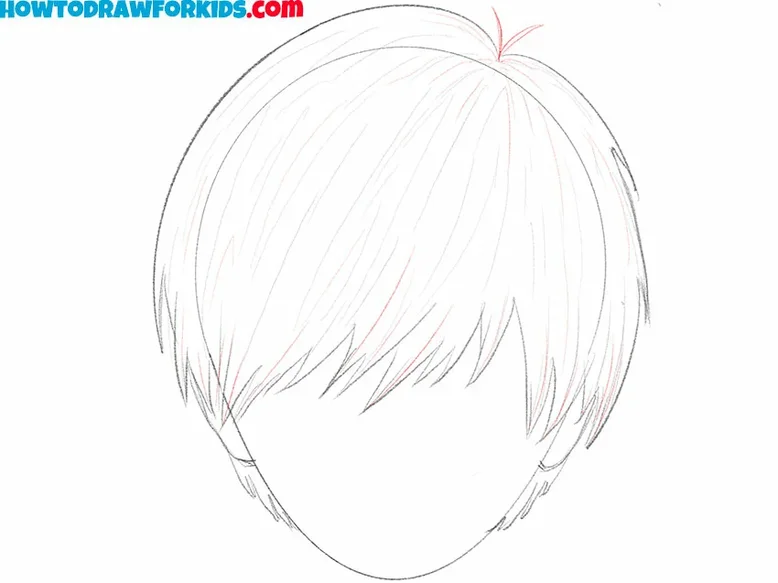
- Add finishing touches to the sketch.
Now let’s add the final details to the anime hair drawing. First, add some extra hair lines to give the drawing even more texture and detail. Vary the length and position of these lines. Next, draw the spiky hair on the top of the head using a few slightly curved lines.
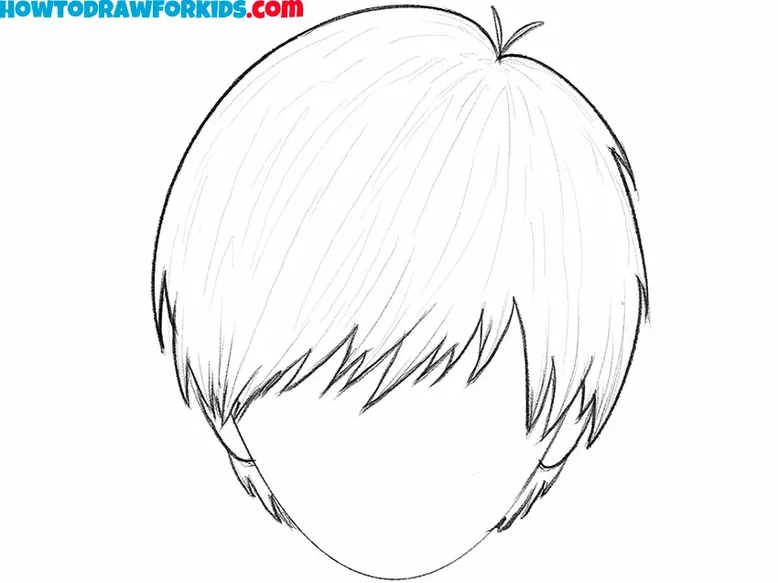
- Erase the guidelines and finalize the sketch.
Use an eraser to remove the guidelines and any other unnecessary sketch marks that were used to help shape the hair. You can also outline the entire anime hair drawing to make it look more finished. This will give your anime hair drawing a more professional look and will make it ready for coloring.
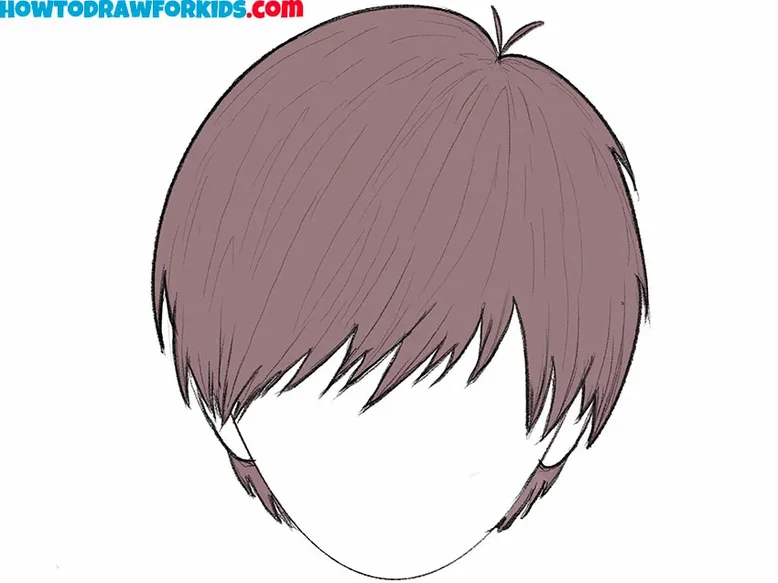
- Color the anime hair drawing.
Choose a color that complements the character’s look or the style of the character. One of the distinctive features of anime is very interesting and unusual hairstyles. Hair of anime characters can be painted in both standard and natural colors, and in more unusual ones, such as purple or green.
Additional Content
To boost your learning experience, I’ve created a compact PDF version of my anime hair drawing lesson that you can download for free. This file is created for easy access on all your devices, allowing you to revisit the steps of the tutorial anytime and anywhere, whether you’re online or offline.
How to Draw Anime Hair Easy
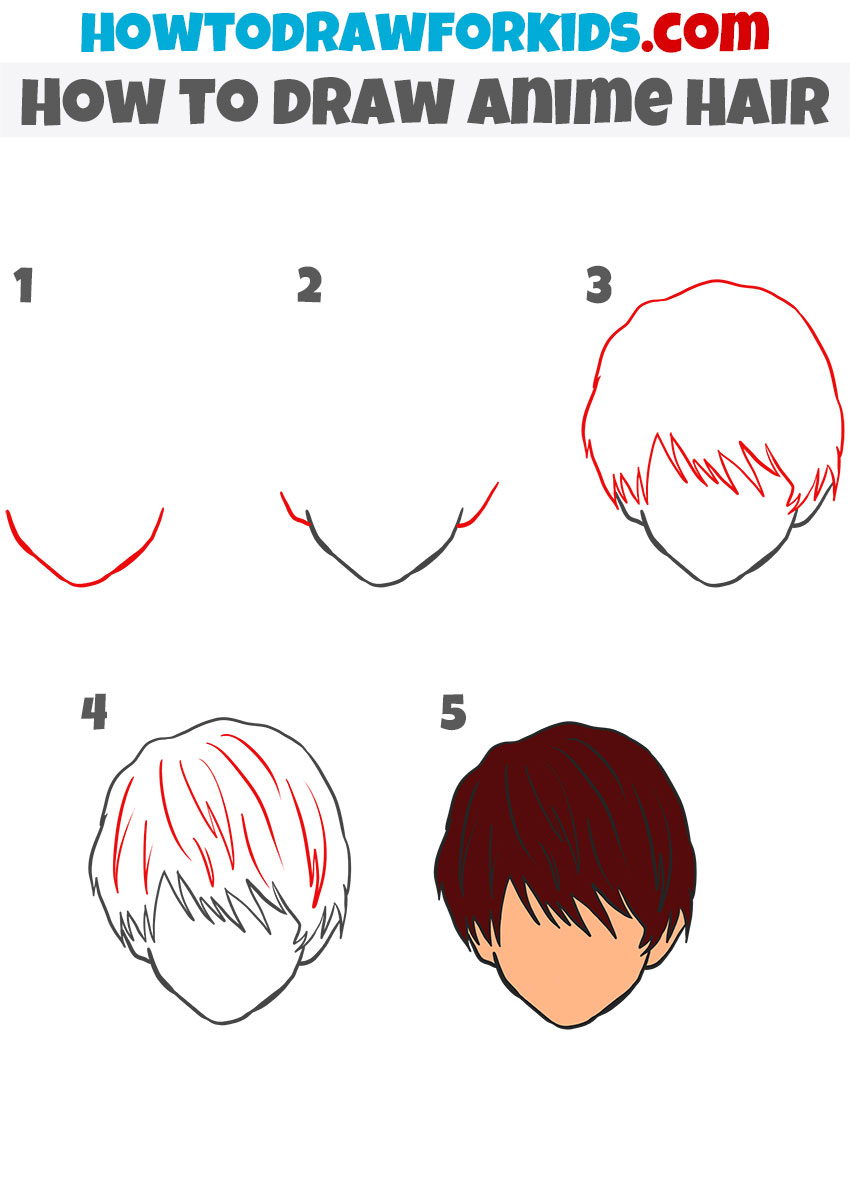
The main difference between this tutorial and the first anime hair drawing tutorial lies in the simplicity and approachability of the steps. This version is geared towards beginners, with fewer details and preliminary steps, making it suitable even for those who have just picked up a pencil. Unlike the first tutorial, which demonstrates more detailed steps for advanced techniques, this one focuses on the basic outline and minimal hair detailing.
To draw anime hair using this easy method, begin by sketching the chin and adding the outline of the ears. Next, draw the basic shape of the hair around the head, following the simple example shown. Focus on shaping the hair to cover the scalp while keeping the lines clear and simple.
Once the outline is in place, proceed to add the general details of the anime hairstyle. The hair should flow naturally around the face, with light, gentle strokes forming the bangs and the sides. Once the outline of the hair is done, color the anime hair. You can use natural colors or experiment with other hues for more unusual look.
Conclusion
The tutorial has demonstrated how to draw anime hair for beginners, showing you how to make it authentic and unique. First, we focused on basic skills using a simple method, then improved those skills with a more detailed technique.
Use my lessons to create accurate drawings of cool anime characters. For example, on my website, you can find a lesson on how to draw anime eyes, as well as tutorials for drawing anime noses and other parts of the body. These guides will help you develop your skills in drawing different aspects of anime characters.
If you want more, consider connecting with me on social media. It’s the fastest way to access the latest drawing tips, tricks, and tutorials. Subscribe to my YouTube channel for video versions of my guides and follow me on Pinterest for updates and additional content. By following me, you’ll always stay up-to-date with new lessons.

