How to Draw Cartoon Hands
Today in this lesson I suggest you complete a new lesson in which I will show you how to draw cartoon hands step by step.
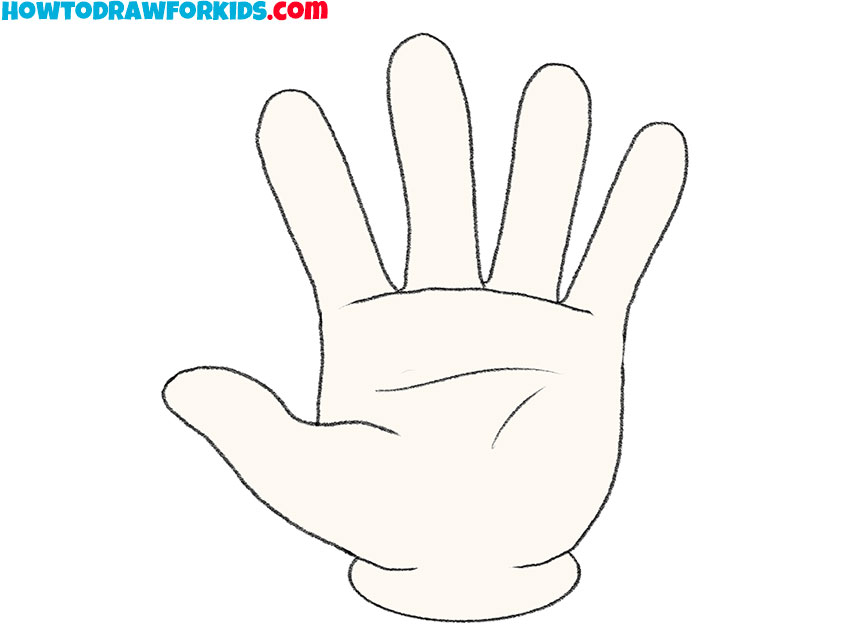
Let’s continue drawing cartoon body parts and in this tutorial you will learn how to draw cartoon hands. The instruction is very simple and contains small hints at each step. I hope you can easily draw cartoon hands, even if you are a beginner.
The hand is raised up, and you can clearly see the palm. The length of the fingers on the cartoon hand is the same as on the realistic hand. When drawing, try to correctly depict all physiological curves and also try to maintain all proportions.
When you successfully master this lesson, you can easily draw any other hand. To achieve an excellent result, you must carefully follow each step in this instruction.
Materials
- Pencil
- Paper
- Eraser
- Coloring supplies
Time needed: 30 minutes
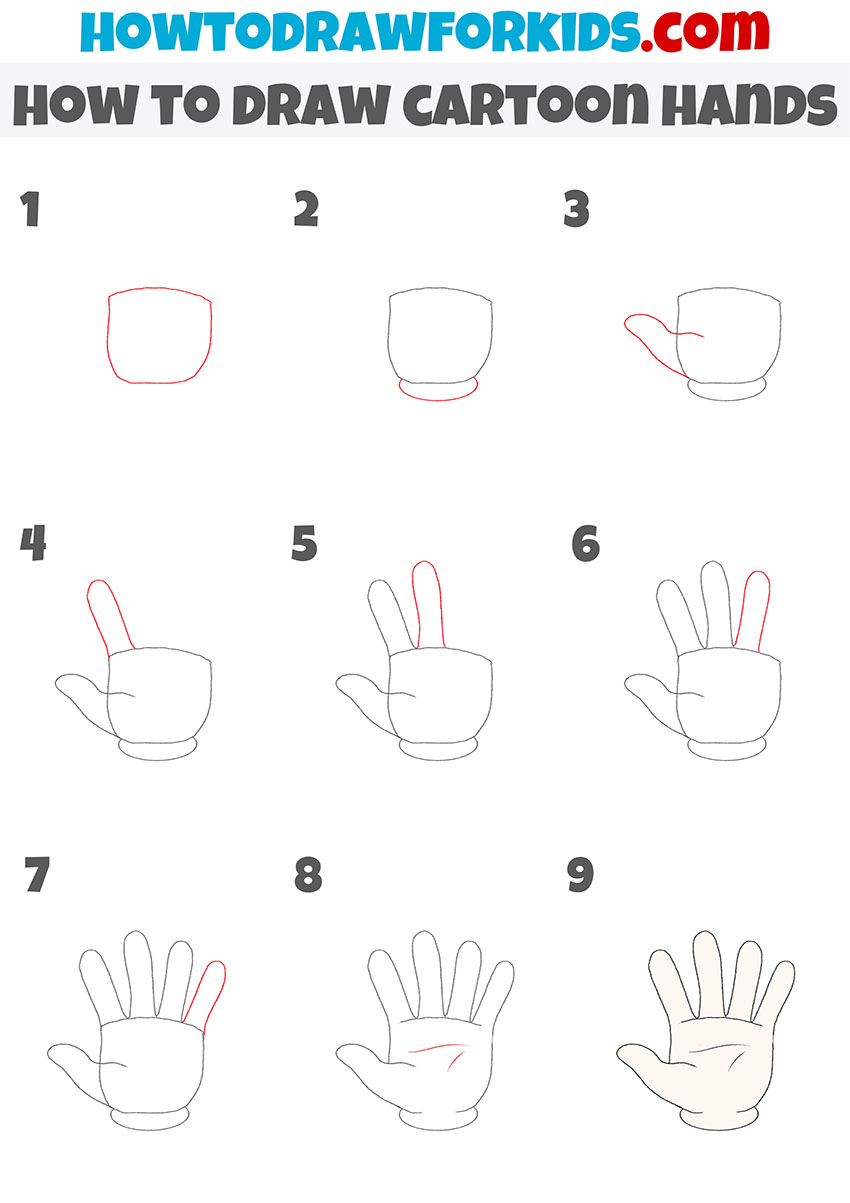
How to Draw Cartoon Hands
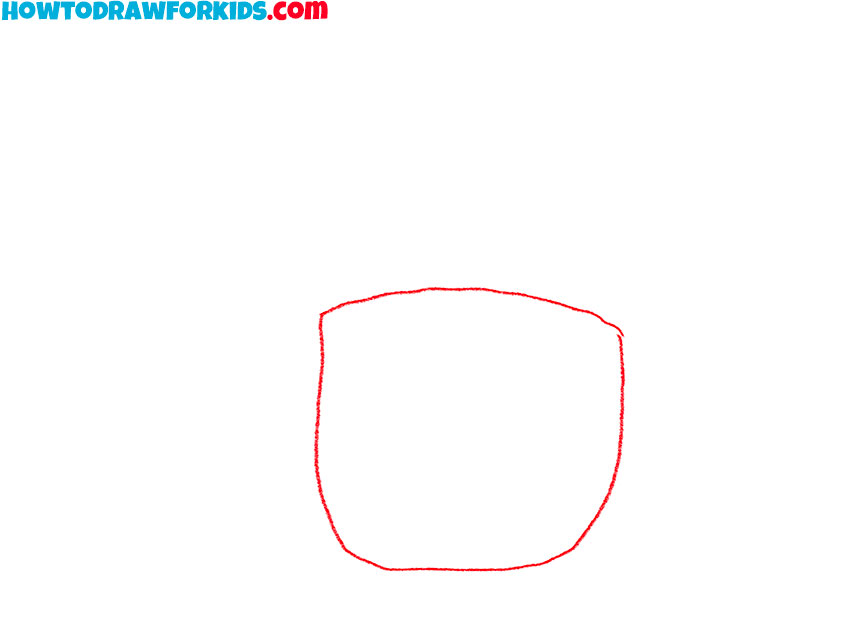
- Draw the outline of the palm.
In this drawing, the palm is shaped like a square with rounded corners.
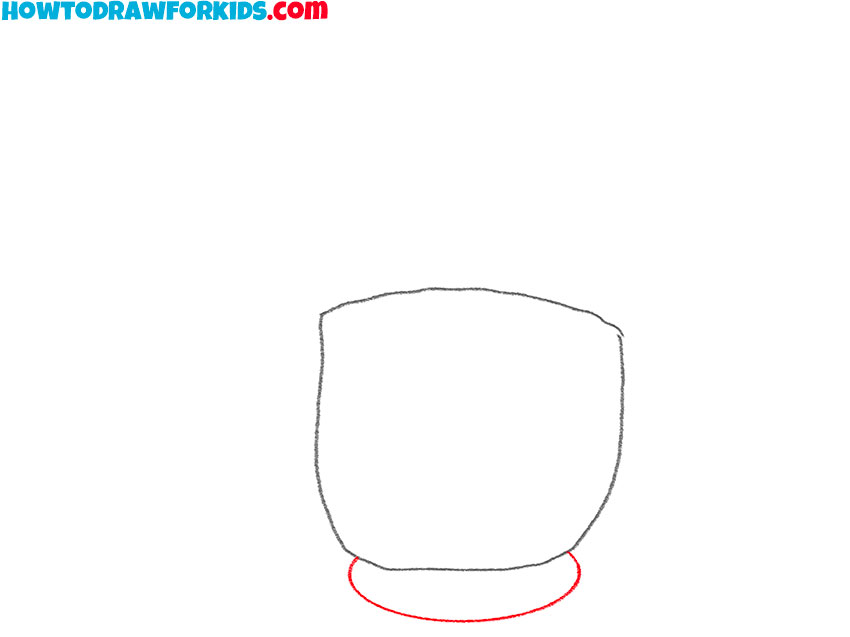
- Depict the bottom outline.
Do this with a smooth, rounded line.
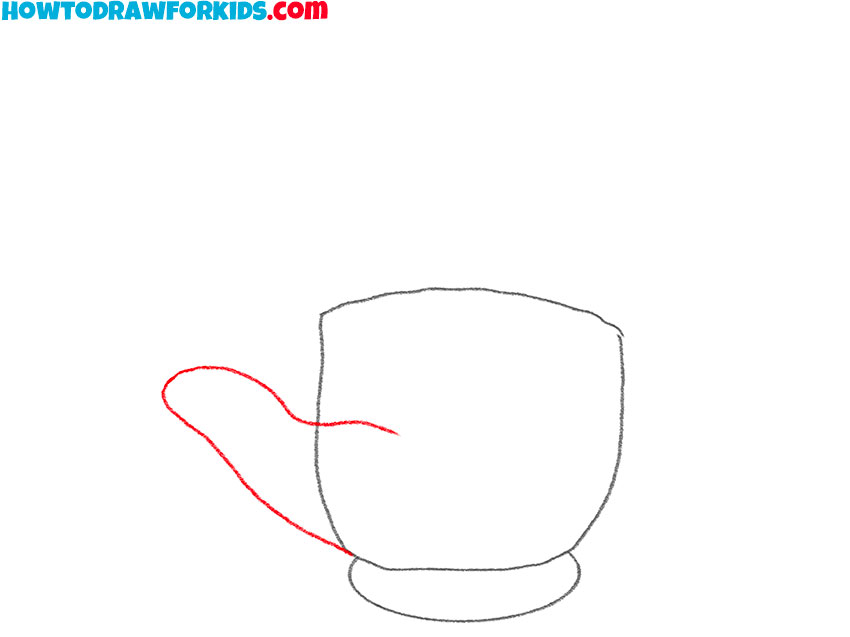
- Sketch out the thumb.
On the left, draw the thumb that is turned to the side.
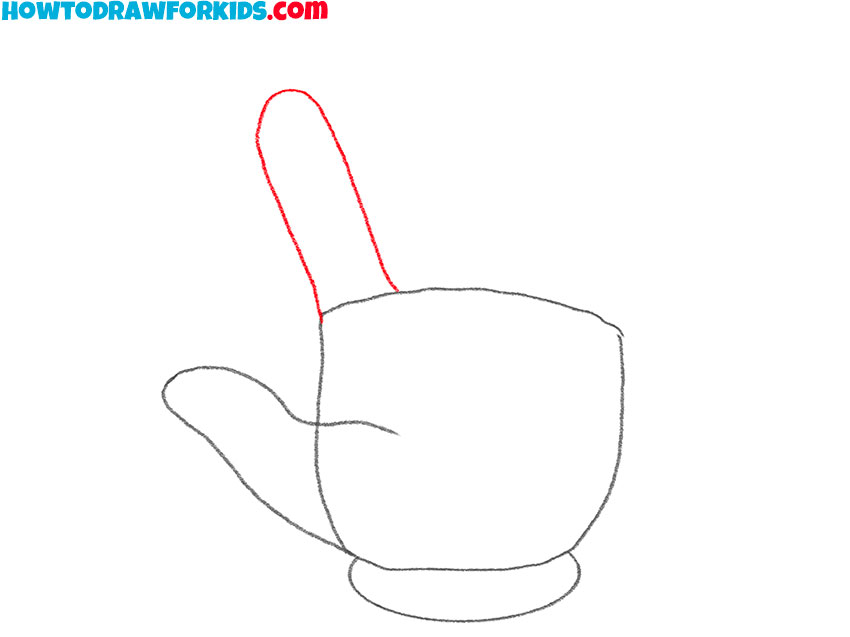
- Draw the index finger.
At the top of the palm, depict the index finger using smooth lines.
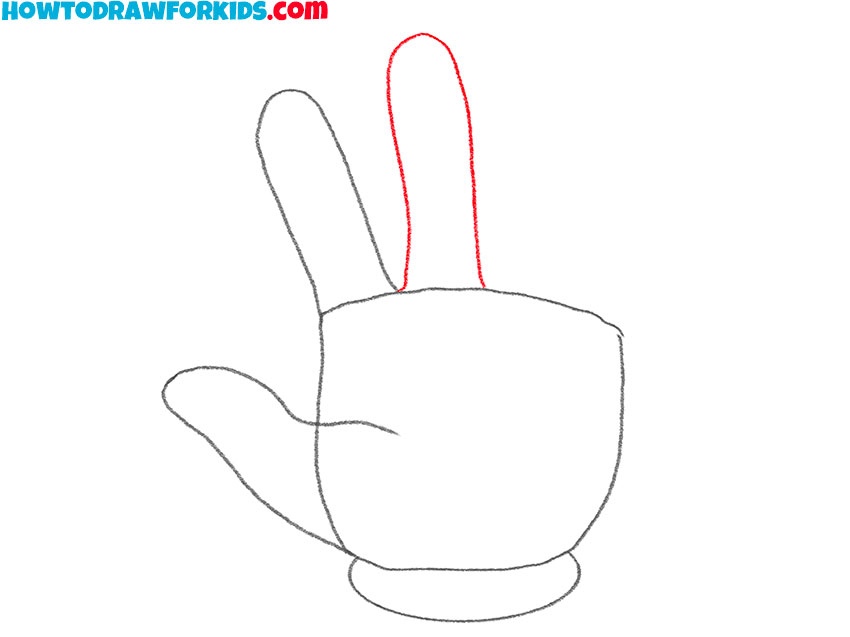
- Add the middle finger.
Next, draw the middle finger, which will be longer than all the other fingers.
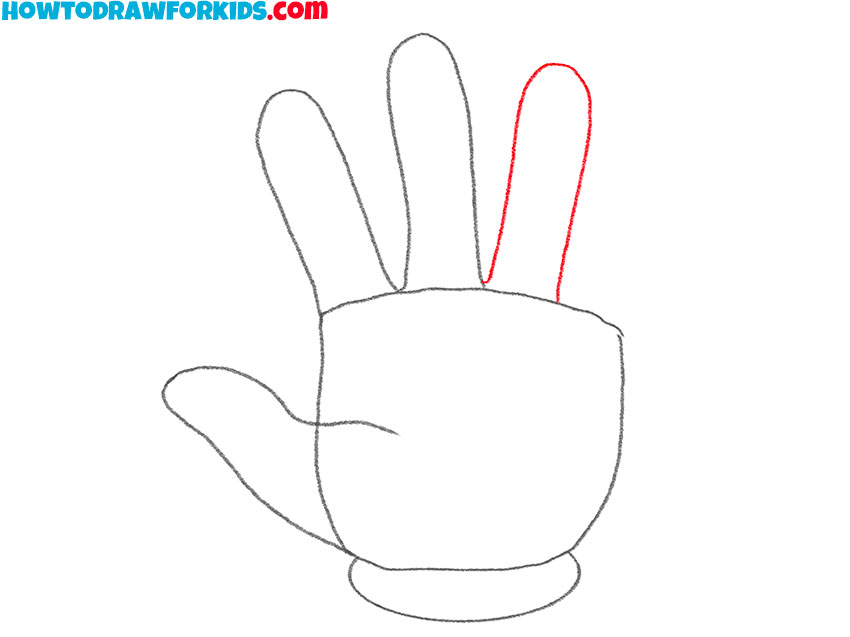
- Depict the ring finger.
In this step, draw another finger that is slightly shorter than the middle finger.
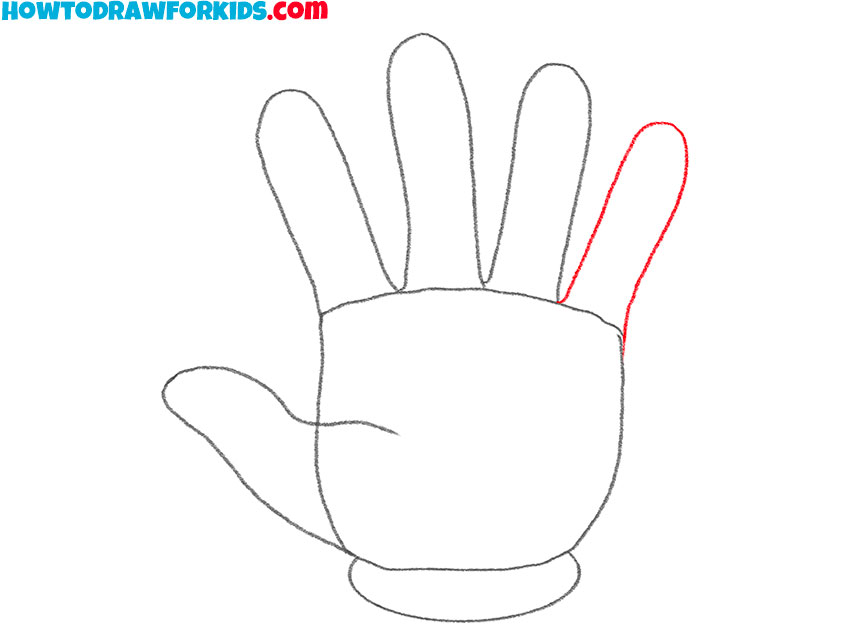
- Draw the little finger.
And finally, sketch out the shortest and thinnest finger.
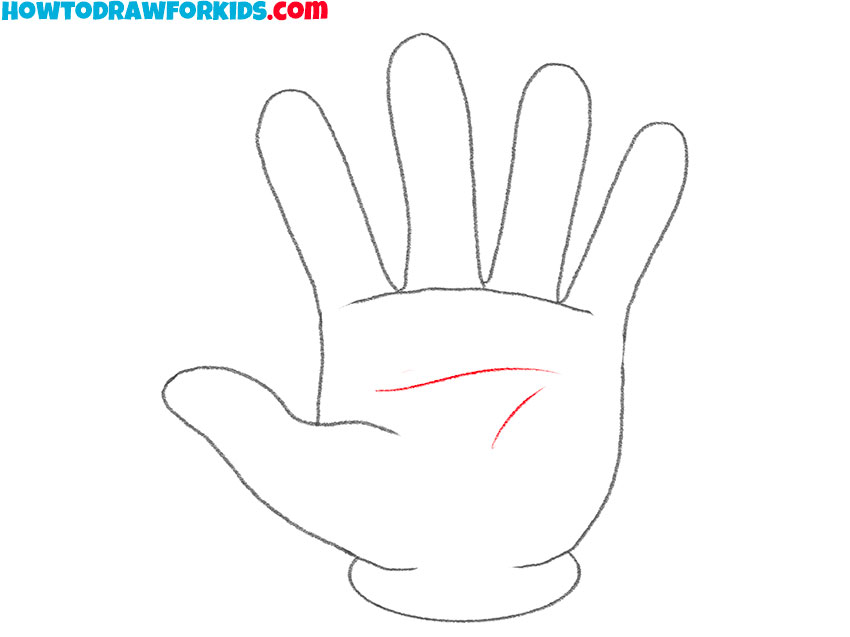
- Add creases to the palms.
With the help of two smooth lines, add two folds of skin on the palm.
- Color the cartoon hands.
At this stage, you can use any color.

Now you can download a short version of the lesson in PDF format for free. Thus, the lesson will always be available to you, you can repeat it at any time.

