How to Draw Cyborg
A key member of the Justice League, this superhero has a unique appearance, which we’ll capture by learning how to draw Cyborg.
How to Draw Cyborg: Basic Information
Welcome to my tutorial designed to show you how to draw Cyborg in a fun, accessible way. With this lesson, we’re transforming the tech-savvy titan into a cute chibi character that you can bring to life with just a few simple steps. My aim is to make drawing approachable, turning complex forms into playful art.
I’ve broken down Cyborg’s mechanical intricacies into clear, manageable shapes, maintaining his heroic spirit in a lovable chibi style. You’ll learn to draw his cybernetic eye and armor with ease, ensuring that your rendition of Cyborg is both accurate and expressive, capturing his strength in a smaller scale.
By the time you draw Cyborg to completion, you’ll see just how rewarding it can be to transform a formidable hero into something so endearing. This guide is not just about the final drawing, but also about enjoying the process and developing your skills along the way. Let’s start this creative journey together!
Cyborg Drawing Tutorial
Materials
- Pencil
- Paper
- Eraser
- Coloring supplies
Time needed: 35 minutes
How to Draw Cyborg
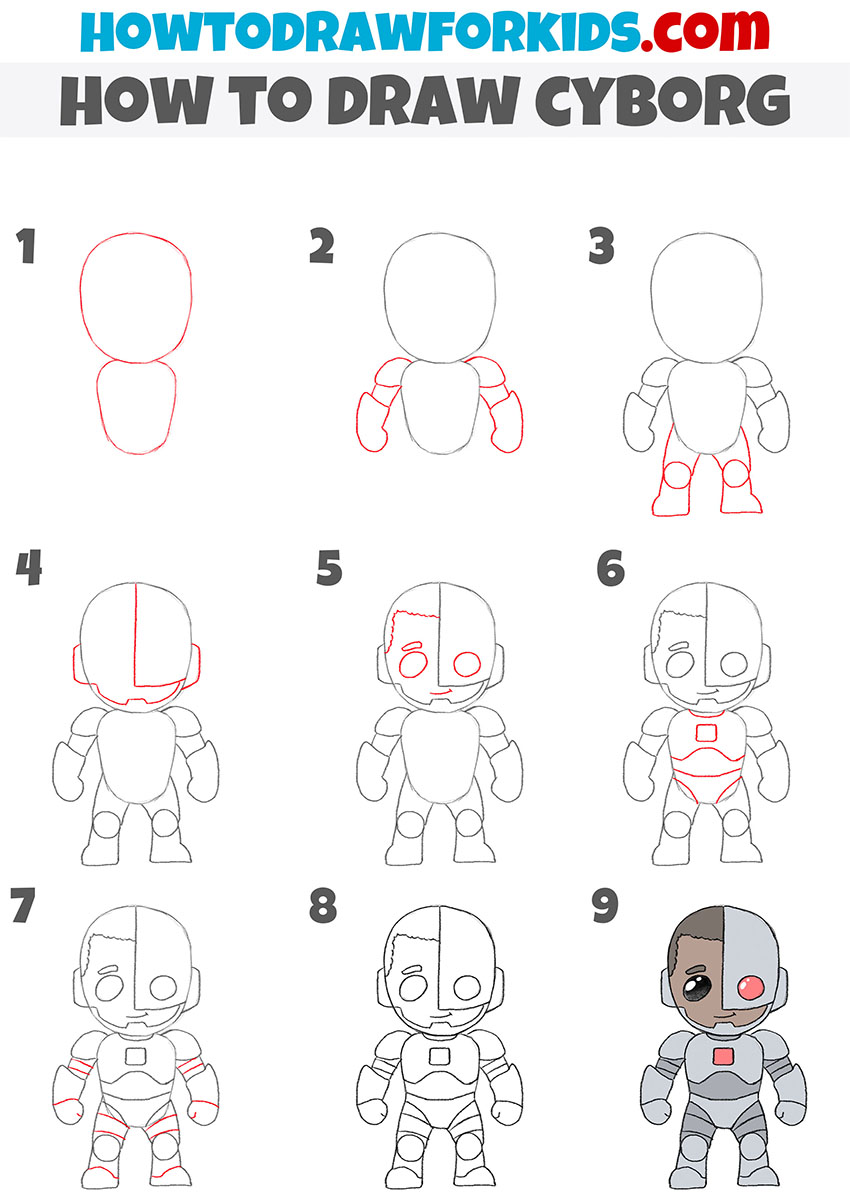
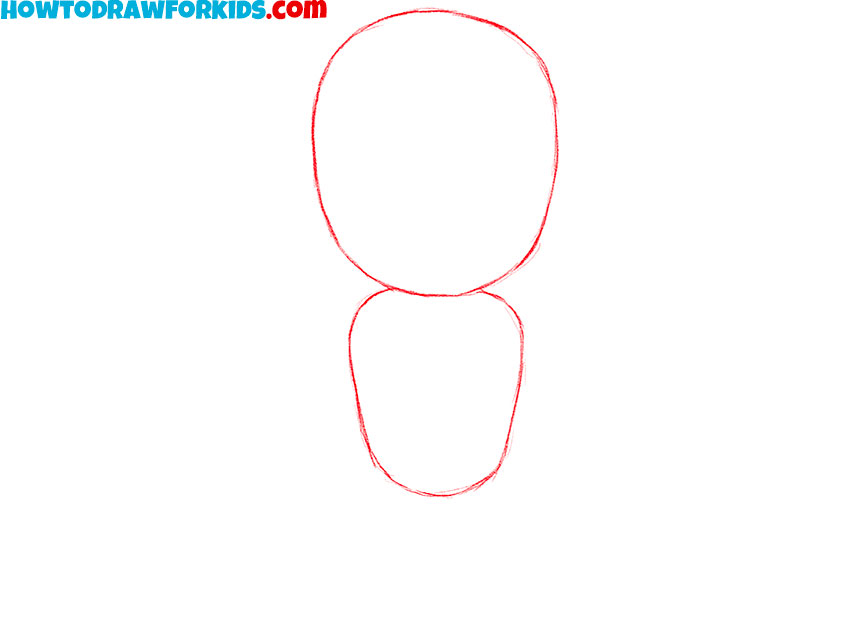
- Create the head and chest forms.
Cyborg’s figure begins with two main shapes that will affect the rest of the drawing. Sketch an oval-like shape for the head, and just below it, draw a larger rounded shape for the torso. Sketch the torso wider at the shoulders and tapers a little toward the bottom, to illustrate the heroic physique.
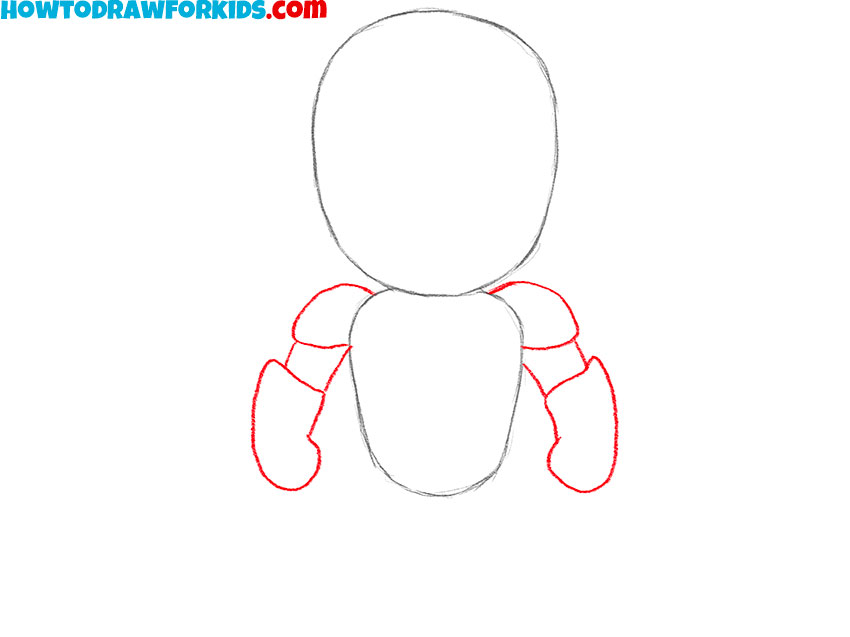
- Add the simplified cybernetic arms.
Next, add the basic shapes for the arms. On each side of the torso, draw three sections: one for the shoulder, one for the upper arm, and one for the forearm. At the ends, sketch simple curved shapes for the hands. Make the arms symmetrical in length and width.
- Draw Cyborg legs and feet.
From the bottom of the torso, sketch two block-like forms, ending in simple shapes for the feet. Add rounded joints at the knees to illustrate mechanical connections. A good way to check is to make sure the height of the legs is about the same as the height of the torso.

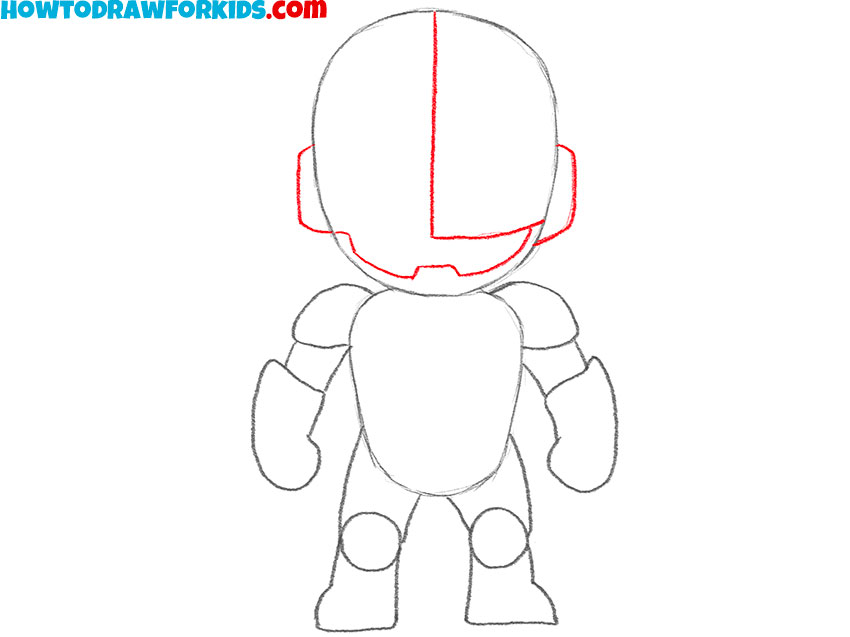
- Sketch the helmet lines.
Cyborg’s most recognizable feature is the split between his human and robotic sides. Draw a vertical line down the middle of the face to divide it evenly into two halves. Then add a jawline and chin guard by sketching block-like curves around the lower face. On the sides of the head, draw ear-like pieces to represent mechanical parts that frame the helmet.
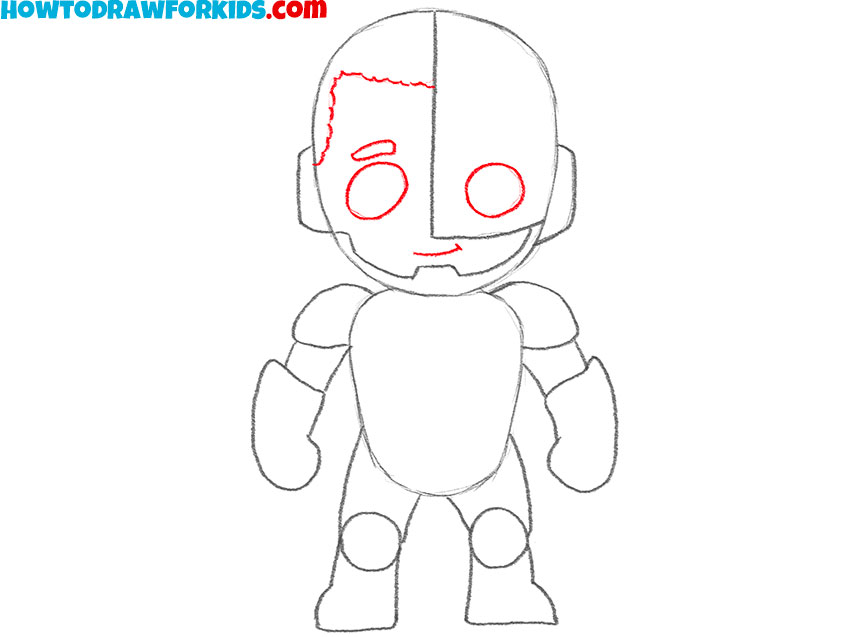
- Draw the human and robot facial features.
With the head divided, start sketching the main facial details. On the left side, draw a normal eye and eyebrow, and on the robotic side, create a circular eye that resembles a red sensor. Add a small mouth centered below the eyes. After that, draw the hairline using small curves to indicate texture.
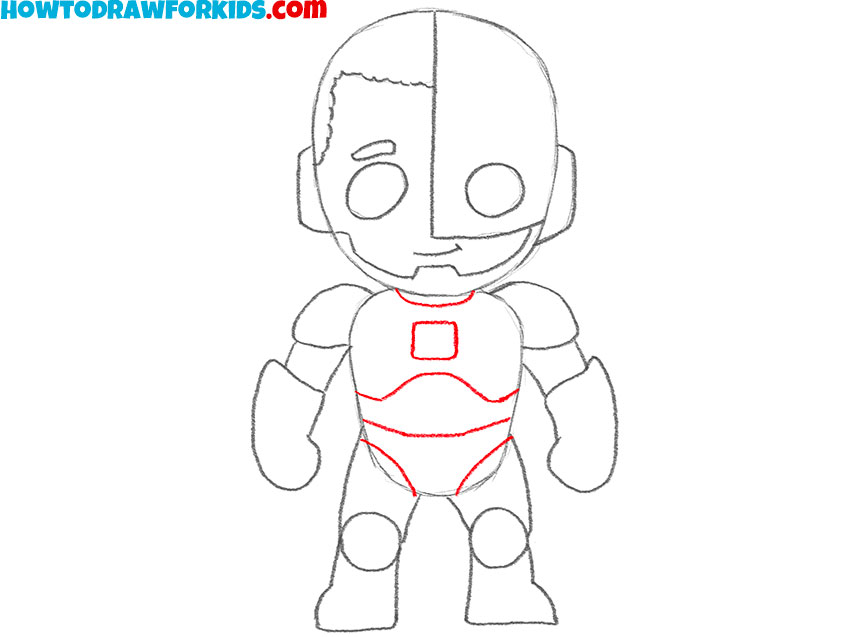
- Detail Cyborg’s torso armor.
Now move down to the torso and start adding Cyborg’s chest plate. Sketch a small square in the center of the chest, this represents the glowing core. Around it, draw angular lines that create the outline of his armored chest. Add a few panel-like divisions to convey plating. After that, draw the armor parts on the pelvis, using a smooth triangular shape.
- Sketch the armor patterns.
After the main chest plate, continue the armor details onto the arms and legs. Sketch segmented bands around the upper arms, forearms, thighs, and lower legs. You can also add small angular lines at the joints. Keep the spacing of these lines equal. A helpful way to check is to mirror the details – if you add a band on one arm, make sure the other arm has it in the same position.

- Clear the guidelines and darken the details
Remove the unnecessary parts of the original oval shape of the head and torso that you used for guidelines, along with the rough shapes of the arms and legs. Erase any overlapping lines inside the armor that are no longer needed. Keep only the final outline of the character. Once erased, go back over the important outlines of the drawing to make them smoother and darker, just like in comic books.

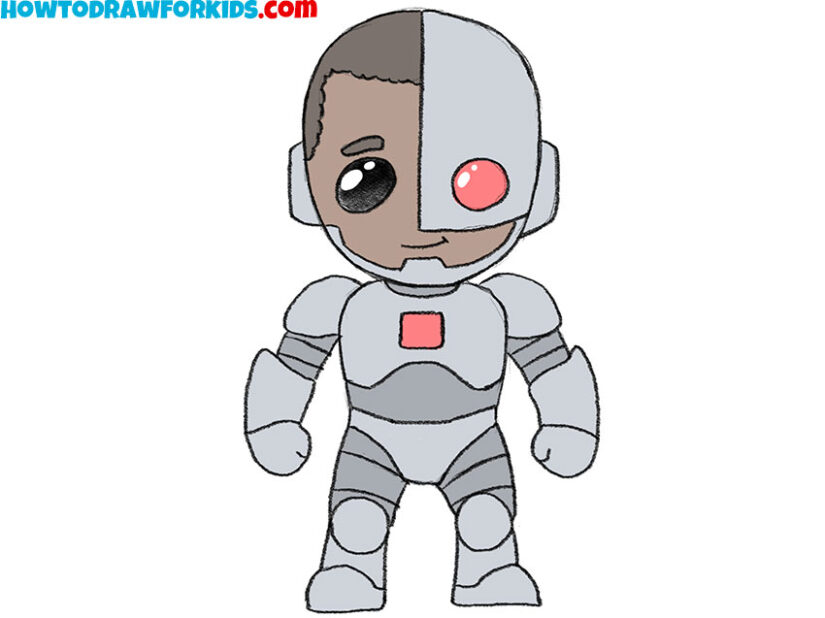
- Add signature colors to face and armor.
To finish the drawing, add colors, using a brown tone for the human side of the face, painting the hair a darker shade. For the robotic half and for the metallic parts of the glue, fill it with gray or silver to convey the armor. The sensor eye should be colored bright red, while the normal eye remains black with small highlights. The chest square can be filled with a glowing red or pink tone.

How to Draw Cyborg: Video Tutorial
Additional Content
I’ve prepared a free PDF file that simplifies this Cyborg drawing lesson into a concise guide. Available for download, it allows you to practice drawing Cyborg’s chibi form anytime, anywhere, without needing an internet connection, making it an ideal resource for on-the-go learning and revision.
Conclusion
As we conclude our lesson on drawing Cyborg, I invite you to explore the diverse range of tutorials available on my website. From capturing the rustic charm of a farmhouse to the dynamic leap of a kangaroo, there’s a world of subjects waiting to spark your creativity and refine your drawing skills.
Stay connected and never miss an update by following my social media channels. Your feedback and requests are the compass that guides our journey through art, so please, share your thoughts and desires for future tutorials beneath this lesson. Together, we’ll continue to map out new territories of creativity.