How to Draw Grass
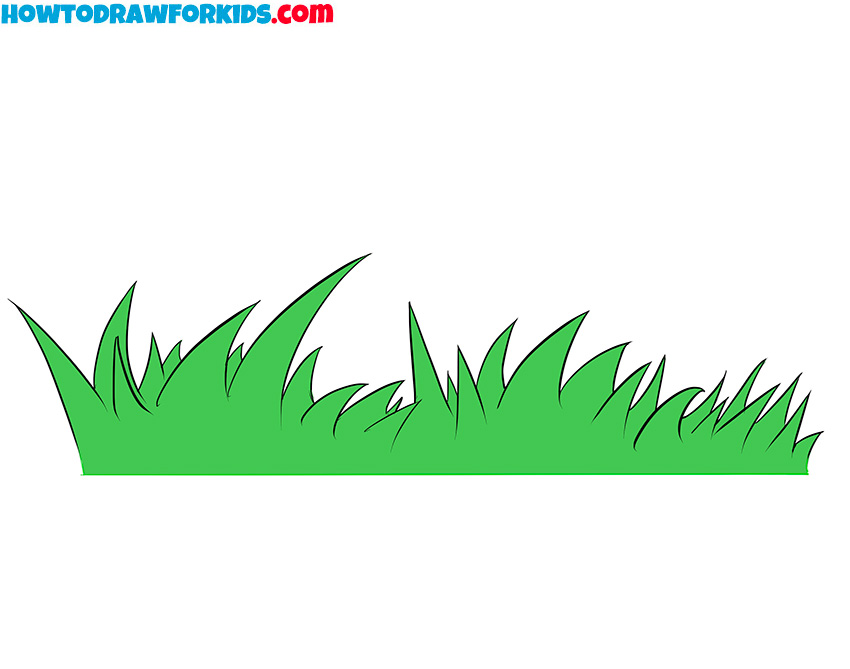
This step-by-step drawing lesson will focus on how to draw grass for kids. The lesson is super simple and has four elementary stages.
How to Draw Grass: Introduction
When learning to draw grass, it’s important to keep in mind that the process is simple, yet it requires attention to detail for a natural result.
The focus is on drawing curved lines that vary in length and angle, mimicking the natural growth of grass. Take your time with each line, ensuring that the blades of grass are not uniform. Grass grows in a random pattern, so vary the height and direction of each blade for a more realistic look.
Additionally, consider the density of the grass. Avoid overcrowding the space with too many lines; allow some gaps for a more natural appearance. It’s also helpful to use light strokes at first, gradually building up the layers of grass as you go.
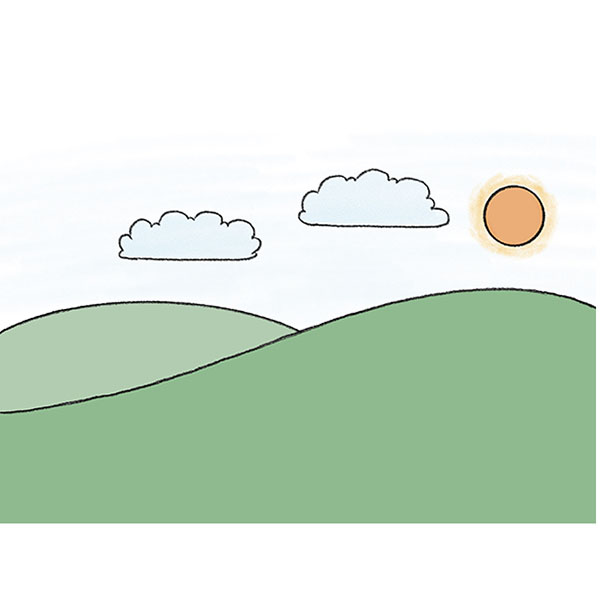
As you become more comfortable with drawing grass, you can start to add additional details. For example, you can draw flowers, and sketch butterflies, or background elements to make your scene more complex. However, it’s recommended to focus on mastering the basic shapes first before adding these extra features.
Grass Drawing Tutorial
Materials
- Pencil
- Paper
- Eraser
- Coloring supplies
Time needed: 25 minutes
How to Draw Grass
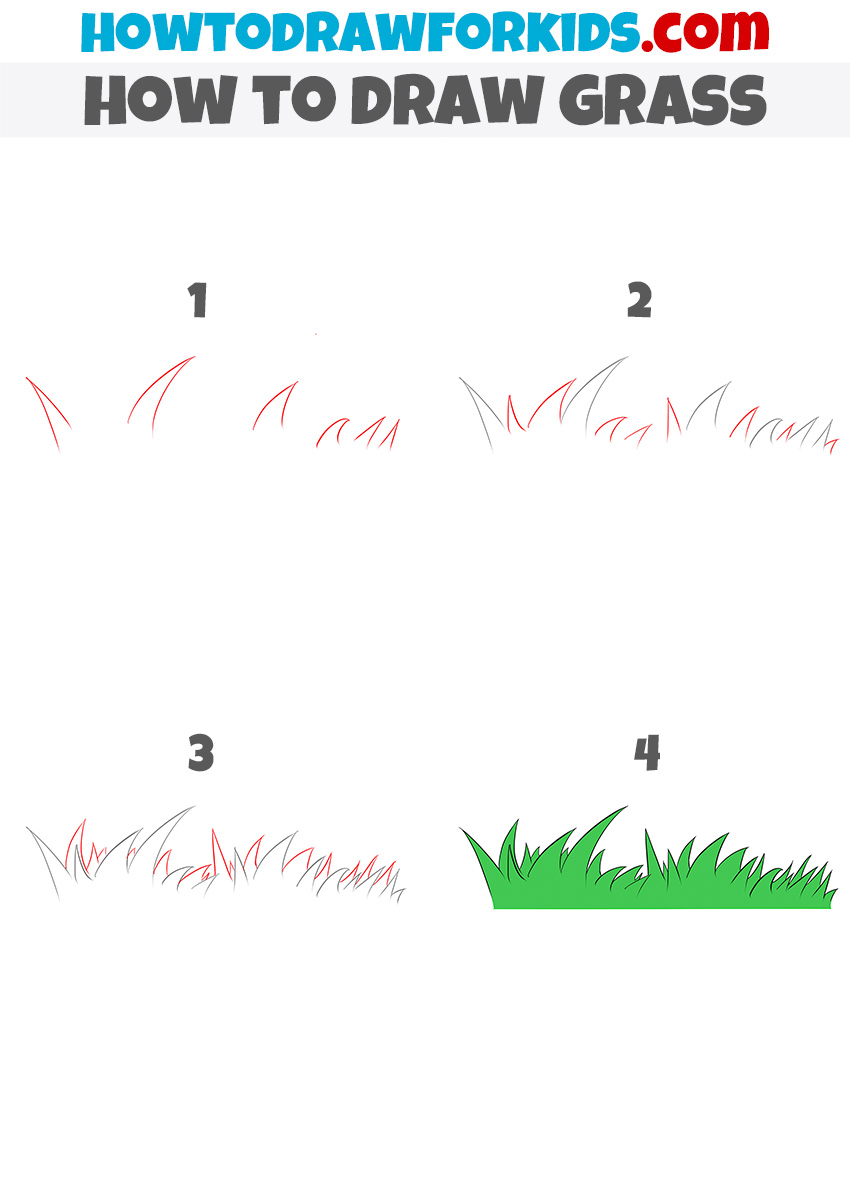
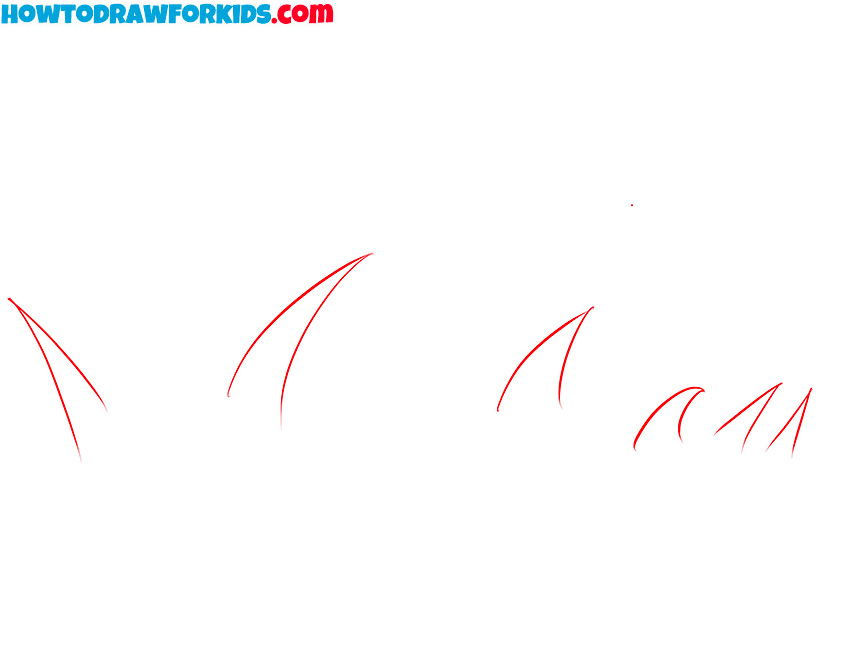
- Draw the first blades of grass.
In this step, start by sketching a few simple, curved lines to represent individual blades of grass. Each blade is slightly pointed at the top, curving in different directions to create a natural look. The blades should vary in size and lean slightly to give the appearance of natural movement.
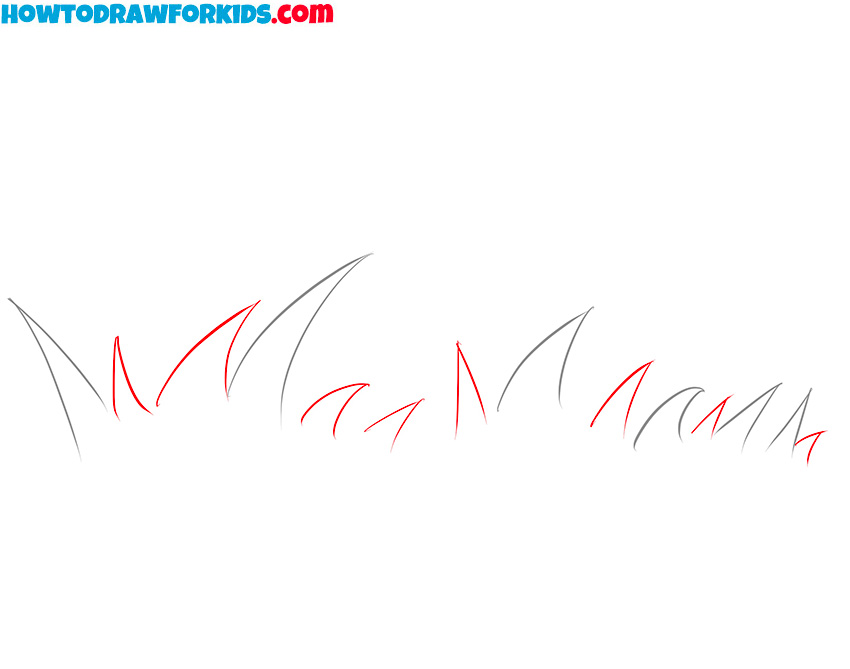
- Add more grass.
Now, add more curved lines between the blades you drew in the first step. The goal is to make the grass appear fuller by filling in the gaps. Continue to draw the blades in a variety of directions and sizes, ensuring that some of them overlap or lean against each other.
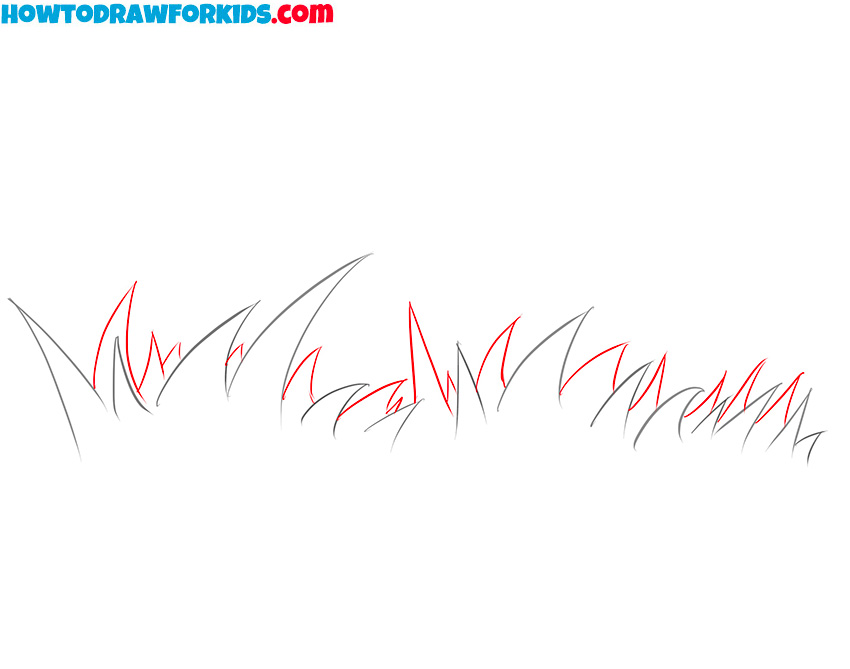
- Complete the outline.
At this stage, you should focus on completing the outline of the grass by adding more overlapping blades. These additional strokes will make the grass look even fuller and more natural. Vary the angles, lengths, and curves of the new blades to ensure a natural look.
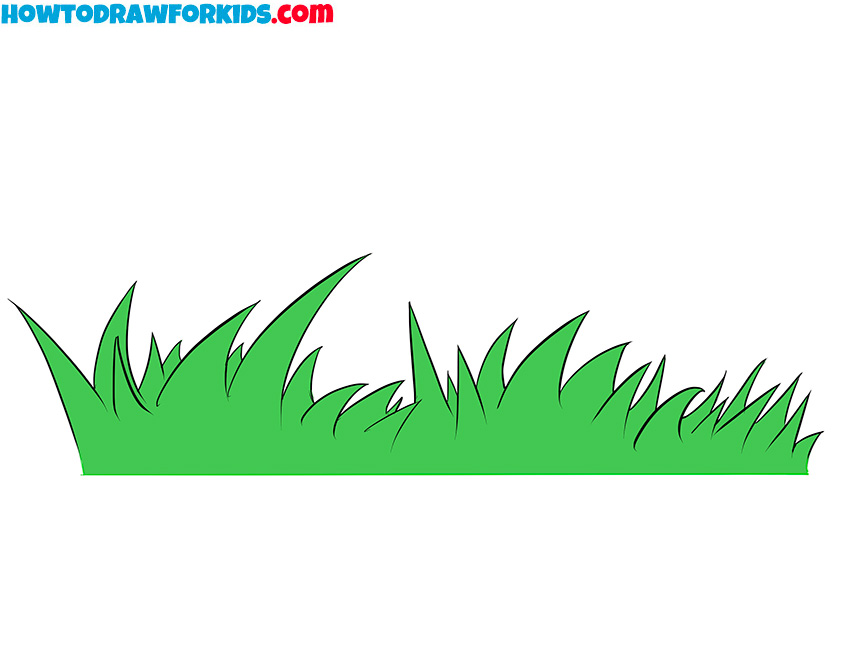
- Color the sketch.
Use a bright, natural green to fill in the grass. To make your grass drawing more realistic, try to create some variation in the shading. You can add darker green shades near the bottom of the blades and keep the tips lighter for a more realistic effect. Be careful to stay within the lines of your sketch as you fill in the color.
Additional Content
In this PDF file, you will find everything you need to practice and improve your drawing skills based on the grass drawing tutorial. Included are clear illustrations of each step to help guide you through the process.
Additionally, a coloring page is provided for you to practice different color schemes. The tracing worksheet will help you to train drawing lines, while the grid drawing worksheet will be a great additional exercise for training proportions.

