How To Draw Hot Chocolate
Now I’ll show you how to draw hot chocolate – a tasty, comforting drink that warms you up and boosts your energy during the cold season.

How to Draw Hot Chocolate: Introduction
Hot chocolate – or hot cocoa – is something many of us associate with warmth, comfort, and festive moments. A mug of this delicious drink can warm you up in almost any weather and is often linked with cozy winter evenings or holiday celebrations. In today’s tutorial, I’ll show you how to draw hot chocolate (or hot cocoa) using two very simple methods that have become a tradition on my site.
As many of you know, I’ve been teaching kids and adults how to draw for years, and hot chocolate has always been one of the favorite drinks to draw among my students. While coffee is also a popular choice when it comes to drawing beverages, and many enjoy learning how to draw a cup of coffee, kids usually prefer drawing hot chocolate, as it feels more fun and familiar to them.
This drink is most often associated with Christmas, winter, and other seasonal celebrations. And when it comes to drawing a mug of hot chocolate, most of my students tend to imagine it in red. That’s exactly the kind of mug we’ll be drawing in this lesson on how to draw hot chocolate or hot cocoa.
Both drinks, of course, are essentially the same, and they’re drawn in the same way. So whichever one you prefer to call it, the drawing method is identical. By following the same steps, you can easily depict either hot chocolate or hot cocoa – they’re simply two names for the same cozy drink.
Hot Chocolate Drawing Tutorial
Materials
- Pencil
- Paper
- Eraser
- Coloring supplies
Time needed: 25 minutes
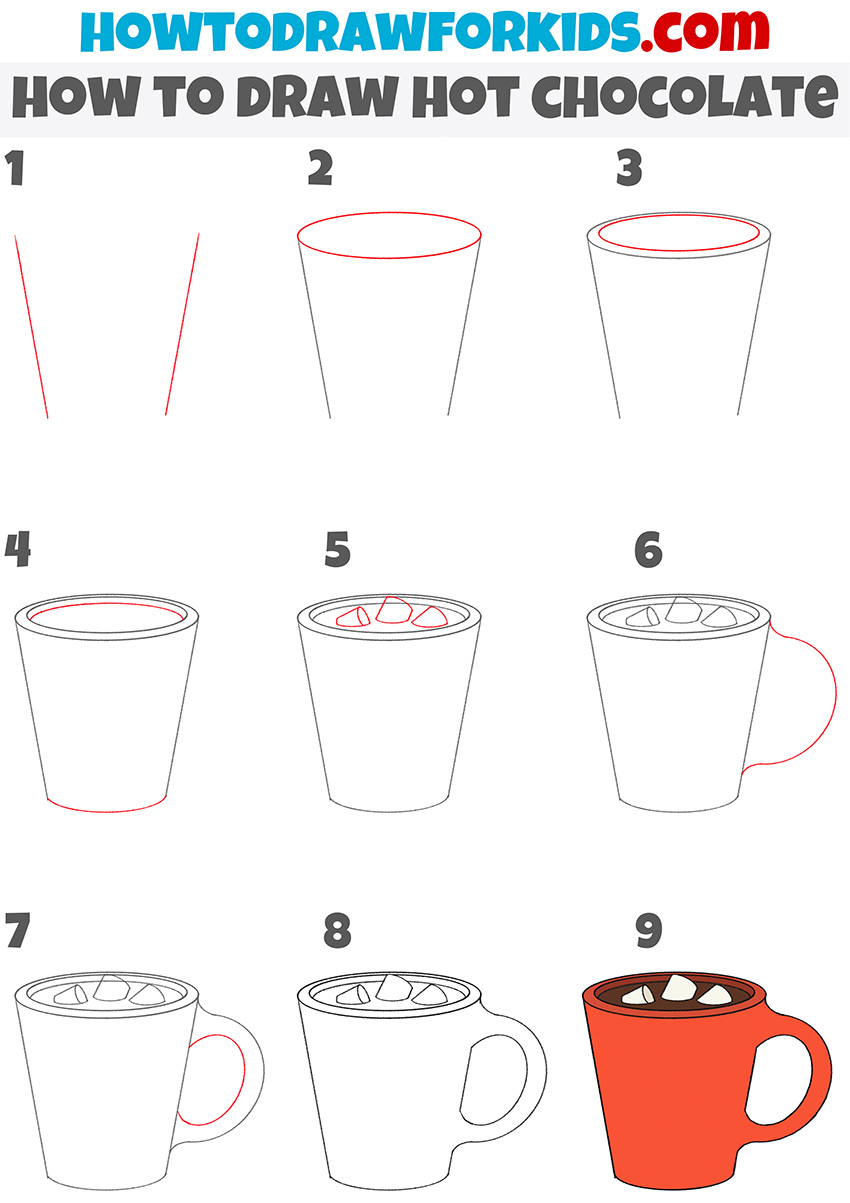
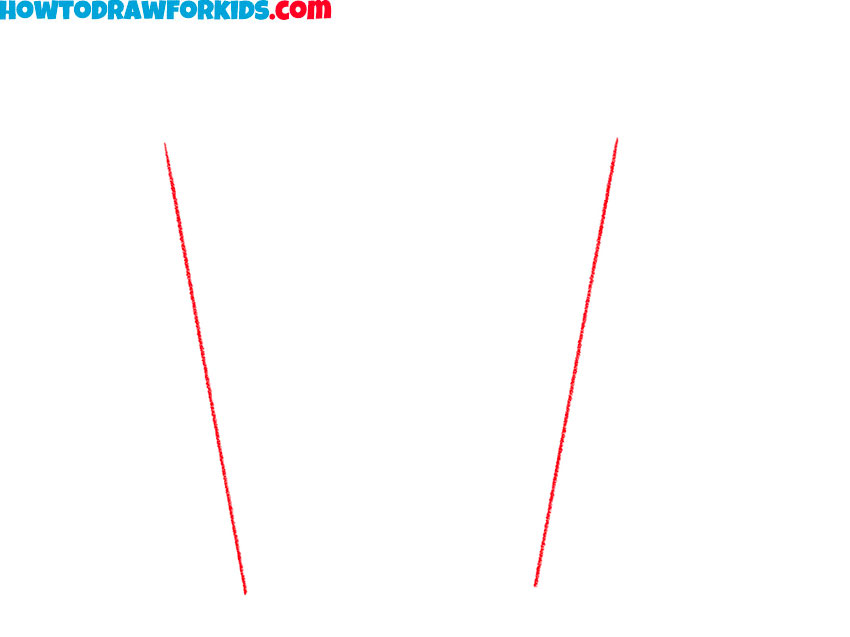
How to Draw Hot Chocolate
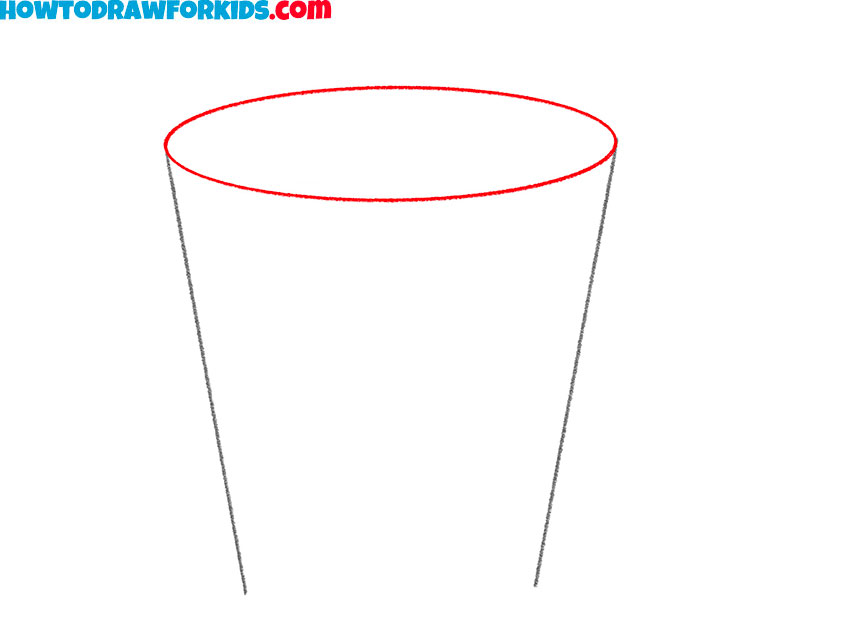
- Draw the sides of the cup.
Begin your hot chocolate drawing by sketching the two angled lines that will form the sides of the cup. These two lines should taper inward toward the bottom, creating the basic cone-like shape of the cup. Once you’re happy with the proportions, you’re ready to move on and connect the top part of the cup in the next step.
- Add the top oval of the cup.
To form the top rim of the cup, draw an oval connecting the tops of the two angled lines. This oval represents the opening of the cup, where the hot chocolate will go. It should sit smoothly on top of the shape you created in step one.
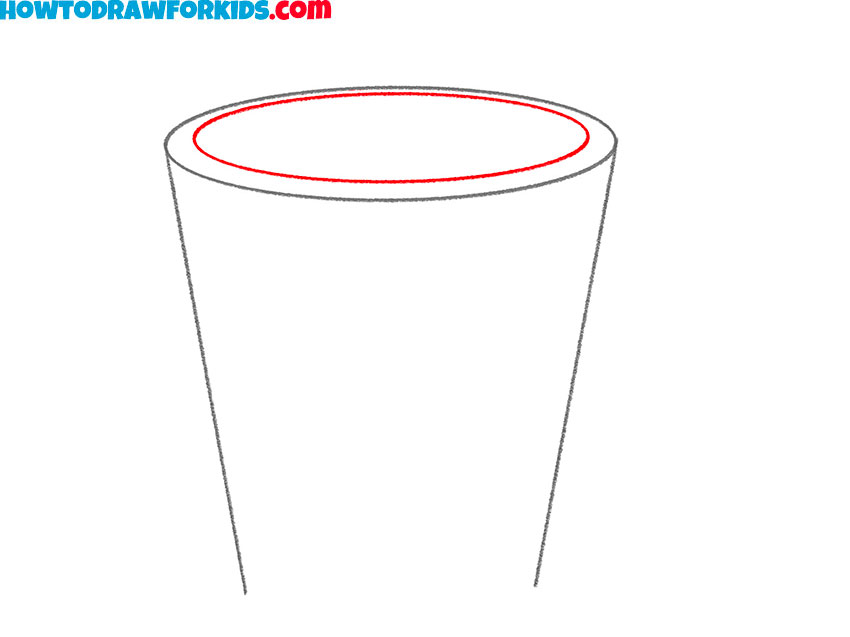
- Draw the inner rim of the cup.
Now let’s add the inner rim of the cup by drawing a second, smaller oval just inside the one you completed in the previous step. This oval follows the same shape and curve but is positioned slightly inward to show the thickness of the cup’s edge.
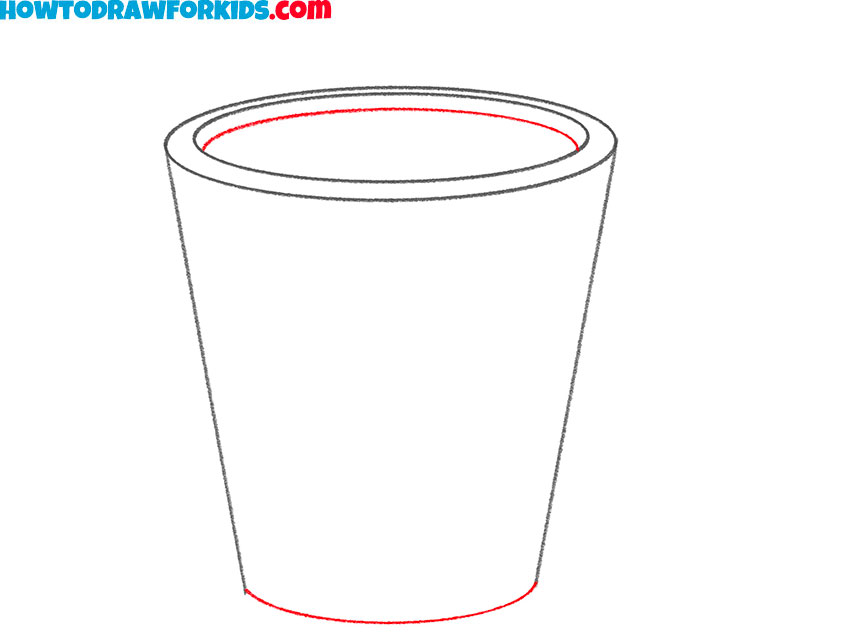
- Add the bottom of the cup.
To complete the outer shape of the cup, draw a curved line connecting the two bottom ends of the angled sides. This simple line finalizes the basic form of the cup and clearly defines its size and shape. Try to keep the curve symmetrical to the upper edge of the cup.
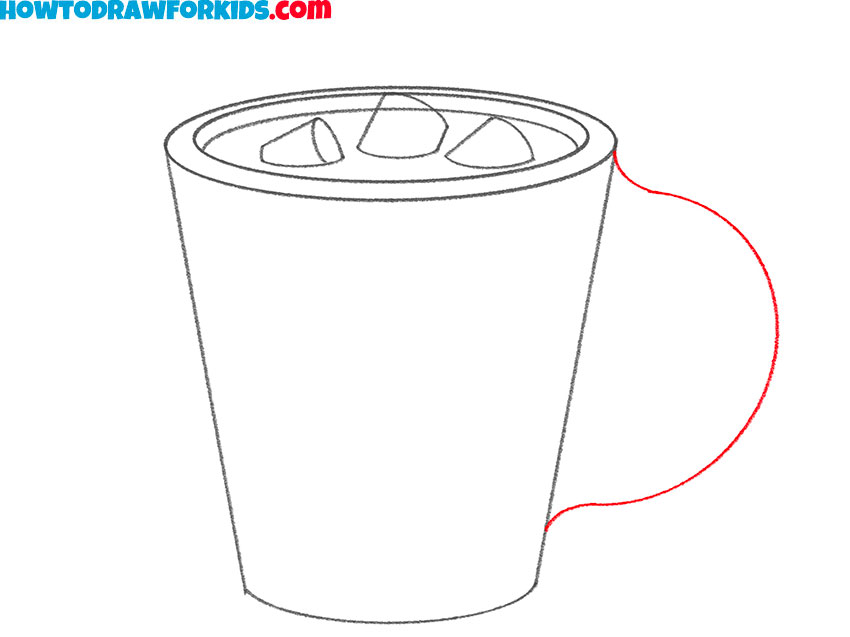
- Draw the marshmallows.
Now let’s draw some marshmallows floating on the surface of the hot chocolate. Inside the inner oval at the top of the cup, sketch three or four rounded, slightly uneven shapes to represent the marshmallows. They should vary slightly in size and angle to look more natural.

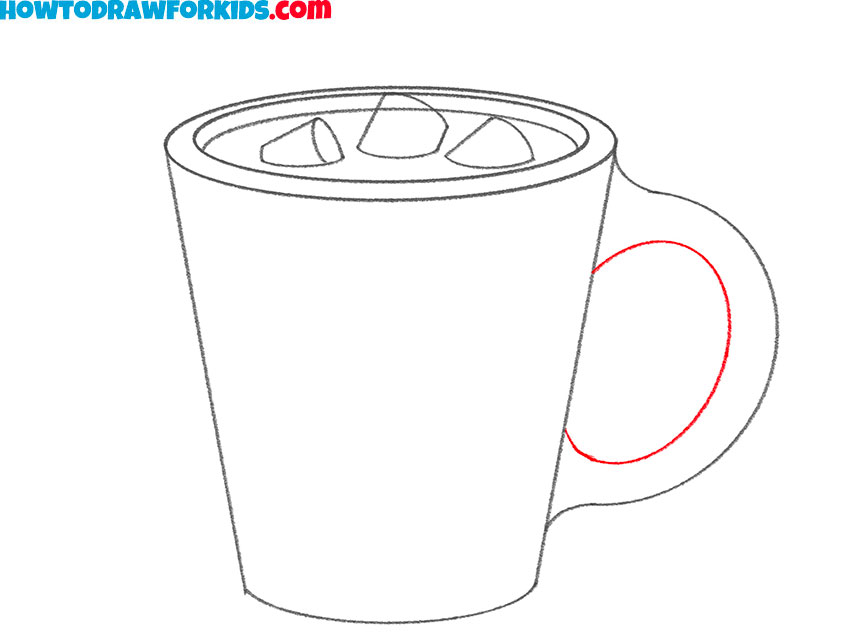
- Add the outer part of the handle.
To begin drawing the handle, start by sketching a large curved line on the right side of the cup. The shape should resemble a half-circle that connects the upper and lower sides of the cup. To make your hot chocolate mug drawing more unique, you can adjust the handle shape as you wish.
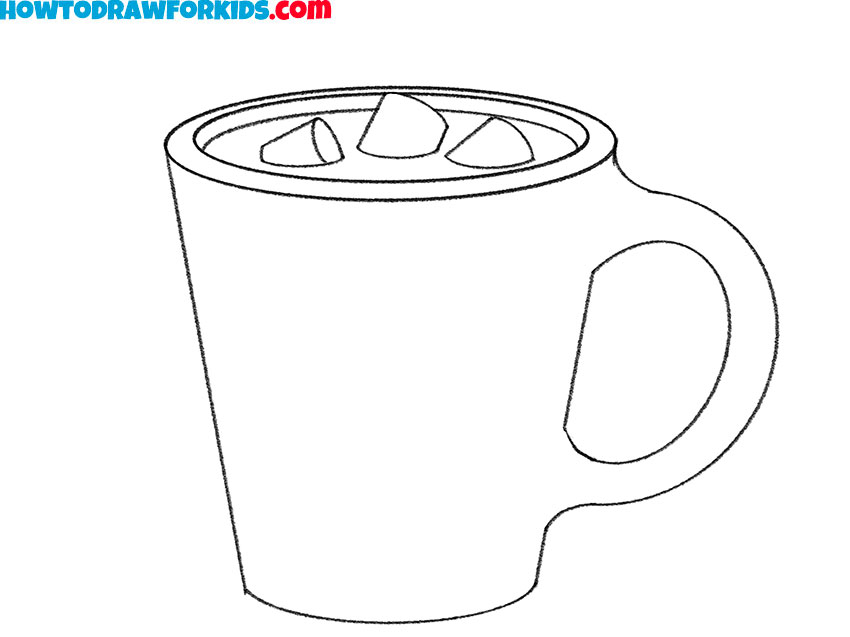
- Draw the inner part of the handle.
To finish the handle, draw a second curved line inside the shape you just created, following its contour. This line connects the same two points at the top and bottom, forming a complete, hollow handle. Make sure the spacing between the outer and inner lines is even so the handle appears three-dimensional.
- Finalize the hot chocolate drawing.
Carefully trace all parts and erase the guidelines. If you notice anything off, like uneven spacing or crooked lines, now is the time to fix it. This is also a great opportunity to add any tiny finishing details. Once the outline is done and looks clean, you’re ready for the final step: coloring your hot chocolate drawing.
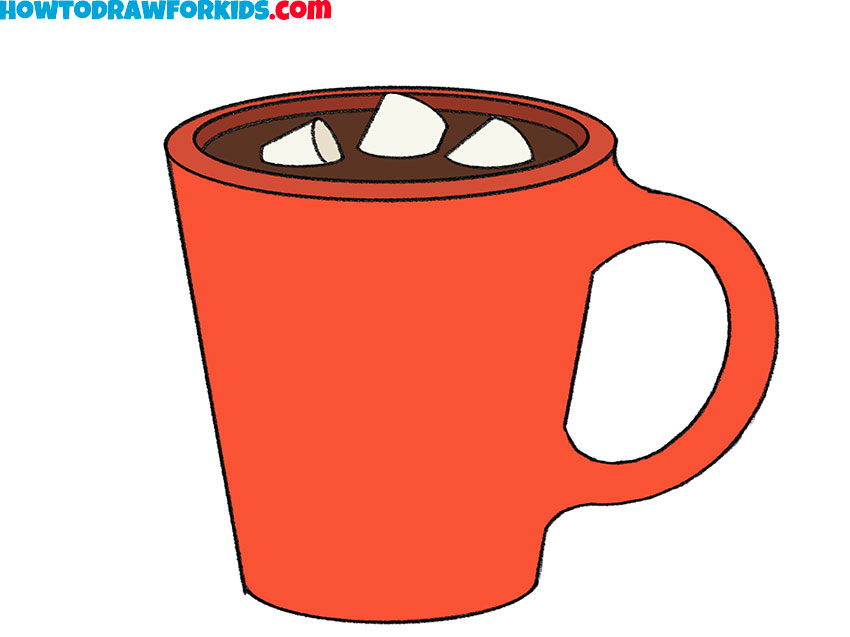
- Color your drawing of hot chocolate.
For the final step, color in your hot chocolate drawing. Fill the cup with a bright or deep red color, which gives it a warm, festive look. Color the hot chocolate surface a rich brown and the marshmallows a soft off-white or light cream. You can add a little shading, but simple, flat colors also look great for this style.
Additional Content
By the way, I’ve prepared a special PDF version of this tutorial on how to draw hot chocolate for you. Inside, you’ll find some drafts to help you draw hot chocolate in different ways. If you download it, you can practice your drawing skills even without an internet connection.
Simple Hot Cocoa Drawing Tutorial
This hot cocoa drawing tutorial features a rounder, wider cup compared to the taller, straighter-sided cup in the first hot chocolate tutorial. The handle is smaller and more compact, and the marshmallows are drawn floating closer together with a more stylized look. The overall shape is simpler, and the sequence of steps is quite different as well.
To begin this tutorial on how to draw hot cocoa, sketch a wide U-shaped curve to form the base of the cup. Connect the top of the curve with a slightly arched horizontal line to close the shape. Then, add an oval inside the top to represent the surface of the cocoa. Draw a second, smaller oval inside the first to show the thickness of the rim.
After the cup is complete, draw a small curved handle on the side. Inside the top oval, sketch small marshmallows and a few ripple lines. Outline everything with clean, bold lines. Finally, color the mug in any shade you like, such as pink, and use brown for the hot cocoa and white for the marshmallows.

Conclusion
As I mentioned at the beginning of this hot chocolate drawing tutorial, this drink is often associated with the holiday season. To help boost the festive mood even more, feel free to check out my collection of hot chocolate coloring pages.
Holidays are also closely tied to certain characters, and one of the most iconic of them all is, of course, Santa Claus. Visit my Santa drawing tutorial to learn how to draw this beloved Christmas figure. After that, you can try drawing Santa holding a mug of hot chocolate – doubling the holiday spirit right on your page. It’s a great way to combine two festive subjects into one cozy scene.
Also, be sure to try drawing other drinks featured on my site. You’ll find several fun and simple tutorials that show you how to draw everything from seasonal favorites to everyday beverages. Just visit the relevant section and pick the ones you like most.