How to Draw Male Curly Hair
Learn how to draw male curly hair step by step with this easy tutorial. Follow along to practice adding realistic curls to your portraits.
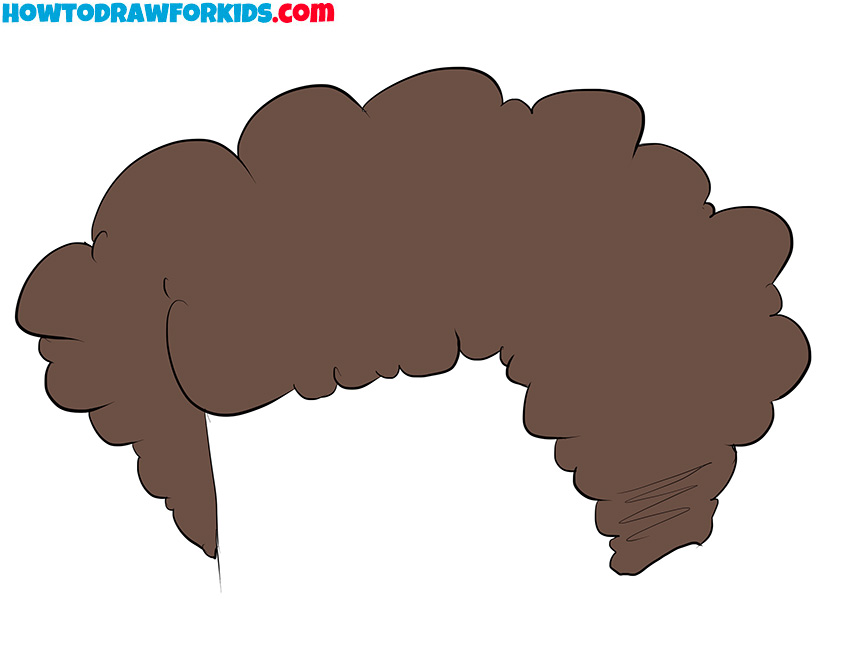
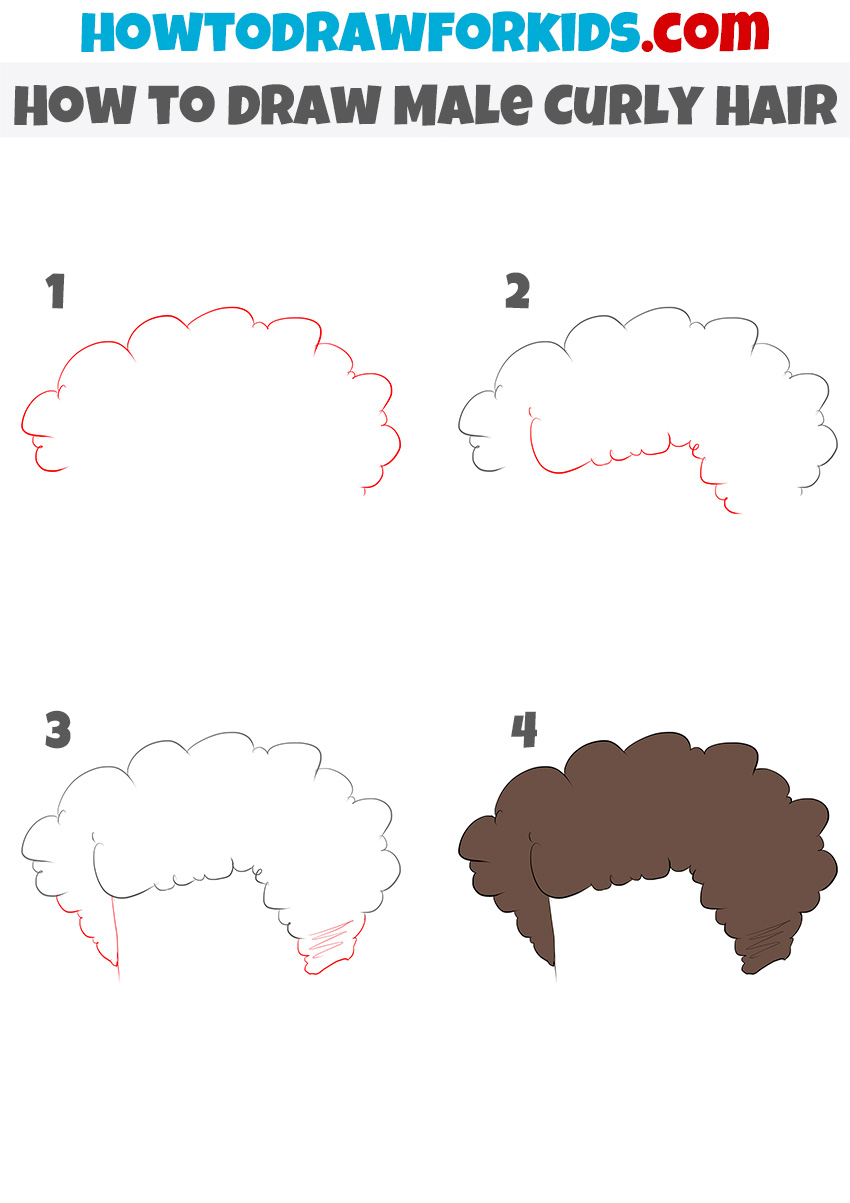
How to Draw Male Curly Hair: Introduction
In this tutorial on how to draw male curly hair, you will learn a basic method that can be applied to a variety of curly hairstyles. By following the steps outlined below, you can adjust specific features to create different hairstyles depending on your needs.
This tutorial will be especially useful for those looking to learn how to draw persons and create convincing portraits. In addition to mastering the ability to draw eyes and other facial features, learning to draw hair, including curly hair, is one of the most important skills for any artist.
Understanding how to represent hair realistically is a really important step in developing broader drawing skills. Curly hair, in particular, can appear in a wide range of characters, so mastering this tutorial will support artists when creating more complex illustrations in the future.
In a previous tutorial, you learned how to draw a cloud. The process of drawing curly hair shares similarities with that of drawing a cloud. Both involve creating forms by using a large number of short, curved lines to define the shape. These foundational skills are important for future work, as curly hair and similar shapes appear frequently in different types of drawings, whether you’re creating a face portrait, drawing a full figure, or working on more detailed scenes.
Male Curly Hair Drawing Tutorial
Materials
- Pencil
- Paper
- Eraser
- Coloring supplies
Time needed: 30 minutes
How to Draw Male Curly Hair
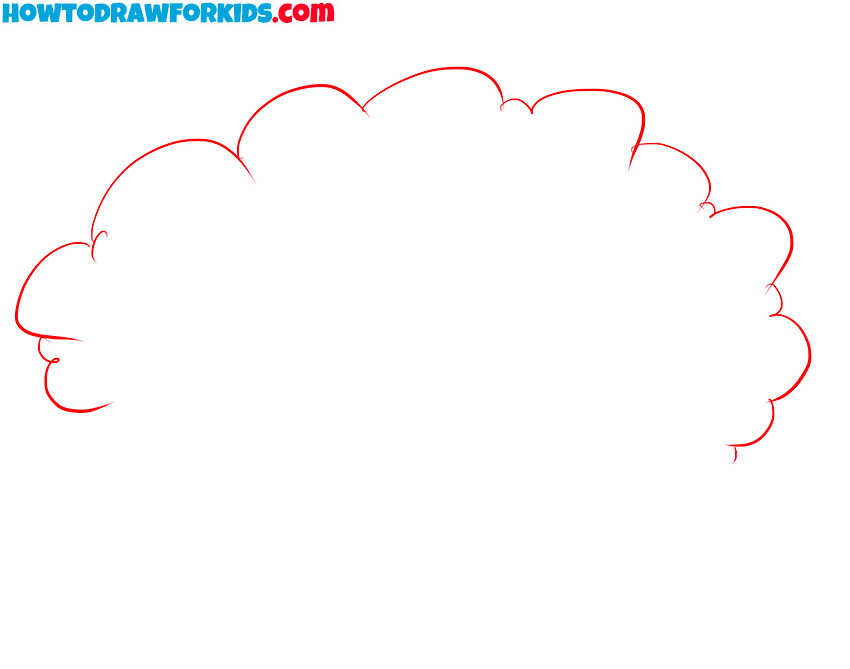
- Sketch the top part of the curly hair.
Use curved lines to create a fluffy and voluminous appearance. Start from one side of the head and draw a series of connected curves, gradually moving across the top. These curves should vary slightly in size to create a natural, uneven look that resembles real curly hair.
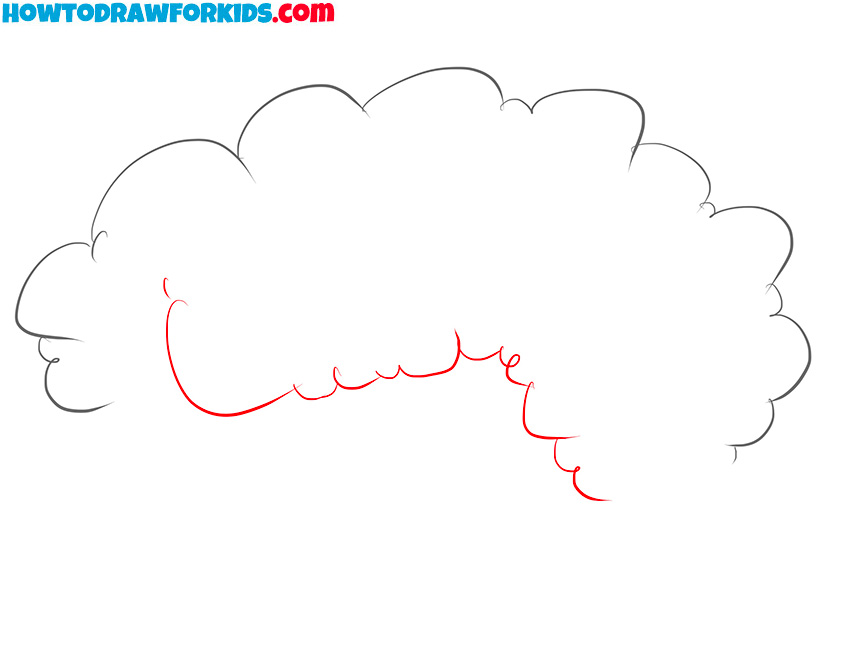
- Draw the curly bangs.
Begin at the center or slightly to the side of the top edge of the hair, using small, curved lines to create the shape of the bangs. These lines should mimic the natural bounce and texture of curly hair, so make them irregular and slightly overlapping.
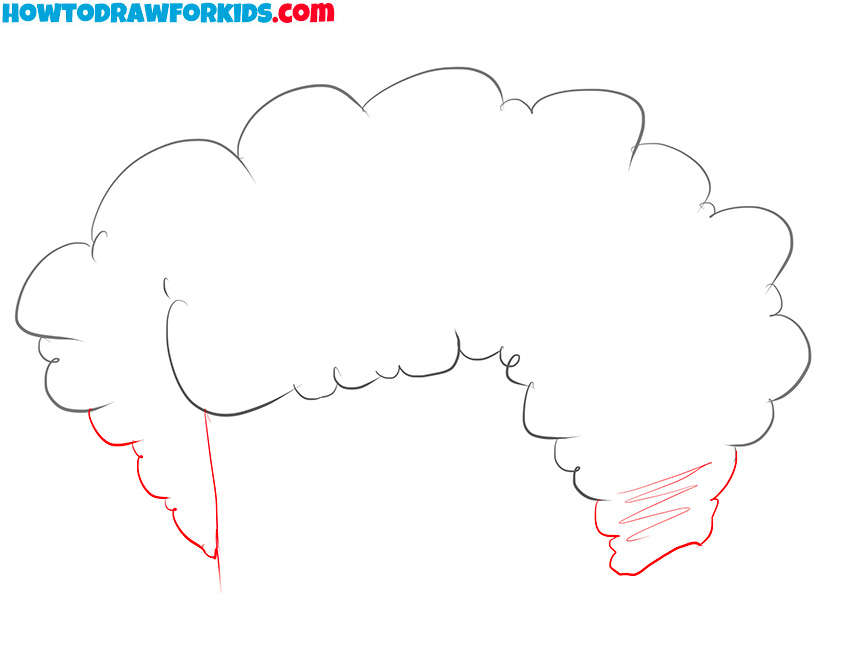
- Finalize the outlines.
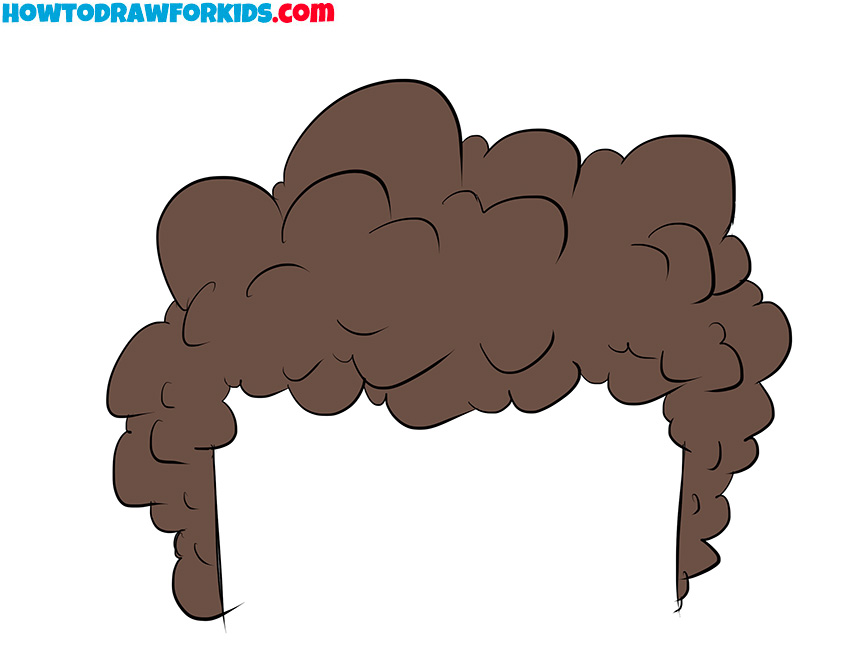
In this step, focus on refining the edges of the hair and adding more detail to the lower sections. Adjust any parts of the outline that seem too rough or uneven, smoothing out areas where necessary. Pay attention to the areas near the sides of the head.
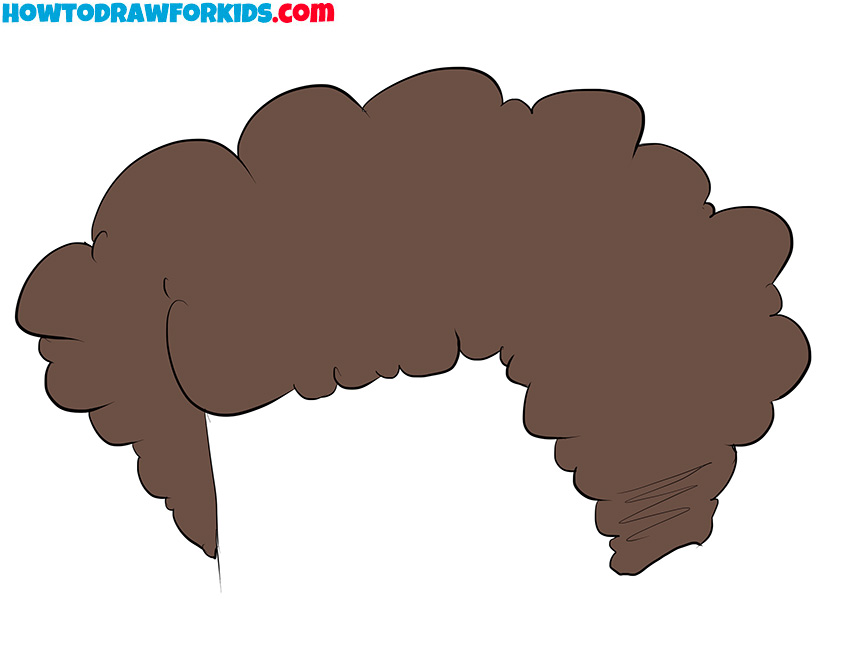
- Color the hairstyle.
Start by selecting a color for the hair, such as a dark brown, light yellow, or any other color, depending on the look you want to achieve. Fill in the entire head of hair with the base color. After applying the base, you can use a slightly darker shade to add a bit of realism to the curls.
Additional Content
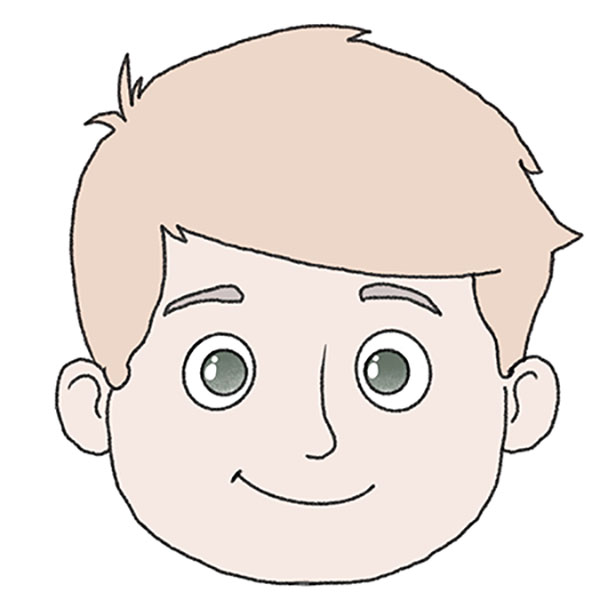
As mentioned earlier, you can now take what you’ve learned and try drawing a person, incorporating the curly hairstyle from this tutorial. By practicing on a full portrait, you can refine your ability to create realistic hairstyles and better understand how hair interacts with facial features.
Additionally, don’t forget to download and print the PDF version of this tutorial. The PDF includes not only the steps covered in this tutorial but also additional helpful content that may aid in your drawing process. Whether you’re reviewing the steps or trying out new techniques, having a printed version makes it easier to follow along. The extra materials provided in the PDF will also give you more ideas and tips for improving your drawings.

This is a great tutorial for kids! I’m a mom of two boys and this is perfect for them to learn how to draw hair.
This is a great tutorial for kids! I’m a mom of two boys and this is perfect for them to learn how to draw hair.
This is a great tutorial for kids! I’m a mom of two boys and this is perfect for them to learn how to draw hair.