How to Draw Mistletoe
In this tutorial I will teach and show you how to draw mistletoe in nine easy steps. Start this guide and you will get new useful skills!
In this fun tutorial, you will learn how to draw mistletoe in nine easy steps. I decided to continue the theme of beautiful plants that are used for decoration, so I prepared this lesson for you.
Mistletoe is a plant that grows on trees. Mistletoe berries are white or red. Red berries and mistletoe leaves are used to decorate the interior on weekdays and holidays. Such floral compositions are especially relevant for Christmas.
Carefully draw all the elements of this plant and later you will be able to use the acquired skills. For example, you can draw such an image on a greeting card for your family and friends.
Materials
- Pencil
- Paper
- Eraser
- Coloring supplies
Time needed: 25 minutes
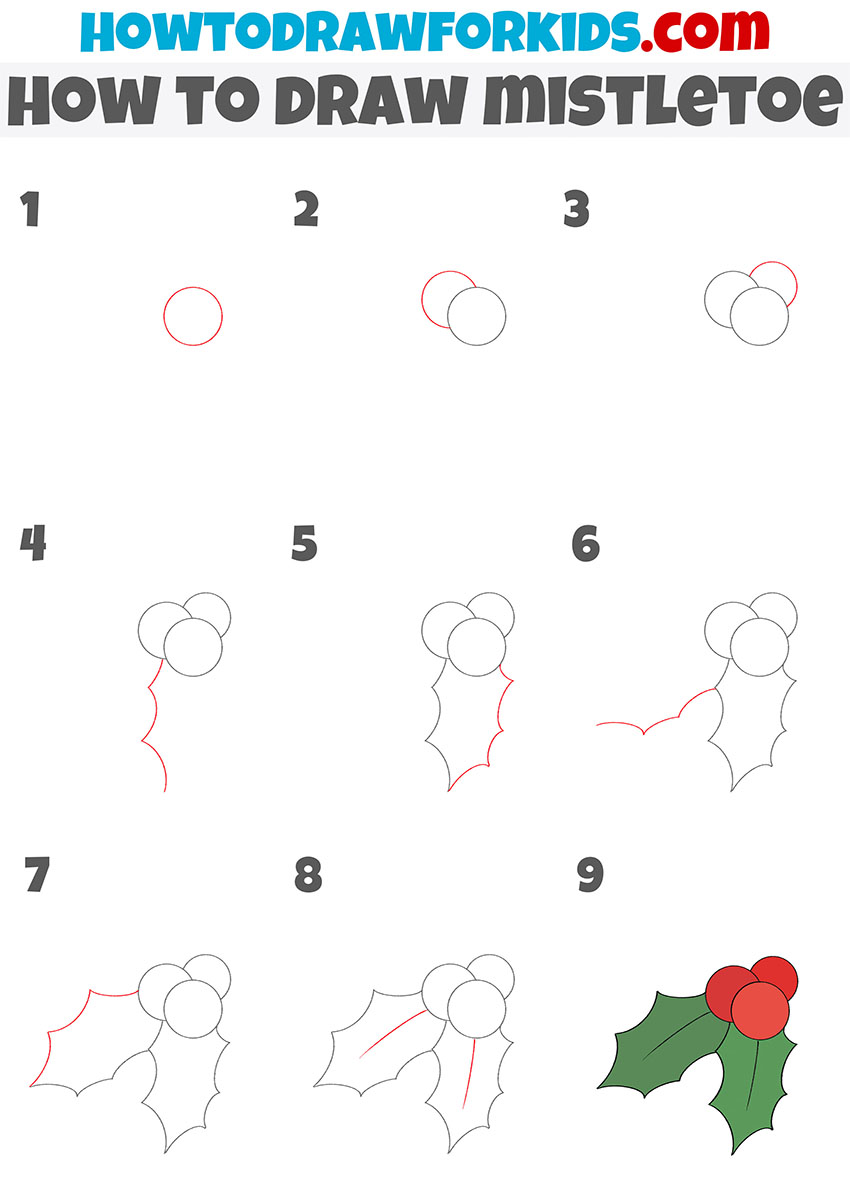
How to Draw Mistletoe Step by Step
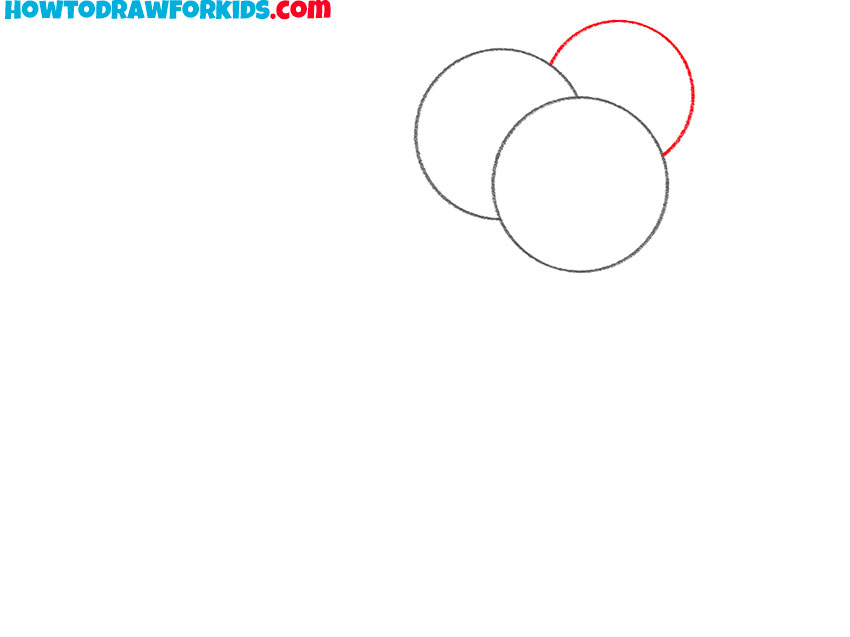
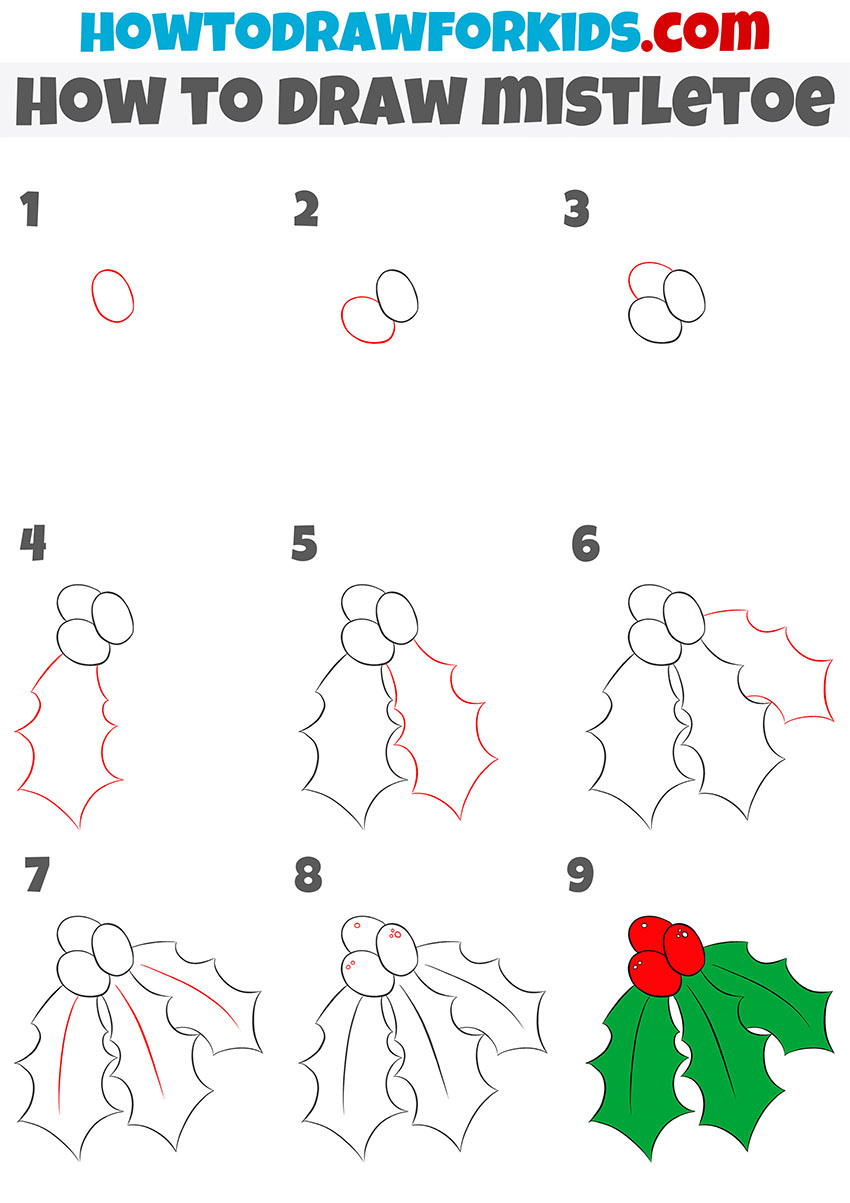
- Draw the first berry.
This is a simple step in which you have to draw an even circle.
- Add the second berry.
Depict a semicircle on the side.
- Sketch out the third berry.
Draw another half circle in the background.
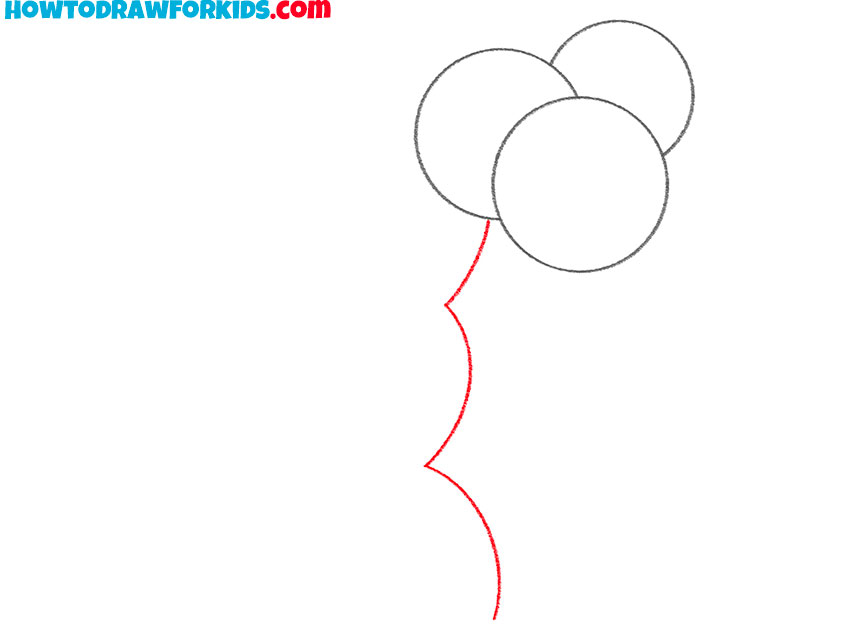
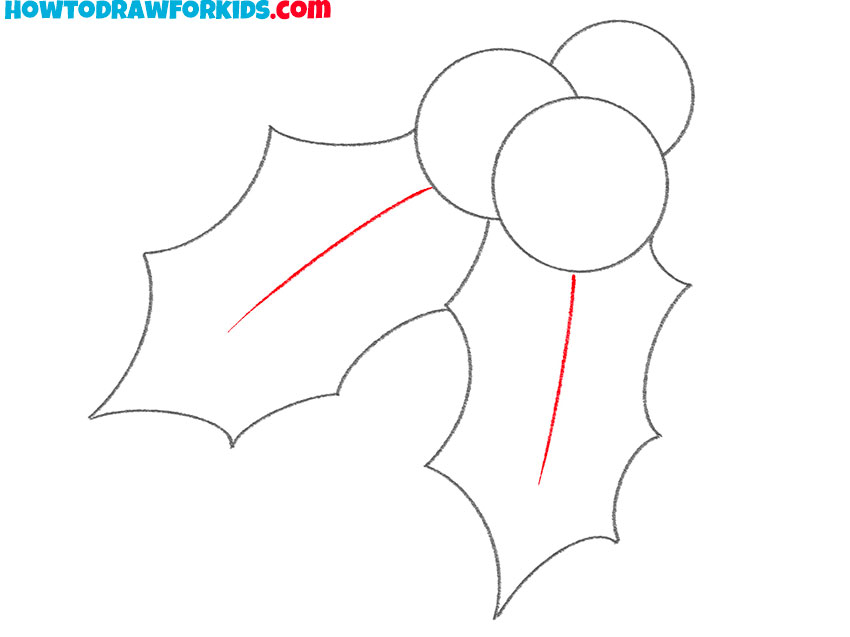
- Depict the side of one sheet.
From the berries, draw a curved line down to depict the pointed edge of the leaf.
- Draw the second side of the sheet.
Sketch out a line of the same shape next to it to make a closed contour.
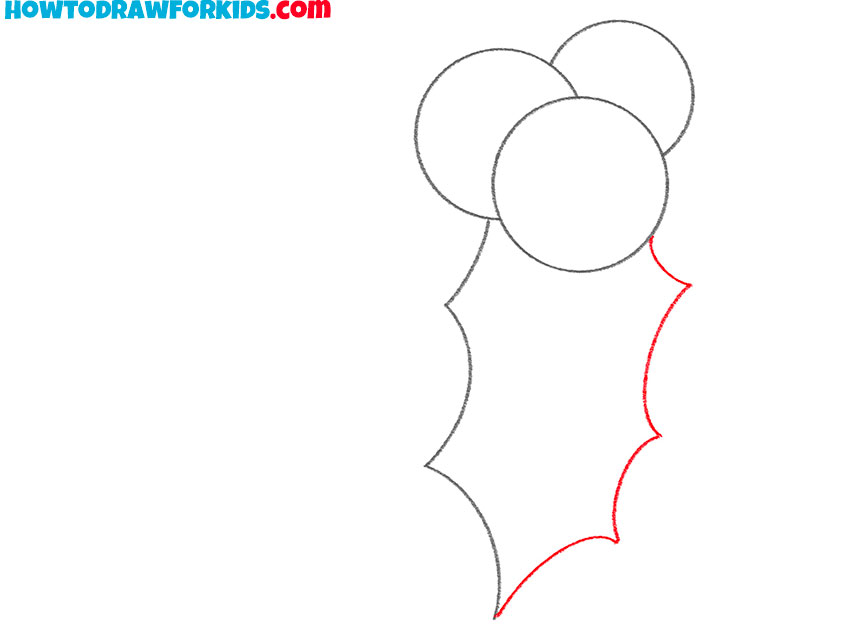
- Add the side of the second sheet.
At this point, you need to draw a curved line.
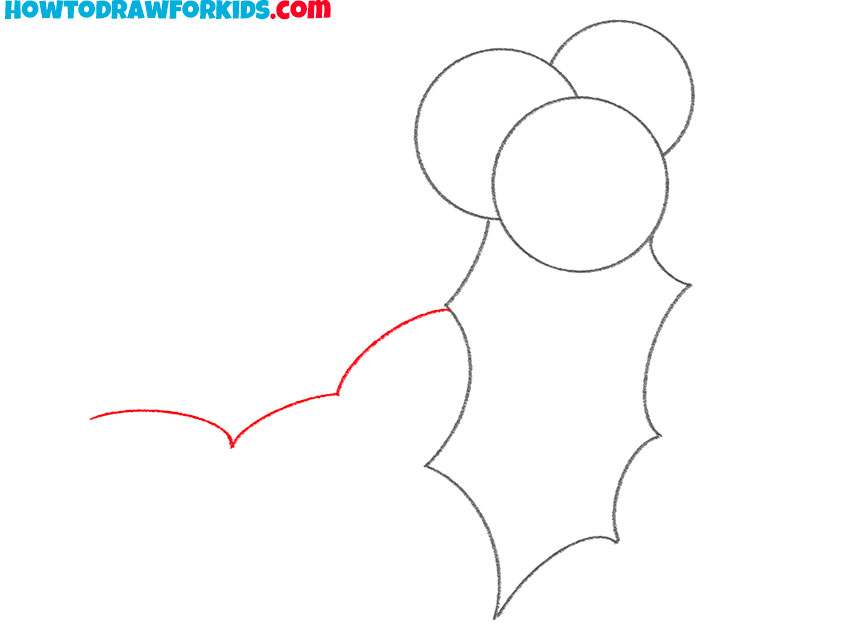
- Depict the rest of the outline of the sheet.
Draw a curved line to depict the second sheet of the same shape.

- Sketch out the veins on the leaves.
Draw a thin line in the center of each sheet.
- Color the mistletoe.
Use red for berries and green for leaves.
Download the PDF file which contains a short version of this lesson. Save the file so you can return to the lesson at any time, even if you don’t have Internet access.
How to Draw a Mistletoe: Alternative Method
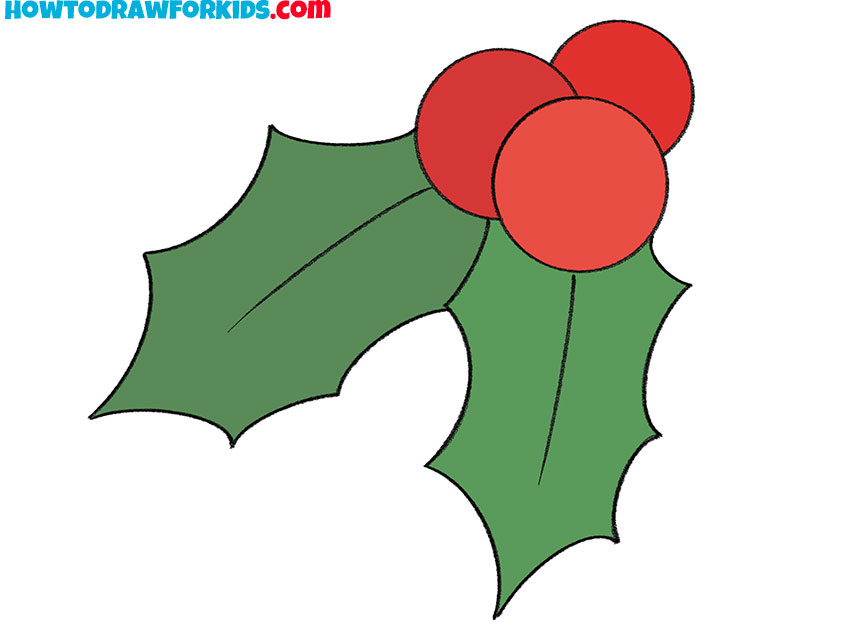
In the picture, you see two green leaves and three red berries. It looks very nice. I hope that you can easily draw this plant. Simple instruction will help you with this, in which each step is demonstrated and supplemented with a small hint.


This isn’t mistletoe, it’s holly!