How to Draw Sledding
In this tutorial, you will learn how to draw sledding in just nine steps. I’m sure you’ll really like this lesson.
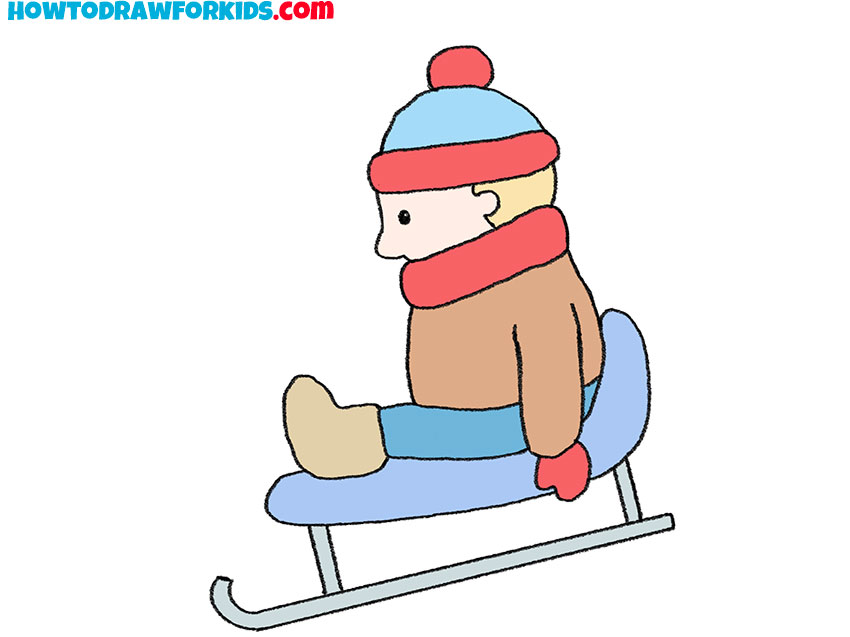
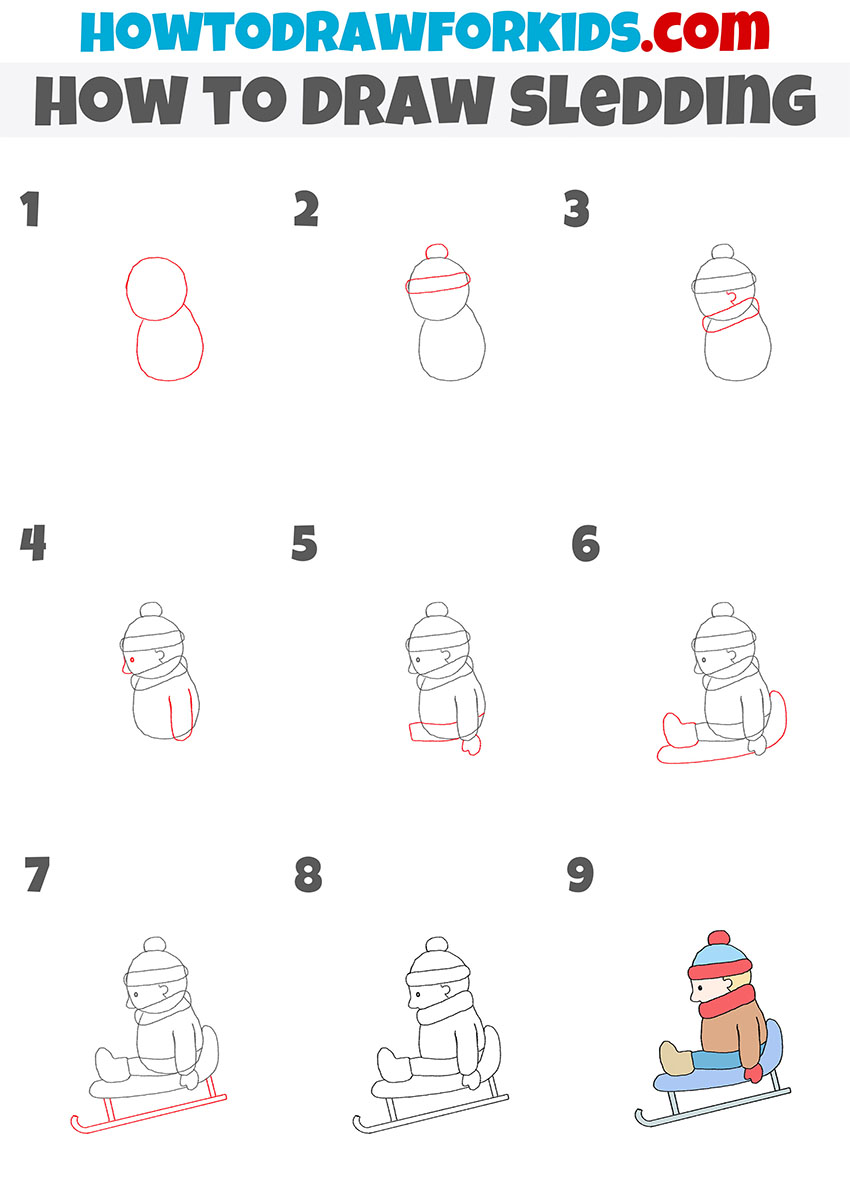
I want to present you with a new interesting lesson in which you will learn how to draw sledding. In this lesson, you will train your ability to draw two elements at once – a human figure and a sleigh.
This simple instruction shows in detail how to draw sledding. When a lot of snowfalls, all the children rush to ride a sleigh, because this is fun winter fun. Everyone loves to go downhill quickly, it gives a pleasant exciting feeling.
In the picture, you see a boy who is descending on a sleigh from a snowy hill. First, I will show in detail how to draw a human figure, then you will draw a sled.
For coloring, you can choose the same colors that are suggested in the instructions or you can use other colors at your discretion.
Materials
- Pencil
- Paper
- Eraser
- Coloring supplies
Time needed: 30 minutes
How to Draw Sledding
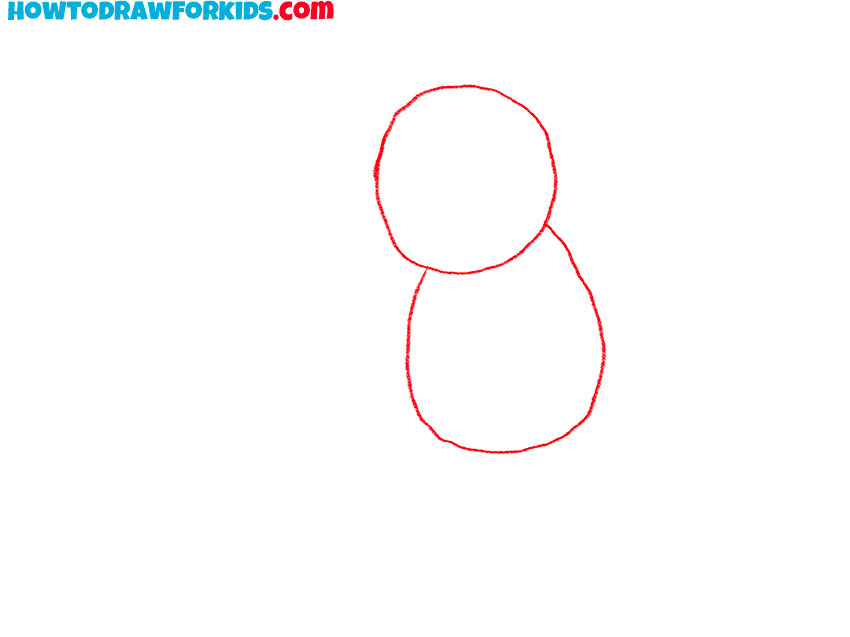
- Draw the head and torso.
Depict a circle to draw the head and add the torso at the bottom. The body is tilted forward.
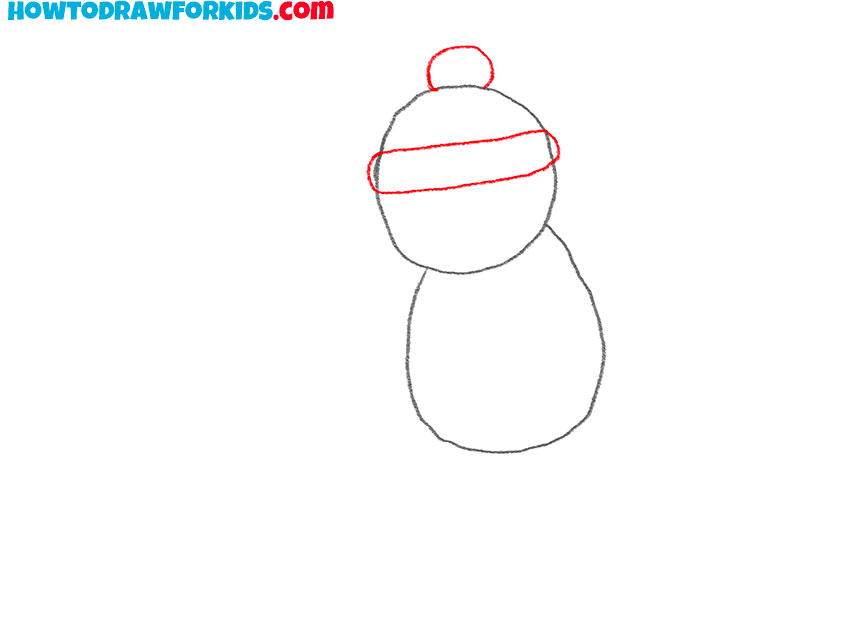
- Sketch out the hat.
With a smooth line, draw the lapel of the cap and add the round pom-pom to the top.
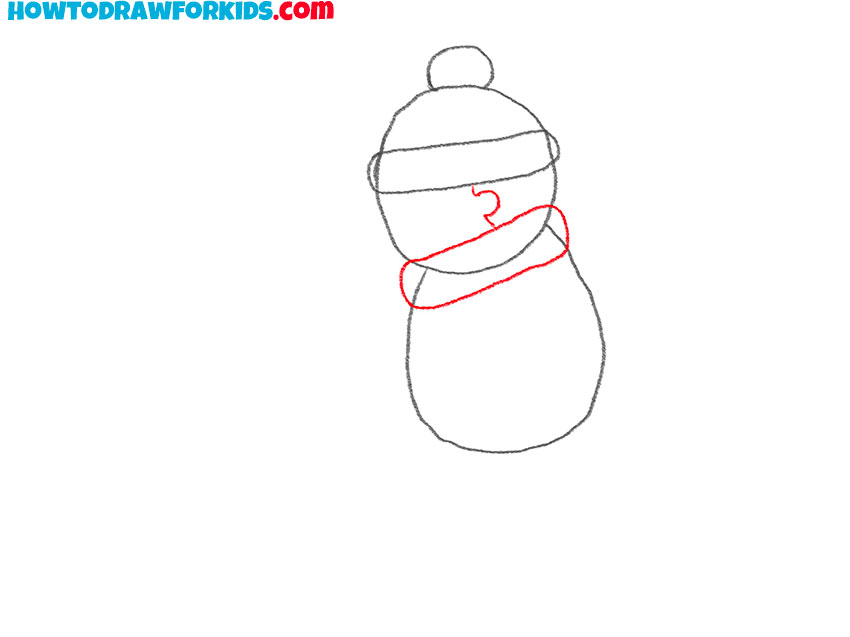
- Depict the collar and ear.
Use smooth lines to draw the collar and add the part of the head where the ear is.
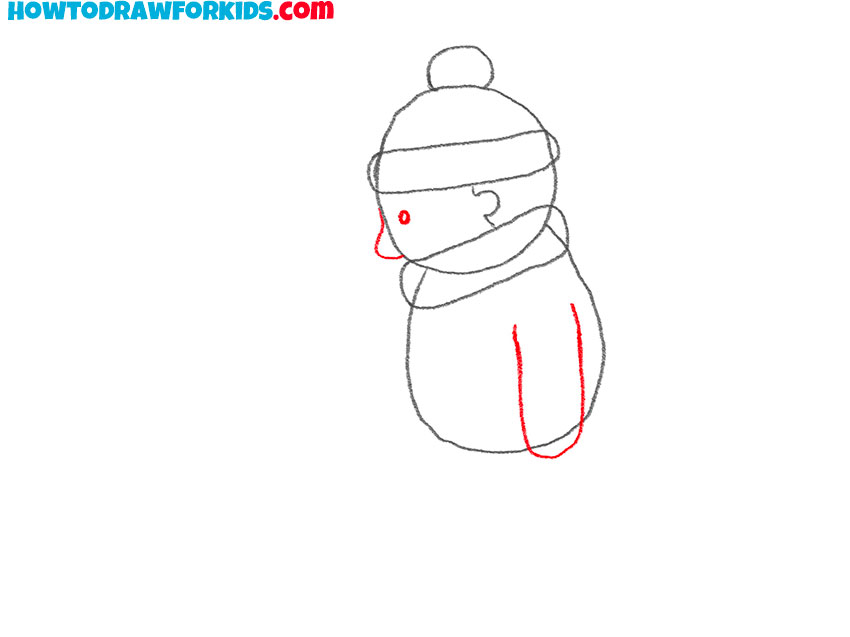
- Add the arm and facial features.
Draw the hand with smooth lines. Using a curved line draw the nose and add the eye.
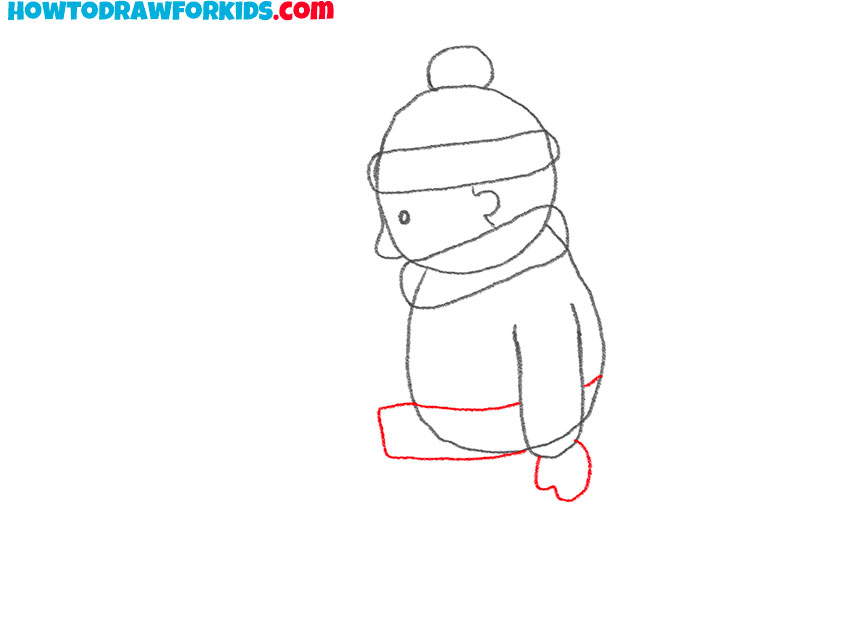
- Sketch out the leg and hand.
Depict the position of the legs while sitting on the sled. Draw the hand with a smooth line.
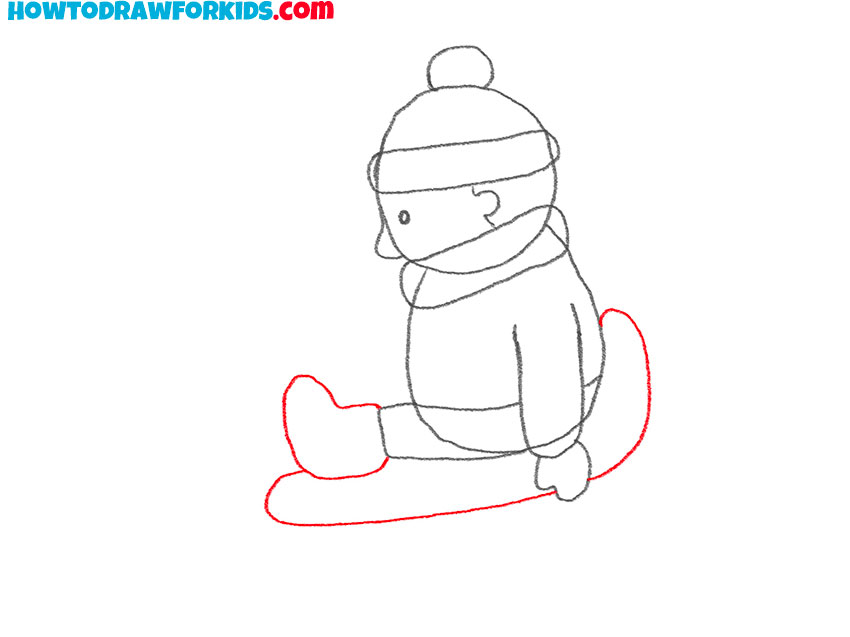
- Draw the shoes and seat on the sleigh.
Depict the boots. Smooth lines depict the seat on the sleigh.
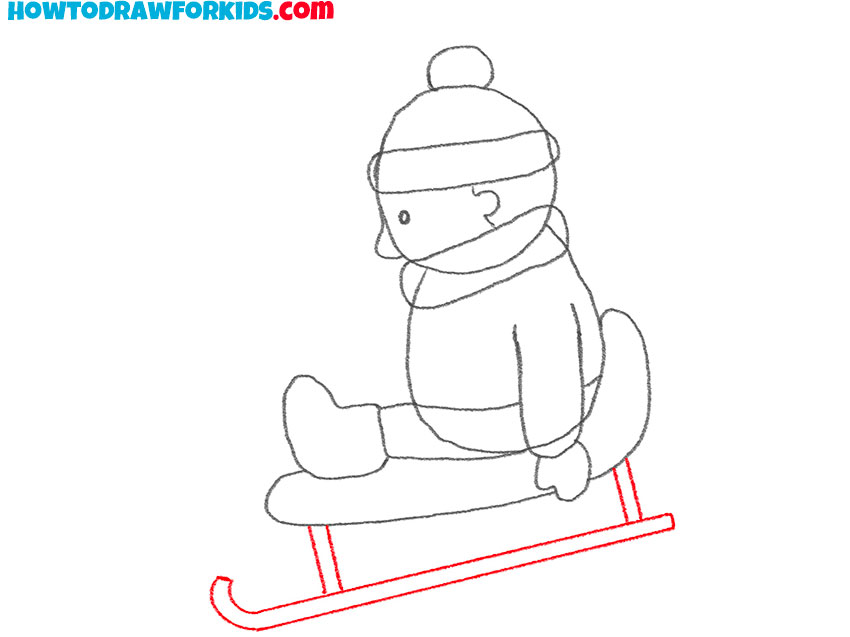
- Depict the sleigh.
The front part of the sleigh has a rounded shape, draw all other elements with straight lines.
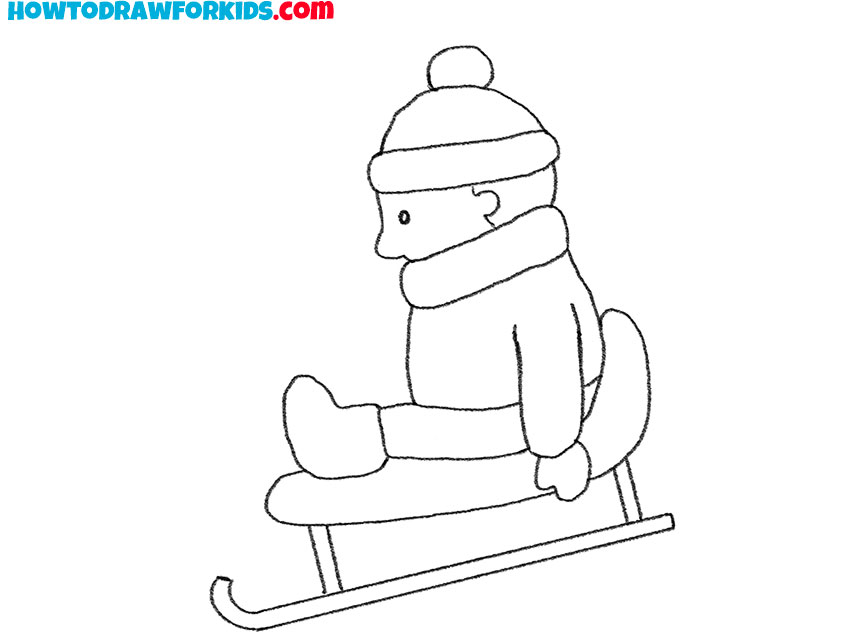
- Correct inaccuracies.
Remove all extra lines in your drawing.
- Color the drawing.
You can choose any colors for coloring.

You can now download the short version of the lesson in PDF format for free, so you can return to the lesson at any time.

