How to Draw Teeth
In this drawing lesson, I will tell you how to draw teeth step by step. This lesson is great to help you improve your artistic skills!
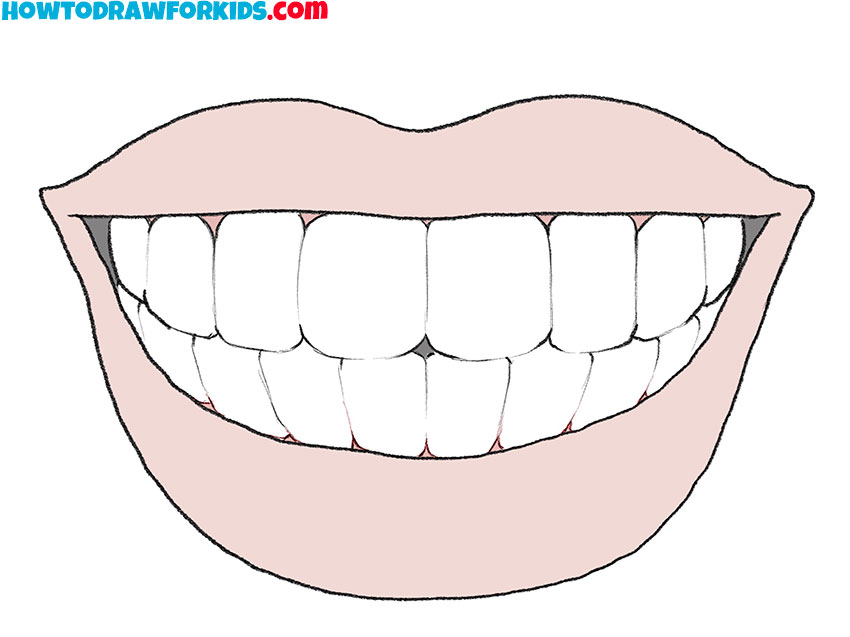
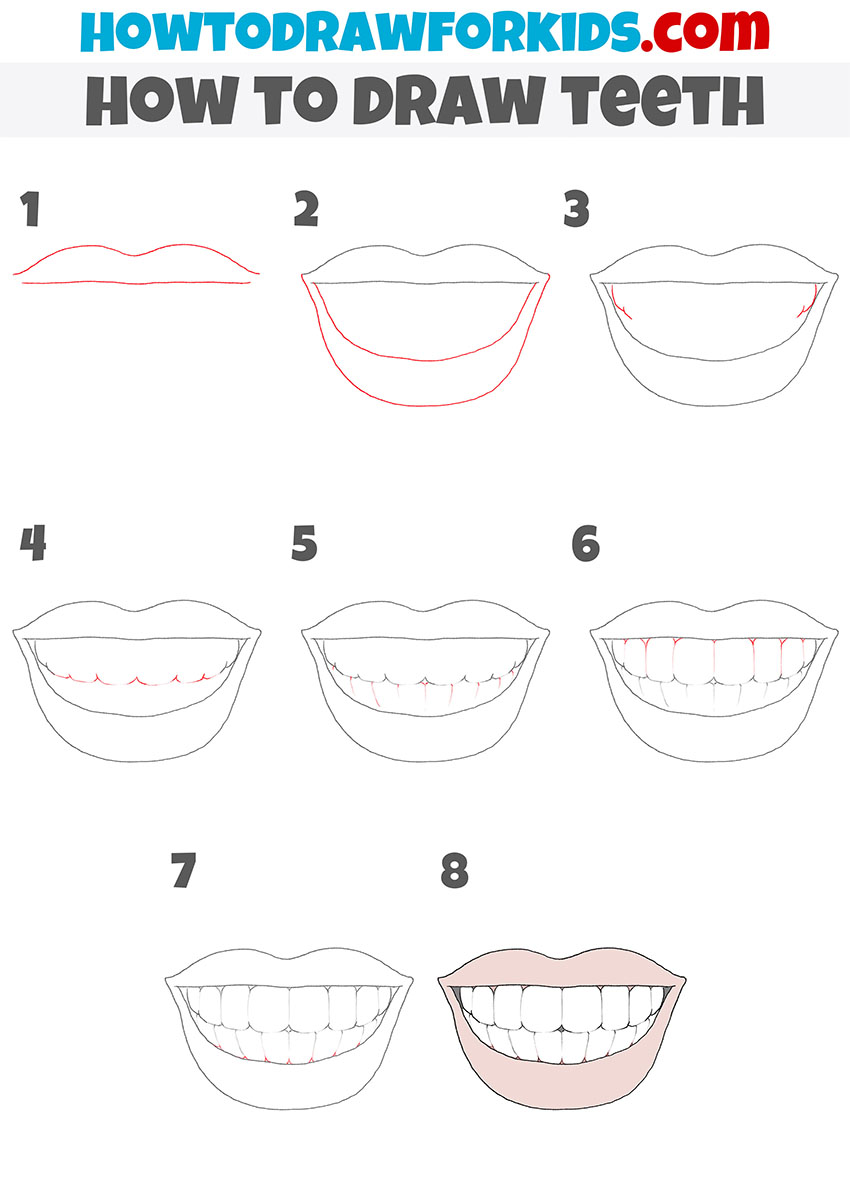
I have prepared for you a useful drawing lesson in which you will learn how to draw teeth step by step. This simple lesson consists of eight steps. In this drawing lesson, you will draw a wide smiling mouth with teeth.
The ability to depict teeth in the way shown in this lesson will definitely come in handy for your drawings in the future. For example, you can use these skills if you want to draw a portrait of a person.
Usually, when a person smiles, we see his teeth. Many teeth located in the human oral cavity serve for the primary mechanical processing of food. It is known that teeth are bone tissue, which is why they are so hard and strong.
Materials
- Pencil
- Paper
- Eraser
- Coloring supplies
Time needed: 30 minutes
How to Draw Teeth
- Start drawing the mouth.
To draw the upper lip, draw one straight and one wavy line.

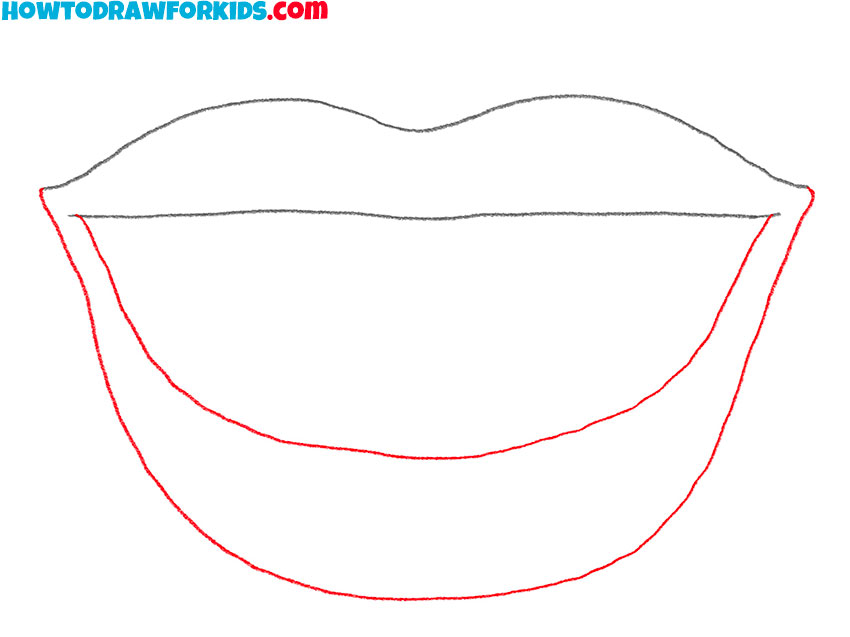
- Finish drawing the outline of the mouth.
Now draw the bottom lip using two curved lines.
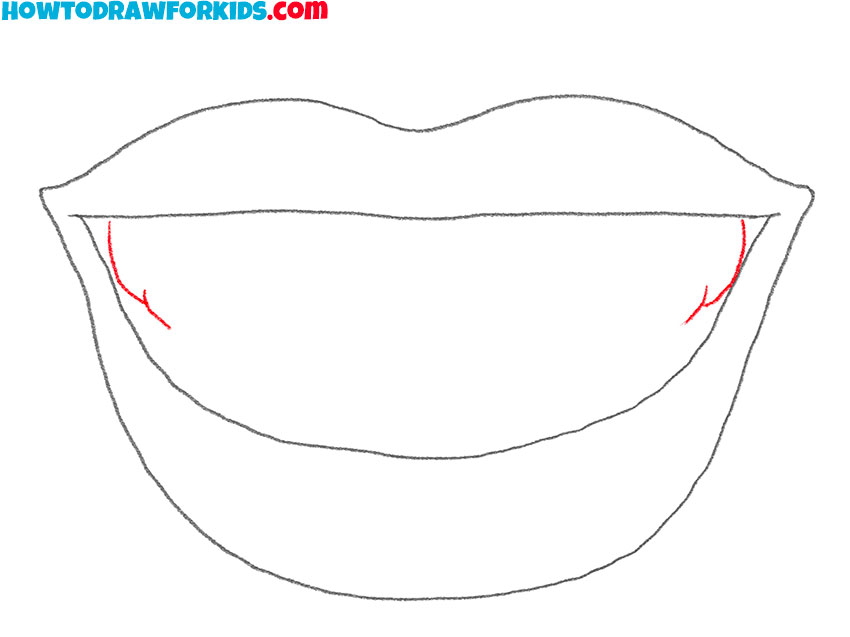
- Start drawing the teeth.
Depict the teeth along the edges of the mouth area using curved lines.
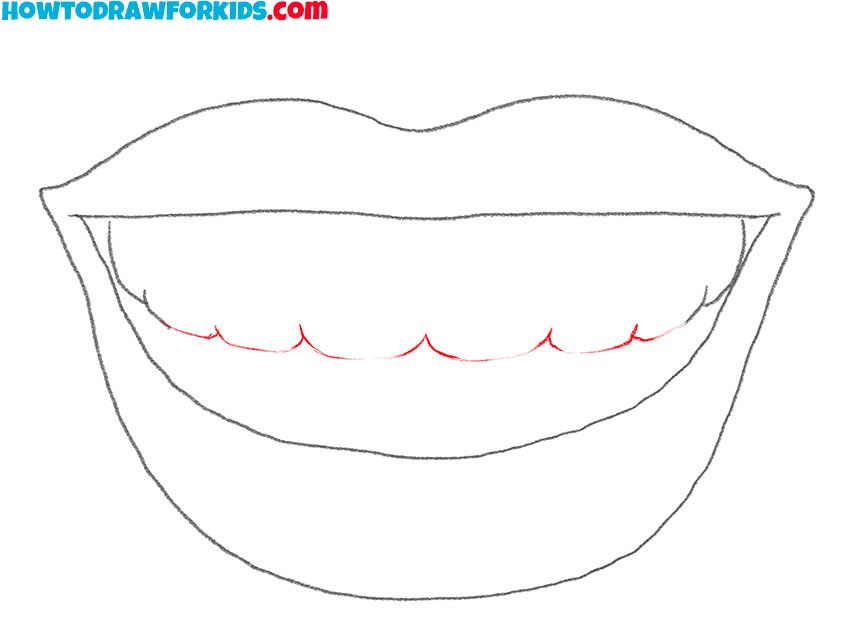
- Add the outline of the top row of teeth.
To complete this step, use curved lines of varying lengths.
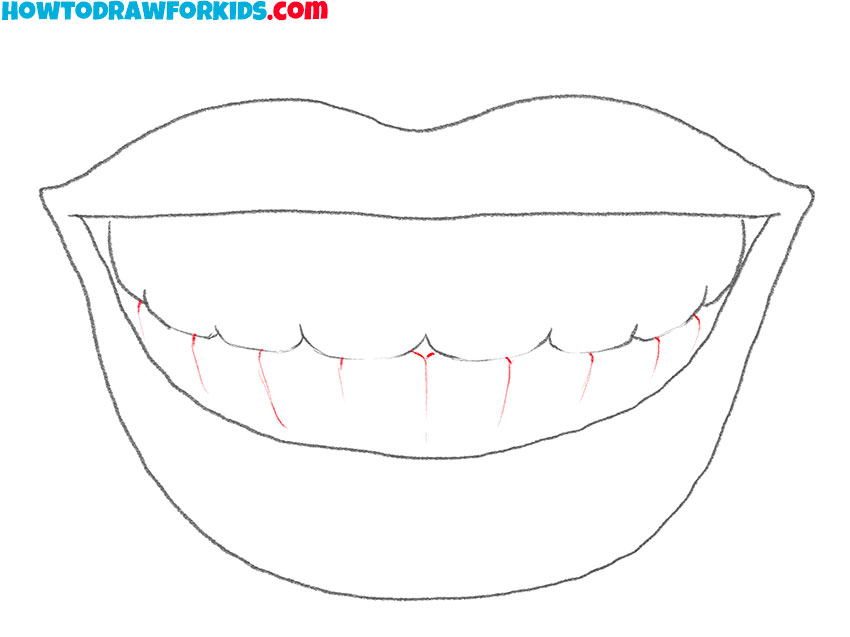
- Draw the bottom row of teeth.
Below the previously drawn elements, add thin curved lines.
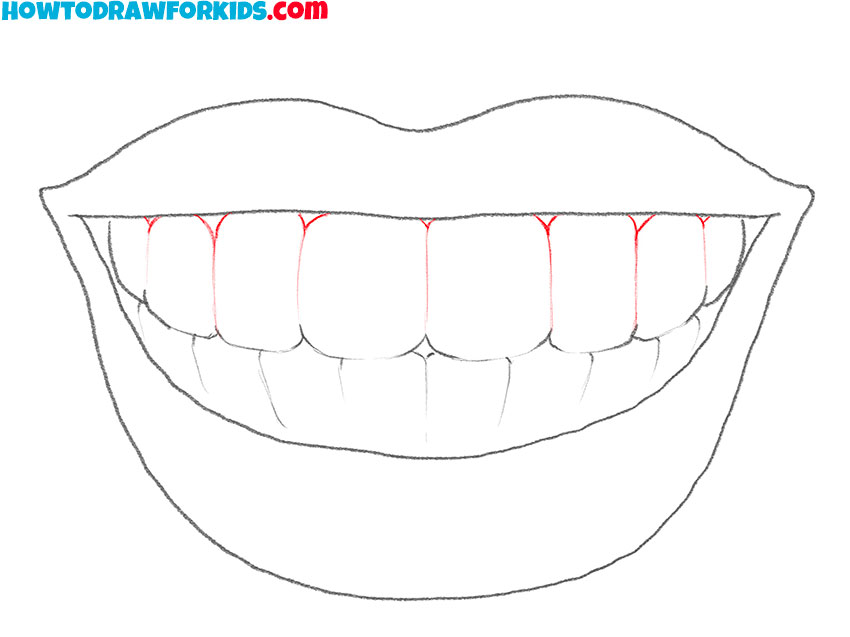
- Depict lines between the top teeth.
In the upper row of teeth, draw straight and rounded lines, as shown in the figure.
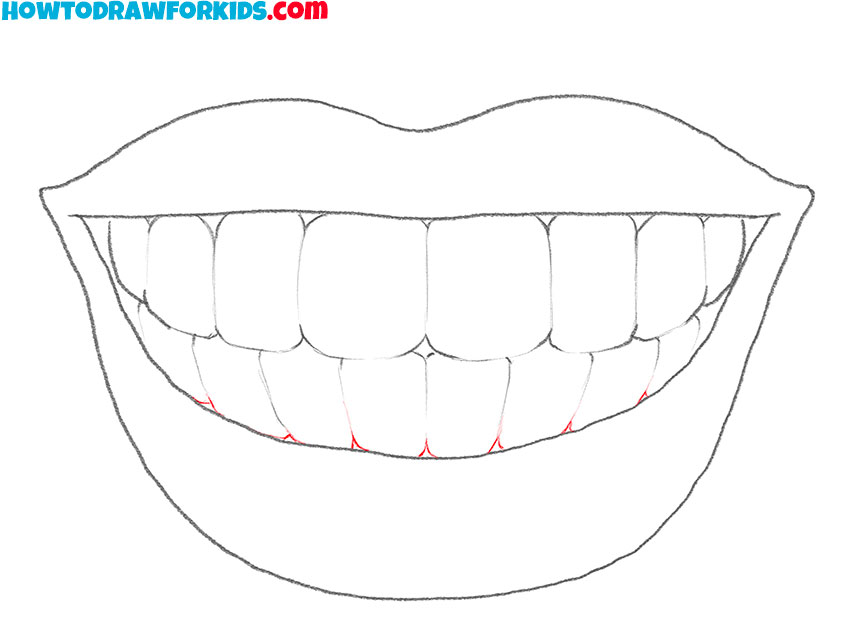
- Finish drawing the bottom row of teeth.
To depict the boundaries between the teeth and gums, draw short, curved lines.
- Color the drawing.
To color the teeth, use gray and shades of pink.

Do not forget to download the PDF file that I have prepared specifically for your convenience, so that you can return to this drawing lesson at any time convenient for you, even without an Internet connection.


