How to Draw the Night Sky
Looking at the night sky inspires many, and this lesson gives more than one method to learn how to draw the night sky.

How to Draw the Night Sky: Introduction
In this tutorial, I want to show you how to draw the night sky. This lesson will be one of the most interesting and useful for you. Now you can have a great time and learn new skills.
Drawing the night sky is very easy. This walkthrough uses simple lines and minimal elements. If you are a beginner artist and have never painted the night sky before, then with the help of this lesson you will learn how to do it quickly and efficiently. I’m sure you will succeed the first time.
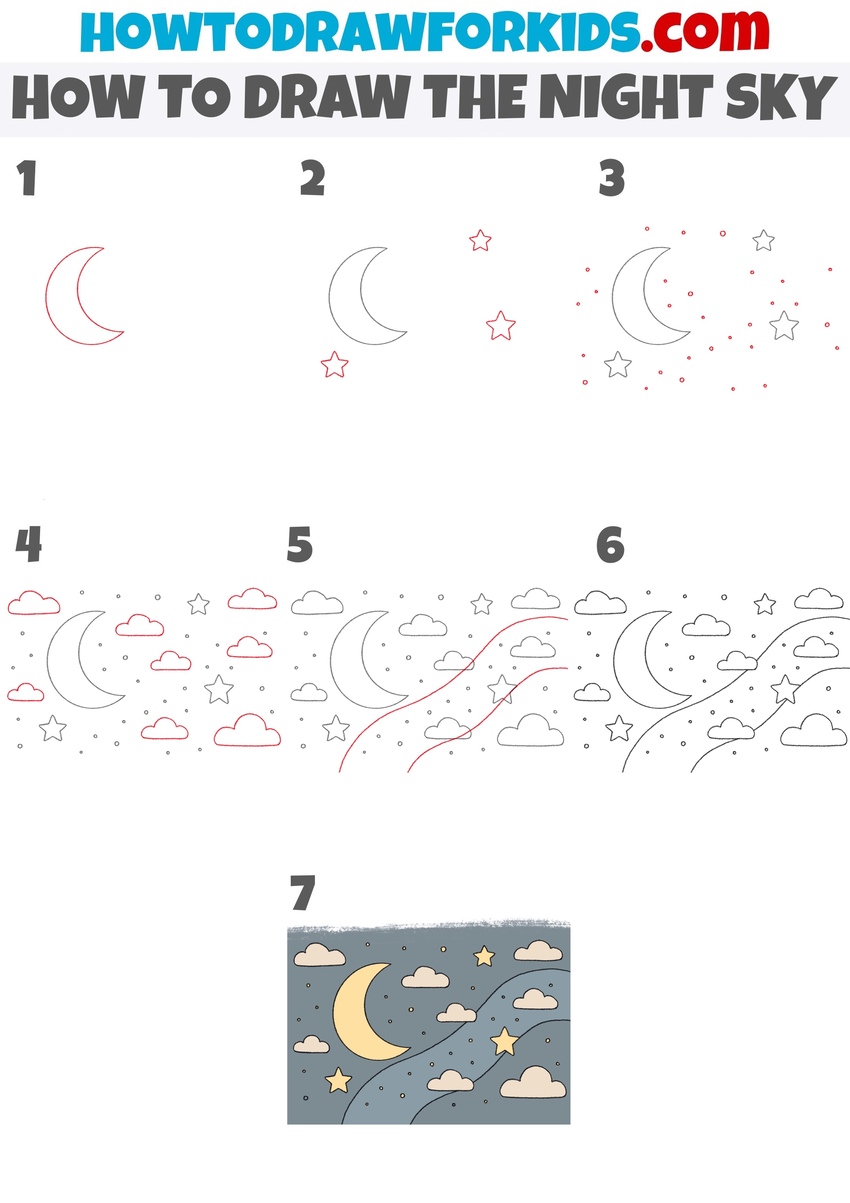
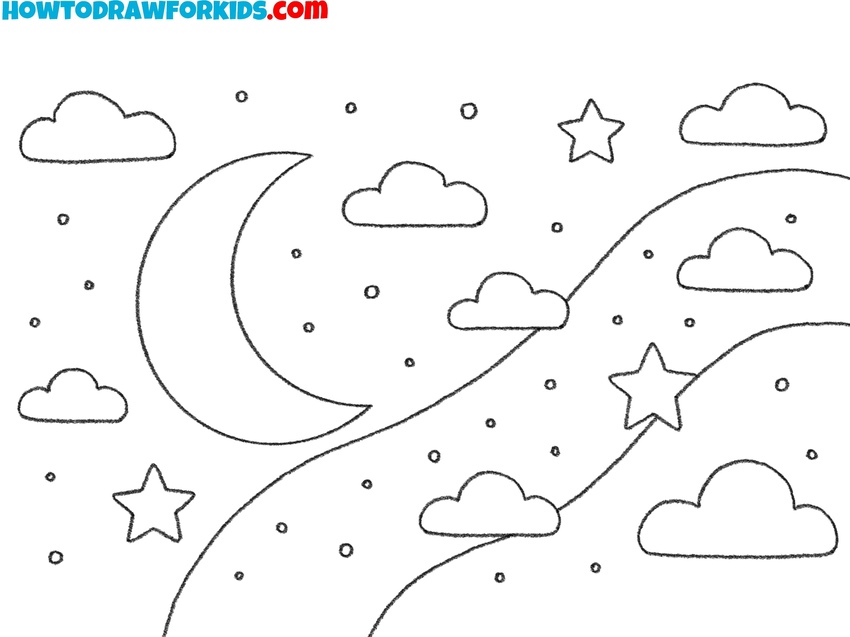
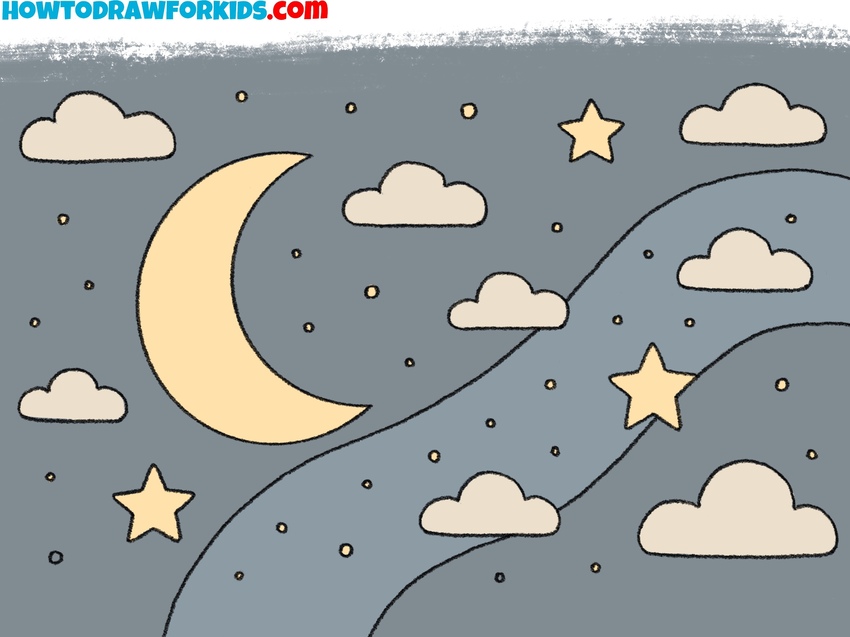
In the picture, you see celestial bodies – the moon, stars, and clouds below. The picture looks very nice due to the fact that the clouds have different shades. Be sure to depict this in your drawing.
Night Sky Drawing Tutorial
Materials
- Pencil
- Paper
- Eraser
- Coloring supplies
Time needed: 30 minutes
How to Draw the Night Sky
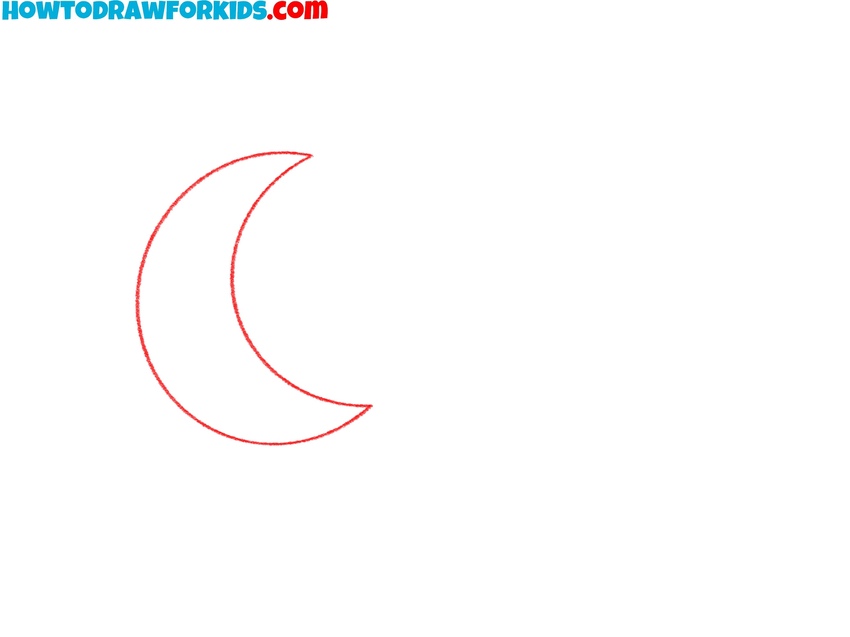
- Create the moon silhouette.
To give your night sky drawing a main focal point, you need to start with the moon, the main element. Use two curved lines to form the crescent shape. One should be slightly larger than the other, with both tapering to points at the ends.
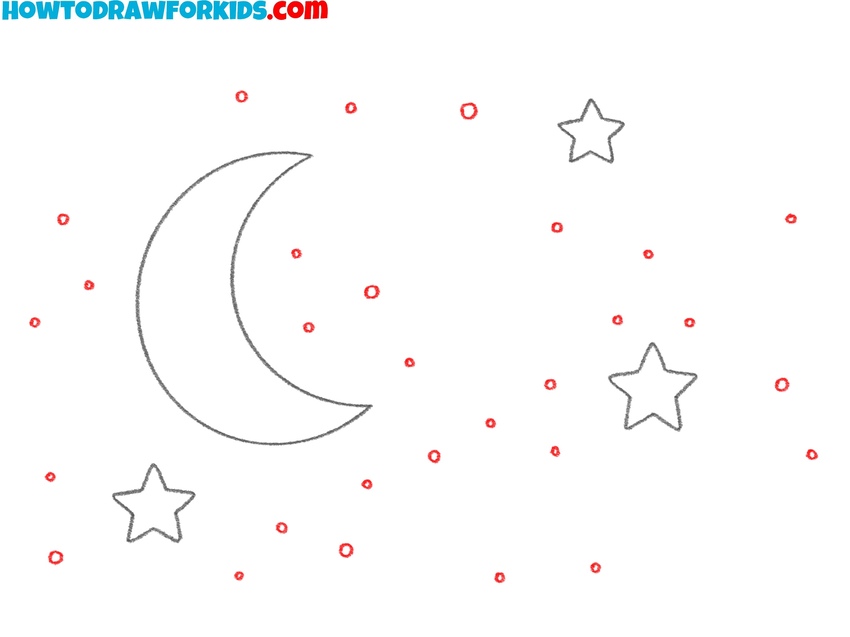
- Position stars around the moon.
The scene needs supporting elements, so now draw stars near the moon. Sketch them using simple five-point star shapes. Try to vary their sizes so the sky doesn’t feel too schematic. Positioning matters too, avoid making them perfectly symmetrical around the moon, since a natural sky feels more random.

- Fill the space with tiny stars.
Since the night sky looks alive with many points of light, you’ll now add a scattering of stars. Mix larger five-pointed stars with small simple dots. Spread them unevenly across the page but leave some open areas so the drawing doesn’t look crowded.
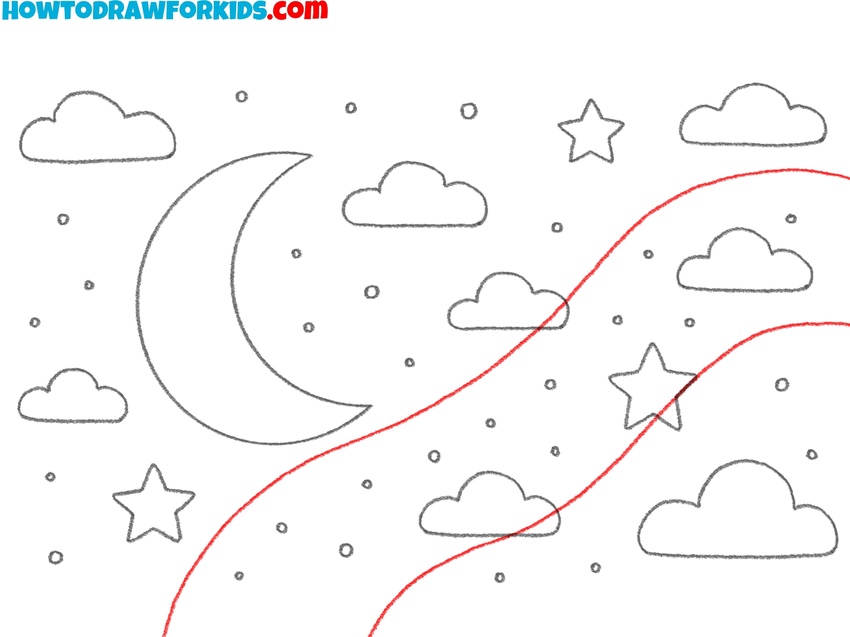
- Draw rounded cloud shapes.
To give the composition balance, draw clouds around the moon and stars. Use smooth and curved lines, since clouds should appear fluffy. Vary their shapes: some can be longer and flatter, others shorter and puffier.

- Illustrate wavy sky trails.
At this stage, the background still feels a bit empty, so you can draw gentle curved lines sweeping across the sky. These bands covey sky elements like streaks of light or soft winds, and they help unify the composition. Let them pass behind the moon, stars, and clouds without cutting through the shapes.
- Correct uneven shapes.
Trace the moon, stars, clouds, and sky bands with a smoother line. Erase any unnecessary construction lines so the main shapes look clean. This is also the time to make small adjustments to spacing if something feels off-balance. A good method is to step back and look at your drawing as a whole.
- Paint the night sky.
Since the purpose of all the earlier steps was to prepare a clean outline, the final stage is where the drawing becomes truly finished. Fill the background with a deep shade of blue or gray. Paint the moon a soft yellow, and give the stars similar pale yellow tone. The clouds should light gray or off-white.
Easy Night Drawing Tutorial
To create the night sky, it is important to first define the frame so the composition has a clear boundary. Draw a rounded rectangle to represent the space of the night sky. Place a crescent moon inside.
Add a row of curved arcs along the bottom to represent clouds. Introduce another layer of arcs above to give the clouds more volume. Insert several stars of different sizes in the open space.
Continue adding smaller stars. When drawing stars, keep their points even. Once all main details are in place, check the proportions between the moon, clouds, and stars to avoid overcrowding. For the final stage, color the background in dark tones, fill the moon and stars with yellow, and shade the clouds in purple tones.

Conclusion
The lesson is over and now you know how to draw the night sky. Hope you tried hard and are now happy with the result. This pattern can be a great interior decoration. You can frame the picture and hang it on the wall.
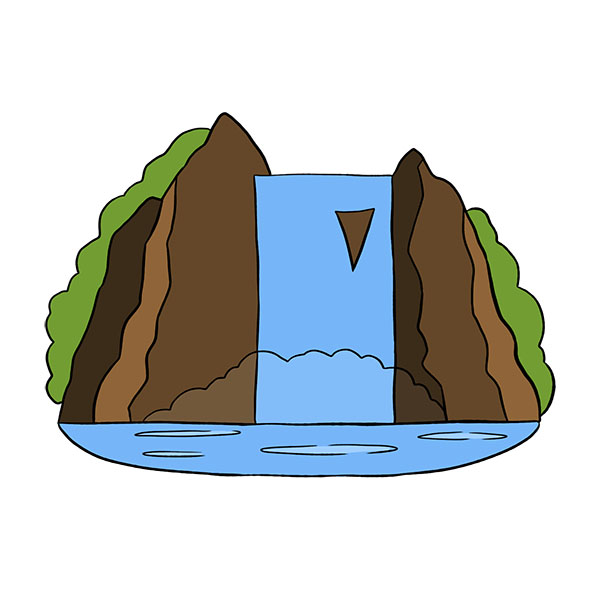
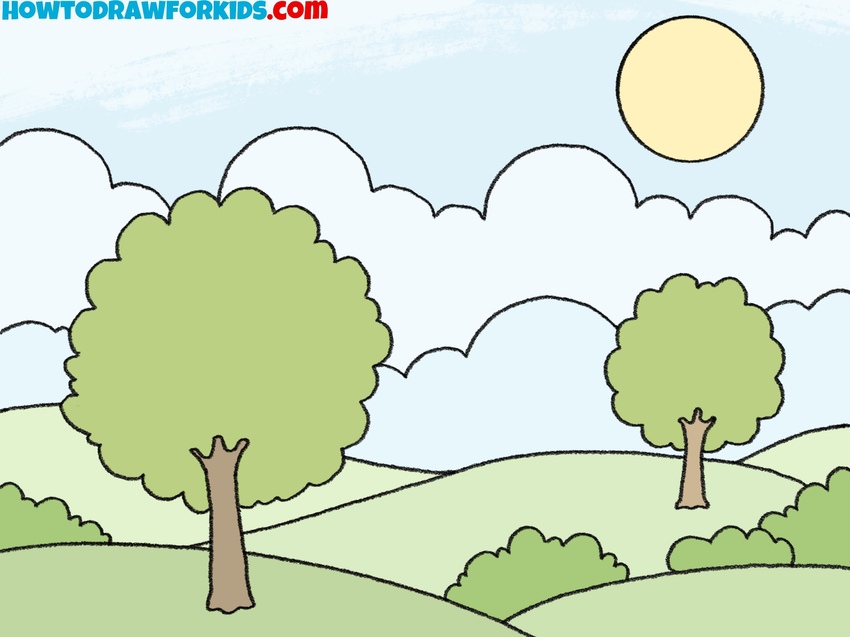
For more practice with similar themes, visit my landscape drawing tutorial where I show and explain many interesting tips and demonstrate how to combine the sky with ground elements, or the half moon drawing tutorial to study this subject in a recognizable thin shape, or check my full mood drawing tutorial to illustrate this space object in its full shape. Share your drawings, write your feedback, and keep practicing with new tutorials.


Great post. I will be experiencing many of these issues as well..
Thank you, Launa. I appreciate your feedback and hope the tutorials continue to be useful for your drawing practice.