How to Draw Wheat
In this tutorial we’ll learn how to draw wheat, the queen of the fields and one of the earliest cultivated plants in the world.

How to Draw Wheat: Introduction
In my offline and online classes, I often show you how to draw still lifes and various other details that are key elements of this genre. One of the most common elements in a still life, alongside flowers and grapes, is wheat.
Although it may seem complex at first glance, wheat is actually quite easy to draw, and you’ll see that in this lesson. In addition to the main instructions, I’ve also included several extra variations.
The main thing to remember when drawing wheat, no matter the style or quantity, is that it consists of a stem with grains arranged on both sides. You can place these grains symmetrically, or make one row slightly higher and the other slightly lower. If you’re ready and eager to learn how to draw wheat, then scroll down and let’s get started.
Wheat Drawing Tutorial
Materials
- Pencil
- Paper
- Eraser
- Coloring supplies
Time needed: 20 minutes
How to Draw Wheat
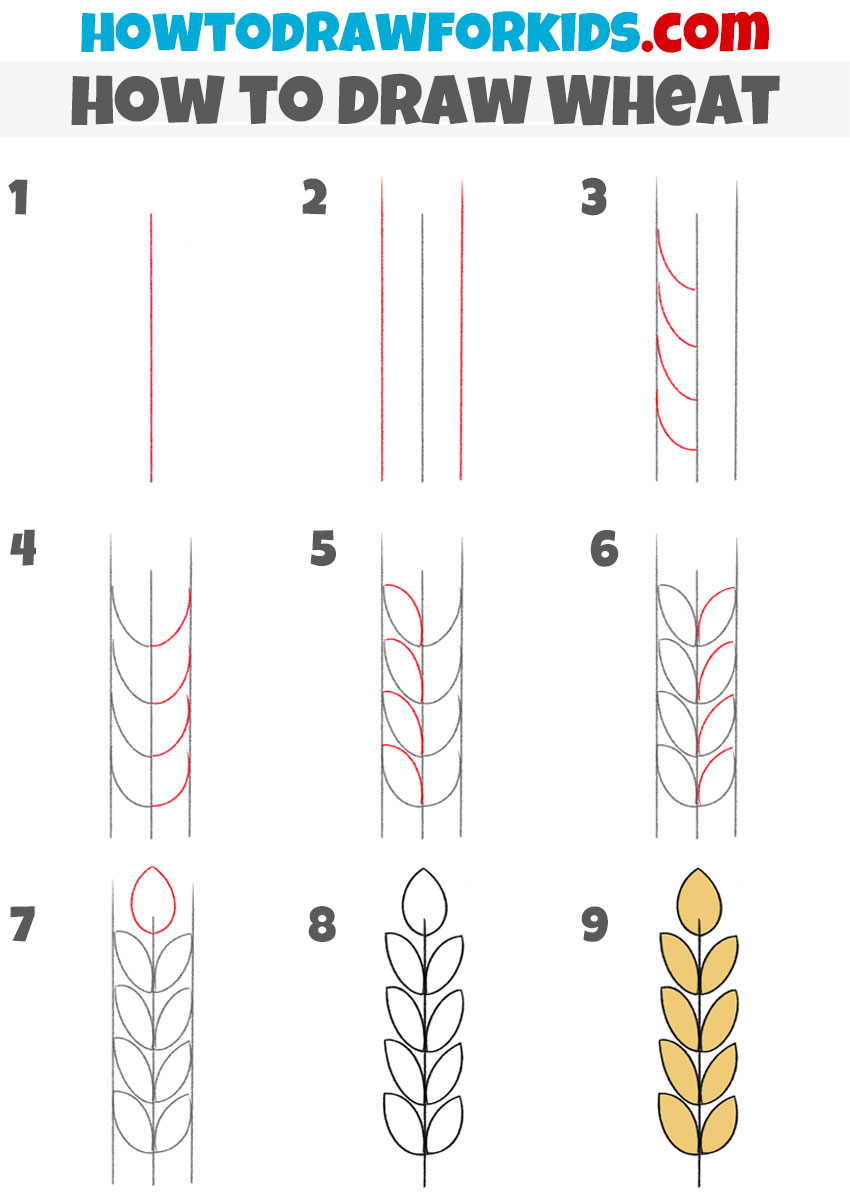
- Sketch the central stem.
Begin your wheat drawing by making a single long vertical line. This will be the central stem that supports the entire plant. I recommend starting with a light pencil stroke so it’s easy to adjust later if needed. When I teach students how to sketch a plant, I always point out that the main stem is like the spine.

- Add the outer guide lines.
Next, draw two more vertical lines on either side of the central stem. These lines will act as guides for placing the grains evenly. When you sketch wheat, keeping symmetry is very important, the left and right sides should mirror each other.

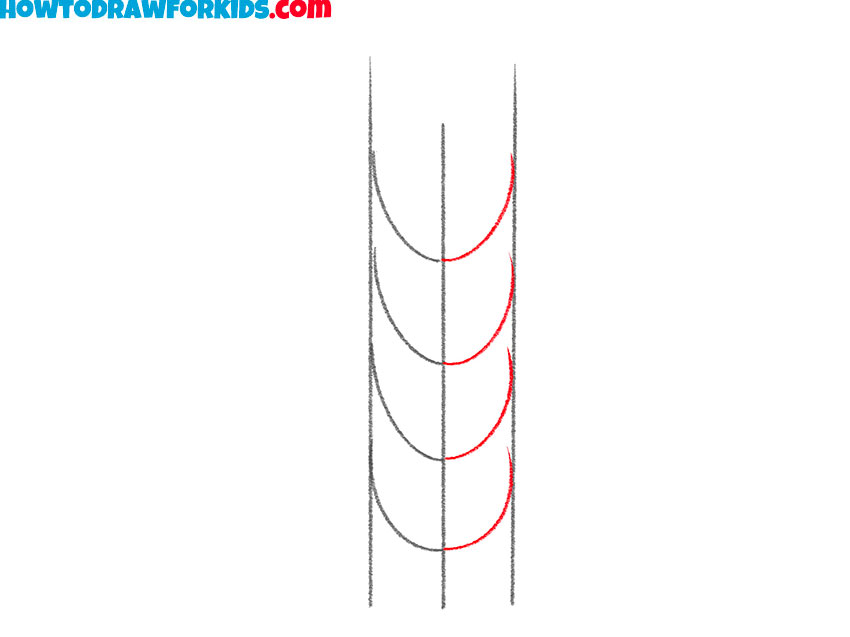
- Draw wheat grain curves on one side.
On one side of the stem, sketch several curved lines between the center and side guide. These curves represent the placement of grains and should be evenly spaced from top to bottom. Picture a series of gentle parentheses shapes hugging the stem.

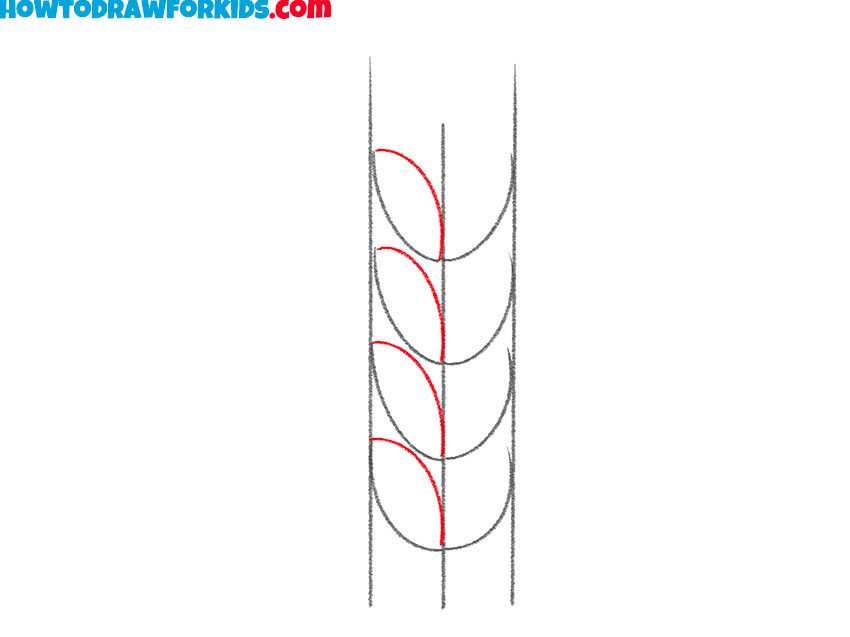
- Draw wheat grain curves on the other side.
Repeat the same process on the opposite side of the stem, sketching curved lines between the stem and the other guide line. When you draw wheat like this, it’s important to keep both sides symmetrical so the grains align properly. This mirroring is what creates the authentic appearance of real wheat.
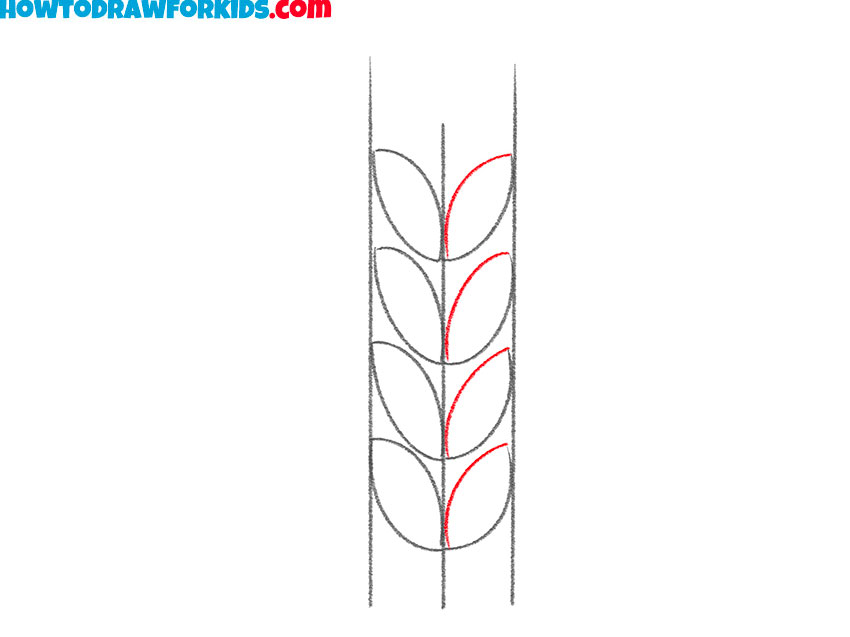
- Finalize the grain shapes on the left side.
Now, use the curves on one side as the base to draw the actual grain shapes. Each grain should be a pointed oval, with its center resting against the stem. When I demonstrate this in class, I compare the shape to a leaf or teardrop – narrow at the tip and fuller in the middle.
- Finalize the grain shapes on the right side.
Repeat the same process for the opposite side, completing the pairs of grains all the way down the stem. In a realistic wheat sketch, the grains on both sides are arranged in an alternating pattern that creates a braided effect. Always step back and check the symmetry as you go.
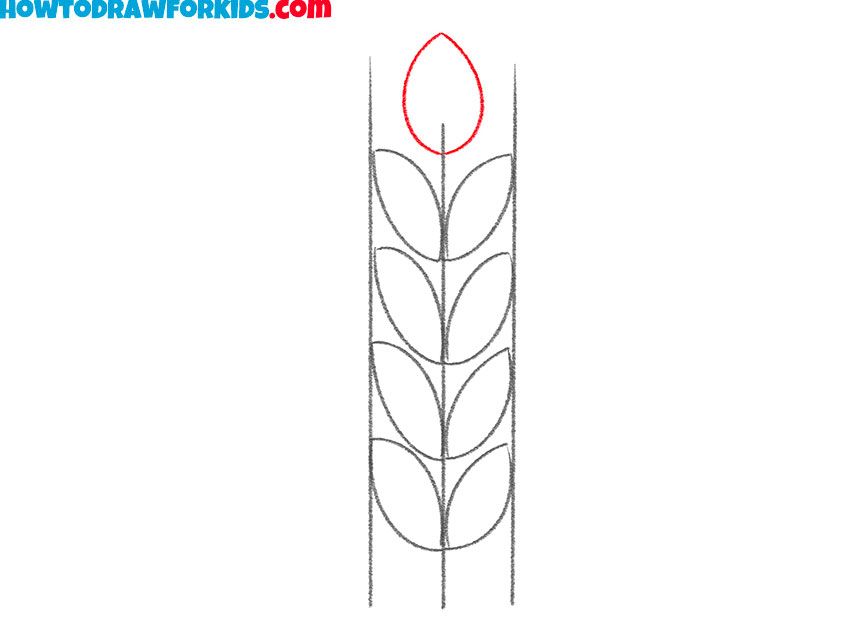
- Sketch the uppermost grain.
Add a single grain at the very top of the stem to complete the head of the wheat. This top grain should be slightly larger or more prominent to act as a natural finishing point. By the way, this top grain often catches the light in real life, making it a nice focal point in your final piece.
- Refine the wheat sketch lines.
Now, remove the guide lines and any extra pencil marks so only the final shapes of your wheat remain. In plant drawings, as in any other type of drawings, a clear outline helps the form look finished, especially if you plan to color it.

- Add golden shades to the wheat.
To color your wheat drawing, use golden yellows and warm browns to make the grains look ripe and ready for harvest. You can also add a touch of green if you want your wheat to look younger and less mature. Additionally, you can make your sketch look more dimensional, adding shadows and highlights.

Additional Content
This PDF is a condensed version of the wheat drawing lesson, prepared for offline use. It repeats the step-by-step sequence in a compact format and includes additional exercises aimed at improving accuracy and consistency when drawing wheat. The file can be used after completing the main tutorial for extra practice.
How to Draw Wheat for Preschoolers
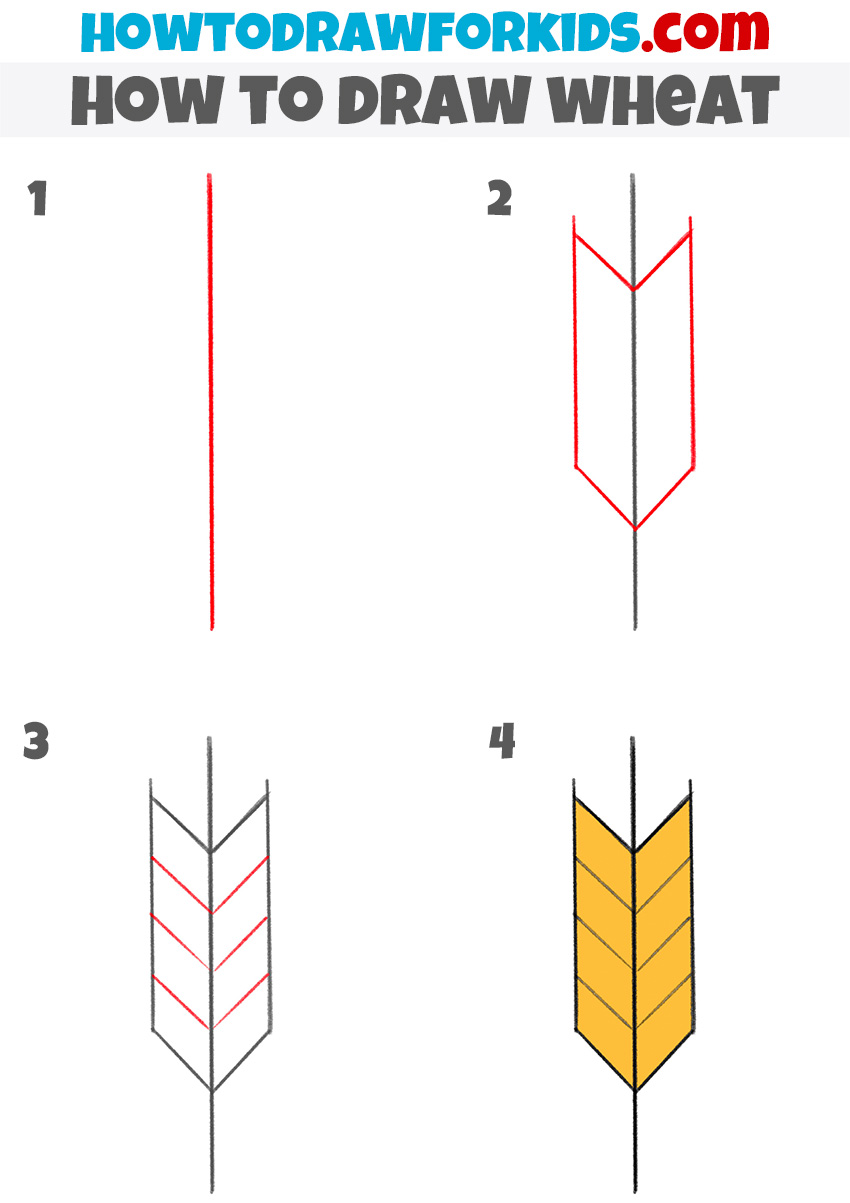
And now let’s proceed to the simplest version of drawing wheat, made for preschoolers or anyone taking their first steps in drawing. This method uses only straight lines and basic shapes, avoiding small details or complex curves.
As in the first method, sketch a straight vertical line to form the stem. Next, draw a shape around the top of this line to form the outline of the grains. This part should look like the fletching of an arrow. Then, draw three symmetrical oblique lines on either side of the stem to schematically depict individual grains. Keep all lines clean and straight, then color the wheat head in yellow or golden tones.
Conclusion
As I mentioned at the very beginning, wheat may look simple, but it’s an excellent subject for practicing neat lines and repeated shapes. Also, it is a great way to train your still life drawing skills.
Now that you’ve gone through the process, you can take this same approach and adapt it for other plants with similar structures, like barley or rye. You might also try arranging several stalks together to form a full sheaf, or placing them in a harvest-themed illustration with baskets, tools, or fields in the background.
Changing the colors to represent different stages of growth, from pale green to deep gold, can add variety to your work. Keeping a few of your early wheat sketches is a good way to track your progress over time.
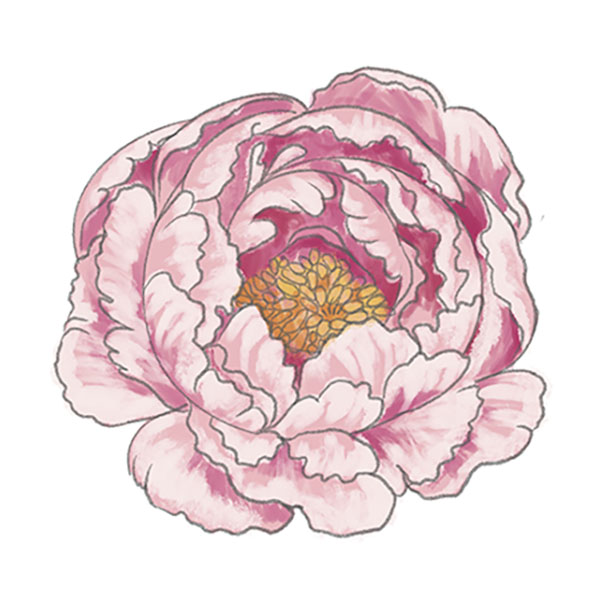
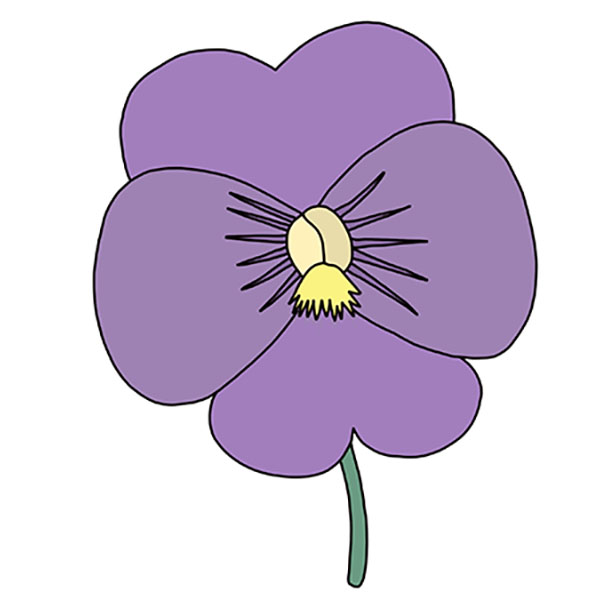
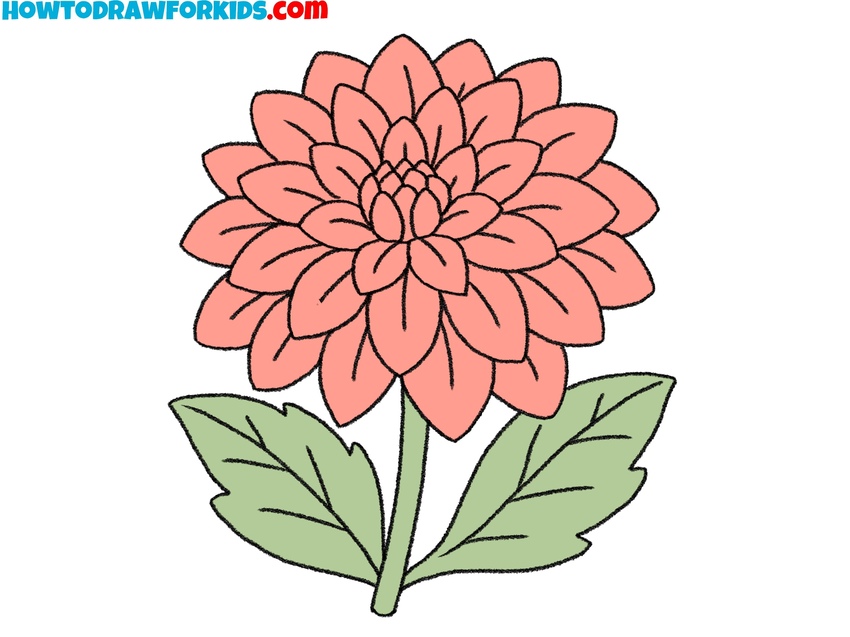
Also, don’t forget to visit my flower drawing tutorial to learn more about drawing plants and check out my tree drawing tutorial for more practice on this field.
Share your finished drawing, explore new arrangements, and keep experimenting to make your plant drawings more confident and expressive.