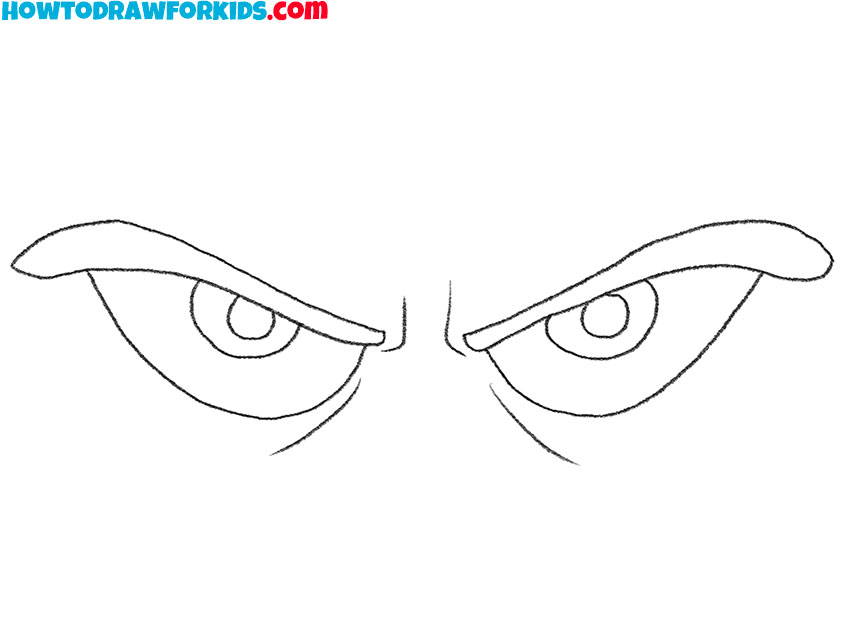
How to Draw Evil Eyes
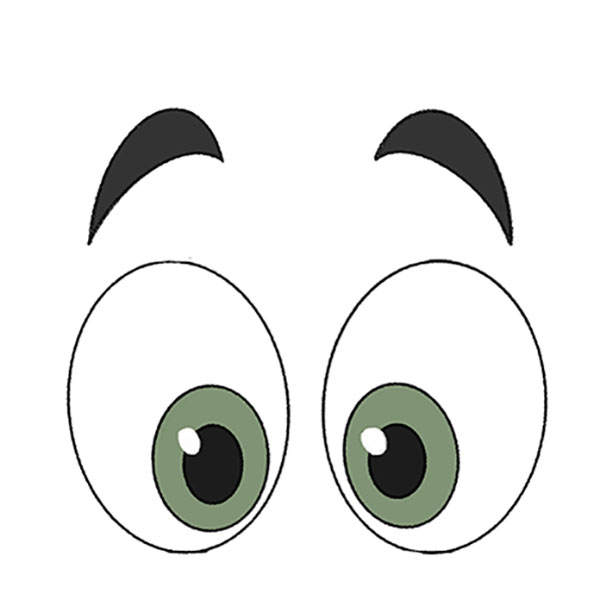
In this tutorial, I’ll show you how to draw evil eyes and share tips to make your final drawing more realistic and convincing.
How to Draw Evil Eyes: Basic Information
So, I am glad to offer you an interesting and useful lesson on how to draw evil eyes. If you complete this lesson, you will acquire useful skills that will be useful to you in the future. For example, you can draw any evil character following the principles outlined in this tutorial. Drawing evil eyes is also a great exercise that trains various art skills.
Symmetry is really important in creating balanced art. Drawing evil eyes helps you practice maintaining symmetry between the left and right sides of the face. This exercise trains your ability to mirror shapes and lines, ensuring that both eyes look identical and proportionate.
Evil eyes are an excellent subject for studying emotional expression. The shape and angle of the eyebrows, the placement of the pupils, and the overall intensity of the gaze all contribute to the menacing look. By focusing on these elements, you learn how to manipulate facial features to convey specific emotions.
Understanding the basic anatomy of the face, particularly the eyes, is essential for creating realistic and expressive art. This tutorial provides insights into the structure of the eyes, including the placement of the irises, pupils. Knowledge of basics of the facial anatomy helps you create more accurate and lifelike portraits.
Evil Eyes Drawing Tutorial
Materials
- Pencil
- Paper
- Eraser
- Coloring supplies
Time needed: 35 minutes
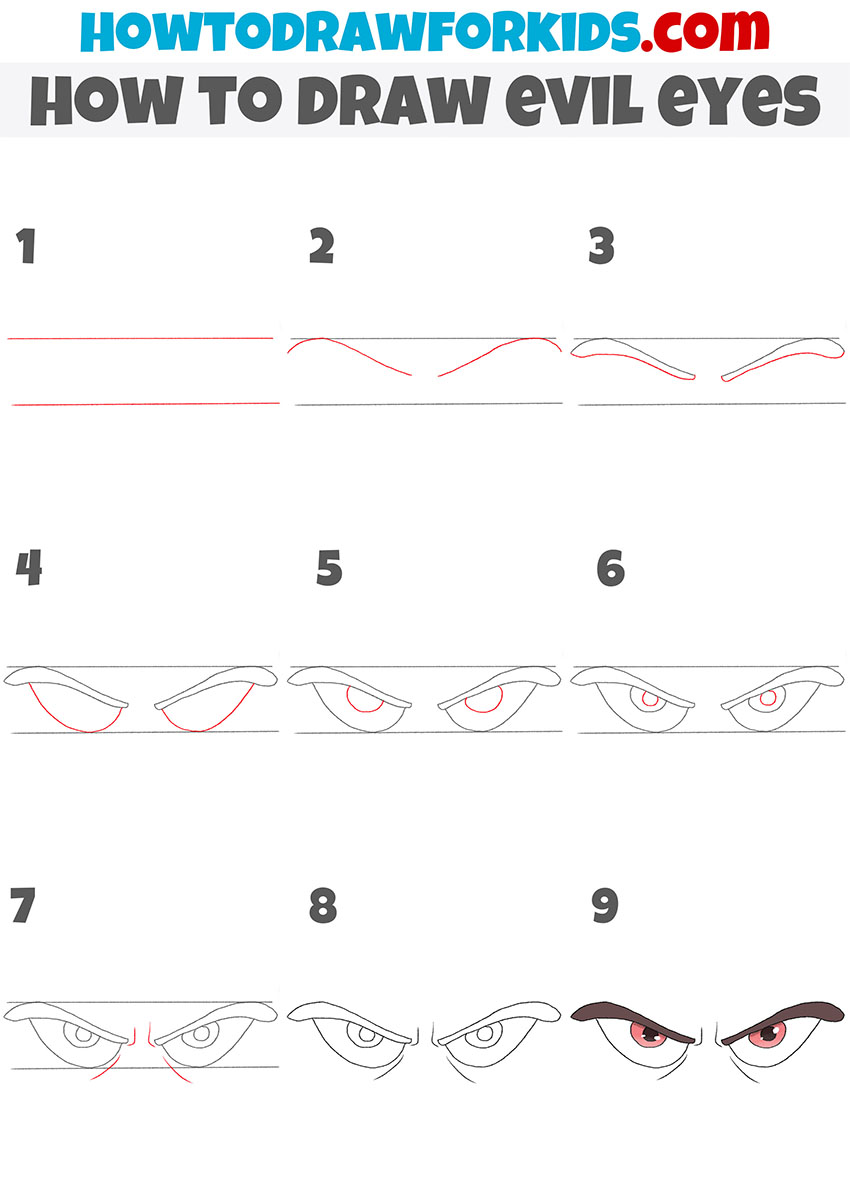
How to Draw Evil Eyes
- Prepare the base for the evil eyes.
Start by drawing two horizontal lines across your paper. These lines will help you place and align the eyes correctly. The top line represents the upper boundary of the eyebrows, while the bottom line marks the lower boundary of the eyes. Ensure these lines are parallel and evenly spaced.

- Sketch the upper outlines of the eyebrows.
Begin at the outer ends of the top guiding line, curving the lines slightly downwards toward the middle. These lines should be symmetrical and angled to create a fierce expression. The eyebrows can extend slightly beyond the top guiding line to give the eyes a prominent, angry look.

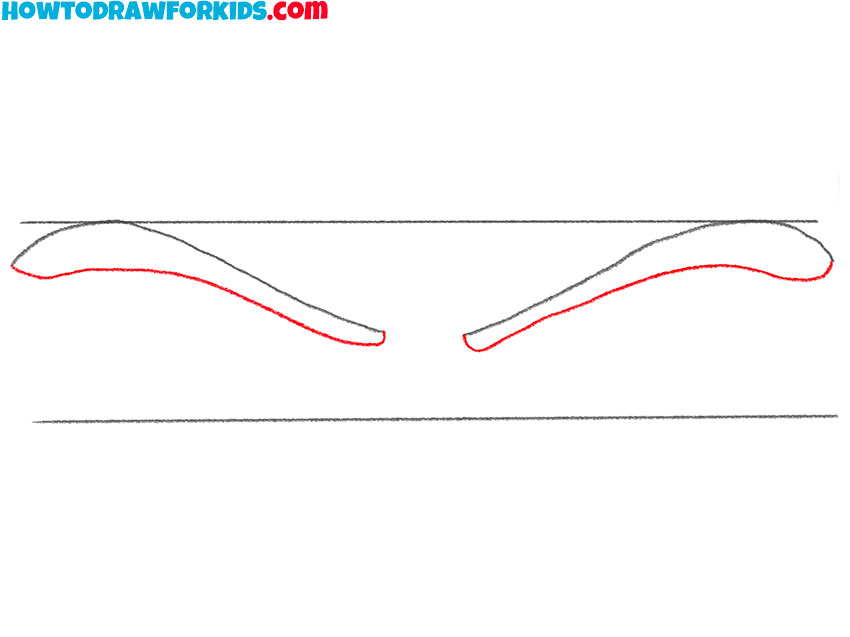
- Define the bottom edge of the eyebrows.
Start from the inner ends of the upper eyebrow lines and curve them downward to meet the outer edges, forming a sharp, pointed look. The bottom edges should mirror the shape of the upper edges, creating a thick, arched eyebrow shape.
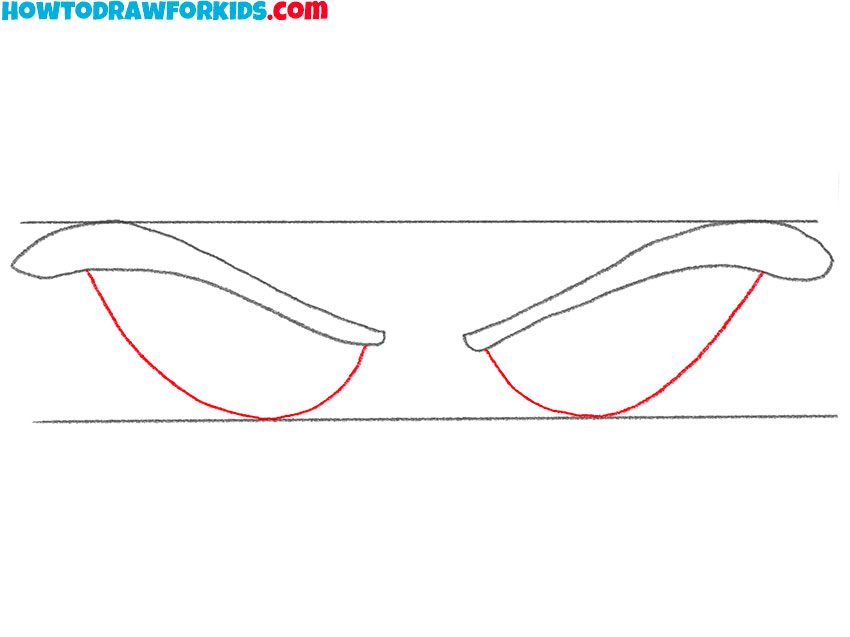
- Sketch the lower eyelids.
Draw two curved lines below the bottom guiding line, connecting to the outer edges of the upper eyelids. These lines should be smooth and taper towards the inner corners of the eyes. Ensure both sides are symmetrical for a symmetrical appearance.
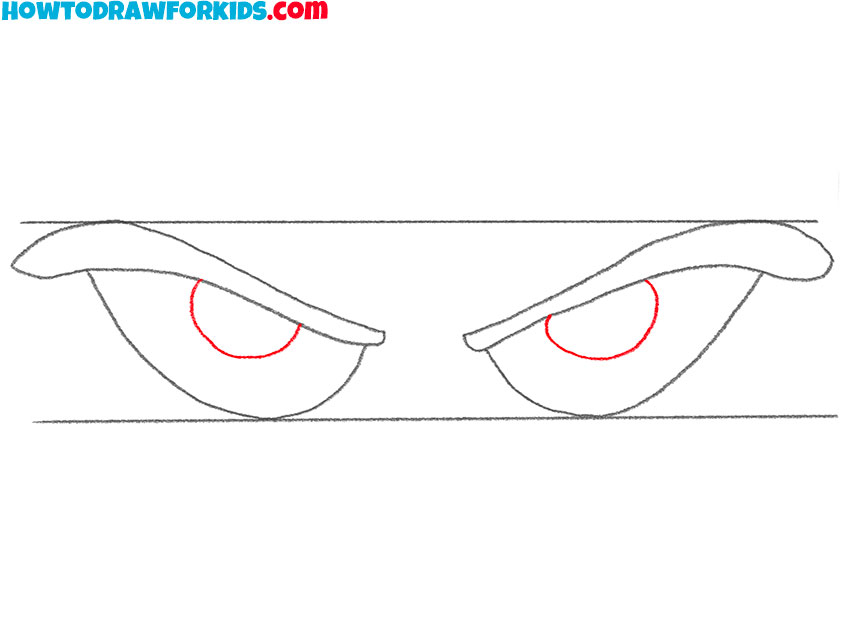
- Draw the irises.
These should be slightly oval-shaped and positioned towards the inner edges of the eyes to create an evil look. The irises should be partially covered by the upper eyelids, adding to the intense expression. Ensure the size of the irises is consistent to keep the eyes looking realistic.
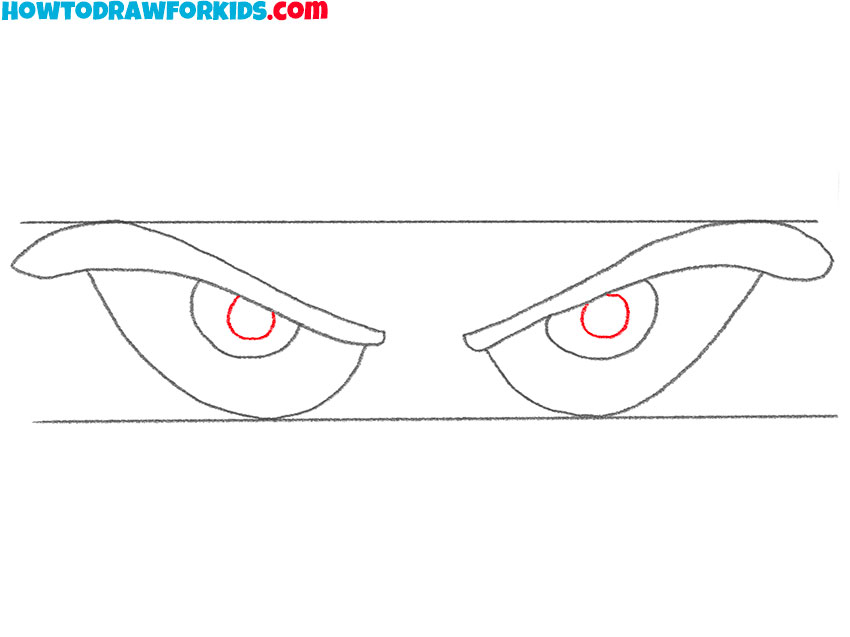
- Add the pupils.
Draw small circles slightly off-center towards the inner part of the irises. This placement intensifies the piercing stare. Ensure both pupils are the same size and positioned similarly to maintain symmetry. Here we are making the gaze more striking and menacing.
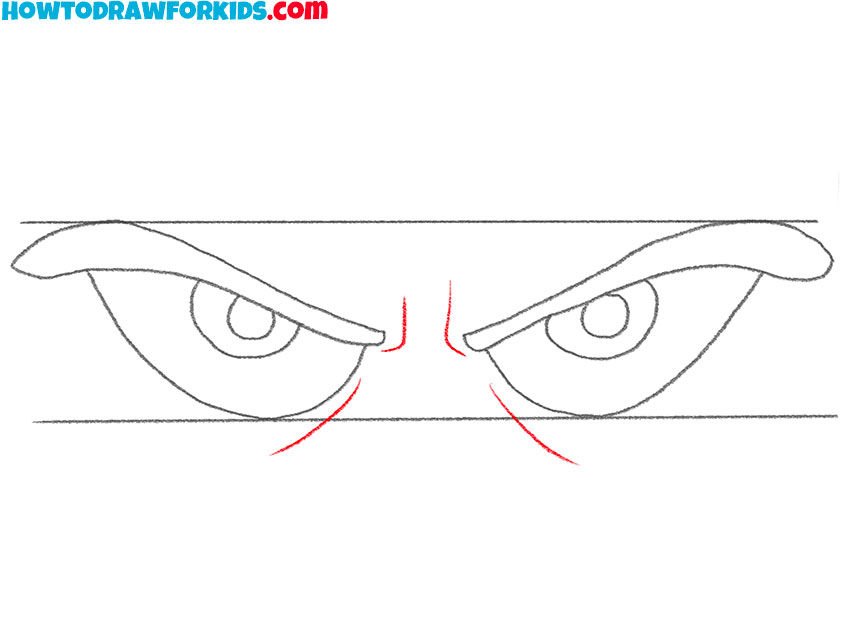
- Add the skin folds.
Enhance the realism of the eyes by adding creases. Draw short, curved lines above and below the eyes to represent the skin folds. These lines should follow the contours of the eyelids and eyebrows. Adding these details will give the eyes a more expressive appearance, creating more evil look.
- Erase the guiding lines from the evil eyes.
Carefully erase the initial guiding lines from your drawing used to align the evil eyes. Use a gentle hand movements to avoid smudging your sketch. This step cleans up your artwork and makes the shapes of the eyes sketch more clear and finished.
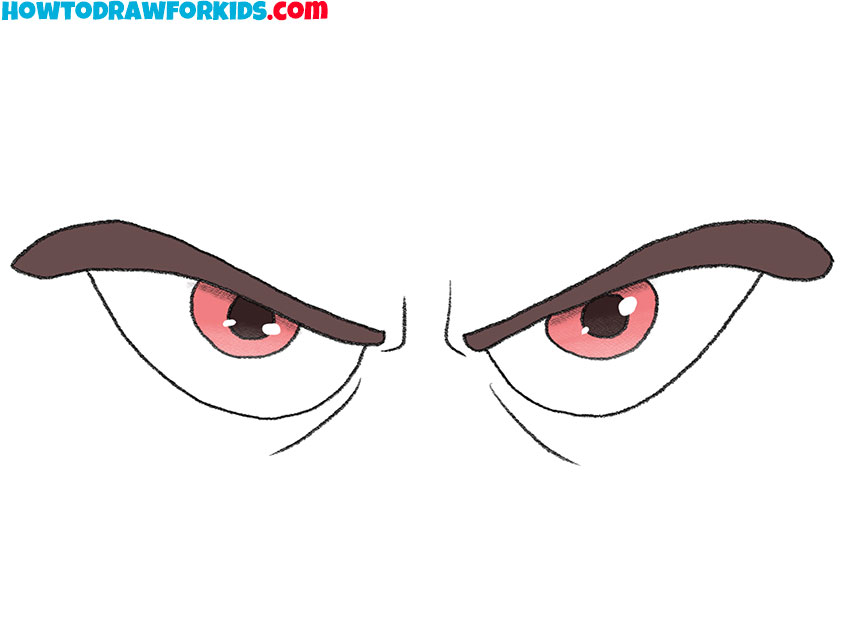
- Add colors, shadows and highlights.
Complete the drawing by adding some colors, shading and final details. Darken the eyebrows and the upper eyelids to create more angry expression. Add shadows under the eyes and on the lower eyelids. Shade the irises, leaving small highlights for realism.

Additional Content
Another lesson has come to an end. If you liked this step-by-step guide, then leave a little feedback in the comments. I would be interested to know your opinion. For your convenience, I have previously created a short version of the lesson as a PDF file. Save this file and use it whenever you want.
Drawing Evil Eyes: Advanced Suggestions
The shape of the eyebrows significantly impacts the overall expression of the eyes. Try experimenting with different eyebrow shapes to convey various degrees of intensity and emotion. You can make the eyebrows thicker, thinner, more arched, or straighter. Each variation can change the character’s mood, from subtly menacing to overtly evil. This practice helps you understand how minor adjustments can alter expressions and improves your ability to convey different emotions through facial features.
Make your drawing more realistic by adding texture to the eyebrows. Instead of a solid, uniform shape, use short, overlapping strokes to mimic individual hairs. Vary the direction and length of these strokes to create a more natural look. This technique adds detail to your drawing, making the eyebrows appear more lifelike. Practicing this will improve your ability to create different textures, a valuable skill for all types of drawing.
Adding eyelashes can significantly enhance the realism and detail of your drawing. Draw thin, curved lines extending from the upper and lower eyelids. Vary the length and direction of the lashes, and remember that they tend to be longer and more numerous on the upper eyelid. This addition will make your drawing more dynamic and detailed, giving it a finished look.
Adding wrinkles and skin texture around the eyes can make the evil expression more natural. Draw fine lines around the corners of the eyes and on the forehead to represent wrinkles. These lines should follow the natural contours of the face. Incorporating skin texture, such as small dots or faint lines, can also add realism. This practice helps you understand the anatomy of facial expressions and improves your ability to render detailed and realistic features.
Consider adding surrounding facial features, such as a nose, cheekbones, or part of the forehead. These features can make the drawing more complete. Pay attention to how these features interact with the eyes and contribute to the overall emotion. This addition helps you understand facial anatomy and how different features work together to convey expressions.
Conclusion
In this tutorial, you learned how to draw evil eyes with detailed, step-by-step instructions. You practiced maintaining symmetry and mastering proportions. You learned to draw emotional expression, developed shading techniques, and paid attention to details.
You also learned to add creases and folds and finalize your drawing with shading and highlights. These skills are very important for creating realistic and expressive art.
If you enjoyed this tutorial, please share it with your friends. Don’t forget to subscribe to my social media for more drawing tips and tutorials. Also leave your comments below with any wishes, questions, or suggestions.