How to Draw a Daisy Flower
Ready to bloom as an artist? My easy guide on how to draw a daisy flower will help you create delightful daisy flower artwork in no time!
In this tutorial, I have opted for the most iconic and easily recognizable appearance of this flower. Additionally, I will guide you through the simplest method to draw it.
How to Draw a Daisy Flower: Basic Information
Like any lesson on my website, this one is more than just instructions for drawing a daisy. Using this flower as an example, I will try to reveal for you several important techniques used by artists.
This daisy drawing tutorial begins with the foundational practice of creating proportional relationships between the flower’s core and its petals. This is crucial in all forms of art to ensure that the elements of the piece are in harmony with each other.
By arranging the petals evenly around the central core, the young artist learns about the importance of symmetry. This skill is essential not just in botanical illustration but in broader applications such as character design and architectural drawing, where symmetry often plays a pivotal role.
However, there’s more to come. At the end of this tutorial, I will explain how to improve the appeal of your daisy drawing and apply the skills you’ve learned to illustrate virtually any type of flower. I will also answer the most common questions regarding drawing a daisy.
Daisy Flower Drawing Tutorial
Materials:
- Pencil
- Paper
- Eraser
- Coloring supplies
Time needed: 30 minutes
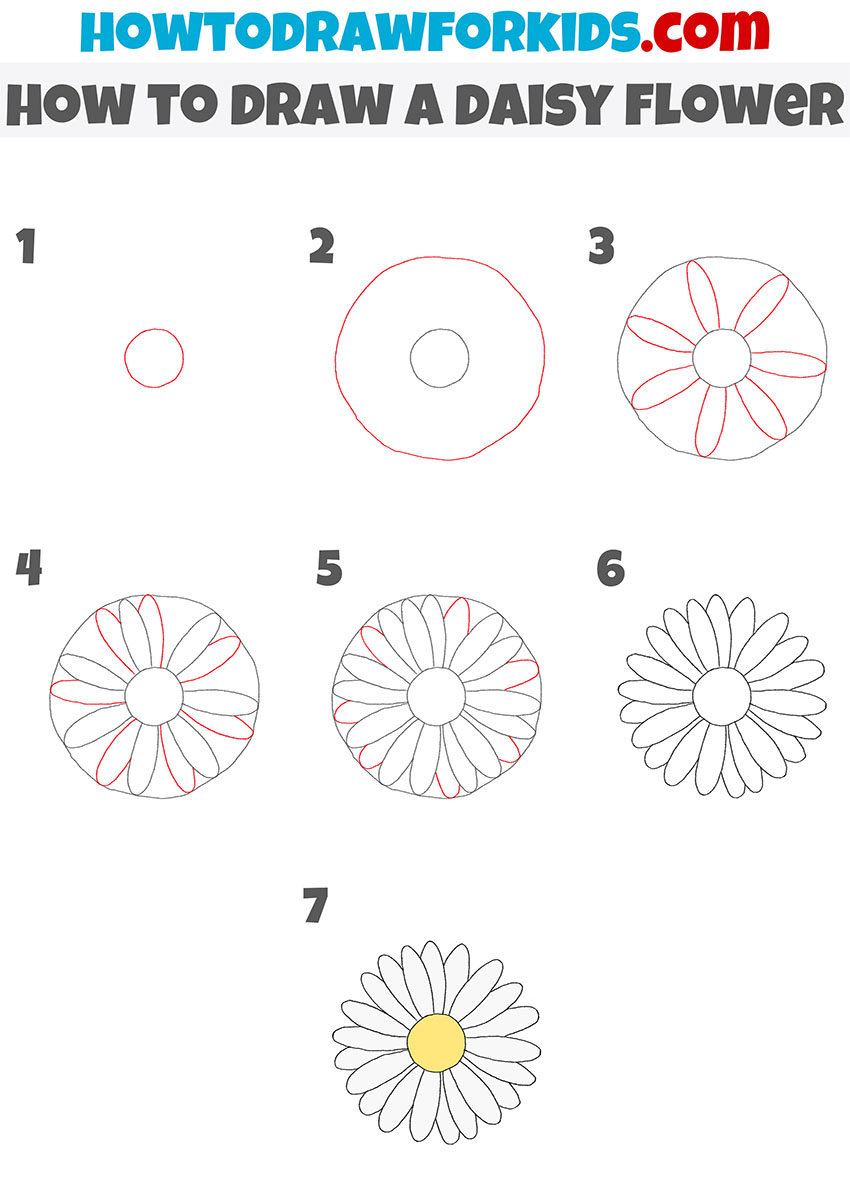
How to Draw a Daisy Flower
- Draw the middle of the daisy flower.
Initiate your daisy drawing by sketching a small circle in the center of your drawing space. This tiny circle represents the central core of the daisy, typically where the seeds are housed. Precision is not critical at this stage, as the beauty of natural elements often lies in their slight imperfections and asymmetries.

- Create the petals boundary.
Encircle the initial small circle with a larger one, maintaining an even distance around it. This second, larger circle will serve as a crucial guideline for the petals, helping to keep them uniform in size and symmetrically arranged around the core.

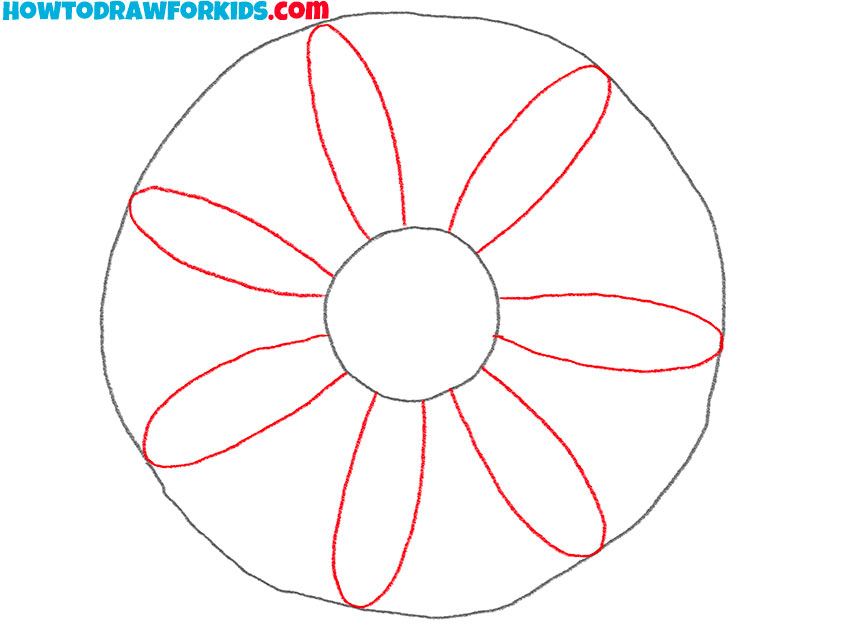
- Start drawing the petals.
With the circles in place, begin drawing the first set of petals. Sketch approximately eight elongated, thin oval shapes evenly distributed around the inner circle. These shapes should stretch outward, reaching from the edge of the inner circle to the outer guiding circle.
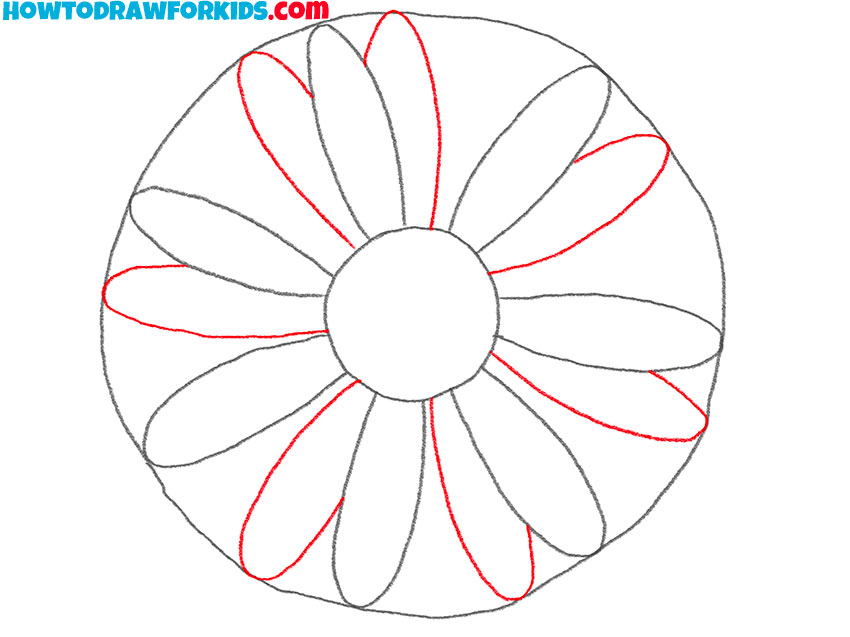
- Introduce additional petals.
Add another layer of petals between the ones drawn in the previous step, extending them from the inner circle to the outer circle. Aim for slight overlaps at the base of these new petals with the earlier ones, while maintaining separation at the tips, to create a realistic effect density.
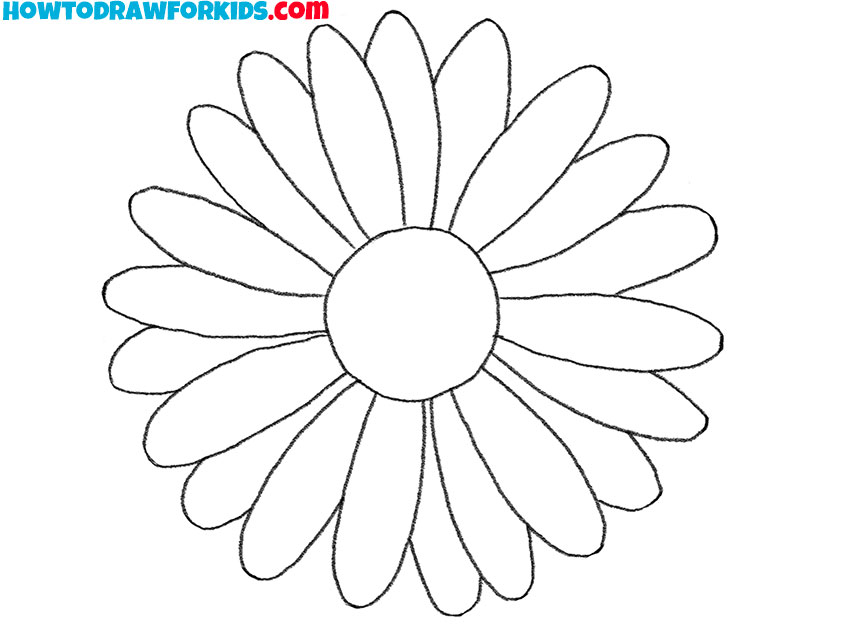
- Draw the remaining petals of the daisy flower.
In the spaces between the initial petals, sketch additional ones to fill the gaps. These overlapping layers create a full, blooming effect, giving your daisy a lush and lively appearance. Smooth out any jagged or rough lines from your initial sketches.

- Correct the mistakes.
Carefully erase any superfluous lines from your daisy flower drawing, ensuring you preserve the essential contours of the petals and center. You can also add the texture of seeds in the center of the flower or longitudinal lines on the petals.
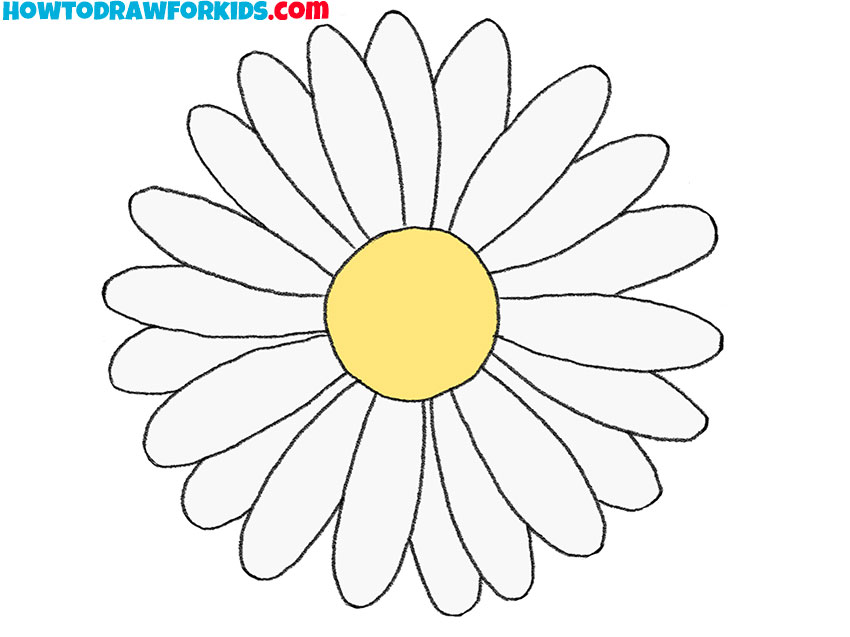
- Color your daisy flower drawing.
Color the central circle with a vibrant yellow to simulate the pollen-rich area of the daisy. Choose to paint the petals in a pure white or a pale hue of your choice. For added realism, consider incorporating subtle shading at the base of each petal.

Additional Content
For young artists and their parents, I have prepared a free PDF file. This mini-guide contains all the steps of this daisy drawing tutorial. The advantage of this PDF is that it’s portable – you can use it anywhere, from your backyard to a car ride, without needing internet access. Simply open the PDF whenever you want to practice drawing and you can start sketching immediately, wherever you are.
Draw a Daisy Flower like a Pro
If you’re looking to enhance your daisy flower drawing, I have several useful tips that can improve your artwork. These suggestions are designed to help you refine your drawing techniques, adding more detail and realism to your flower. By applying these methods, you can make subtle improvements that will make your daisy look more lifelike.
- Begin by closely observing actual daisies in a garden or in images. Pay attention to the curve of the petals, the texture of the center, and how the petals overlap each other. Observing these details will provide a strong reference for your drawing and improve your ability to capture the true essence of the flower.
- To mimic the natural variation found in daisies, alter the shapes and sizes of the petals slightly. Some petals might be slightly longer, others might have subtle curves, and a few might even show notches or irregular edges. These variations help your drawing avoid looking too uniform and artificial.
- The center of a daisy is composed of many small florets, giving it a textured, almost speckled appearance. You can replicate this texture using techniques like stippling (dots) or small, circular strokes, which add depth and intricacy to your drawing.
- Implement light shading under the petals and around the center to create depth and volume. Proper shading techniques can make the petals appear more three-dimensional.
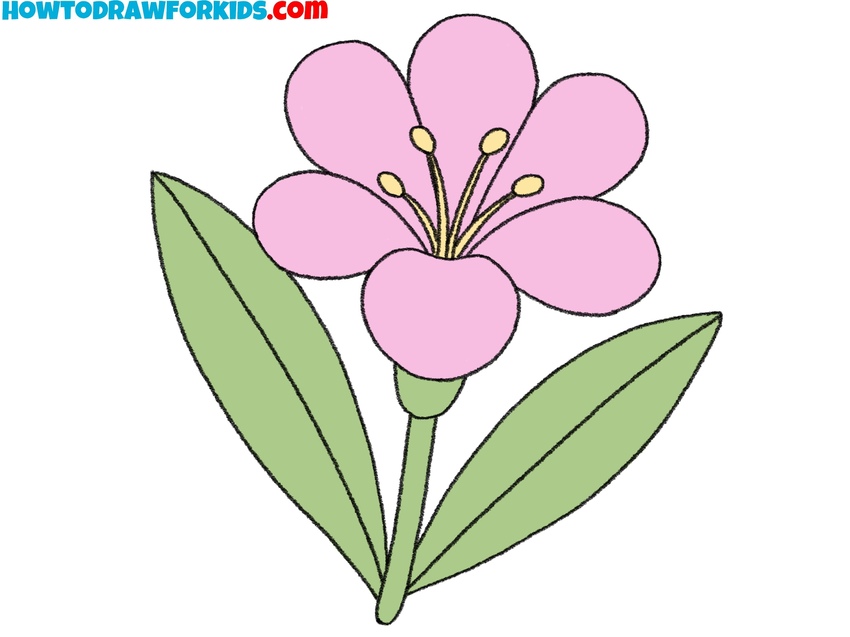
- Let’s not forget the stem and leaves. Draw a long, sturdy stem and add a leaf or two, to show your daisy is growing strong and tall.
- Maybe a friendly butterfly or a busy bee could be visiting your flower. This will make your drawing more interesting and add some elements of composition to the artwork.
- How’s the weather? Show raindrops glistening on the petals or bright sunshine with a few rays beaming down.
- Include a few imperfections such as a bent petal or a leaf with a bite mark. Natural elements are rarely perfect, and these small details can make your artwork resonate more with the reality of nature, making it more believable.
How to Draw a Daisy: FAQ
Having explored the steps of drawing a daisy and learned the practical tips and tricks to improve your art skills, let’s broaden our focus. Below, I present some frequently asked questions that newcomers often encounter.
A typical daisy can have anywhere from 20 to 30 petals. When drawing, start with fewer for simplicity and add more as needed for fullness.
Observe real daisy petals; they are often not perfectly smooth but have slight curves and variations. Draw them with a slight point at the tip and vary their widths slightly for a more natural look.
Typical daisies have white petals and a yellow center. However, depending on the light and shadows, you might add subtle shades of blue or gray to the petals for added depth.
Take a step back and compare your drawing to a reference image. Adjust proportions, symmetry, and details as needed. Remember, every practice is a learning experience, and slight imperfections can add character.
When drawing a side view, depict the center as an oval rather than a circle. Sketch the petals at the back shorter and only partially visible, while the front petals will appear longer and more defined.
Conclusion
You have successfully finished drawing a daisy flower on your canvas – a notable accomplishment. Continue to improve your skills; my website offers a lot of lessons on various subjects, from the intricate curves of a rose to the robust structure of a tree.
Remember to stay connected with me through social media for all the latest updates and more fun lessons. Just click that subscribe or follow button and become a part of my creative community.