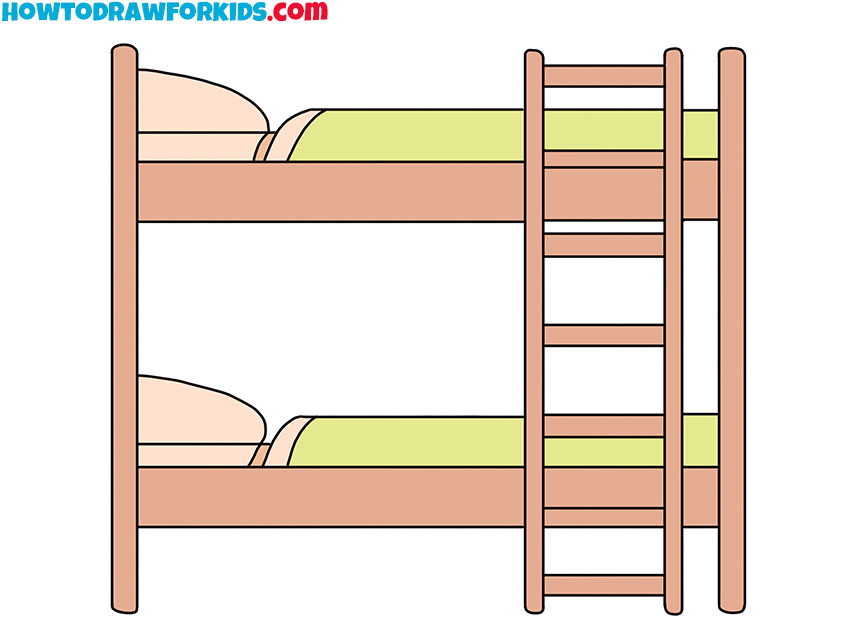
How to Draw a Bunk Bed
In this drawing lesson, I will tell you how to draw a bunk bed step by step. This lesson will be very useful for each of you.

So, I am glad to bring to your attention this useful and fascinating drawing lesson, in which I would like to tell and show you how to draw a bunk bed step by step. In this lesson, you can practice drawing geometric elements such as straight lines and arcs. If you want your drawing to look more beautiful and neat, you can use a ruler to draw straight lines.
The bunk bed is a bed in two tiers, that is, one bed in this design is located above the other bed. These beds are designed to save space in the room. Usually, furniture factories make bunk beds for teenage children. Bunk beds are most commonly used in dormitories, barracks, and hostels. To protect the sleeper from falling from the upper tier, protective arcs can be used, and stairs can be used to facilitate ascent and descent.
By learning how to draw a bunk bed with the help of this drawing lesson, you will be able to represent it as the main object of your drawing, as well as draw a bedroom and complement your drawing with the image of this bed. Right now, you can prepare the art materials that you will need to draw a bunk bed, after which I recommend that you proceed with this tutorial. I am sure that you will easily cope with this work and enjoy the creative process.
Materials
- Pencil
- Paper
- Eraser
- Coloring supplies
Time needed: 30 minutes
How to Draw a Bunk Bed
- Draw lines for the top and bottom bunk of the bed.
To complete this step, draw four straight horizontal parallel lines of the same length.

- Add the headboards.
On the sides of the straight lines, draw straight parallel vertical lines and connect their ends.

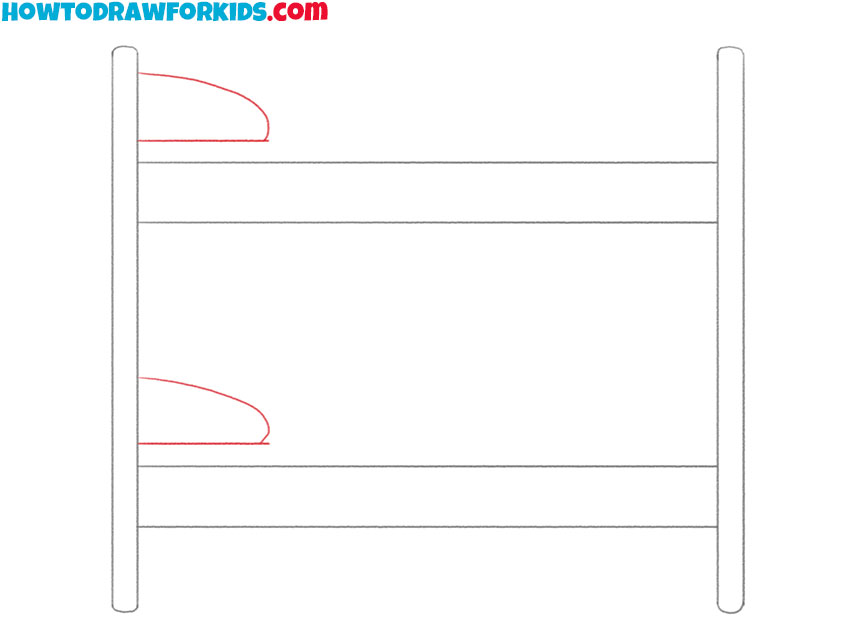
- Depict the outlines of the pillows on the beds.
Add two identical elements using straight lines and arcs, as shown in the figure.
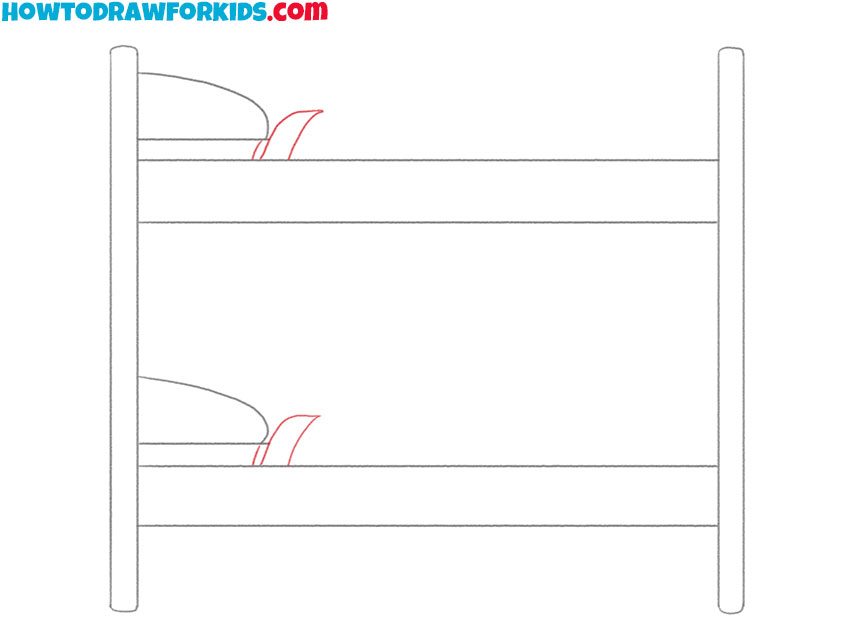
- Sketch out the tops of the quilts.
Next to the drawn pillows, add the same elements on the upper and lower tiers of the bed.
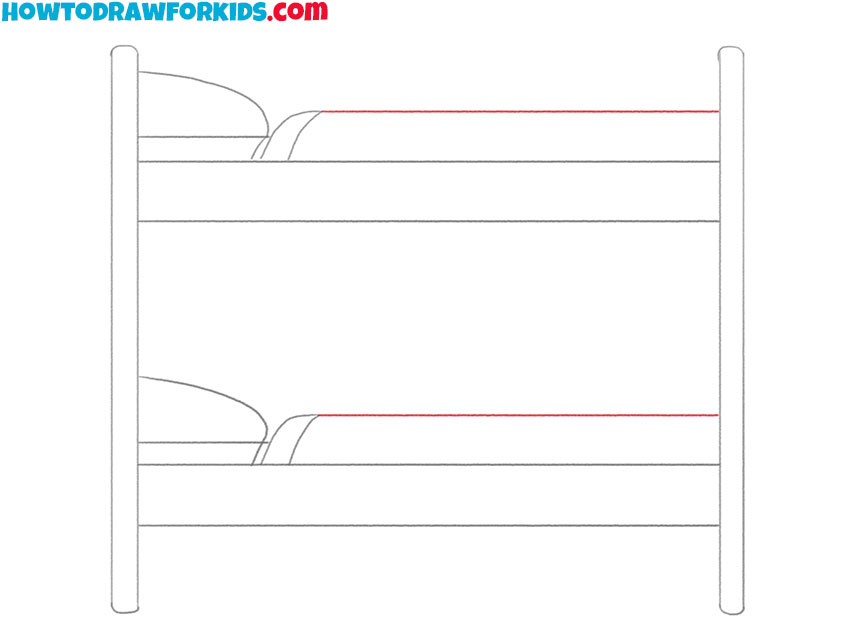
- Finish drawing the duvets on the bunk bed.
Depict two identical horizontal straight parallel lines as shown.
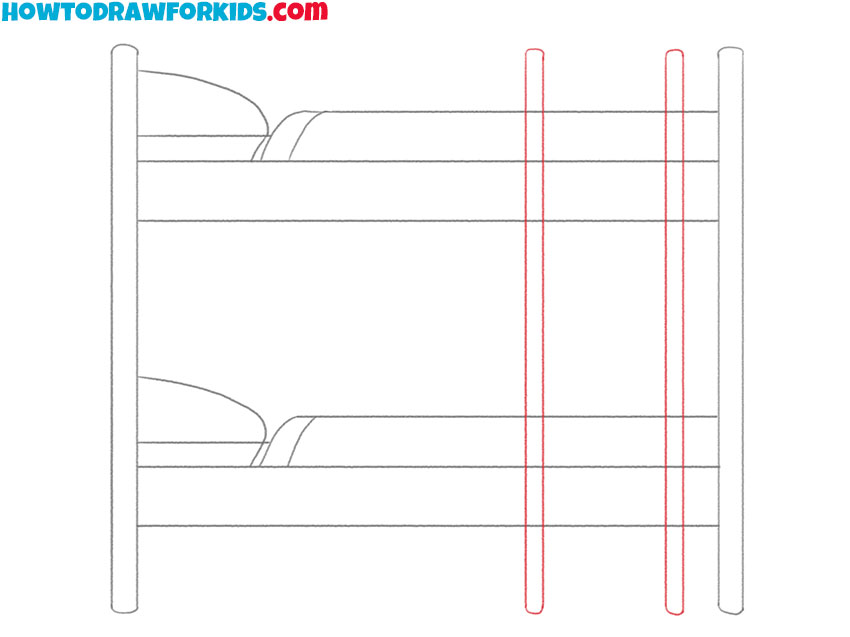
- Start drawing the ladder on the bunk bed.
Draw two identical elements on the side of the bed using straight, parallel vertical lines and arcs.
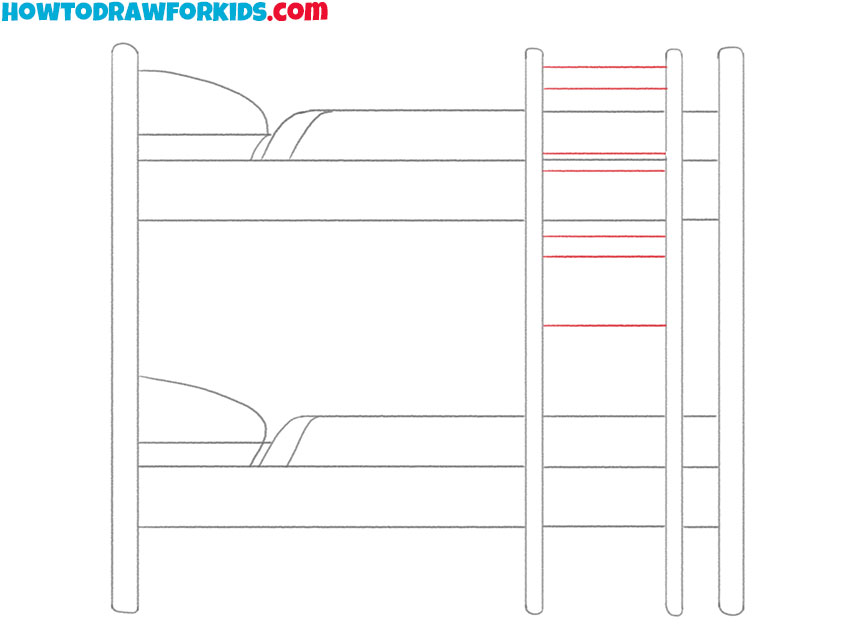
- Draw some steps on the stairs.
Between the drawn elements, add steps using straight, parallel horizontal lines.
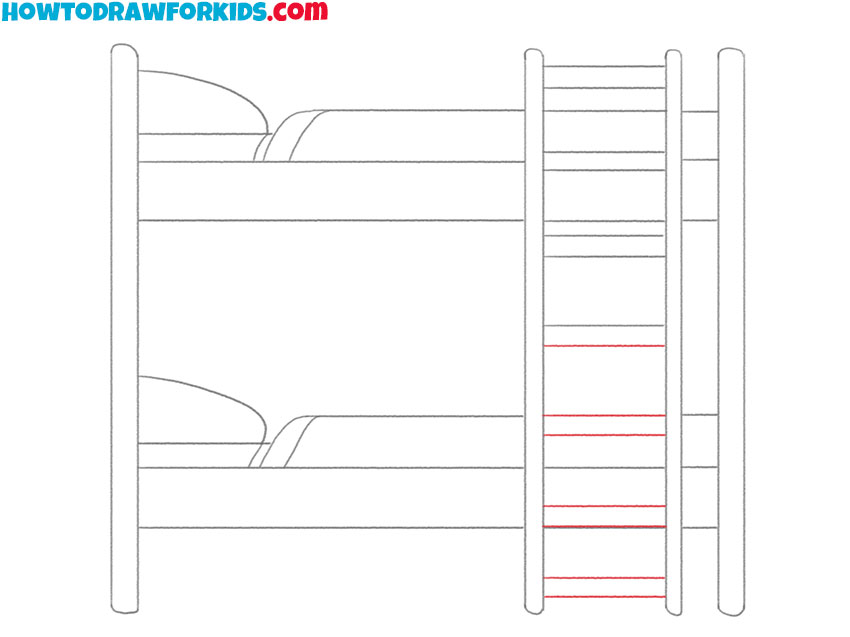
- Finish drawing the steps.
Continue drawing straight parallel horizontal lines of the same length.
- Color the drawing.
To color the bunk bed, use shades of brown as well as green.
I will be glad to read your feedback and ideas for new drawing lessons. Don’t forget to download the PDF file, which contains a short version of this lesson, as well as additional practice materials to help you complete it.