How to Draw a Chicken Face
Now, I’ll demonstrate how to draw a chicken face using two simple methods that show how to turn a circle into the head of a chick.

How to Draw a Chicken Face: Introduction
As I usually say, to draw animals convincingly and professionally, it is very important to know how to draw their heads and facial features. This tutorial will help you learn how to draw a chicken head, giving you greater confidence in drawing chickens.
The face of a chicken is relatively simple to draw, as it lacks complex details. The key elements include the general outlines of the head, beak, eyes, comb, and wattle below the beak. To draw a recognizable chicken head, it is important to arrange these features correctly.
When drawing a simplified chicken head, remember to focus on minimalism. Avoid unnecessary details, such as individual feathers or intricate parts of the comb. A professional approach includes only the essential parts, omitting superfluous details. This lesson will demonstrate this approach.
For learning simplified animal drawings and mastering minimalism, it is useful to start with the basics. This tutorial includes a highly simplified version of a chicken head drawing suitable for beginners, especially young ones, found at the end of the page.
Chicken Face Drawing Tutorial
Materials
- Pencil
- Paper
- Eraser
- Coloring supplies
Time needed: 30 minutes
How to Draw a Chicken Face
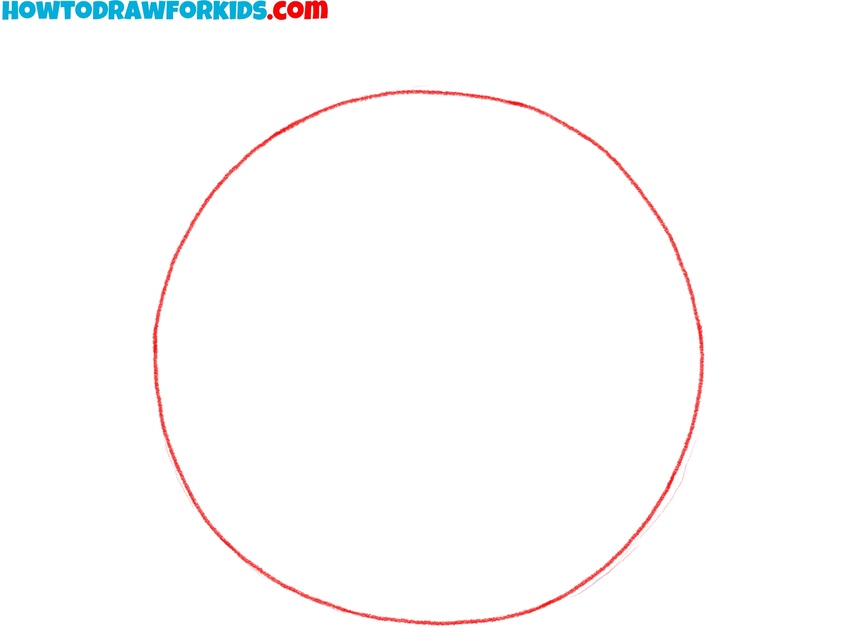
- Draw the outline of the chicken head.
Draw a large circle for the head shape of your chicken face. Make sure the circle is smooth and symmetrical, as it forms the basic shape of the chicken head drawing. If the shape is not perfectly round on the first try, that’s fine. Use an eraser to adjust the necessary parts and give it a more rounded appearance.
- Draw the cheeks at the sides of the face.
Next, draw two small, curved shapes on each side of the circle to represent the chicken’s cheeks. The cheeks give the head a fuller and more natural appearance. Use slightly even lines on the edges of the chicken’s cheeks to convey the texture of the feathers.

- Draw the eyes and eyebrows.
Now, add two large oval shapes for the eyes. Position these ovals at the center of the circle. Don’t add any details within the eyes yet; for now, focus on placing them evenly. To give the chicken face drawing more cute look, sketch the eyebrows above the eyes.

- Draw the top of the beak.
In the center of the face, between the eyes, draw a small, rounded triangular shape for the top part of the chicken’s beak. Position it so that it points downward slightly, giving a realistic appearance to the chicken face. The beak, like other parts of the chicken’s head, should be as symmetrical as possible.

- Add nostrils and finish the beak.
Within the beak shape, draw two small dots to represent the nostrils. Place these dots right at the central area of the shape from the previous step. After that, draw the bottom of the chicken’s beak using a horizontal, slightly curved line.

- Add the comb at the top of the head.
Above the head of the chicken, draw a rounded, heart-like shape to create the comb. This comb should sit at the top center of the head, giving the chicken it’s recognizable look. To give your chicken head drawing a more unique look, you can make the comb a little larger or smaller in size than the one in my example.

- Add the wattle below the beak.
Below the beak, draw two rounded shapes hanging down to form the wattle. The left and right parts of the waffle should be small and mirror each other. The wattle complements the comb and adds another characteristic detail to the chicken face.

- Refine the outlines of the sketch.
Review your chicken face drawing and refine any lines as needed to clean up the outline of the head and facial features. Adjust the shapes if necessary to give the sketch a finished look. If the drawing looks complete and you are happy with the result, then proceed to coloring.

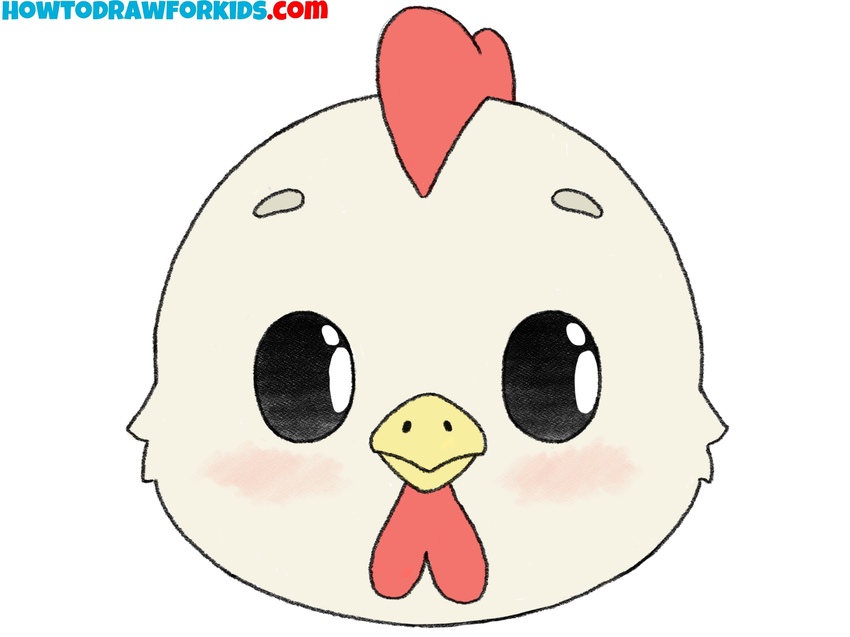
- Add colors to the chicken face.
The chicken’s face can be painted in light tones as in my example, or in darker tones, for example brown. Use yellow or orange for the beak, a soft red for the comb and wattle, and ping for the cheeks. The eyes can be filled in with a dark color, leaving small highlights to make them appear shiny.

How to Draw a Chicken Face for Preschoolers
This version of a chicken face drawing tutorial simplifies the drawing steps to demonstrate only basic shapes and eliminates detailed elements. The comb and wattle are larger and more stylized, adding even more cartoonish look, while the overall process is more simplified, suitable for preschoolers.
To draw a chicken face in this style, start with an oval shape for the head. Inside the oval, add two small circles for the eyes and an oval shape below them for the beak. Above the head, draw a curved shape for the comb, positioned slightly off-center. Below the beak, add two rounded shapes forming the wattle.
Once the outline is complete, refine any uneven lines. To finish, color the beak yellow, the comb and wattle red, and the cheeks pink for a gentle blush effect. Use black to fill in the eyes, leaving small white spots to give them a reflective look.
A free PDF download is available to support your practice of drawing a chicken face, providing additional material to build on the lesson and challenge your skills further. This resource aims to help you progress from basic sketches to more refined strokes, and includes really useful extra materials.

Conclusion
With the chicken face now added to your sketchbook, consider boosting your art skills further. My website offers a range of tutorials to help you draw almost anything. For instance, you can learn how to draw a turkey or refine your skills in drawing a dove or other birds.
Follow me on social media to stay updated with the latest content. Your feedback and suggestions under the lessons help shape future tutorials, so feel free to share your thoughts.