How to Draw a Ghost
Gather round, young artists, for a ghostly drawing session! I’ll guide you on how to draw a ghost with three super simple steps. From a shy, peek-a-boo ghost to a wavy, floating friend, you’ll have a trio of designs to choose from. Perfect for kids who love to fill their sketchbooks with fun and creativity.
How to Draw a Ghost: Basic Information
Embark on a creative adventure as we learn how to draw a ghost that’s not too spooky for your sketchbook. This lesson is designed to show you that creating friendly apparitions can be as easy as a gentle breeze through a haunted house. With just a few strokes, we’ll craft a ghost that’s more about giggles than shivers.
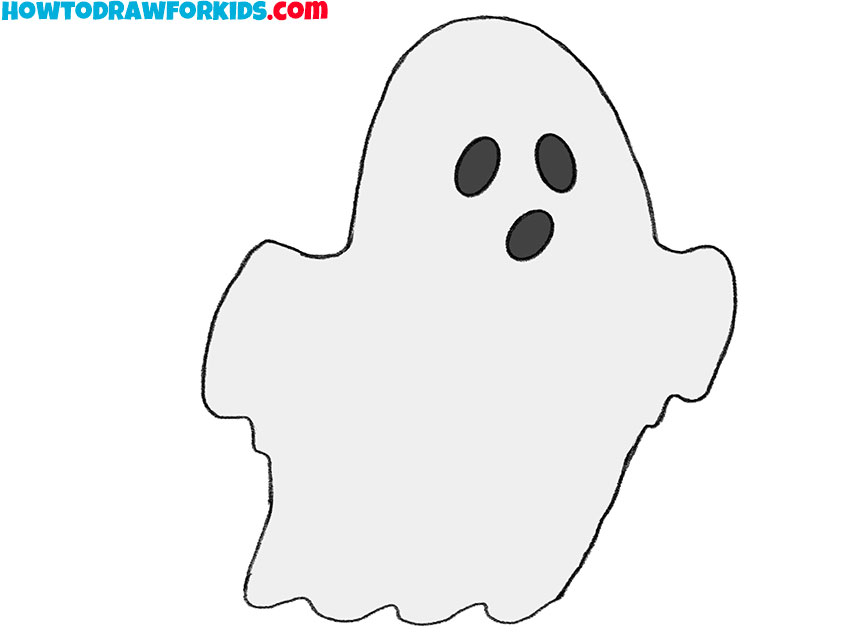
Our ghostly friend will come to life through a series of smooth, flowing lines that form a billowy shape, capturing the classic look of a ghost without any fright. The playful face we’ll add is all smiles, ensuring our ghost wouldn’t say “boo” but rather “hello!”
This simple approach is great for artists who are just beginning to explore their ghostly talents. And there you have it: a simple way to draw a ghost that’s ready to join the ranks of friendly phantoms. Whether it’s for a school project or just for fun, this ghost is sure to stand out as a joyful spirit.
Ghost Drawing Tutorial
Materials
- Pencil
- Paper
- Eraser
- Coloring supplies
Time needed: 20 minutes
How to Draw a Ghost
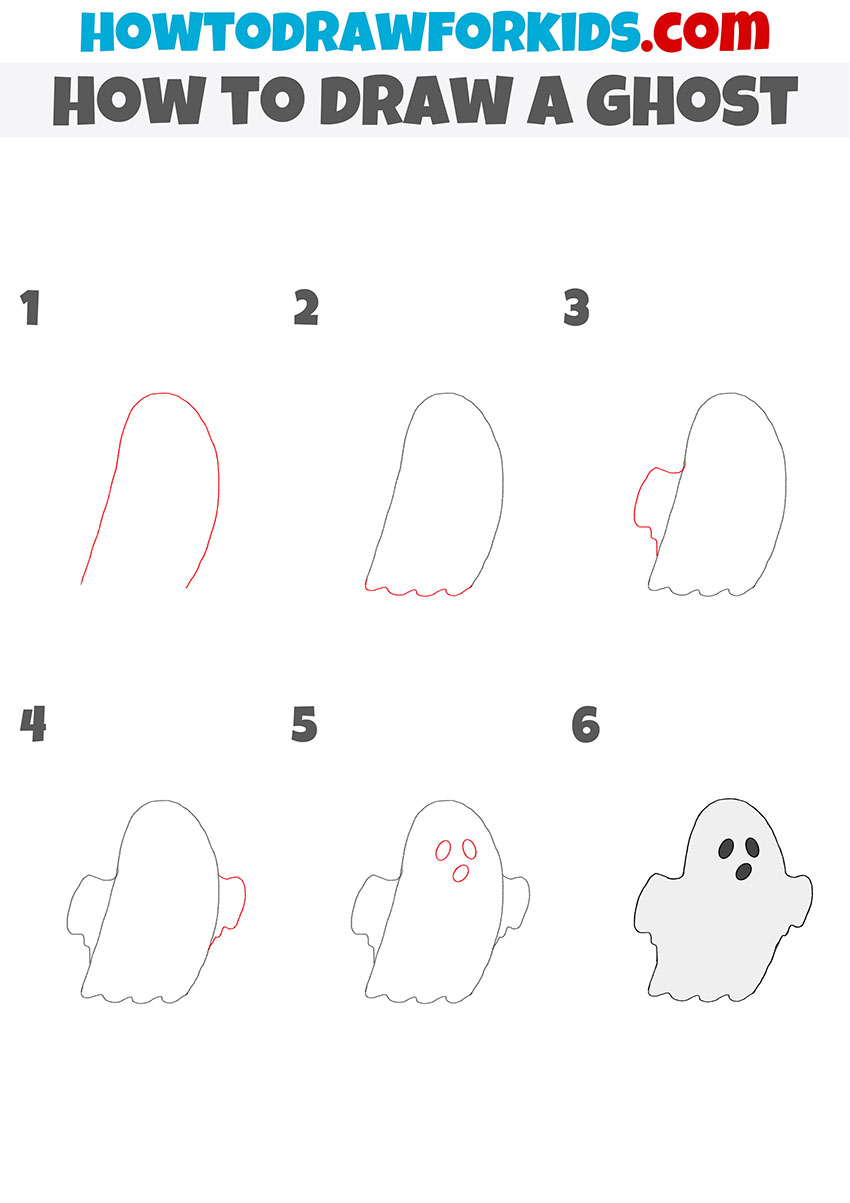
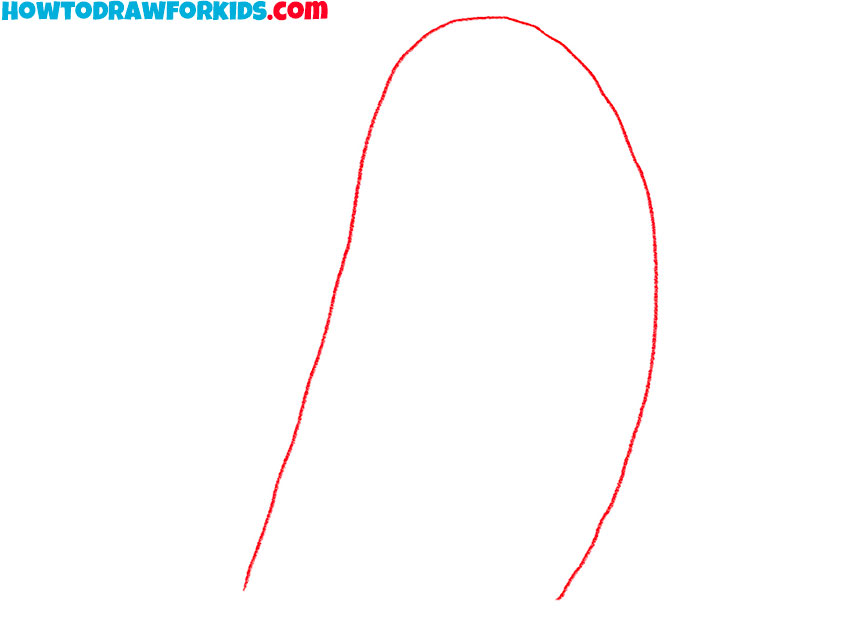
- Draw the main outline.
Begin by drawing a gently curving line that arches towards the top and then slopes back down. This line will form the left side of the ghost’s head and body, shaping the overall contour of the ghost.
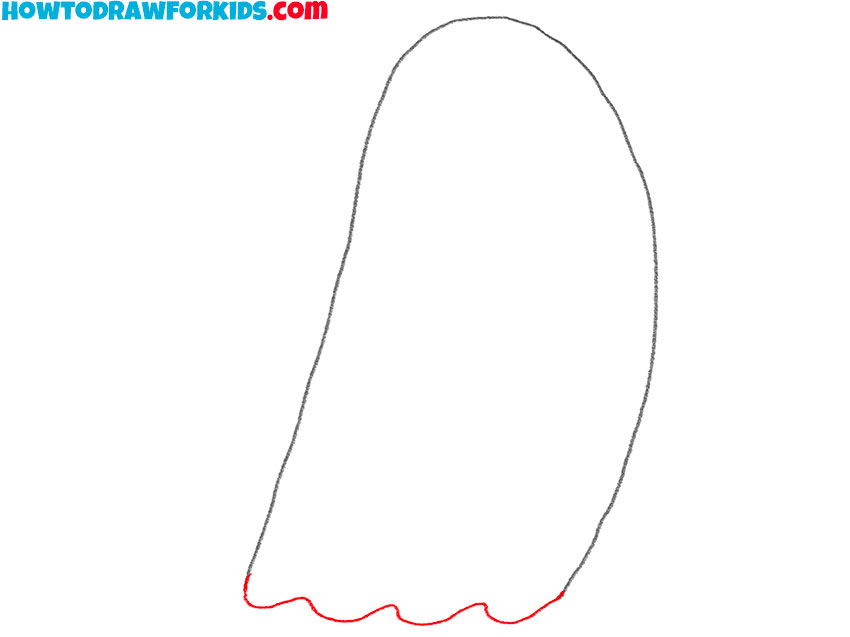
- Sketch out the bottom.
Connect the two lines at the bottom with a wavy line that dips and rises gently. These curves will represent the ghost’s bottom edge, giving it a floating appearance, like ripples or soft waves.
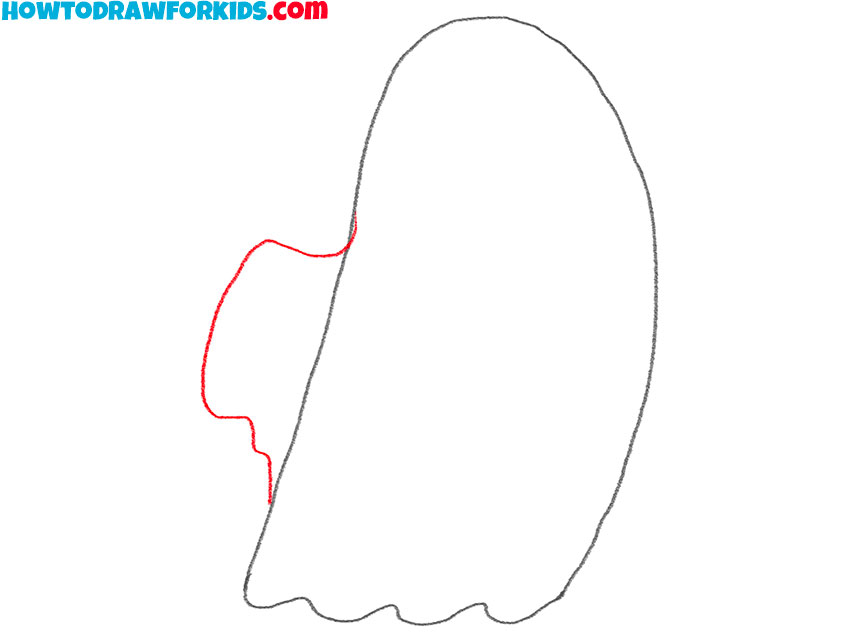
- Depict one arm.
On the right side, add a small, curved line protruding outwards to begin forming the ghost’s arm. This line should have a slight wave to it, mimicking the style of the bottom edge.
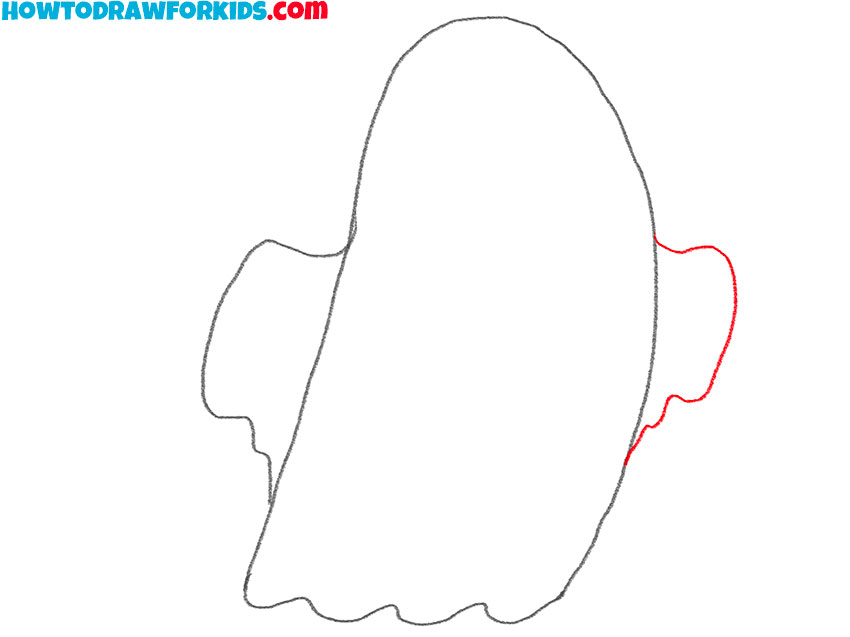
- Add the second arm.
Complete the ghost’s arms by adding another curved line opposite the first one you drew in step 3. The lines should be soft and rounded to give the impression of the floating or waving in the air.
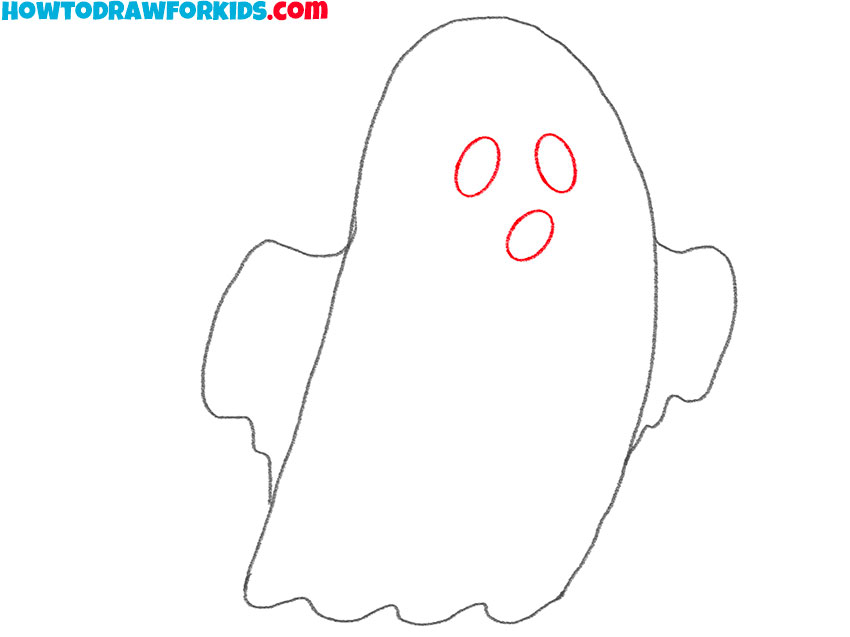
- Draw the elements of the face.
Draw the ghost’s facial features. Start with two small ovals for eyes, placed towards the top of the head, and a smaller oval for the mouth below the eyes.
- Color the ghost.
Finalize the ghost by tracing over the entire outline with a solid line to make the ghost’s form stand out. Fill in the eyes and mouth with a dark shade to add contrast and depth, which will bring life to the ghostly figure and complete the drawing.
Additional Content
Along with our fun drawing lesson, I’ve whipped up a special treat for you – a free PDF file of this ghost-drawing tutorial! It’s a compact version of our lesson that you can download and take with you wherever you go.
Whether you’re curled up at home or out on a family adventure, you can bring your ghostly creations to life without needing an internet connection. This PDF is packed with all the tips and tricks you’ll need to depict the perfect ghost, anytime and anywhere. Download your free PDF now and keep the creative spirit alive!
Alternative Drawing Methods
Moreover, I’ve introduced a suite of alternative techniques for those eager to expand their ghost-drawing repertoire. Each approach offers unique challenges and rewards, helping you to develop a versatile skill set that applies not just to drawing ghosts, but to all your artistic endeavors.
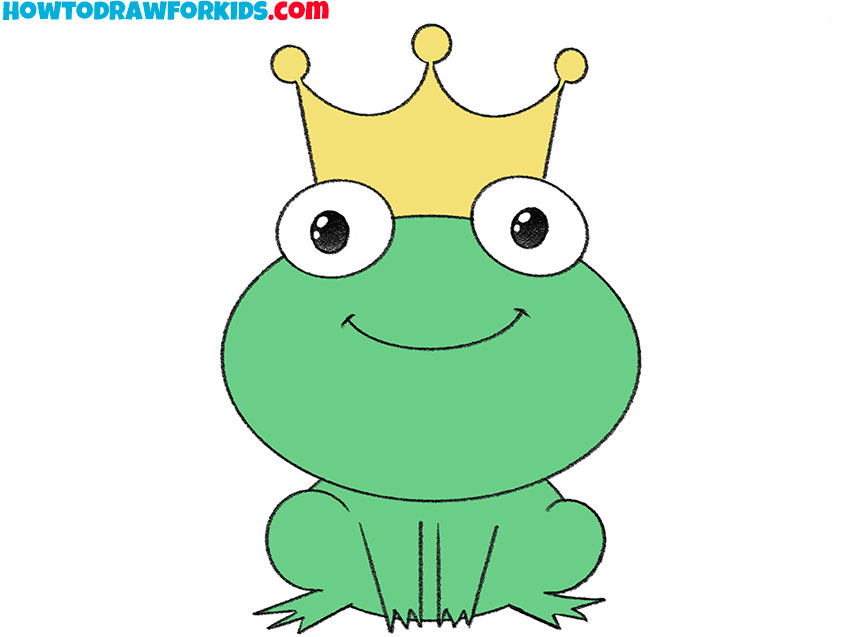
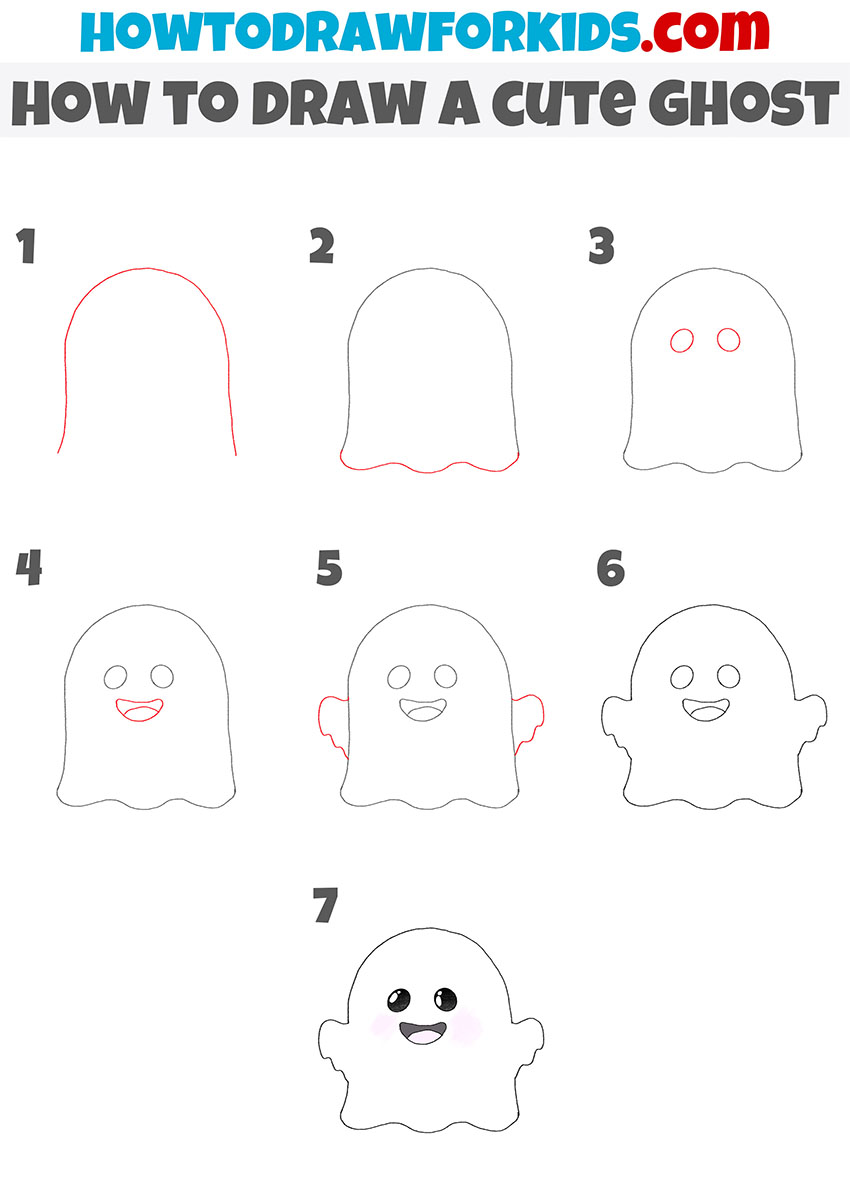
How to Draw a Cute Ghost
For our first alternative method, I’m excited to show you how to sketch a cute ghost! This friendly specter will bring smiles instead of scares, making it a delightful addition to your collection of drawings. With a few simple steps, we’ll transform basic shapes into a charming character.
This method focuses on rounded edges and big, expressive eyes that add an irresistible charm to your ghostly creation. Perfect for cards, decorations, or just for fun, this cute ghost will surely become a favorite for artists of all ages. So grab your pencils, and let’s bring some cuteness to our spooky friends!
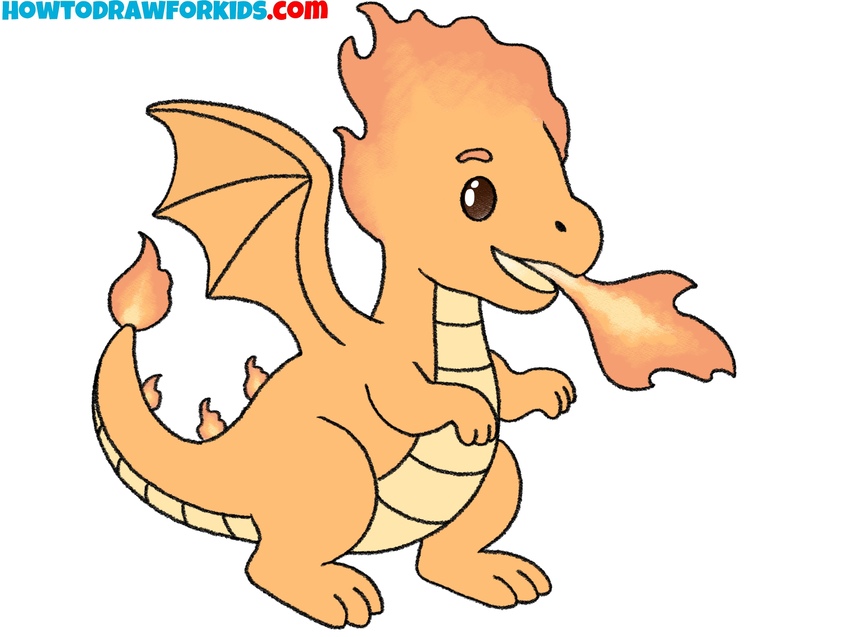
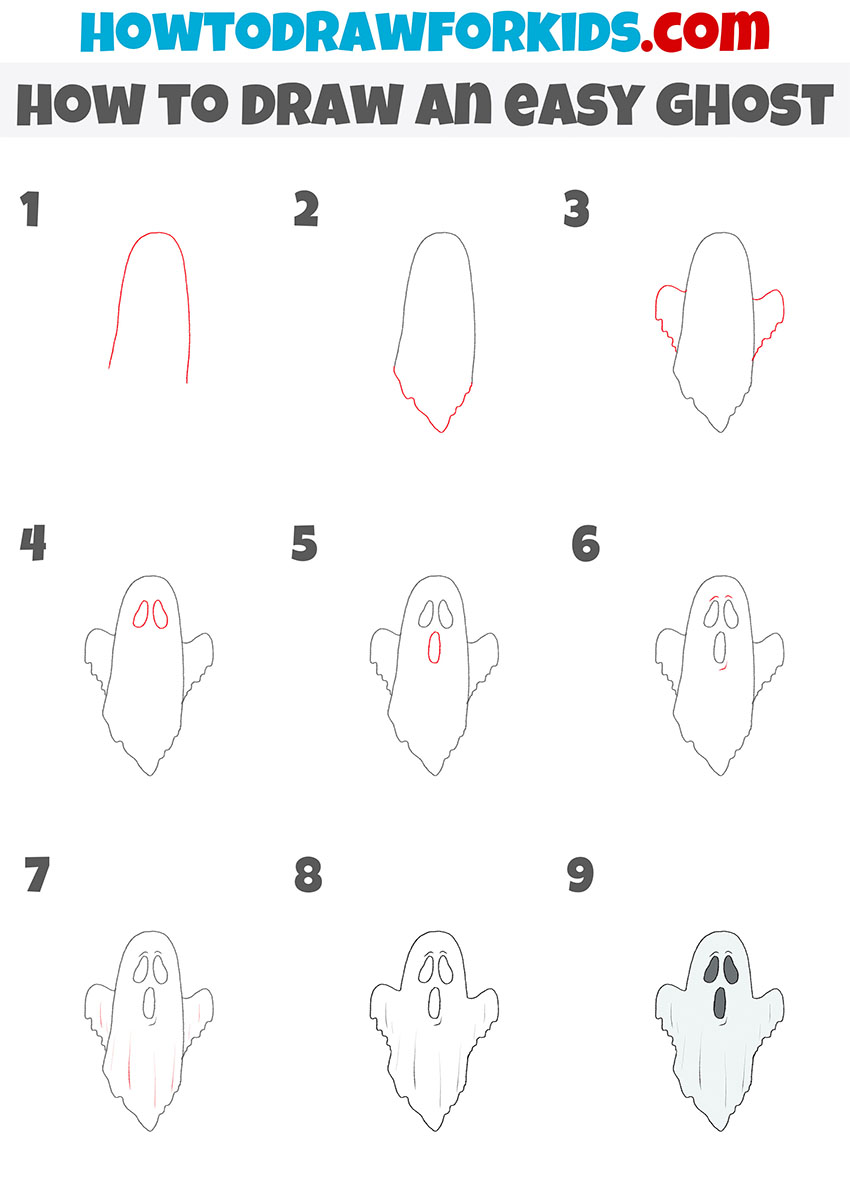
Drawing a Spooky Ghost
And now, for a thrilling twist, I’ll guide you through the steps to depict a spooky ghost! This method is great for Halloween decorations or to add a touch of eeriness to any scene. We’ll use sharp angles and wavy lines to create an apparition that looks like it’s floating right out of a ghost story.
The eyes and mouth are key here—we’ll draw them in such a way that they look like they’re staring right back at you. So, let’s grab our drawing tools and embark on this ghostly adventure together, crafting a specter that’s both chilling and exciting to create.
Conclusion
What an adventure we’ve had sketching our spooky friends! If you’ve enjoyed this, you’ll be thrilled to explore more fun tutorials on my website. Why not try your hand at drawing a fashionable hat or a cheerful snowman next? Each lesson is a new opportunity to let your creativity shine.
Stay in the loop by following my social media channels, where you’ll find new content announcements and can join a community of young artists just like you. I’m excited to see where your creativity takes you next, so let’s keep the pencils moving and the imaginations soaring!