How to Draw a Landscape
In this basic lesson, I’d like to show you how to draw a landscape and explain the key principles of this genre for beginners.

How to Draw a Landscape: Introduction
This landscape drawing tutorial will guide you through building a simple natural scene using basic shapes and clear composition.
You’ll learn how to outline hills, clouds, and water step by step, using very basic outlines. You’ll also learn how to vary the outlines of the details to make the scene more natural and unique.
By the end of this lesson, you’ll have a simple yet complete landscape drawing that can serve as a base for more complex artworks in the future.
At the end of this lesson, I’ll show you two additional methods: one simpler and the other more advanced and detailed, with a greater number of elements and finer features.
Landscape Drawing Tutorial
Materials
- Pencil
- Paper
- Eraser
- Coloring supplies
Time needed: 25 minutes
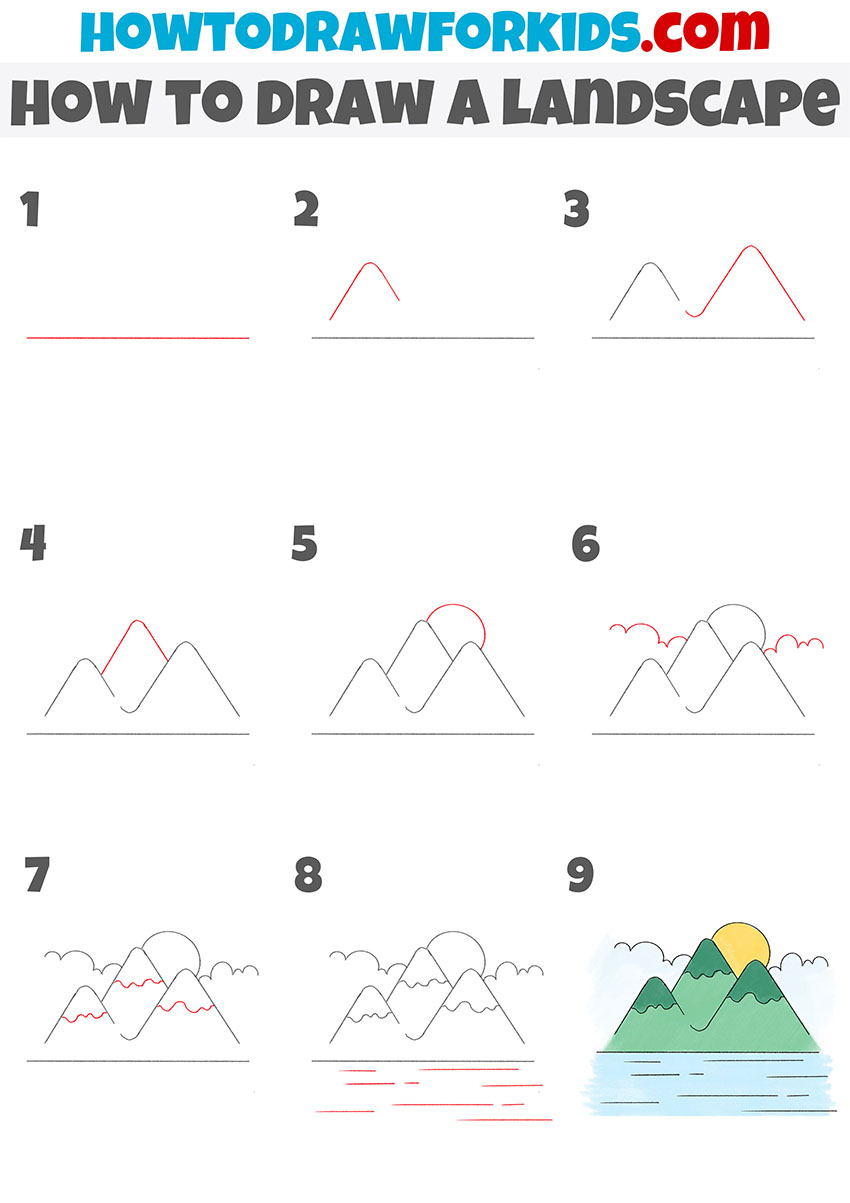
How to draw a landscape step by step
- Sketch the horizon line for the landscape.
First, sketch a long, straight horizontal line across the lower third of the page to represent the shoreline or valley floor. Keep the stroke light because parts can be overlapped by mountains or other details. Leave ample space above for peaks, a sun, and clouds, and space below for water texture.

- Draw the first mountain peak.
Above the horizon, draw the mountain as a tall and simple triangular shape, similar to a rounded apex rather than a sharp point. You can let each side slope at different angles to avoid symmetry. Stop the lower ends before they reach the horizon so a small gap remains for a foothill later.

- Sketch another mountain on the right.
To the right of the first peak, draw the larger and steeper mountain with a higher summit. Start the left slope using a short curve, then continue the right slope down toward the horizon. Maintain slightly irregular but smooth lines to represent natural terrain.

- Add the central mountain.
A third form completes the range and continues composition. Between the first two mountains, sketch a longer peak that overlaps gently behind the front slopes. Ensure all lower slopes stop just above the horizon to keep the valley open.

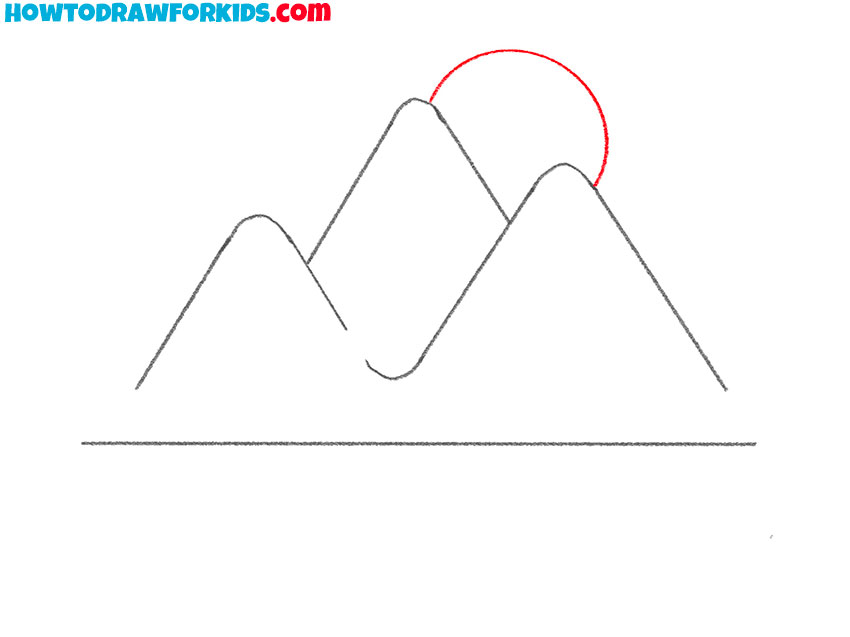
- Draw the sun above the landscape.
Behind the two rightmost mountains, draw the sun, or the upper half of the sun circle peeking over the ridge to indicate a sunrise or sunset. Place the arc so it sits slightly off-center.
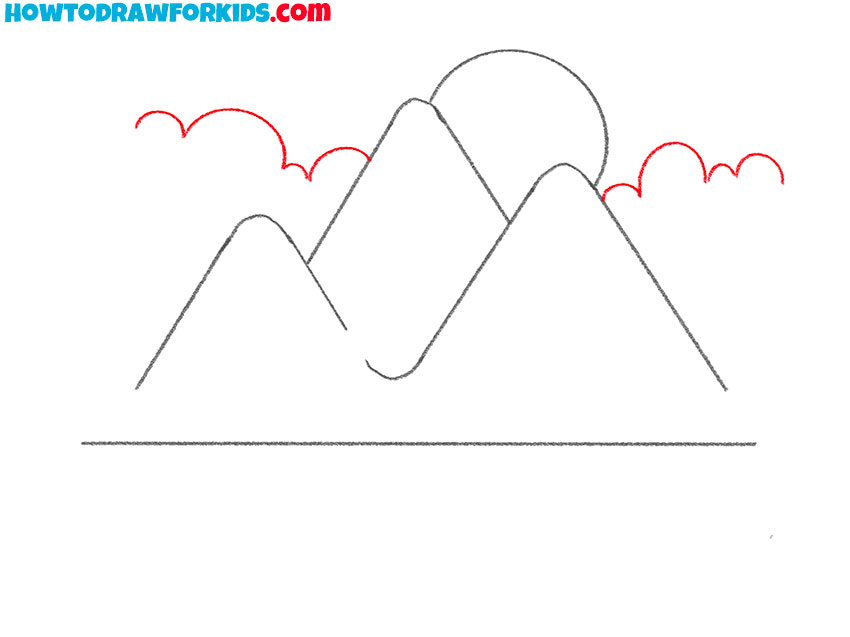
- Add clouds in the sky.
Along the upper sky line, draw clouds, sketching rounded and small puffs as a chain of semicircles. Vary their widths and spacing to avoid a repetitive pattern. You can allow a few cloud bumps to overlap the sun arc lightly, reinforcing the depth and dimension: clouds in front of the sun, mountains in front of clouds in some areas.
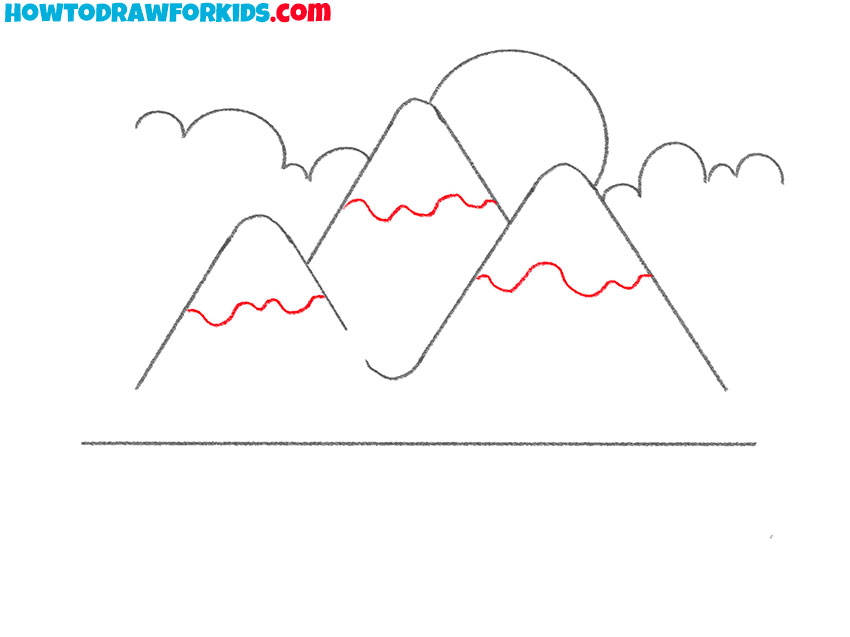
- Add forest lines or ridge patterns.
On each mountain, draw the broken and wavy snowline or ridge line partway down the slopes. Maintain different patterns on each mountain so they do not clone one another. At this stage, you can also add some small stones or textures to the mountains.
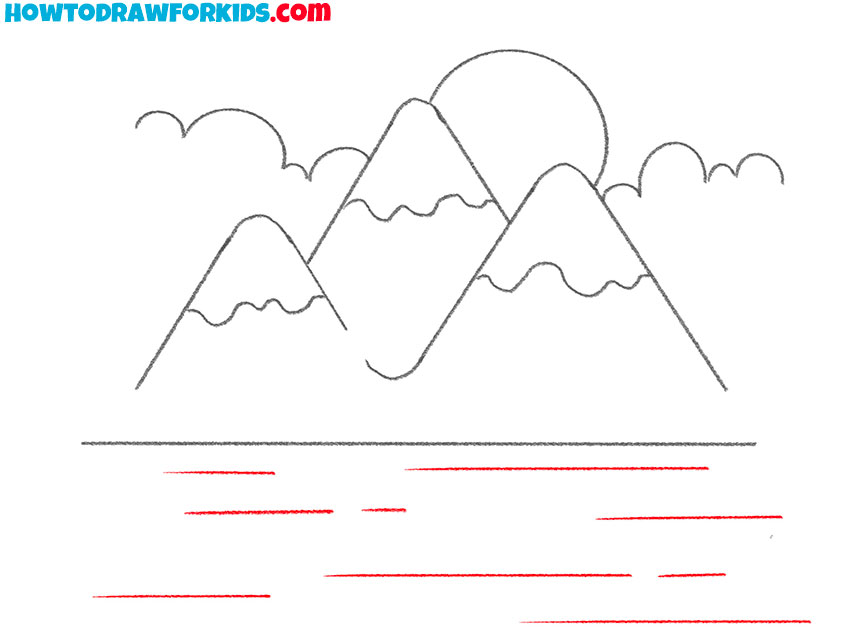
- Sketch ripples and reflections on water.
Now, you can draw a river or sea, to complete the comparison. Below the horizon, draw the horizontal and staggered short lines that represent ripples on a lake or calm river. Keep the longest dashes near the center and shorten them toward the sides to imply perspective. You can also place a few darker dashes directly below each mountain to hint at reflection shapes without copying silhouettes.
- Color and complete the landscape drawing.
Now, fill the sun with a warm yellow. Paint the mountains green and color the upper shapes above the ridge lines slightly darker or lighter, to represent a dense forest. Use pale blue for clouds and a slightly cooler, darker blue for the lake.

Additional Content
To make this landscape drawing tutorial more convenient, I’ve prepared a downloadable PDF version. It contains all the main steps in a simple format that’s easy to follow offline. The file is suitable for printing or using on a tablet, so you can sketch comfortably wherever you are.
Inside, you’ll find the complete sequence of steps along with a few practice pages to refine your technique. It’s a useful addition for anyone who wants to study landscapes at their own pace.
Alternative Drawing Techniques
In addition to the main method, I’ve created a few alternative ways to sketch a landscape. These variations help you practice composition, while building confidence in constructing natural scenes. You can try both simplified and detailed versions to see which approach suits your level best.
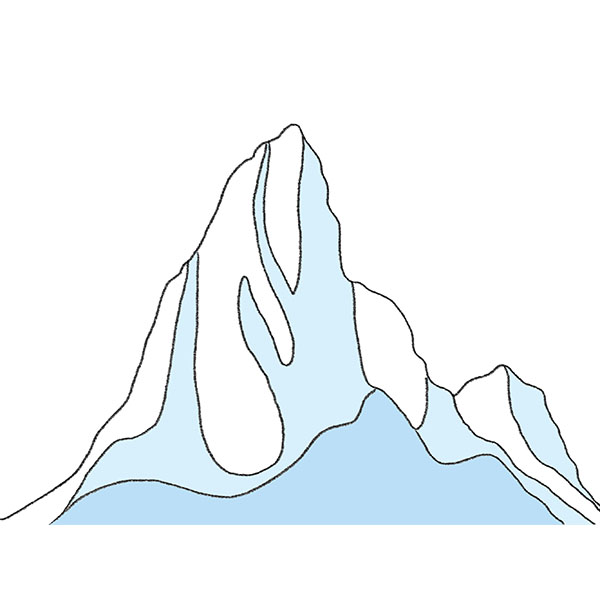
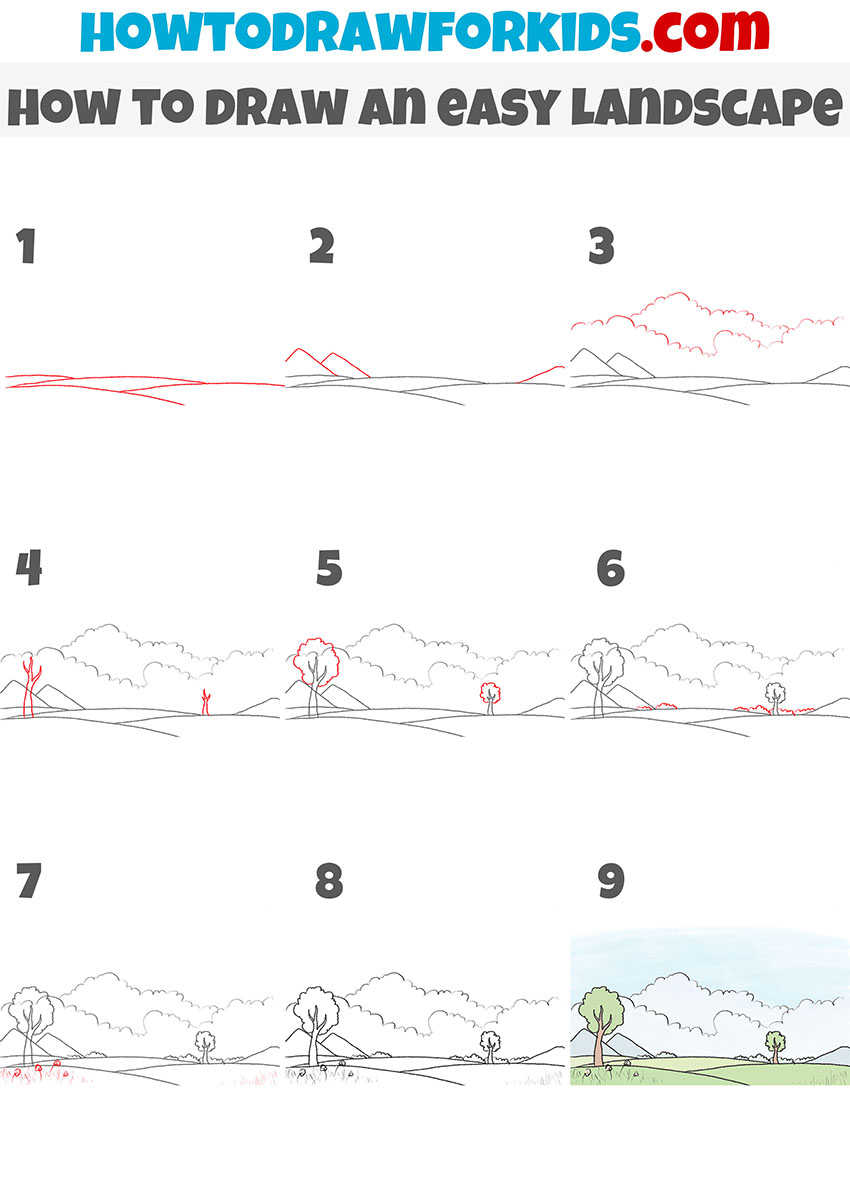
How to Draw a Landscape: Advanced Level
This advanced method builds the landscape gradually, starting with a basic horizon line and adding distant hills, trees, and clouds step by step.
It’s aimed at those who already feel comfortable with simpler drawings and want to include more details and perspective.
The technique teaches how to layer elements to create depth and how to add foreground and background. By the end, you’ll have a complete, vivid landscape that feels natural and realistic.
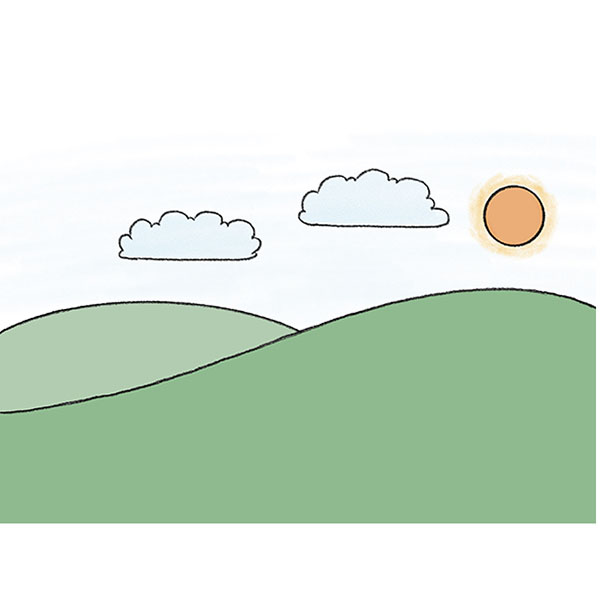
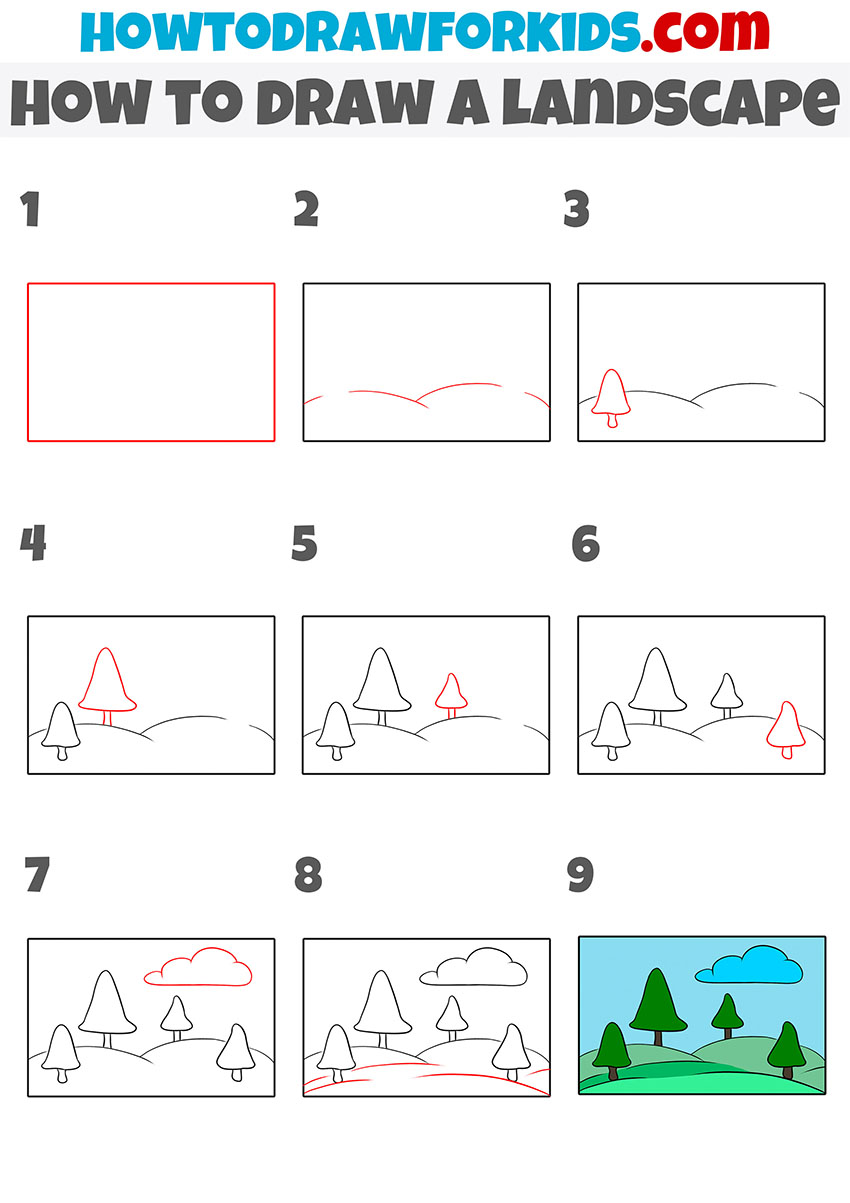
Easy Landscape Drawing Tutorial
This simplified version of the landscape drawing guide uses basic shapes and easy lines. The process also begins with outlining the horizon and adding gentle curves for hills and trees.
By the end of the lesson, you’ll have a calm, minimal landscape created entirely from simple lines and forms – a great introduction to the basics of landscape drawing.
Conclusion
This simple tutorial is a good starting point for learning how to illustrate nature scenes step by step. If you’d like to continue improving your skills, visit other tutorials on the website – for example, try the guide on how to draw a rose to practice smooth organic shapes or our forest drawing tutorial to work on details and volume in nature studies.
You’ll also find many other lessons on everyday and natural objects, each designed to help you build confidence in drawing different subjects. Follow the website on social media to stay informed about new tutorials and share your progress in the comments. Keep sketching regularly and use these lessons to develop your technique.