How to Draw a Mannequin
In this tutorial I will show you how to draw a mannequin – a subject that is equally useful for both fashion designers and artists.
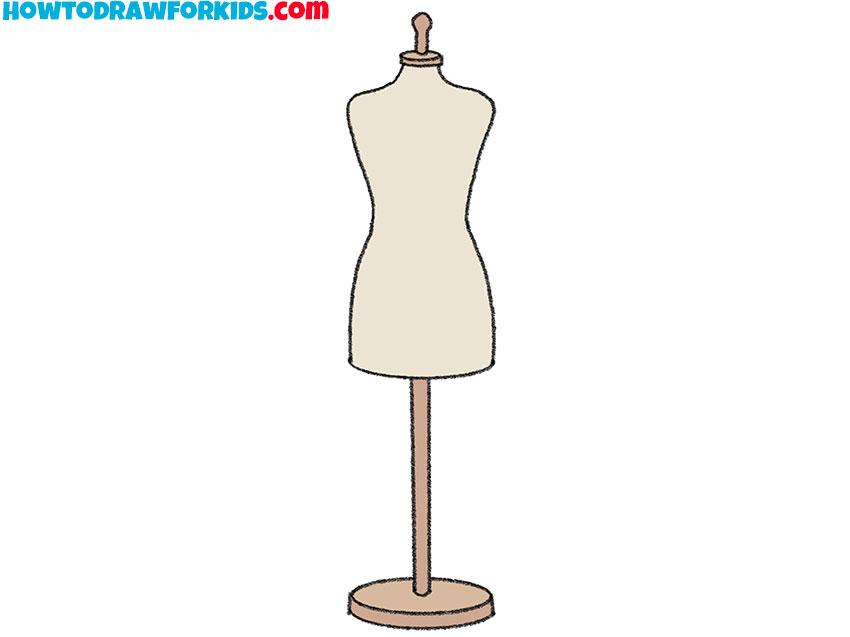
For instance, I opted for a relatively simple mannequin that lacks limbs and a head; however, feel free to include these elements in your drawing. You may also outfit your mannequin in any clothing of your choice.

How to Draw a Mannequin : Basic Information
This tutorial is designed to guide you through the process of drawing a mannequin, an essential skill for anyone involved in the fields of fashion design, illustration, or visual arts.
Mannequins serve as critical tools in these industries, allowing designers and artists to visualize and construct clothing pieces or sculptures with an understanding of human proportions and how materials drape over the body.
The mannequin, while typically more stylized and less detailed than a fully anatomical figure, still requires a grasp of proportion, balance, and structure. This simplification makes it an excellent subject for beginners to learn how to create a human figure.
When you draw a mannequin, you’re the boss. You decide how tall it stands and what shape it takes. Our fashion dummy begins as a couple of squiggles and lines. Using this tutorial you can draw a fashion model or a statue in a museum!
This technique is all about building up your mannequin piece by piece. You’ll start with simple lines and shapes to get the basic form. It’s a bit like using building blocks – you add one, then another, and slowly your fashion dummy starts to take shape.
Mannequin Drawing Tutorial
Materials:
- Pencil
- Paper
- Eraser
- Coloring supplies
Time needed: 30 minutes
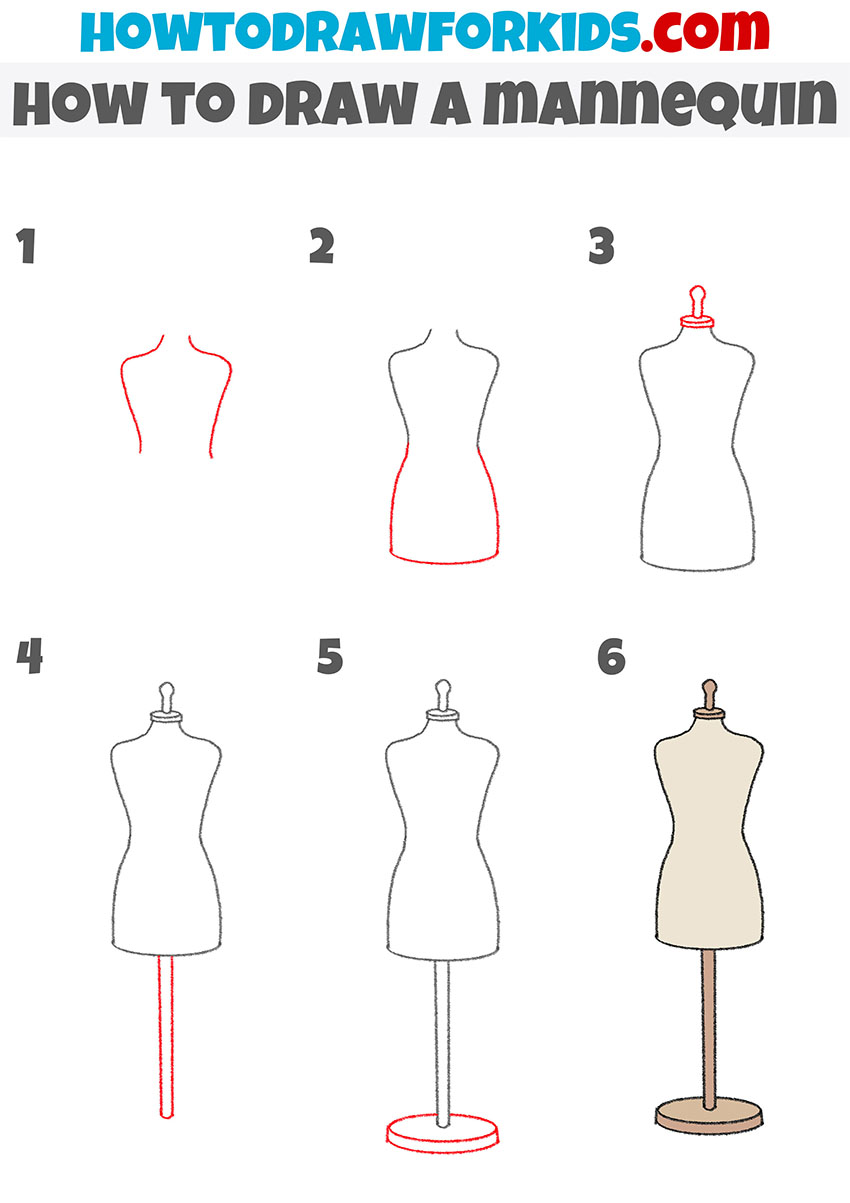
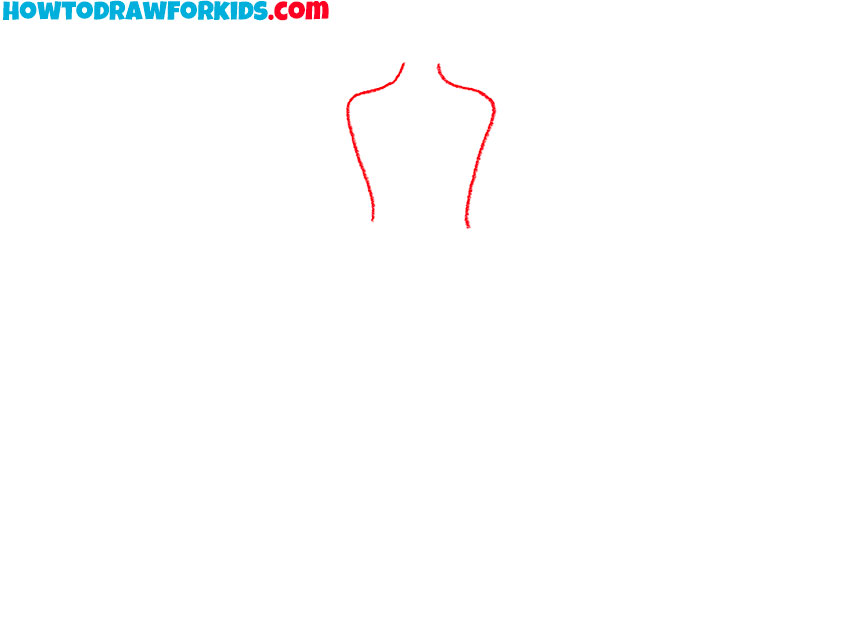
How to Draw a Mannequin
- Draw the top of the mannequin.
Use gentle, slightly curved lines that converge slightly at the top and expand outward as they descend, resembling the shoulders and chest area of the figure. This area should gently taper as it approaches the waist, establishing a realistic human silhouette.
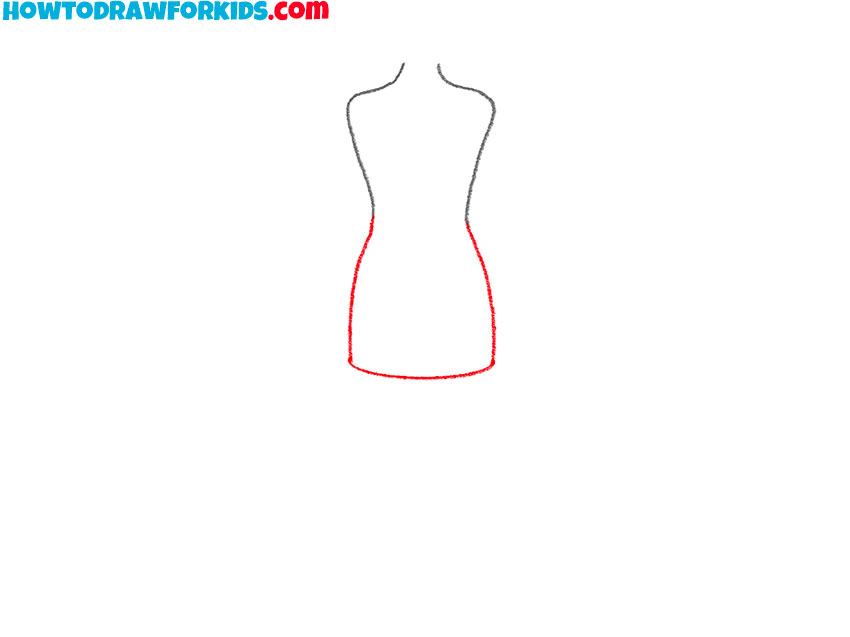
- Draw the bottom of the mannequin.
Continue the torso by extending the lines from the completed upper torso downward to illustrate the lower torso, which includes the waist and hips. These lines should curve inward sharply near the waist to emphasize it and then gently flare outwards to depict the hips, suggesting a natural, anatomical shape.
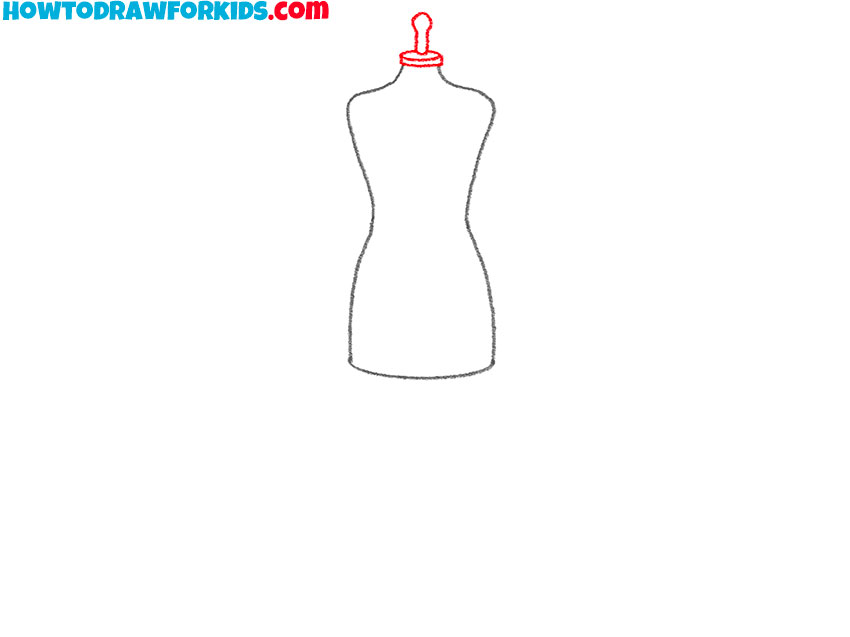
- Add the neck at the top.
Above the torso, add a flat cylinder to represent the neck. This should be proportionately narrower than the torso. At the top of this flat cylinder draw the cap that commonly seen on commercial dressmaker’s mannequins.
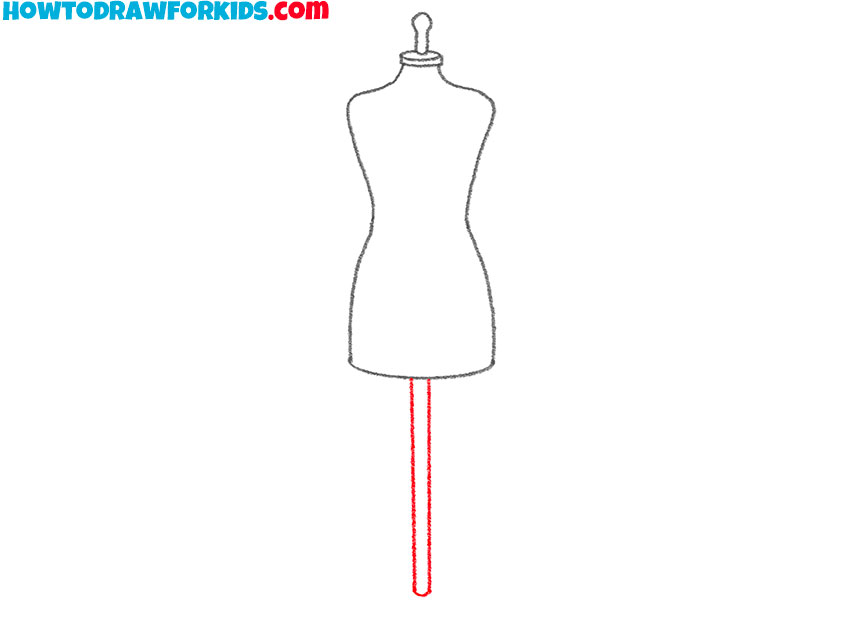
- Sketch the stand.
Extend two parallel lines downward from the torso and finish with a straight horizontal line at the bottom, creating the mannequin’s elongated stand support. This line should be perfectly vertical and centered with respect to the torso.
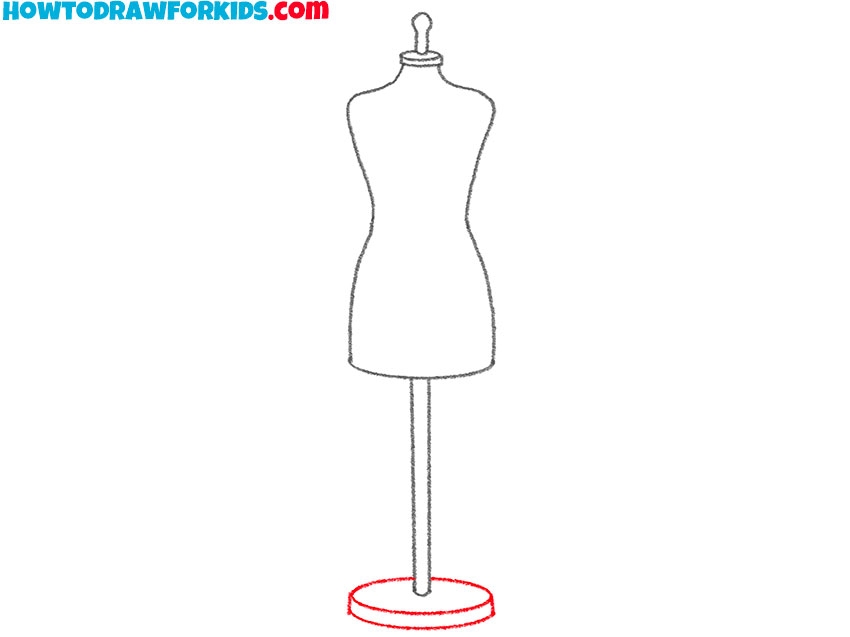
- Illustrate the base of the stand.
To complete the stand, draw an oval base at the end of the vertical line. Add depth by drawing the side edge of the base. This base should be adequately sized to believably support the mannequin. This base is also an opportunity to practice drawing perfect ovals.
- Color your mannequin drawing.
Use light brown to color the body of the mannequin, medium brown for the stand, and a slightly darker brown to outline the base, providing a simple, yet effective color distinction. You can add shadows around the torso’s curves to create a more three-dimensional effect and enhance the realism of the mannequin.
Additional Content
I’ve got something super cool for you. Imagine having a drawing buddy that’s ready whenever you are, even if the internet has decided to take a nap.
Well, guess what? I’ve created a free PDF file that’s just like that! It’s packed with a fun-sized version of my mannequin drawing lesson. You can download it once, and it’s yours to keep forever. Use it anytime, anywhere to practice drawing. It’s like having a mini art teacher right in your pocket!
Common Mistakes on Drawing a Mannequin
Even the best artists in the world started somewhere, and sometimes they made little mistakes. So, don’t worry if your mannequin looks like it danced in a whirlwind – it’s all part of the learning fun! Let’s chat about some common slip-ups we can dodge next time we draw a mannequin.
Start challenging yourself by drawing mannequins in more dynamic and complex poses. This can include action poses, unusual angles, or poses that involve interaction with objects.
You can also experiment with different textures to give your mannequin character more realistic look. This could include wood grain for a wooden mannequin or metallic sheen for a metal one. If you’re dressing your mannequin in garments, practice drawing various fabric textures and patterns to add some realism to your artwork.
Place your mannequin within an environment to practice context drawing and explore how background elements can affect the perception of the main subject. This could be a simple room, a designer studio, or an abstract space.
Also remember, every artist makes mistakes, but that’s cool because it means you’re learning and growing! Next time you draw your fashion dummy, you’ll remember these tips and do even better.
Conclusion
Ta-da! And that brings you to the end of the lesson! Give yourself a round of applause for adding another cool skill to your art belt.
Make sure you’re in the loop for all the artsy action by hitting follow on my social networks. That way, you won’t miss any of the excitement I’ve got lined up.
And there’s a whole treasure trove of drawing tutorials waiting for you on my website. You can learn to sketch a realistic hand or make hair look breezy and beautiful – how cool would that be? We’ve got the step-by-step guides ready for you!
If you found this tutorial helpful, consider following me on social media to stay updated with more lessons and tips.
Don’t forget to share this tutorial with your friends and peers who might also benefit from learning how to draw mannequins effectively. Your support helps me continue creating helpful content and fosters a community of learners who are as passionate about art and design as you are.