How to Draw a Nose and Lips
Crafting the human form in art is a dance of subtlety and grace, particularly when focusing on the features that breathe life into a portrait. In my guide on how to draw a nose and lips, I unfold this dance into easy movements. With each mark, we step closer to a likeness that feels both real and vibrant, a face that seems to speak.
How to Draw a Nose and Lips: Basic Information
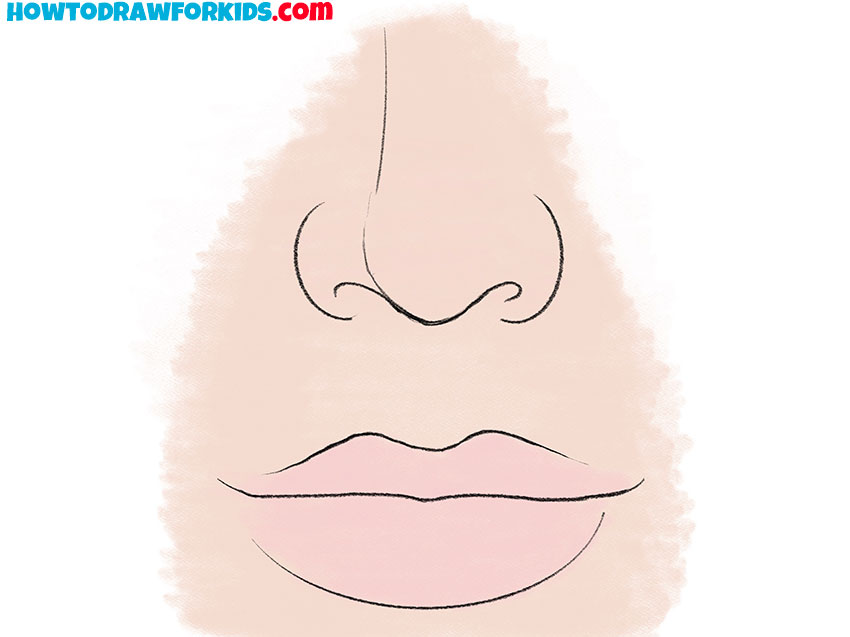
The essence of capturing human features lies in the details – subtle curves, gentle lines, and the interplay of light and shadow. My lesson on how to draw a nose and lips invites you to explore these nuances. Created with a heartfelt intention to simplify the complexities, this tutorial distills the essence of these facial features into easy-to-follow steps.
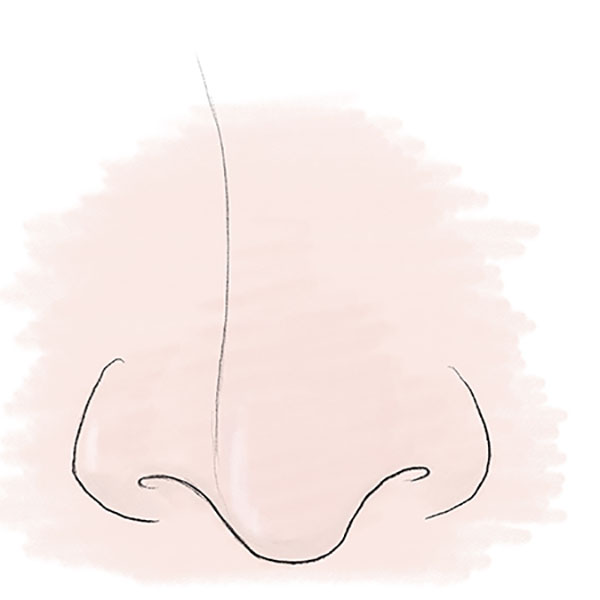
This lesson carefully breaks down the nose into its foundational elements, guiding your pencil to map out the subtle nuances that give the nose its dimension. The lips follow, with a focus on their natural plumpness and the tender line that defines the mouth. It’s a method that respects the complexity of human features, making them approachable to draw.
By the end of this tutorial, you’ll find that to draw a nose and lips is to capture more than shape – it’s to portray the whispers of expression that make a face unique. I’ve honed this lesson to help you transform simple sketches into lifelike artistry, instilling confidence with every curve and shade you master.
Nose and Lips Drawing Tutorial
Materials
- Pencil
- Paper
- Eraser
- Coloring supplies
Time needed: 20 minutes
How to Draw a Nose and Lips
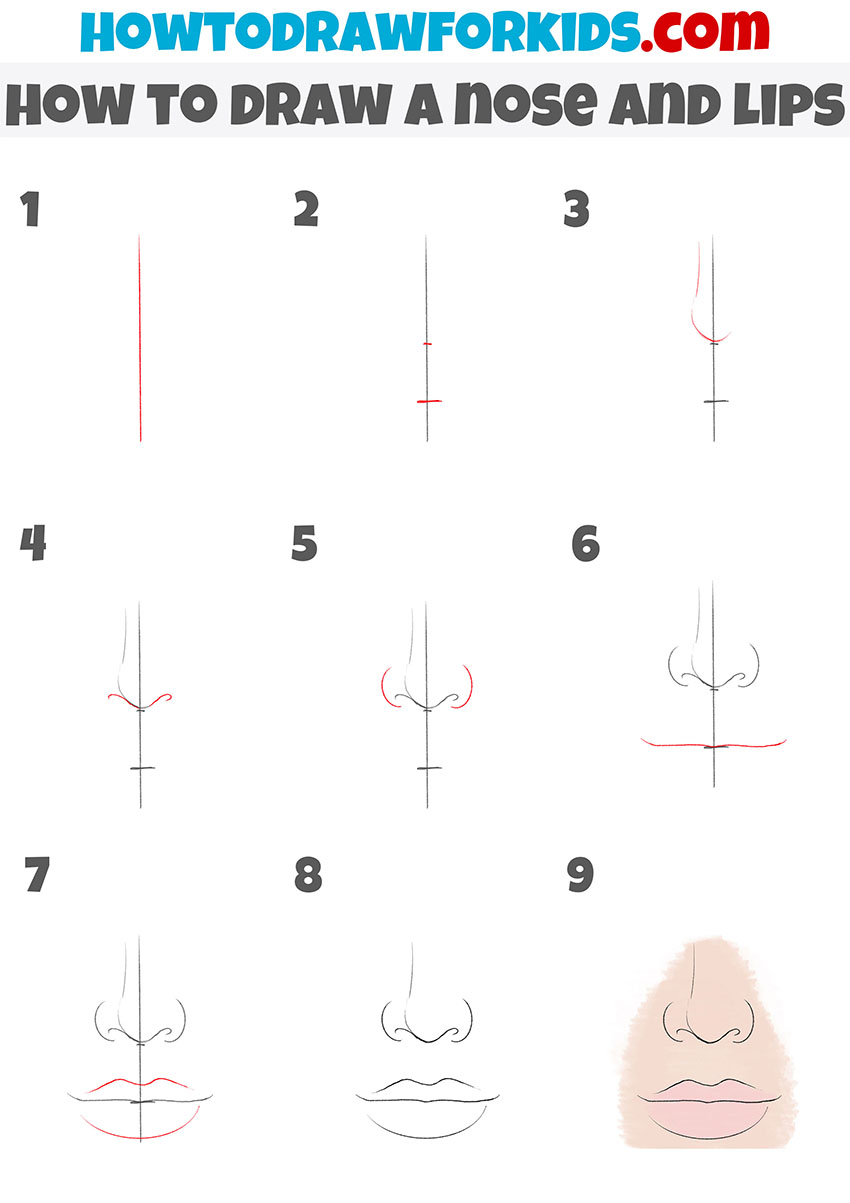
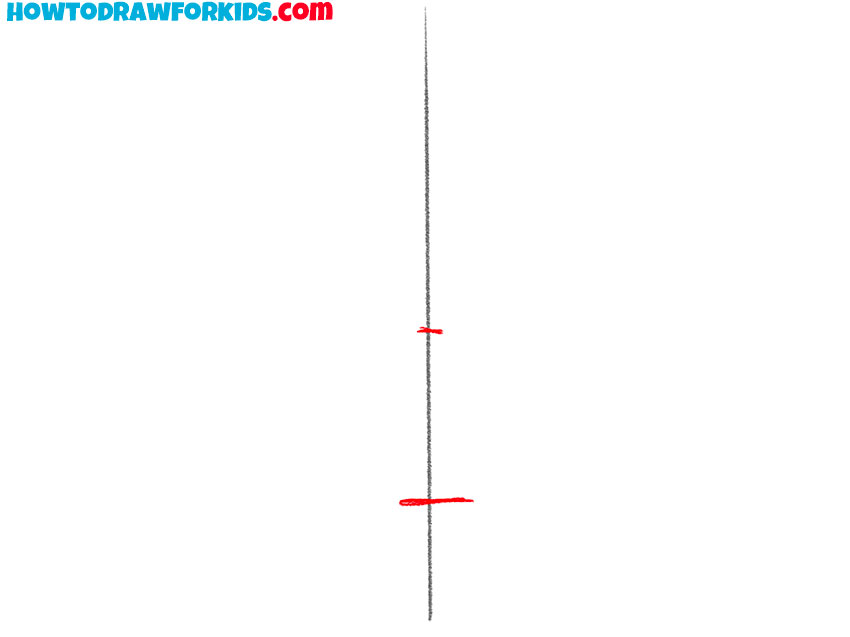
- Draw a guideline.
Depict a straight vertical line.

- Add marks.
On the vertical line, make two marks where the tip of the nose and mouth will be located.
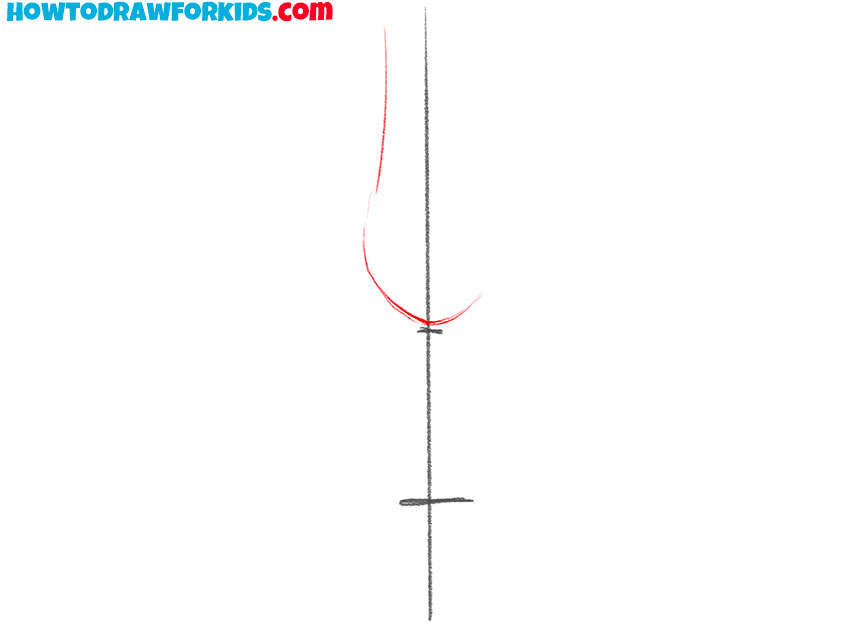
- Add details.
Depict the middle part of the nose and the tip of the nose.
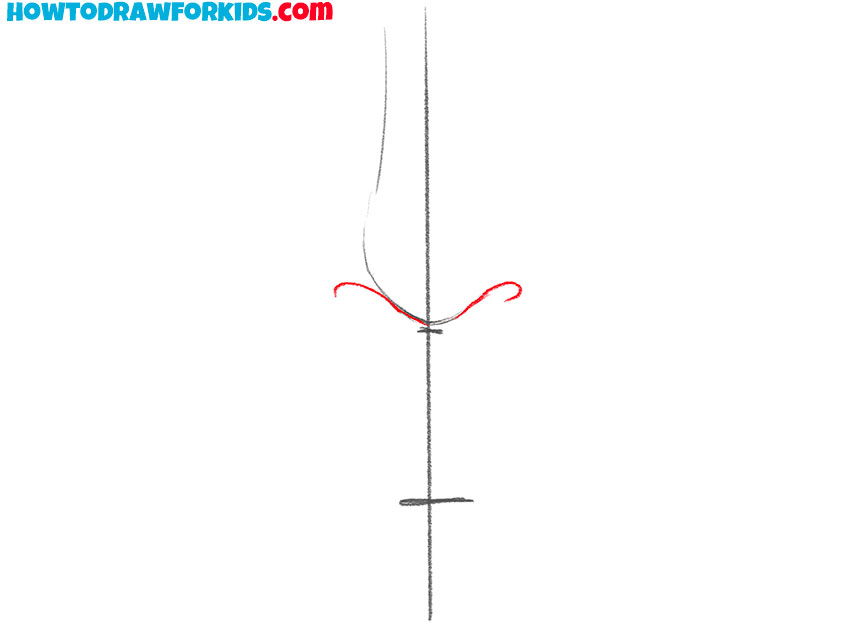
- Draw the bottom outline of the nose.
From the tip of the nose, draw smooth, curved lines to the sides to depict the nasal openings.
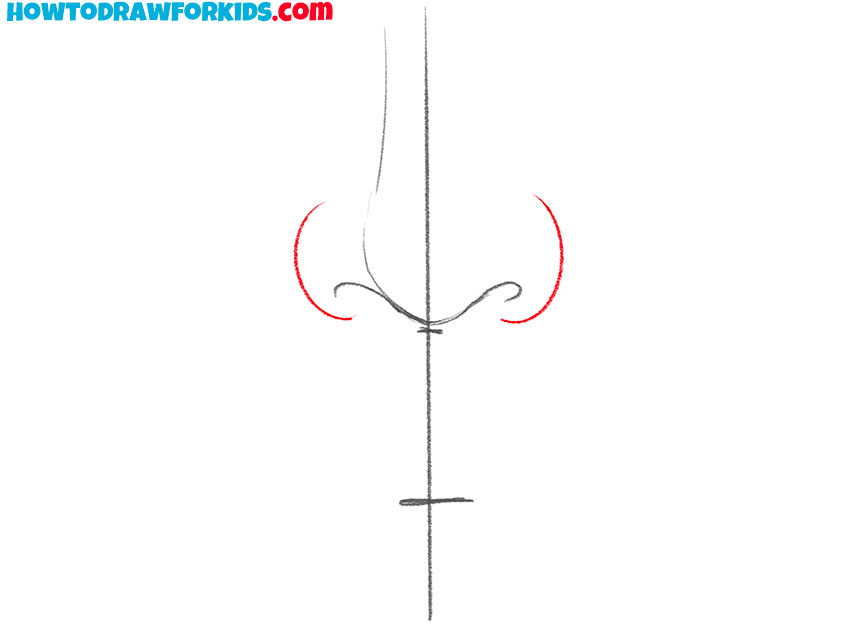
- Sketch out the nostrils.
On each side, draw smooth rounded lines.
- Add the line of the mouth.
Depict a smooth line of the mouth using the mark.
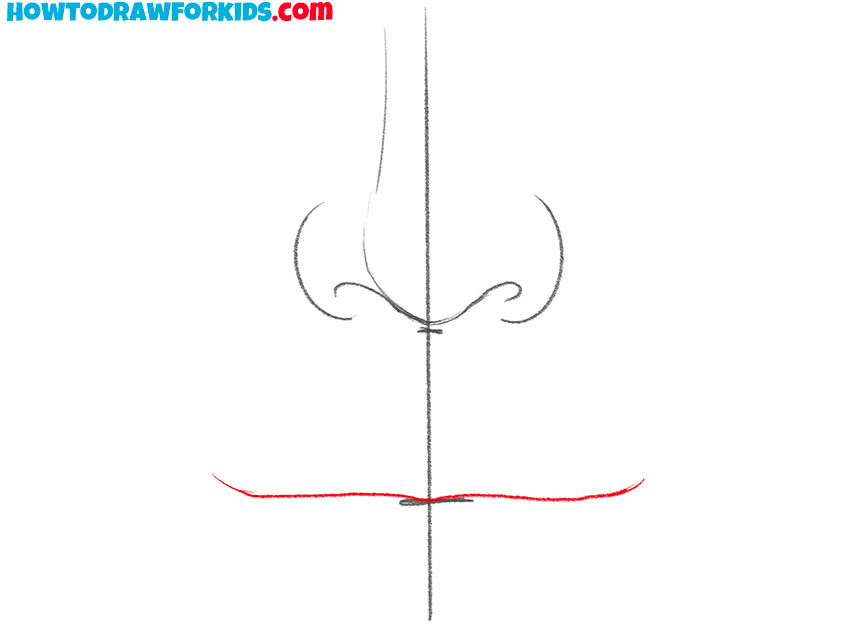
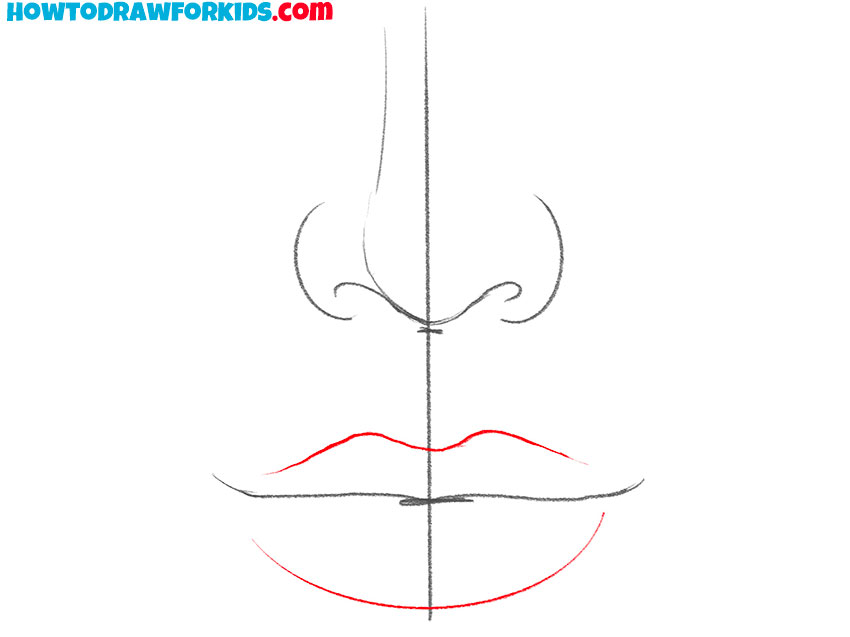
- Draw the lips.
Depict the outline of the upper and lower lips with smooth lines.
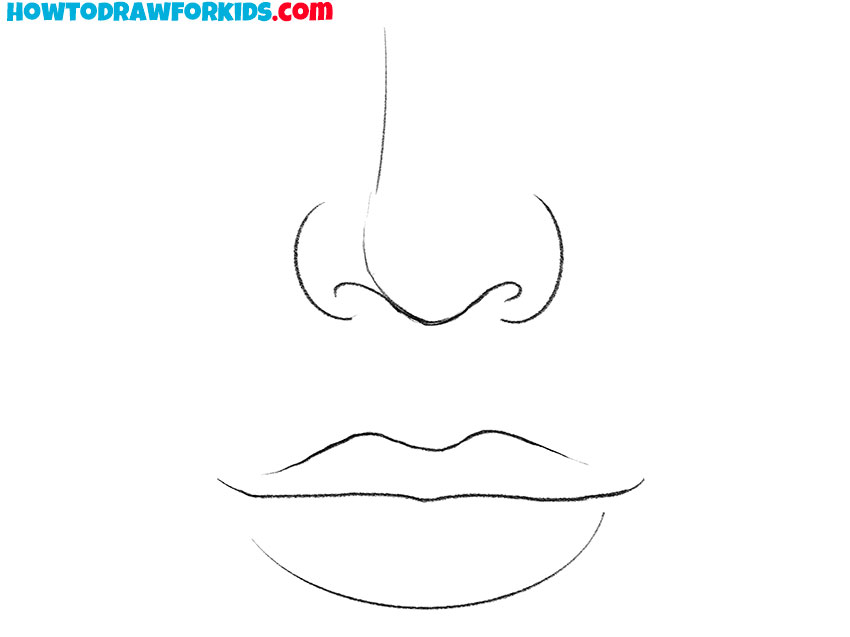
- Correct inaccuracies.
Сarefully remove the extra line.
- Color the nose and lips.
Use any color for the skin.

Additional Content
To complement your learning, I’ve also compiled a free PDF file for this lesson. It’s a succinct version, allowing you to download and revisit the essentials anytime, connectivity aside. This resource is crafted to be your silent mentor, a reference to turn to as you refine your strokes and shapes.
The PDF doesn’t reiterate the steps or tips from the online tutorial; instead, it’s packed with additional exercises to hone your skills. After you’ve traversed the primary path of learning to draw a nose and lips, this document serves as your next challenge, pushing the boundaries of your artistic potential.
Consider this PDF an artistic ally, designed to usher you into the next phase of your drawing journey. It’s tailored to help you consolidate what you’ve learned and then expand on it, providing a foundation for you to build upon with your burgeoning creative flair.
Alternative Drawing Technique
To ensure a well-rounded artistic development, I’ve also crafted one more alternative technique for drawing a nose and lips. It’s designed to push the boundaries of your practice, encouraging you to delve deeper into the art of portraiture and to fine-tune your skills to a professional edge.
This new method offers a fresh perspective, challenging you to approach these familiar features from an unconventional angle. By engaging with this technique, you’ll stretch your abilities, learning to render a nose and lips with an improved sense of volume and realism.
Adopt this technique as a key part of your practice regimen, and watch as your depictions of a nose and lips gain new life and authenticity. It’s an invitation to not just replicate what you see but to understand and convey the very essence of human features through your art.
How to Draw a Nose and Mouth: Adding More Realism
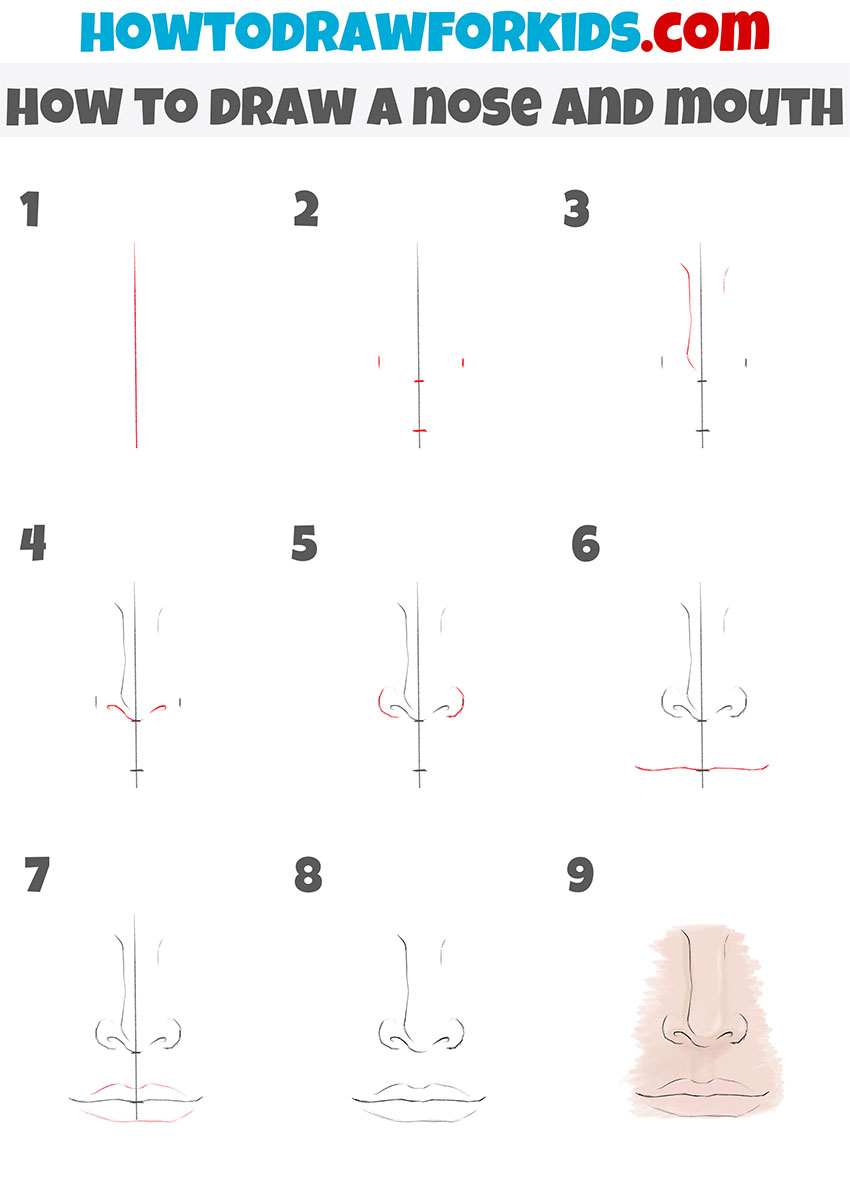
The method laid out before you unfolds the art of drawing a nose and mouth with an eye for realism that can bring your sketches to life. It begins with a vertical line to anchor the features symmetrically, followed by horizontal markers that guide the proportions, ensuring that the nose and lips sit in harmony on the face.
From this structured foundation, the nostrils are drawn with care to mirror the natural asymmetry found in life, while the lips start to form with attention to the delicate balance between the upper and lower, capturing the subtle play of light and shadow. These first outlines are gentle suggestions of the forms to come, inviting depth and dimension to emerge slowly.
As the final curves are etched to define the nostrils and the fullness of the lips, the sketch becomes a study of the textures and nuances that make each face unique. The shading under the nose and along the lips is crucial, providing the softness and roundness that are the hallmarks of a lifelike rendering.
Nuanced Tips for Nose and Lips Drawing
As we put down our pencils and step back to admire the faces that have come to life under our hands, let’s reflect on some tips and tricks that can elevate your drawing from good to great. Paying attention to the subtle nuances can transform your artwork, giving it depth and realism that truly captivates.
- Proportion is Key: Ensure that the width of the nose aligns with the inner corners of the eyes, and the lips are not wider than the center of each eye. This keeps facial features balanced.
- Mind the Gap: The space between the nose and lips is vital. Typically, this should be the height of one nostril. Too much or too little space can distort the face’s harmony.
- Nose Know-how: When drawing the nostrils, remember they’re rarely perfect circles. Observe their unique shapes and shadows, as they’re essential for a realistic nose.
- Lip Lines: The line defining the lips should have a soft touch; hard lines can make them appear unnatural. Use shading to create volume rather than heavy outlines.
- Shadow Play: Pay close attention to where the light falls and where the shadows lie, especially around the nose and under the lower lip, as this adds depth.
By mastering these tricks, you not only capture the likeness of nose and mouth but also the intangible essence that makes each portrait uniquely captivating. Carry these tips with you, and let them guide your hand as you continue to sketch, learn, and grow in your artistic journey.
Conclusion
We’ve reached the end of our session, our pencils a little shorter, our skills a bit sharper. If the journey of nose and lips has been inspiring, consider venturing further on my site. From the sturdy form of a hammer to the delicate angles of a profile face, there’s a wealth of lessons waiting for you.
Connect with me on social media to stay abreast of all the latest lessons and a glimpse into upcoming projects. Your feedback is the ink to my pen, so leave your comments and wishes for future tutorials beneath this lesson, and let’s continue to shape our artistic path together.


