How to Draw a Samurai
Learn how to draw a samurai, a medieval Japanese warrior in thee ways – in his traditional outfit, in armor, and a battle-ready pose.
How to Draw a Samurai: Introduction
The samurai is one of the most fascinating and visually distinct figures in history, standing alongside knights – whom we’ve already drawn in our knight drawing lesson.
This medieval warrior has many unique features, and in this lesson, I’ll show you how to draw him using our traditional simple method.
This tutorial won’t focus on just one approach. In the first part, you’ll learn how to depict a samurai in his everyday attire, which typically includes a kimono, hakama (wide trousers), and obi (belt).
Then, we’ll move on to drawing the samurai in his full armor, highlighting the details of his protective gear. Finally, the lesson will conclude with a dynamic version, showing the samurai in a combat stance, ready to draw his katana.
Samurai Drawing Tutorial
Materials
- Pencil
- Paper
- Eraser
- Coloring supplies
Time needed: 30 minutes
How to draw a samurai step by step
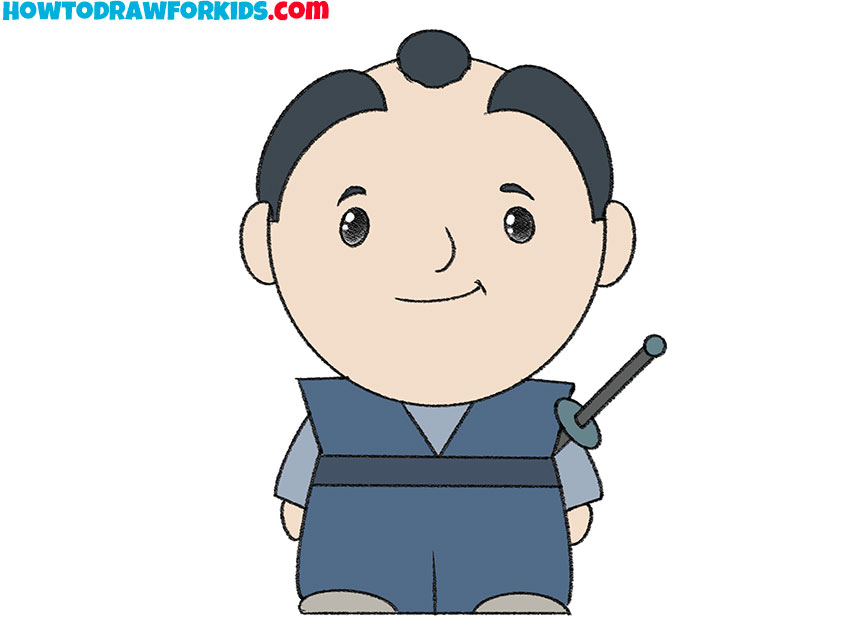
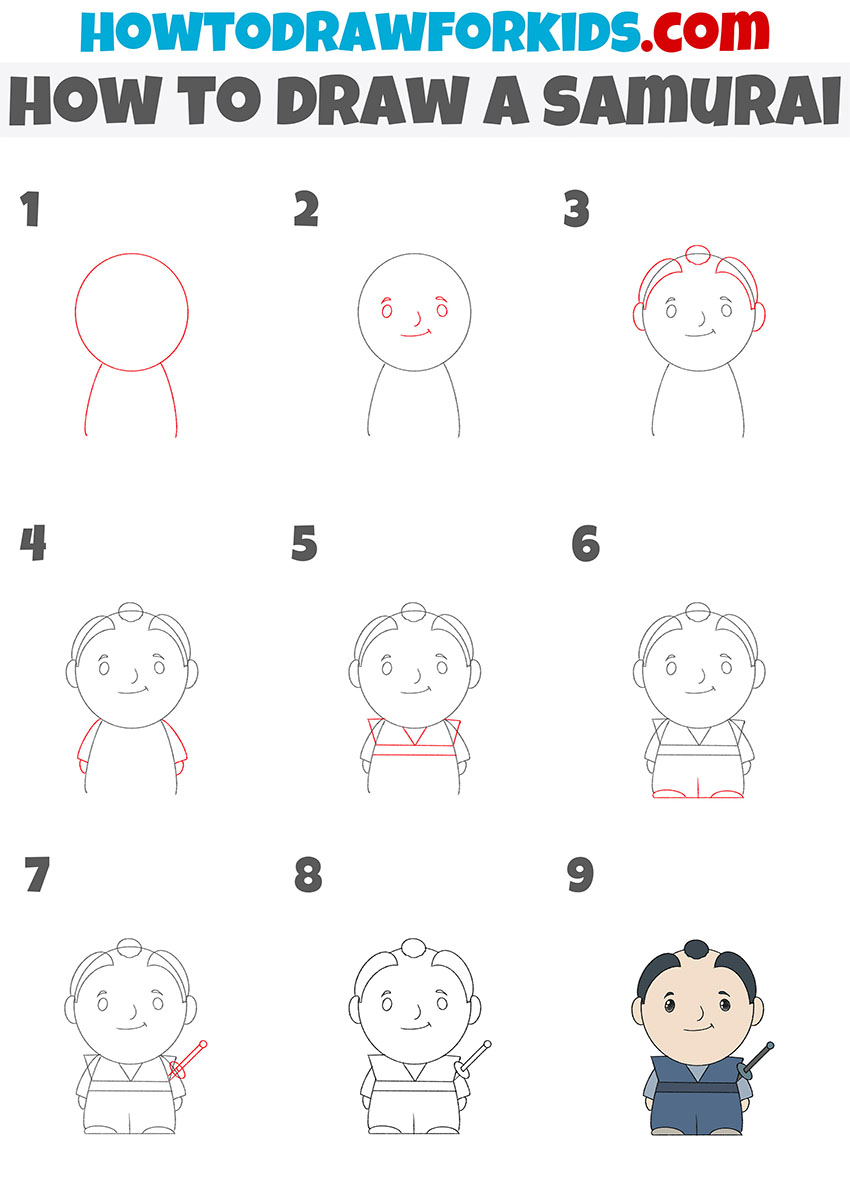
- Sketch the main shape of the warrior.
A samurai’s appearance starts with basic proportions, so first outline a large round head and a smaller curved body shape below it. The upper part should dominate the drawing for a simplified version. Keep the lines light and simple.
- Draw the samurai’s face.
Now, draw the eyes as two identical ovals, placed near the middle of the head. Between and slightly below them, sketch a small nose, and just below, illustrate a gentle curved smile. You can slightly adjust the curve of the smile if you want your samurai to look more serious.

- Sketch the traditional hairstyle and ears.
Traditional samurai hairstyles have distinctive topknots, so it’s important to illustrate this feature clearly. Sketch a small oval on the top of the head for the knot, and draw the hairlines curving down the sides, framing the face. Add small rounded ears on both sides. Keep the hair symmetrical.

- Add the sleeves of the outfit and hands.
To make the figure look dressed in a samurai-style outfit, start drawing the kimono, adding two wide, rounded sleeves extending from the shoulders. Each sleeve should flare to the sides near the bottom, reflecting the loose fit typical of traditional clothing. At the very bottom sketch the simplified hands.

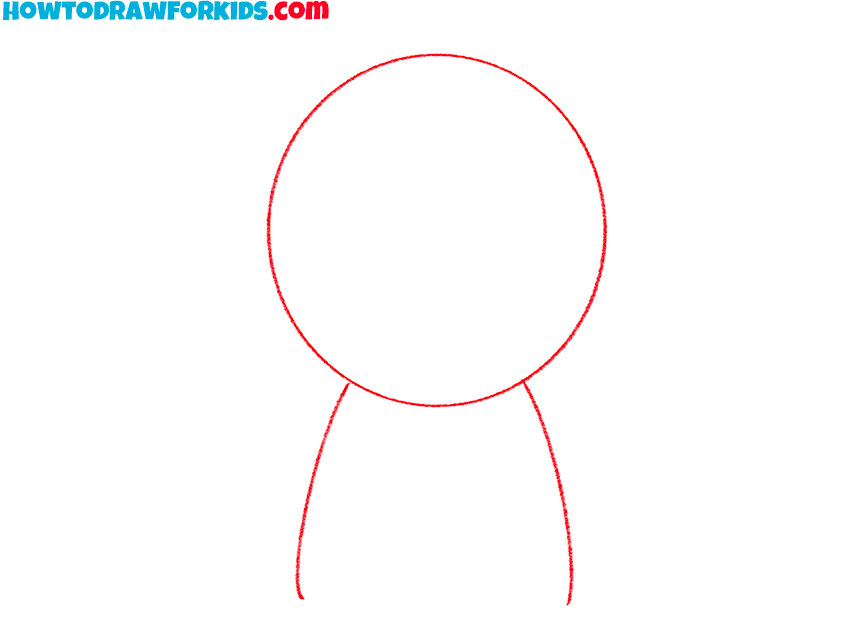
- Sketch the kataginu and obi.
The crossed front element of the kimono, or the kataginu is one of the most recognizable part of the outfit. Draw two diagonal shapes meeting in the middle of the chest to form the “V” shape. Below it, add a horizontal shape to indicate the belt or sash (called an obi).
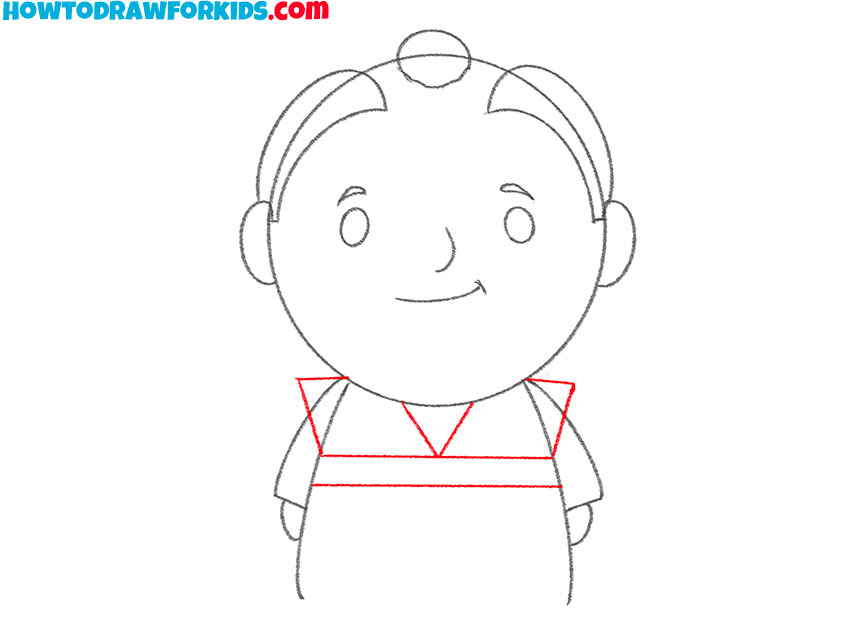
- Complete the hakama and feet.
To complete the lower part of the outfit, draw out two short, wide pant legs. This shape should represent loose traditional trousers, or hakama. Each pant leg should slightly widen toward the base. At the very bottom of the legs, mark the simplified feet.
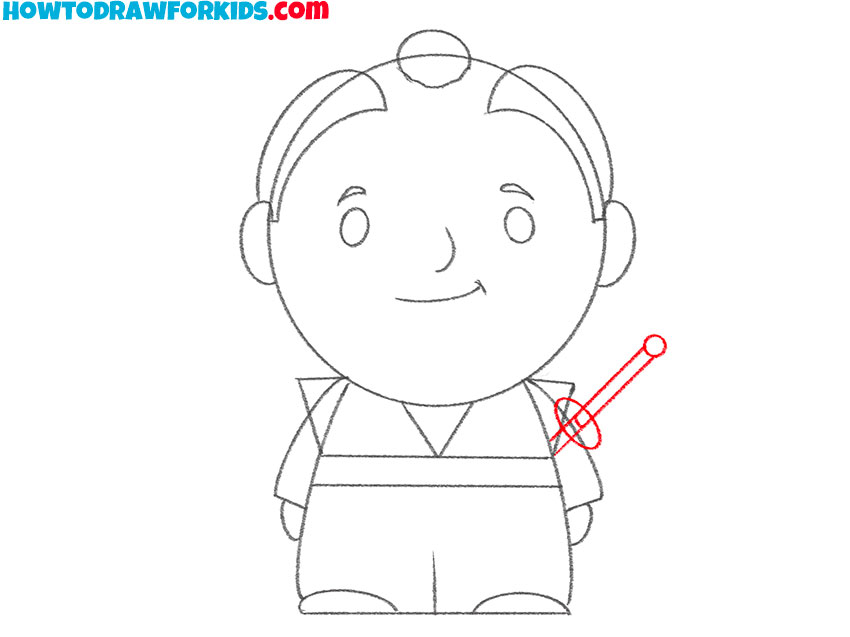
- Draw the samurai’s sword.
A samurai’s sword, or katana, is an essential part of the character. Draw a diagonal shape on one side of the body to indicate the sword’s sheath resting at the waist. Then, sketch a small handle extending outward with a circular guard.
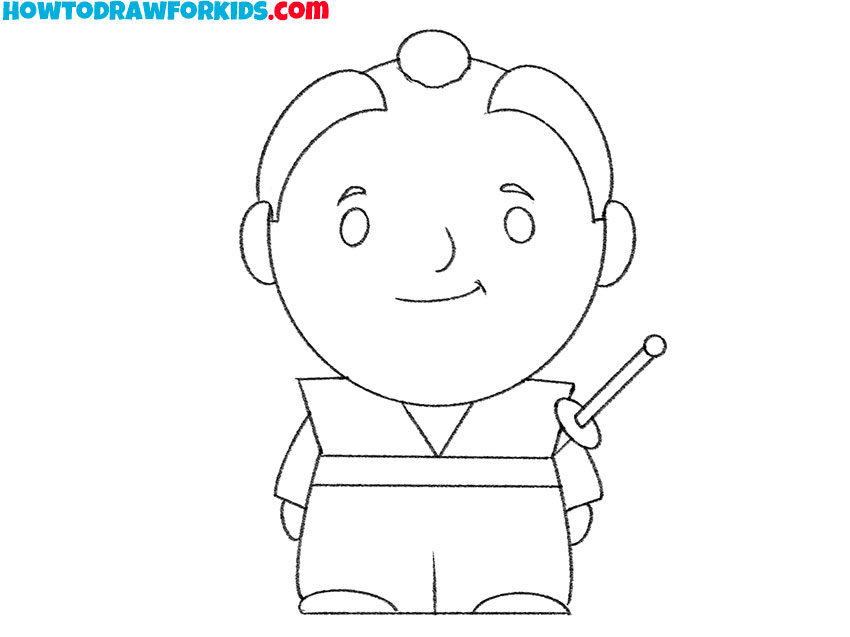
- Refine and clean the warrior drawing.
Carefully erase all unnecessary construction lines from your samurai drawing, such as overlapping edges around the head, clothing folds, or earlier guidelines for the head. Strengthen the main contours to make the final drawing clear and confident. Smooth out any uneven curves.
- Color the samurai drawing.
Now, color the warrior using deep blue or gray tones for the kimono and darker shades for the hair. The skin can be a light natural tone, and the sword handle can have the same simple and neutral tones. Traditional samurai clothing usually uses muted colors, so avoid overly bright shades to keep it authentic and realistic.

Additional Content
To support this samurai drawing lesson, I’ve prepared a free downloadable PDF that includes simplified instructions and practice sheets for offline use. It’s a compact version of the main guide, designed to help you continue sketching whenever convenient, even without an internet connection.
The file includes additional drawing exercises that will help reinforce the concepts covered in the main lesson. This extra material can also serve as preparation for more complex techniques covered in future lessons.
How to Draw a Samurai: Alternative Techniques
After completing the main samurai drawing lesson, you can continue practicing with two additional versions that focus on different aspects of the same theme.
In the first version, you’ll draw a samurai in traditional armor with distinct helmet shapes and protective clothing. The second version shows the samurai in a combat stance, where you’ll learn how to depict a body and movement using minimal lines.
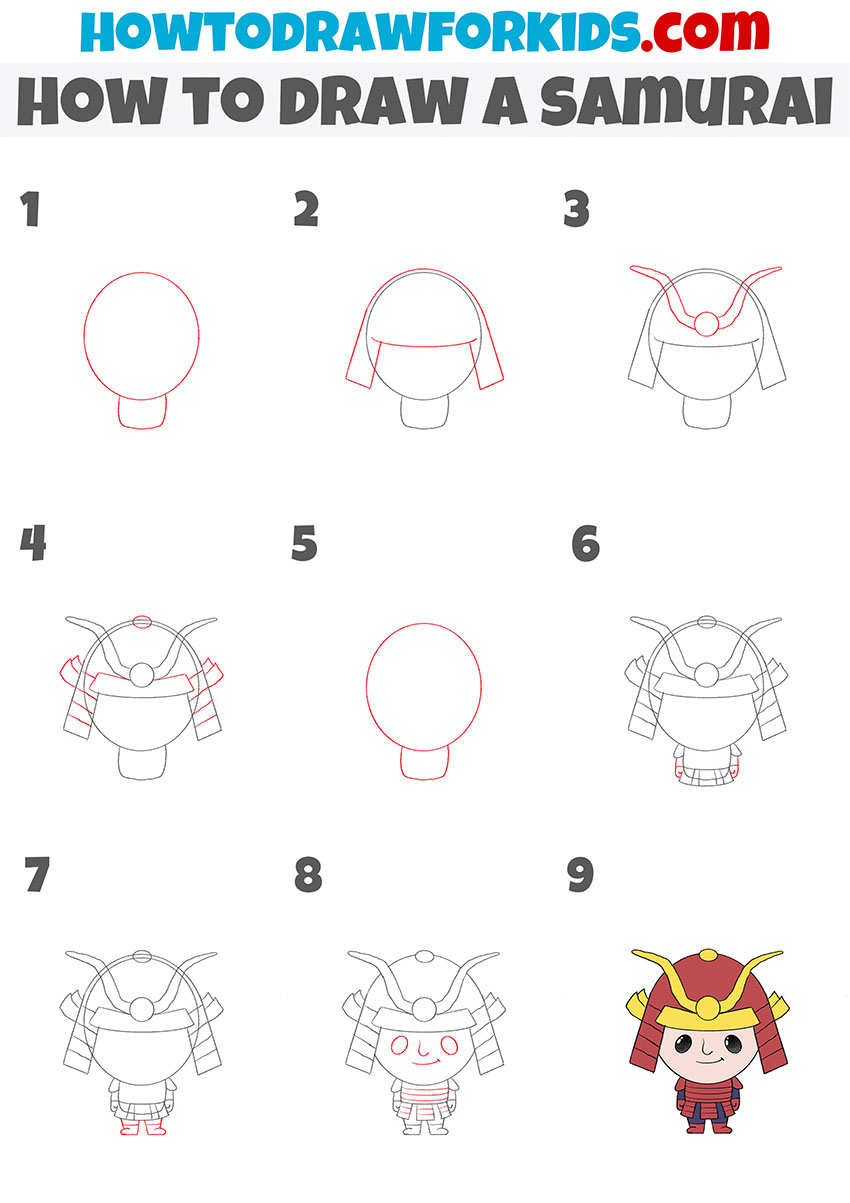
Drawing a Samurai in Armor
Continuing the topic of the main samurai drawing lesson, this additional tutorial presents another simplified version showing the samurai in his armor.
Draw the head as a basic circle and add a small torso section below. Outline the helmet, giving it broad side panels and a smooth curve at the top to form the kabuto shape.
Place the decorative horn on top, giving it a symmetrical look. Detail the torso with rectangular forms and divide it into armor sections using even, parallel lines.
Add shoulder plates and draw the legs with small, simple boots. Refine the shapes, smooth the lines, and finish by coloring the samurai with contrasting tones of red and yellow.
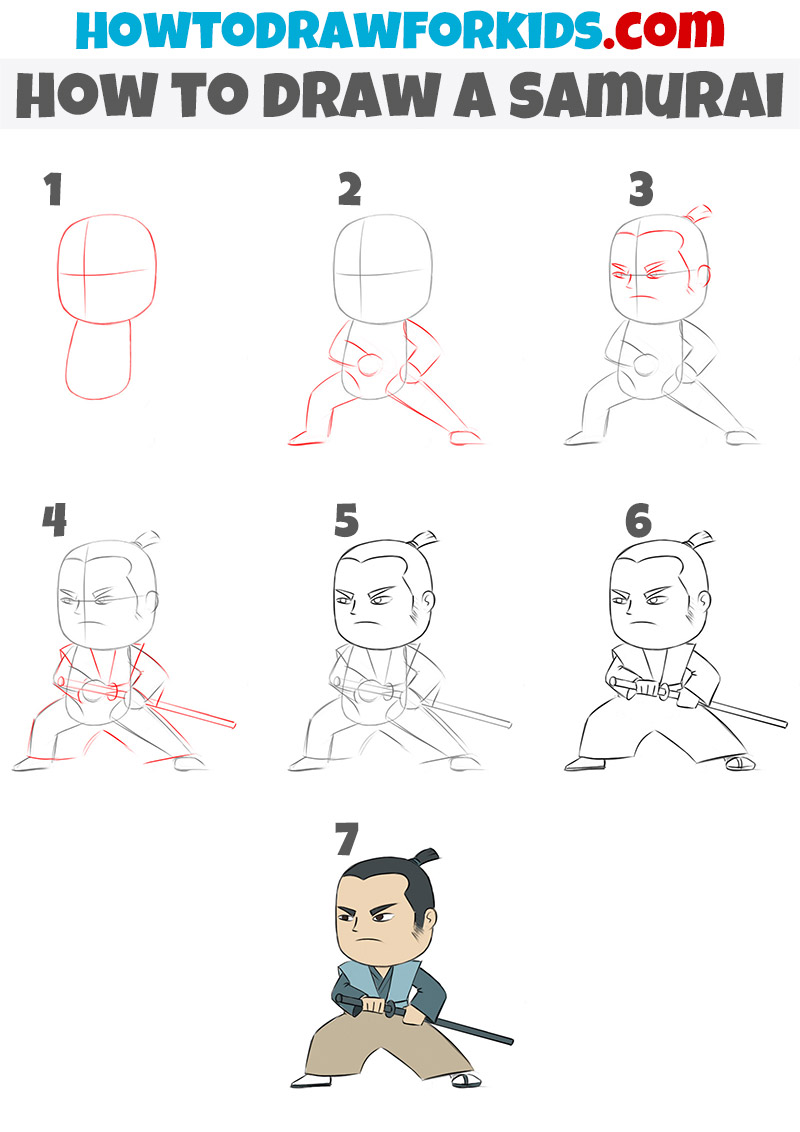
How to Draw a Samurai: Add Some Dynamics
Continuing the samurai topic, this additional tutorial shows how to draw a samurai in a simple combat stance. The pose is stable with bent legs and the hands holding the katana in side of the body.
Draw the head and then outline the torso and mark the facial axis. Sketch the arms bent at the elbows. Place the katana horizontally.
Add the legs in a wide position. Indicate the facial features, avoiding unnecessary details. Outline the simple hairstyle and the folds on the clothing where the body bends.
Go over the lines to make them cleaner, remove the construction lines, and refine the edges of the clothes. Add color evenly, using muted tones for the outfit and darker shades for the hair and sword to make the drawing look complete.
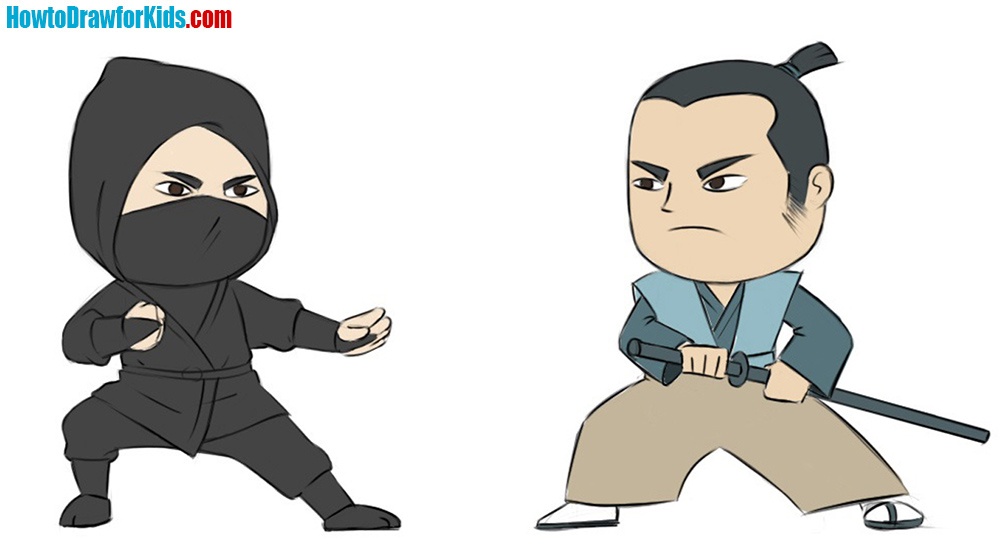
Drawing Samurai and Ninja Battle
To truly refine your samurai sketches, challenge yourself by illustrating a fierce duel with his arch-enemy, drawing a ninja standing against the warrior.
Position your samurai in an aggressive stance, his sword ready to strike, mirroring the stealth and cunning in the ninja’s poised agility.
Conclusion
You’ve now completed the samurai drawing lesson, but this is only one part of exploring historical characters. On my website, you’ll find many other step-by-step lessons that expand on this theme and help you practice new drawing approaches.
For instance, you can move from East to North and try the lesson on how to draw a Viking, focusing on different armor shapes, beards, and simple weapon details.
Keep following my updates to see new tutorials added regularly. Each one is built to help you progress at a steady pace, improving your understanding of form.
Share your results, revisit earlier lessons for more practice, and keep your materials ready – there’s always another interesting figure waiting to be drawn.