How to Draw a Piece of Cake
By following the steps of this tutorial you will learn how to draw a piece of cake and decorate it in a variety of ways.
In addition, I will share with you an additional way to draw a piece of cake and tell you how to make the drawing even more interesting and unique.

How to Draw a Piece of Cake: Basic Information
Are you ready to draw something super sweet and absolutely scrumptious? Today, I’m thrilled to share with you my very own step-by-step guide on how to draw a piece of cake – a treat so delightful, you’ll almost want to take a bite out of your drawing!
I’ve sliced the process into really simple steps, ensuring that you can create a yummy masterpiece, no matter if you’re just starting out or already a seasoned little chef in the field of art.
This lesson will not only teach you how to draw a piece of cake, it will also help you develop your skills in art, such as drawing straight lines, building volume on a plane using simple techniques and the correct combination of colors.
By drawing the sides and top of the cake slice with differing lengths and angles, young artists learn how to depict three-dimensionality on a flat surface. This skill is really important in all forms of visual art, from still lifes to landscapes and beyond.
By learning to draw the outline of the cake, which consists of irregular geometric shapes like tilted rectangles and curved lines, young artists practice transforming a three-dimensional object into a two-dimensional depiction, enhancing their spatial understanding.
Piece of Cake Drawing Tutorial
Materials
- Pencil
- Paper
- Eraser
- Coloring supplies
Time needed: 30 minutes
How to Draw a Piece of Cake
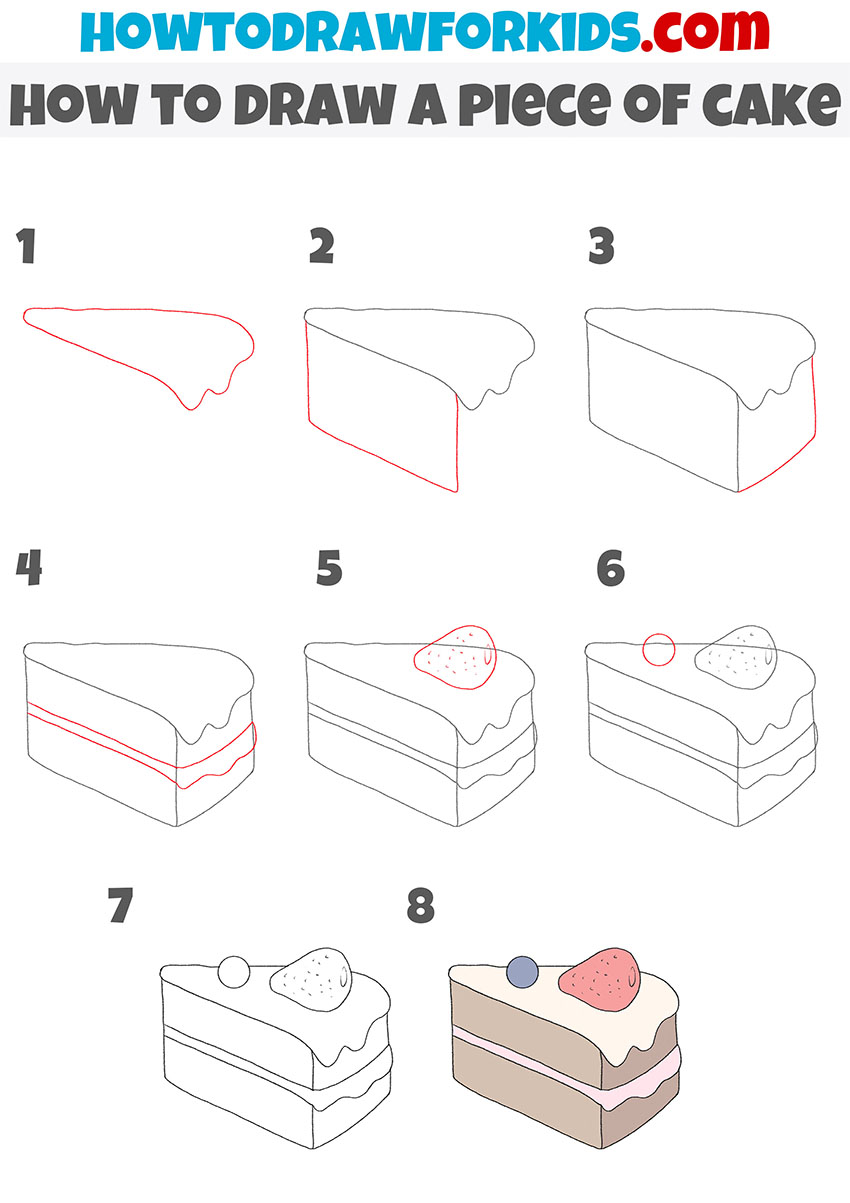
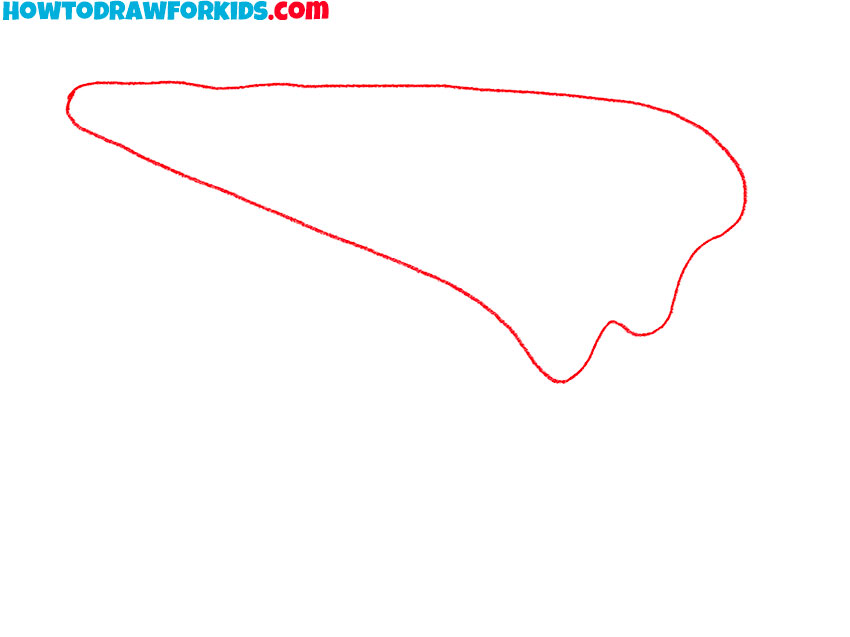
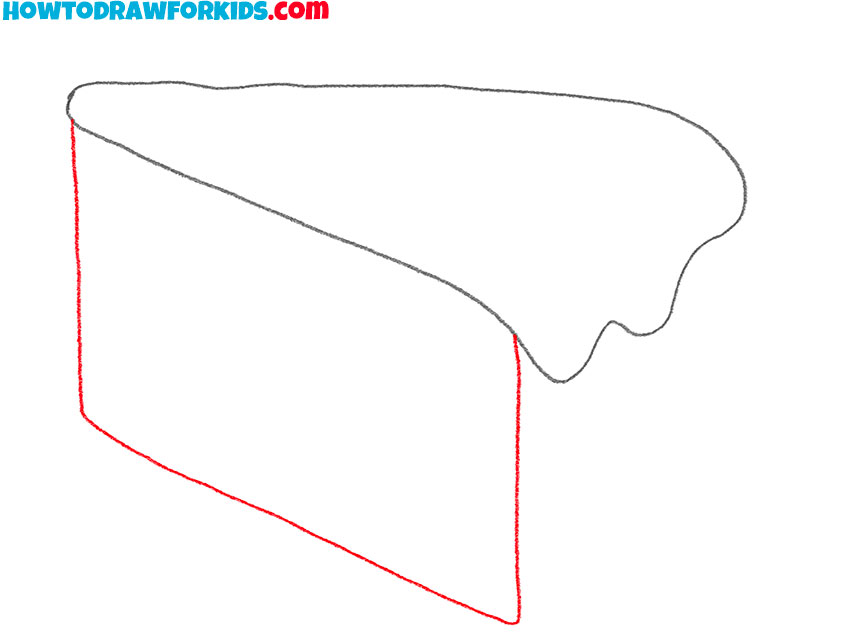
- Draw the top layer of the cream.
Begin by drawing a wavy, uneven line that represents the top surface of the cake slice. This line should look somewhat jagged to mimic the texture of icing dripping slightly over the edge. The shape resembles a distorted triangle, with the wider part indicating the front of the cake slice.
- Draw the side surface of the cake.
Add the side surface of the cake slice by drawing a vertical line down from each end of the top surface and connecting them at the bottom with a straight line. This creates a three-dimensional look by giving the slice thickness.
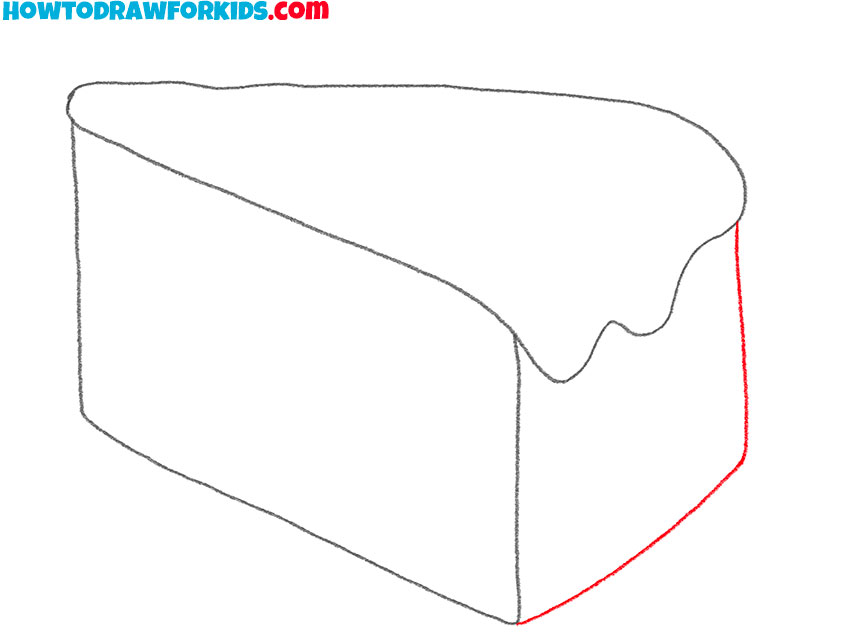
- Sketch the second side of the cake.
Connect the open side by adding another vertical line from the remaining point of the top outline to the base, completing the perimeter of the cake slice. This face should be slightly angled to enhance the 3D perspective, giving the cake a realistic appearance as a solid object with three visible faces.
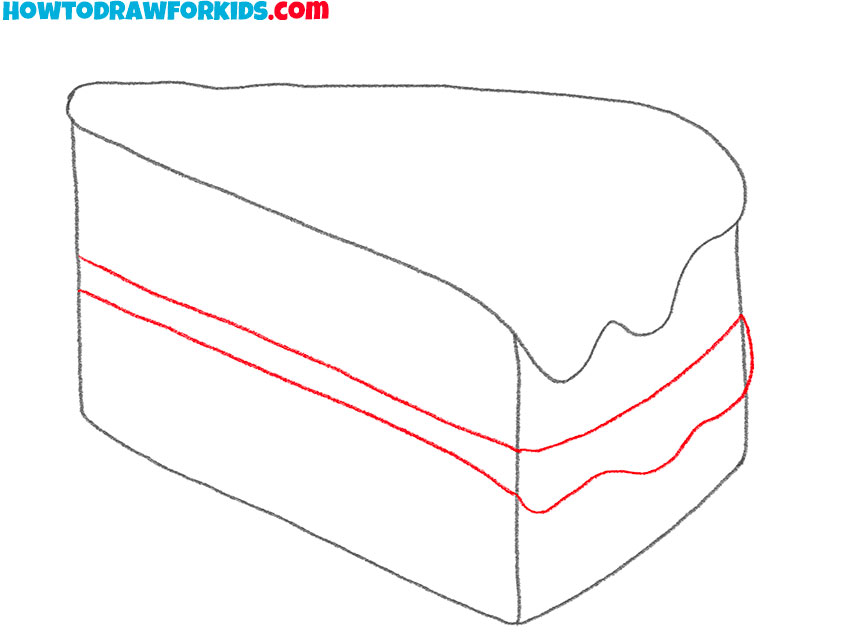
- Draw the layer of the cream inside the piece of cake.
Inside the slice, draw two horizontal lines across its width to depict the cake’s internal layers. These lines should be parallel to the base and equally spaced, simulating the cake and frosting layers inside the slice. This adds detail and gives an idea of the slice’s composition.
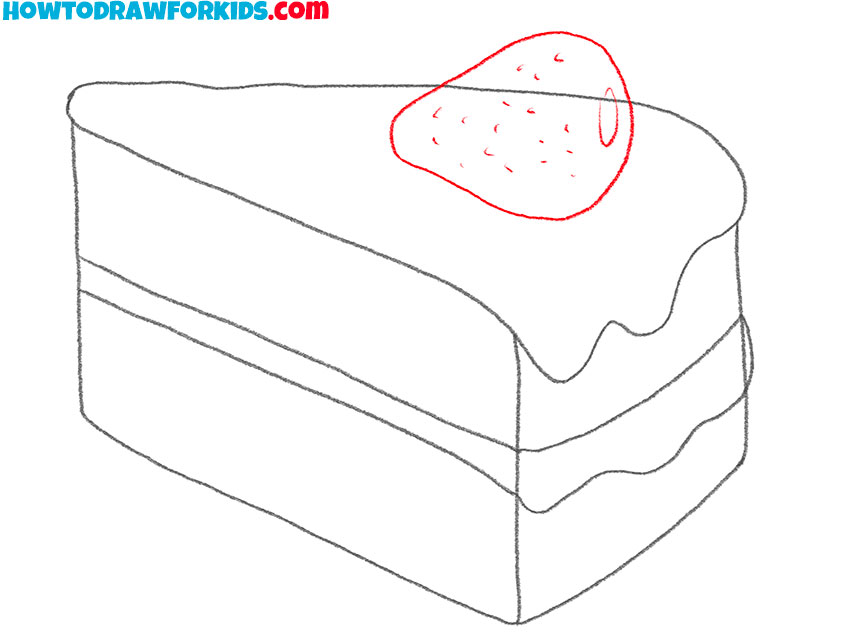
- Depict the strawberry.
On the top surface near the back, sketch an oval shape to represent a berry, like a strawberry. This should be textured with small dots to indicate seeds. The lines of the strawberries should not be perfectly smooth, and the placement of the seeds should not be too uniform.
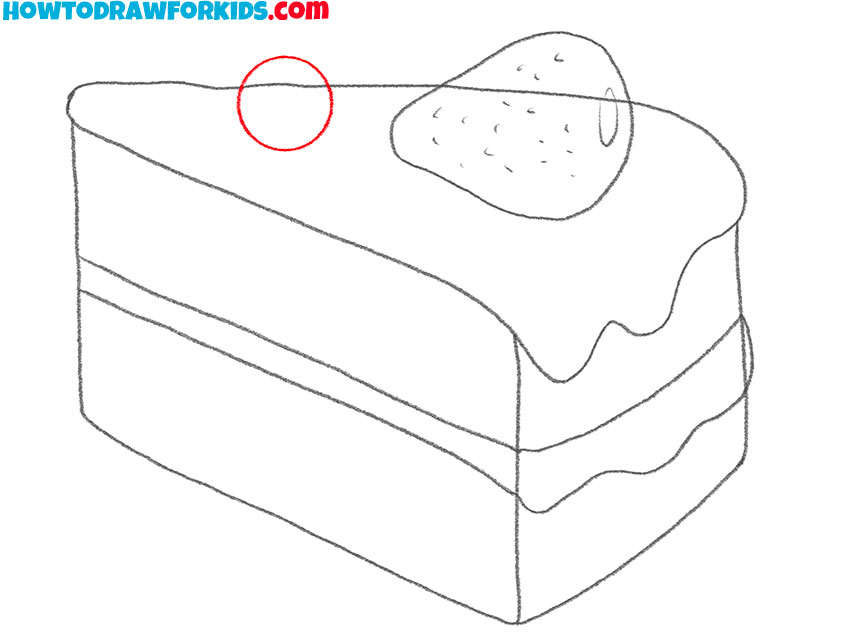
- Add more toppings.
Next to the strawberry, draw a smaller circle for an additional topping, such as a blueberry or cherry. You can add texture to this topping as well, giving it a more realistic appearance. This variety in toppings adds complexity and color, making the drawing more interesting and vibrant.
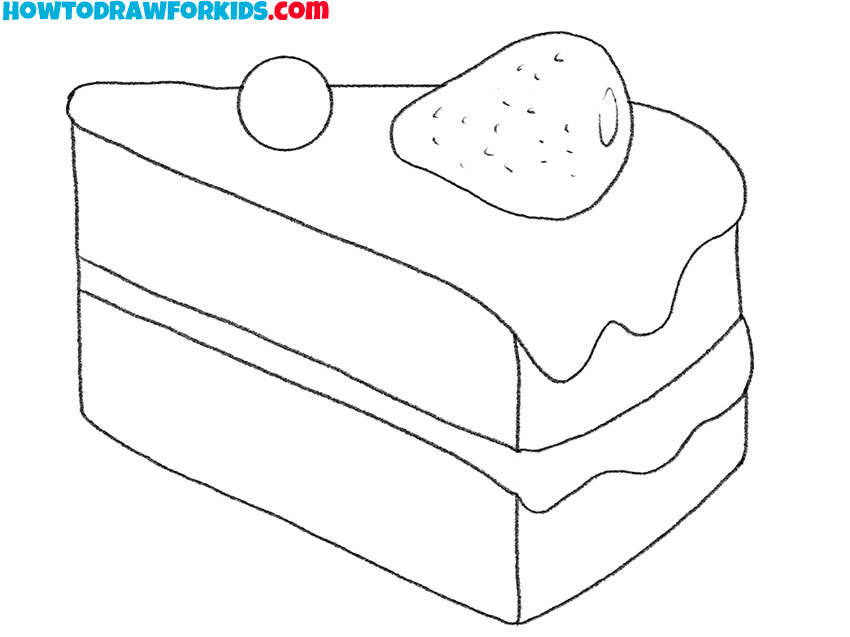
- Erase the guidelines from your piece of cake.
Carefully erase any unnecessary guidelines that were used to construct the basic shapes of the cake drawing. This cleaning up process sharpens your drawing, making the final sketch look neat and tidy. Focus on enhancing the visibility of the main outlines and the details of the toppings and layers.
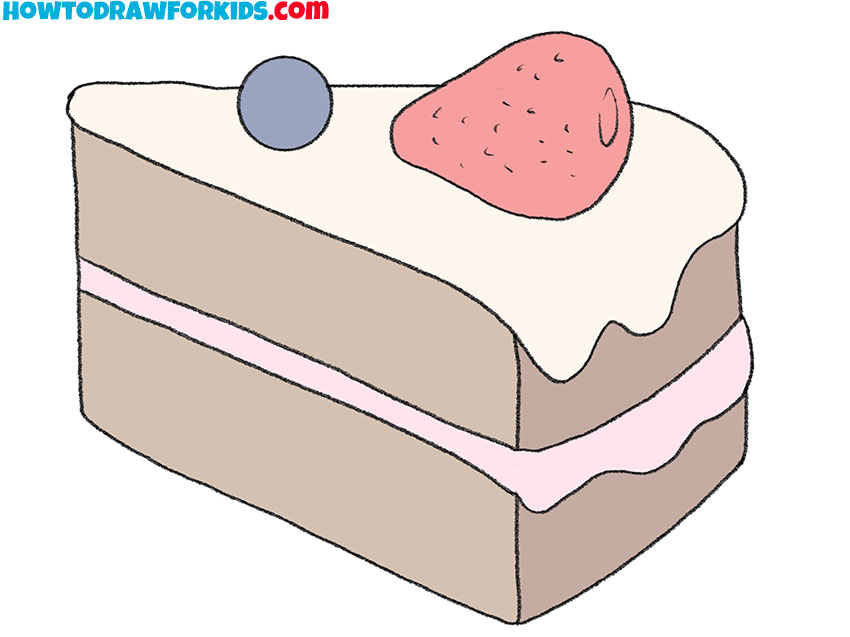
- Color your drawing.
Use shades of brown for the cake layers to indicate chocolate or vanilla sponge, white or light colors for the icing, and appropriate colors for the toppings like red for the strawberry and dark blue or black for the blueberry.
Additional Content
I’ve prepared a helpful PDF file for my cake slice drawing project that you can download for free. This file is a great resource that functions as a portable guide for your artwork. You can save it to your device and use it to practice drawing anytime and anywhere, even without internet access.
This PDF isn’t just a basic file; it contains a simplified version of our cake drawing tutorial, structured to be easy to follow. Whether you’re drawing at home, in the park, or during a car ride, this PDF will be there to assist you step by step as you learn to draw each part of the cake.
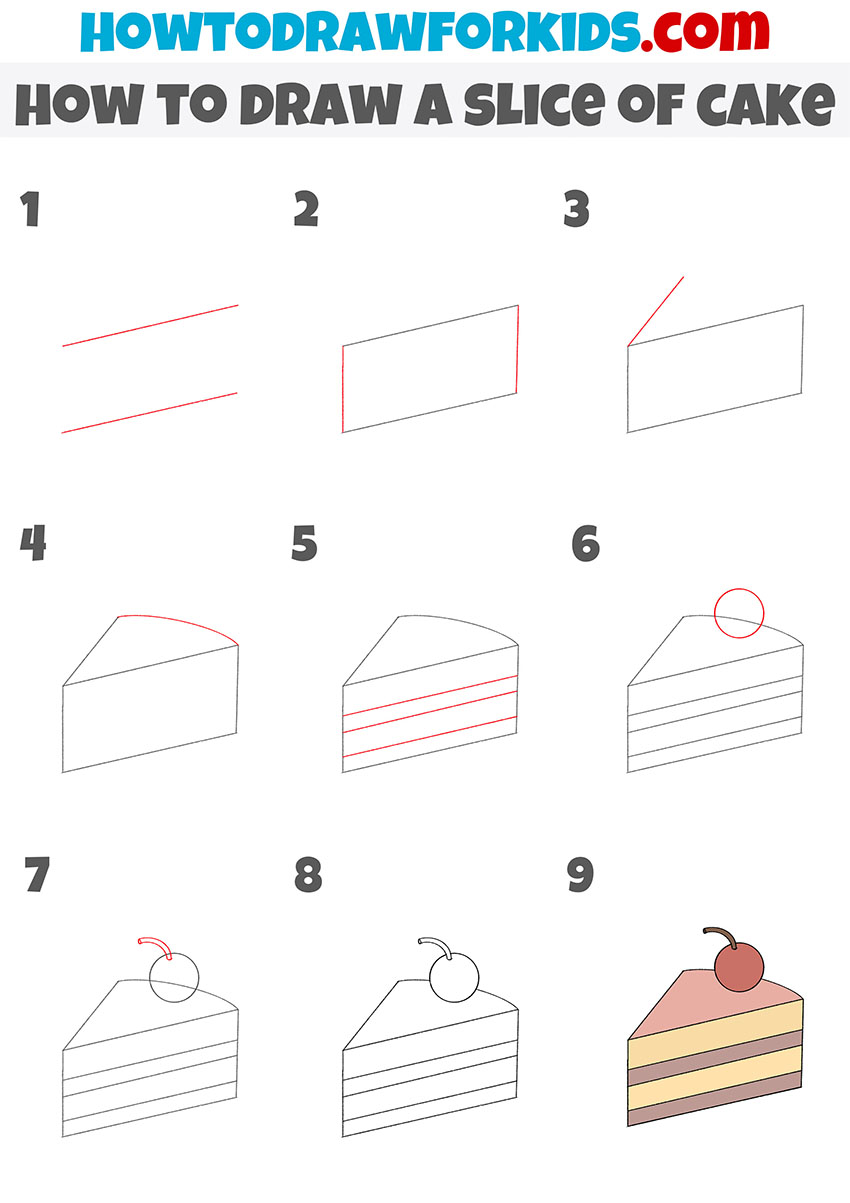
How to Draw a Piece of Cake: Alternative Method
Begin by drawing two diagonal lines that will form the top and bottom edges of the cake slice. Next, connect these lines by adding two vertical lines. Next, using one straight and one curved line, draw the top edge of the piece of cake, completing its three-dimensional shape.
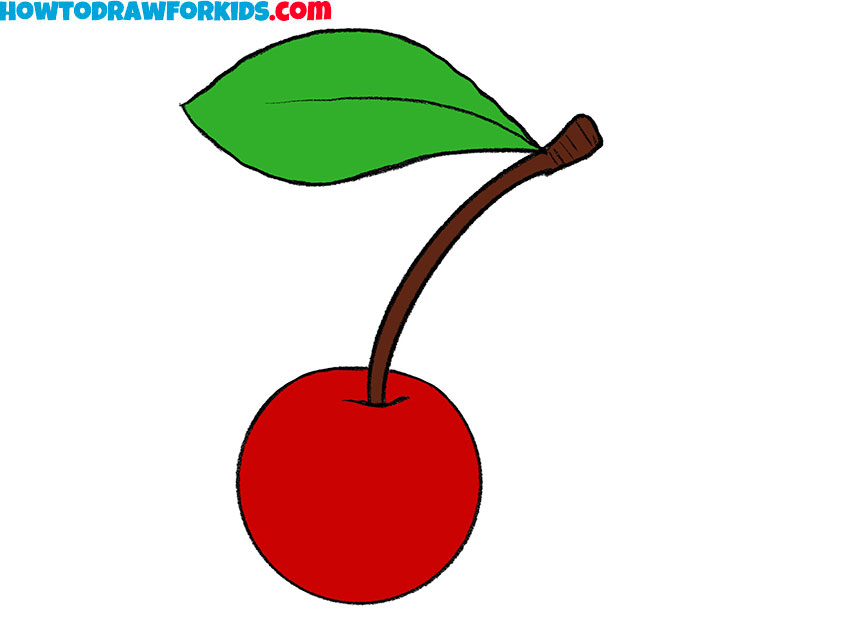
Subsequently, draw several horizontal lines within the body of the slice to represent the different layers of the cake. Next, draw the topping on the top of the cake slice. I drew a cherry, but you could add strawberries, apple slices, or any other fruit. The next step introduces a cherry on top of the cake by drawing a small circle and a stem.
Apply a gradient of brown for the cake layers, a lighter shade for the icing, and a rich red for the cherry, completing the deliciously illustrated slice of cake.
How to Draw a Slice of Cake: Advanced Tips
A start has been made, you have learned how to draw a piece of cake. Now some advanced tips for those who want to make the drawing even more interesting and unusual.
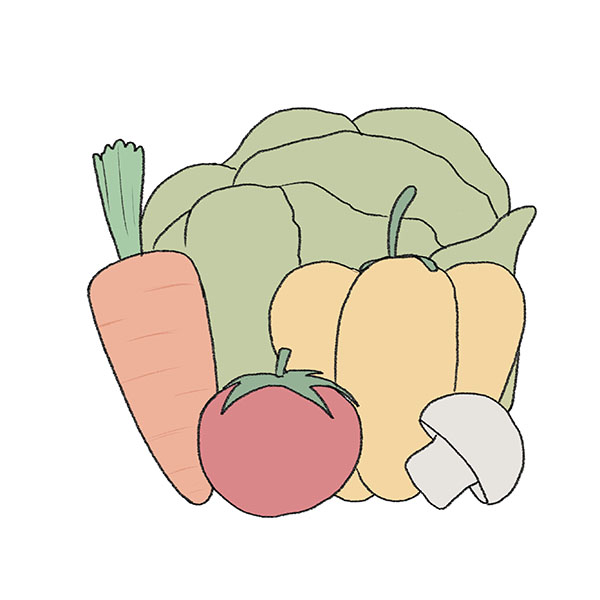
- Start by embellishing the area around your cake with doodles of various fruits. Sketch an assortment of strawberries, blueberries, and cherries, arranging them enticingly on the plate around the cake slice. For strawberries, include little seeds. Blueberries can be depicted with small circles filled with a gentle shading, and cherries can have slightly elongated stems.
- Transform your simple cake slice into a festive birthday cake by adding several small birthday candles on top. Draw the candles with straight, thin lines for the bodies and small ovals on top for the flames, showing a gentle flicker. You can vary the candle heights for a more dynamic composition and add little droplets of wax melting down to give them life and realism.
- For a luxurious touch, illustrate a drizzle of chocolate syrup cascading down the sides of the cake slice. Start from the top and swirl the lines down the sides in a flowing, organic pattern to mimic the thick, gooey texture of syrup. Use varying line weights to depict the syrup’s glossy, viscous quality, enhancing the decadent aspect of your cake drawing.
- Place your cake slice on a decorative plate to elevate the overall presentation. Draw intricate patterns on the plate, such as floral motifs or geometric designs, using fine lines and delicate details to suggest an elegant setting.
- Lastly, complete your drawing with an afternoon tea setting by adding a teacup beside your slice of cake. Illustrate the cup with a smooth, curved outline and add a handle with a subtle arc. You can adorn the teacup with matching patterns from the plate to unify your composition.
Art is like a cake – it’s all about what you put into it. So, add all your favorite things and create a masterpiece that’s as unique as you are.
Conclusion
And there we have it, our cake slice drawing is complete! Please stay connected by following my social media channels for a daily dose of artistic inspiration. Your feedback and suggestions are incredibly valuable, so don’t hesitate to leave a comment below with the types of lessons you’re interested in.
Moreover, my website hosts an extensive collection of drawing tutorials – take a moment to explore it.
Navigate to the relevant section or type your object of interest into the search bar, choose the drawing lesson you prefer, and start drawing!