How to Draw Bakugo’s Hair
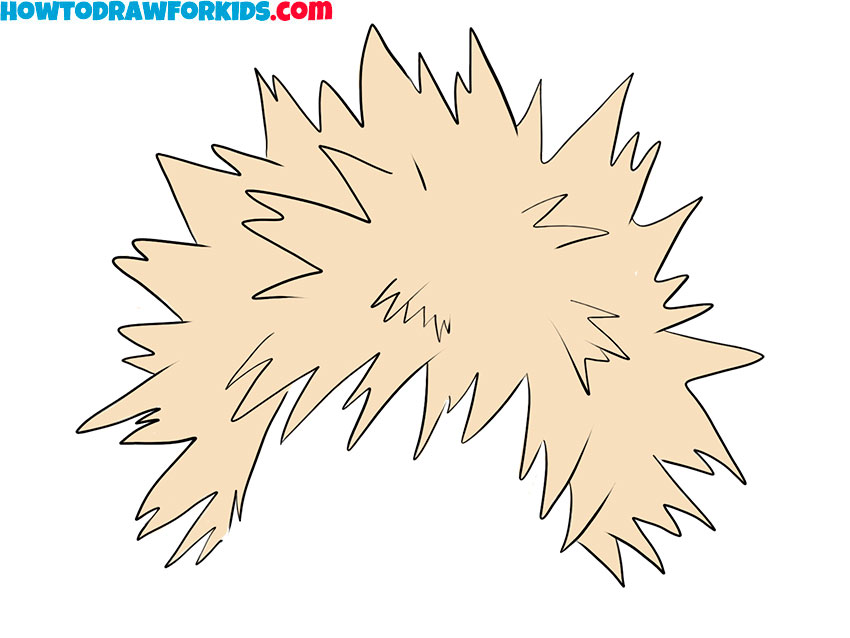
Bakugo is an anime hero with sharp blonde hair sticking out in different directions. I would like to show you how to draw Bakugo’s hair.
How to Draw Bakugo’s Hair: Introduction
In this tutorial, you will learn how to draw Bakugo’s hair. This lesson is straightforward and should not present any challenges. Like similar guides, this one will provide instructions for drawing Bakugo and offer some tips for drawing other anime hairstyles.
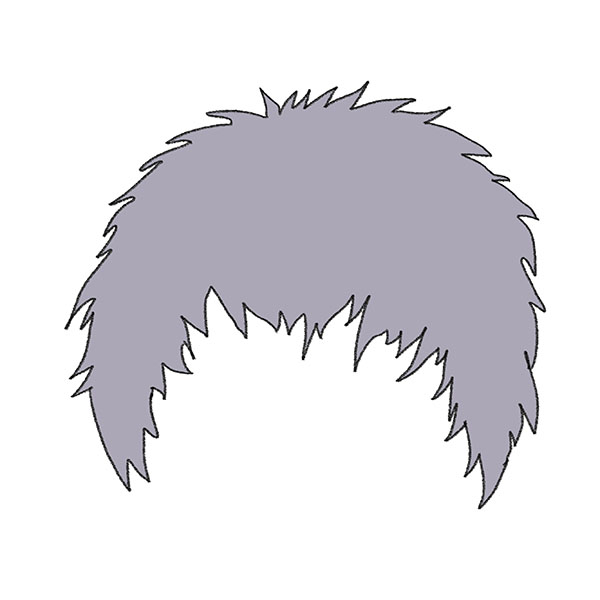
Anime characters have a variety of hairstyles. Most are characterized by long bangs and loose strands. In a previous tutorial, I explained how to draw anime hair and mentioned that anime hairstyles can have a wide range of shapes. In this guide, I will demonstrate one of these styles.
Bakugo’s hairstyle has a typical anime appearance. It features a voluminous shape and sharp edges. Similar to many other anime hairstyles, this one is easily recognizable. This guide will explain how to depict it on paper.
As noted earlier, with this tutorial on how to draw Bakugo’s hair, you can learn to illustrate a popular anime hairstyle. For other anime hairstyles, you can modify the shapes to suit the style you want.
Bakugo’s Hair Drawing Tutorial
Materials
- Pencil
- Paper
- Eraser
- Coloring supplies
Time needed: 18 minutes
How to Draw Bakugo’s Hair
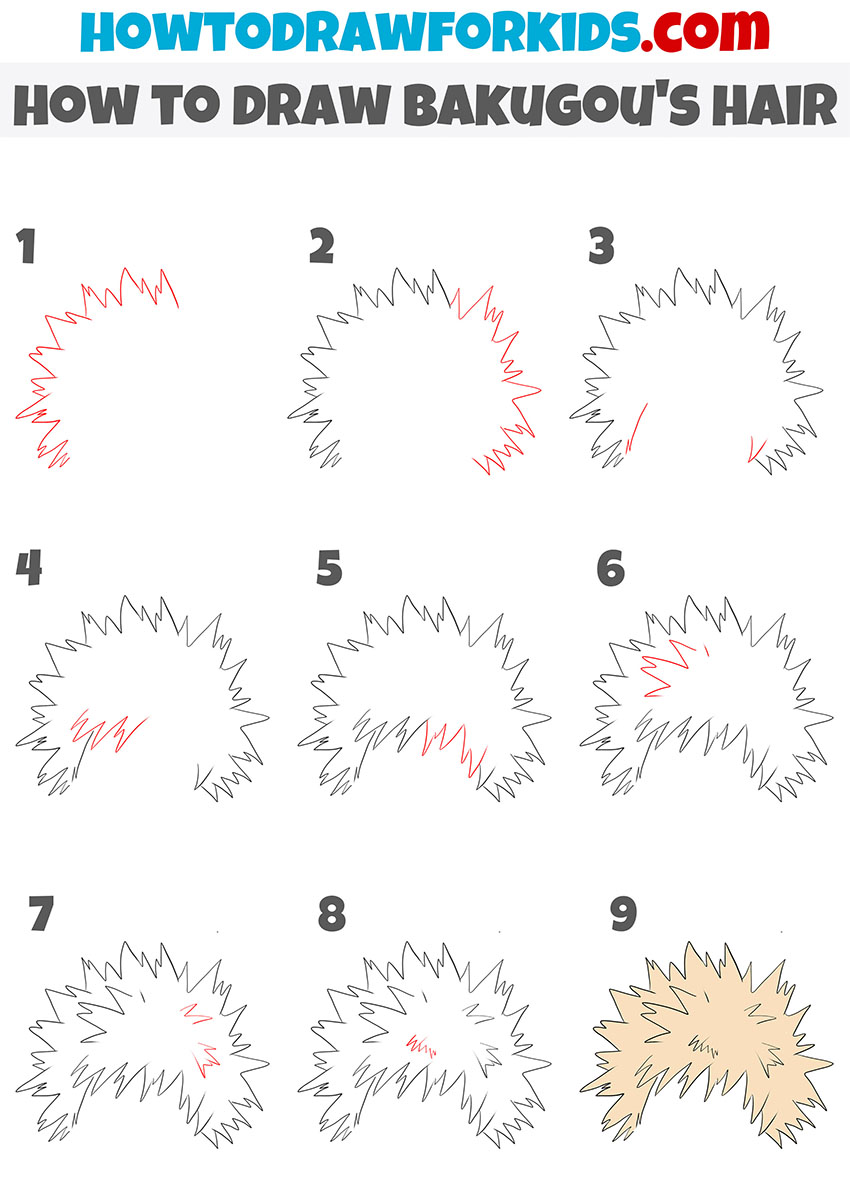
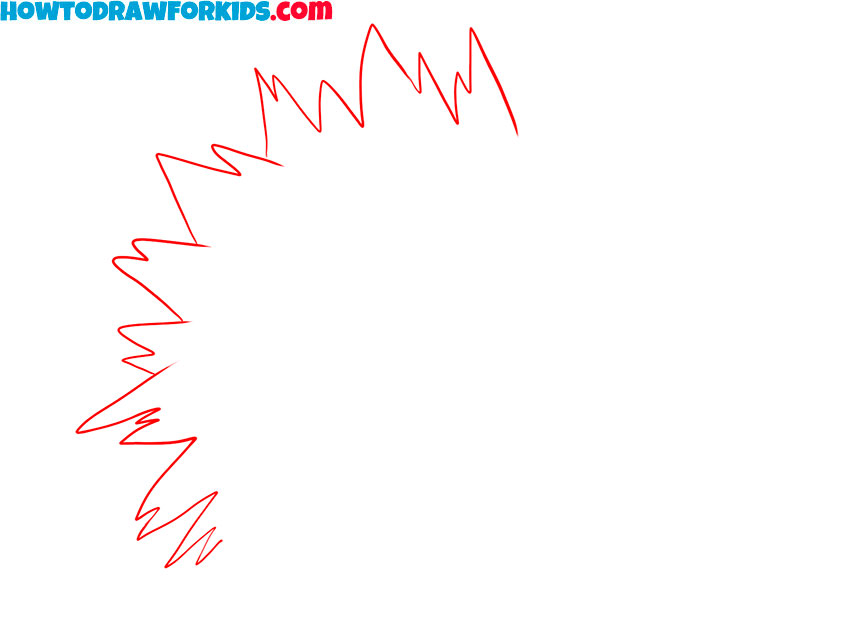
- Draw the left side of Bakugo’s hair outline.
Start by drawing the top left section of Bakugo’s hair. Use zigzag lines to create the spiky and uneven shape that defines his hairstyle. Begin from the left bottom and extend the lines to the top, ensuring the spikes vary in size for a more natural look.
- Add the outline of the hair at the right.
Extend the spiky pattern right and downward, maintaining the irregular and sharp shapes. Be consistent with the size and angles of the strands. As with the left side of the hairstyle, keep the strands varied as much as possible to maintain the overall volume and shape.

- Draw the strands around the temples.
Let’s start adding details to Bakugo’s hairstyle. First, draw the side parts of the bangs at the temples with a few simple lines. I decided to separate the drawing of the bangs to show the creating of this part of the hairstyle in maximum detail. Do not try to make these parts look perfectly symmetrical.

- Add the part of the bangs at the left.
Now let’s focus on the front left section of Bakugo’s hair by drawing the fringe. Continuing the shapes from the previous step, add pointed, jagged strands that fall slightly over the forehead. These strands should have a slightly different angle than the rest of the hair to highlight their placement.

- Sketch the part of the bangs at the right.
Continue drawing the bang of Bakugo, using more sharp and angular lines. The overall length and size should match the outline from the previous step, but the individual strands should vary in length and direction. Keep the strands of the hair sharp, maintaining consistency with the rest of the hair.

- Draw another section of Bakugo’s hair to the left.
Work on the spikes at the crown of the hair to improve their shape and detail. Add smaller spikes within the existing outline to give the hair a fuller and messier appearance. Start with the left side, drawing smaller stands with sharp edges.

- Add some more strands of the hair at the right.
Now let’s continue to detail the hair of Bakugo by adding texture to the right side of the head. You can either mirror the strands as in the previous step, or add more asymmetry as in my example. Unlike the previous step, the strands here should be facing to the right.

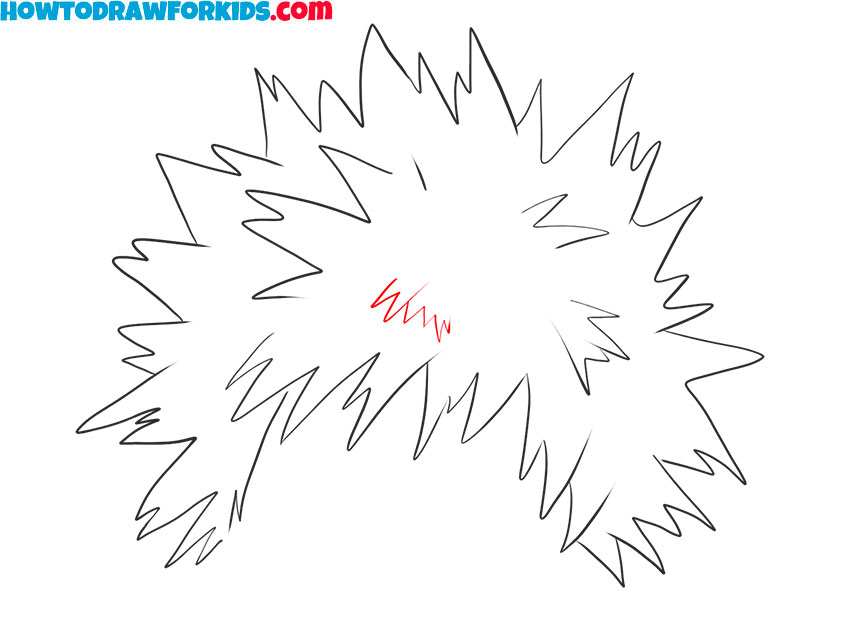
- Add some finishing touches to the hairstyle.
Review the entire hairstyle and add final touches to the spikes. Incorporate smaller, secondary strands near the edges to make the hair of Bakugo look even more detailed. Pay attention to the direction and flow of the spikes, ensuring they remain consistent with the overall messy appearance.
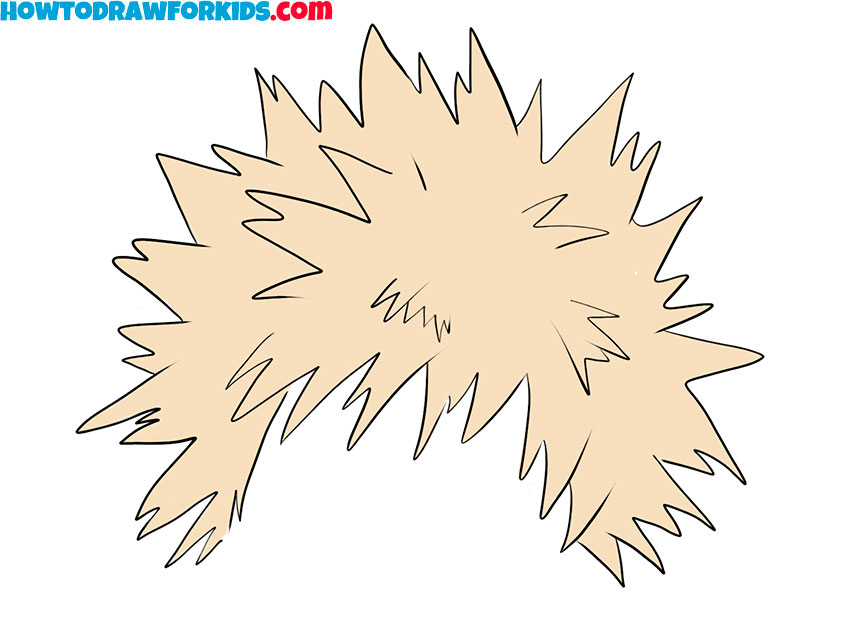
- Color the finished Bakugo’s hair drawing.
Use a light yellow or sandy blonde for the base color, as this matches his distinctive look. You can add darker shades at the roots or along certain strands to give the hair more dimension. This step completes the drawing, making it ready for display or further use.
Additional Content
I also want to remind you that I have prepared a PDF file for you. After downloading it, you can return to this lesson at any time convenient for you, even if you are not connected to the Internet.
Conclusion
You have completed drawing an anime hairstyle. As stated earlier, this tutorial shows how to draw Bakugo’s hair and provides helpful techniques for drawing an anime character. Feel free to leave comments to share your experience and check if everything went as intended. You can also share this tutorial with others and practice drawing together.
If you have any questions about Bakugo’s hair drawing tutorial, I will gladly assist. I also welcome suggestions for future step-by-step drawing lessons. Remember to follow me on social media platforms and share your feedback in the comments section. Additionally, explore the anime section for more drawing tutorials related to anime characters.

