How to Draw Flowers in a Vase
This tutorial on how to draw flowers in a vase is an excellent guide that will teach you how to create beautiful still-life drawings.
How to Draw Flowers in a Vase: Introduction
We have already learned how to draw flowers on multiple occasions. Previously, we’ve drawn roses as well as other equally famous and beautiful flowers. In this tutorial on how to draw flowers in a vase, I’ll show you how to use your existing knowledge to create more complex compositions and still-life arrangements.
This lesson will enable you to draw a vase filled with flowers, either similar to those in my example or any others you prefer. Like many of my drawing tutorials, this one is divided into several parts. First, I’ll provide you with basic instructions on drawing flowers in a vase, clearly demonstrating each step.
After mastering the main tutorial on how to draw flowers in a vase, you’ll find an additional set of instructions to reinforce what you’ve learned. These extra exercises will help you practice your skills further and introduce more variety into your drawing abilities.
By completing this lesson on drawing flowers in a vase, you’ll gain confidence and expand your artistic skills, enabling you to create impressive still-life drawings independently.
Flowers in a Vase Drawing Tutorial
Materials
- Pencil
- Paper
- Eraser
- Coloring supplies
Time needed: 30 minutes
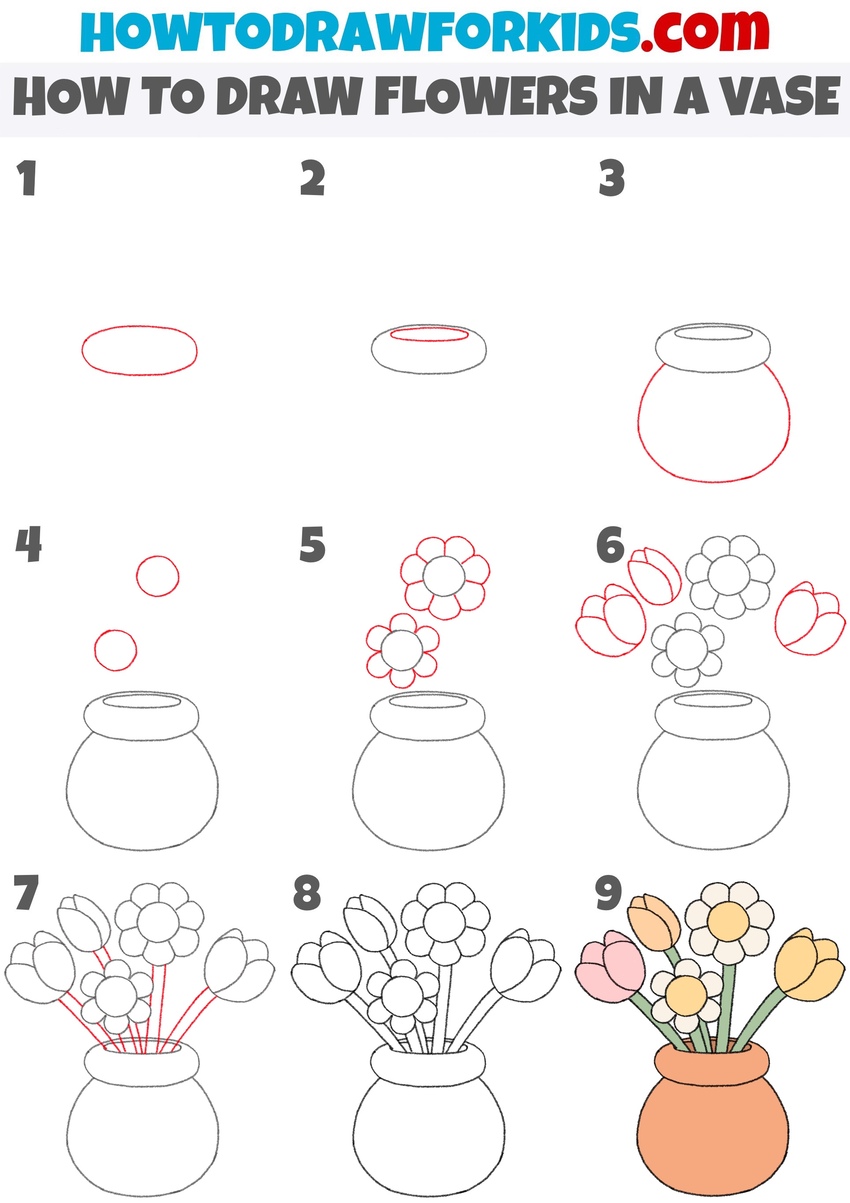
How to Draw Flowers in a Vase
- Draw the top of the vase.
First, sketch a simple, wide oval in the middle of your paper. This oval represents the opening of your vase. Keep the oval horizontal and symmetrical so the vase looks symmetrical. Don’t press hard with your pencil; sketch lightly, since you might need to erase lines later.

- Add the inner rim.
Inside the oval you’ve already drawn, sketch another smaller oval to represent the inner rim of the vase. This oval must be parallel to the first one. Position it slightly towards the top to create a realistic illusion of dimension. Take your time and check the oval from different angles to maintain consistency.

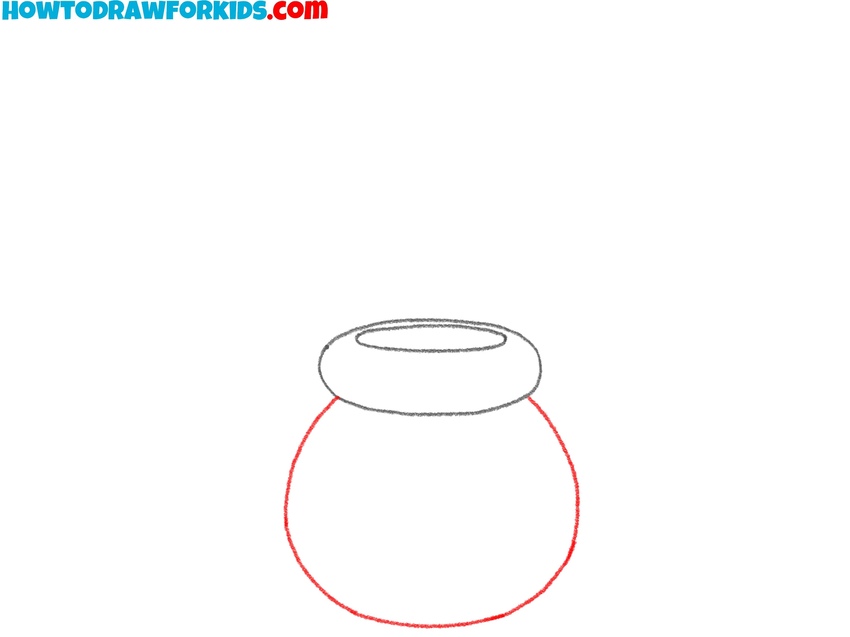
- Draw the body of the vase.
Sketch the rounded body of the vase by drawing two curved lines extending downward from each side of the opening. Connect these lines at the bottom with a gentle curve, giving the vase a rounded shape. Keep the curves symmetrical on both sides, as this symmetry adds a realistic appearance.
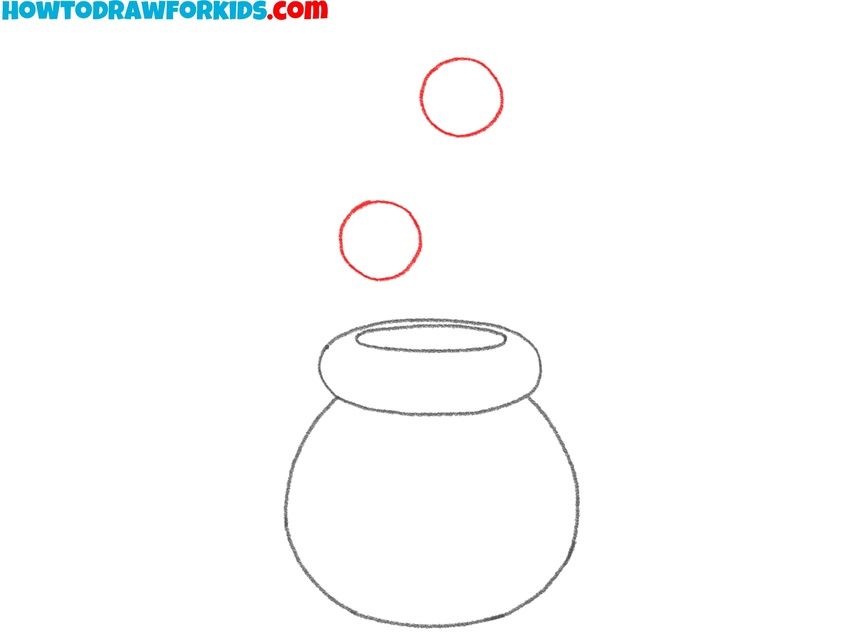
- Mark the flowers’ positions.
In this step, lightly draw a few small circles above the vase to indicate where each flower will be placed. These circles act as placeholders for the blossoms, guiding their final position. You can vary the sizes slightly, making some flowers appear closer and others further away.
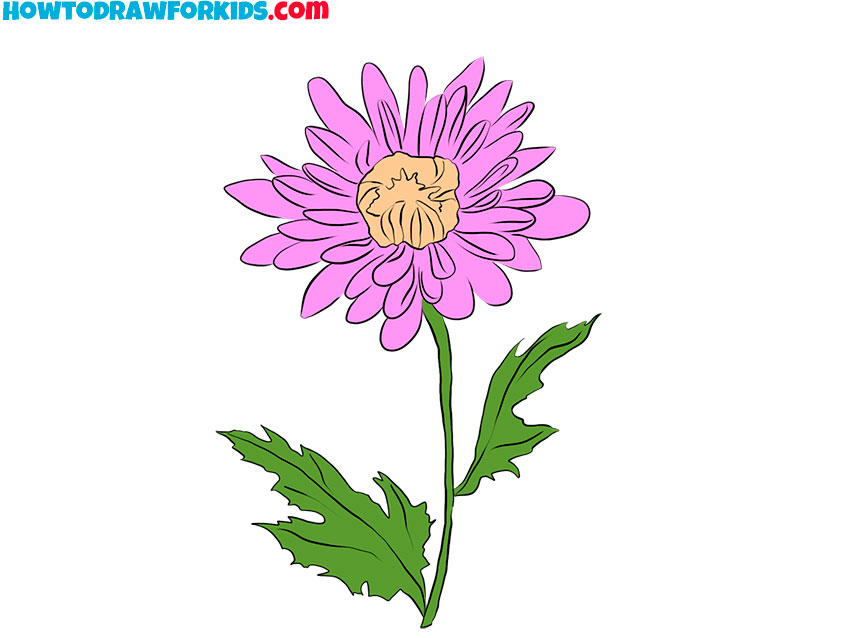
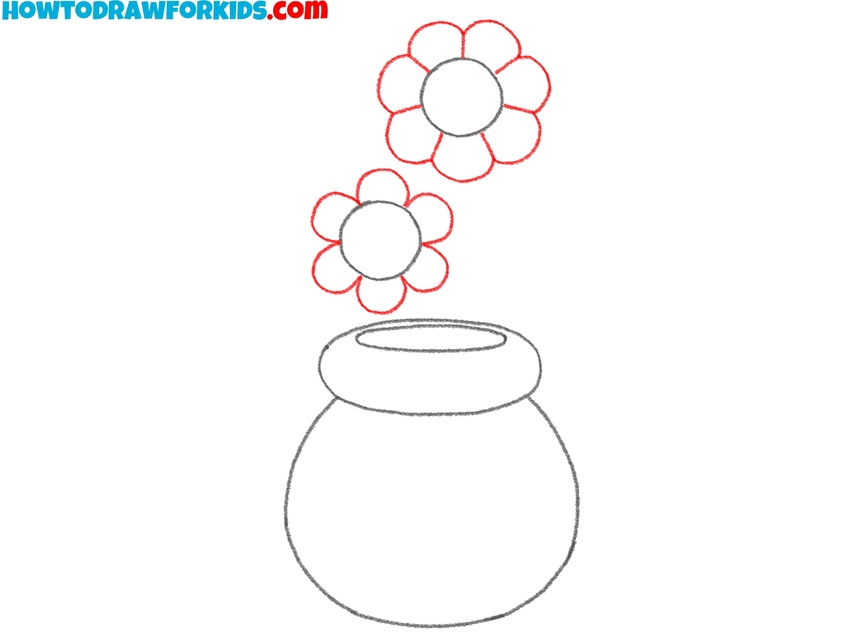
- Draw the detailed flower shapes.
Start transforming your placeholder circles into fully shaped flowers. To do this, draw simple petals around each circle. Keep the petals rounded and slightly overlapping each other to add realism. For these flowers, petals should radiate symmetrically from the center.
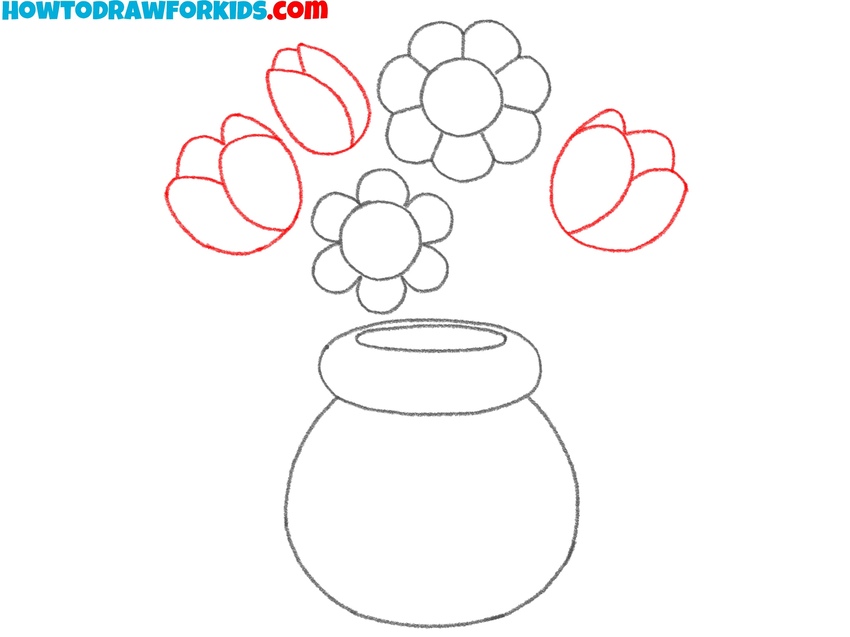
- Add tulip-shaped flowers.
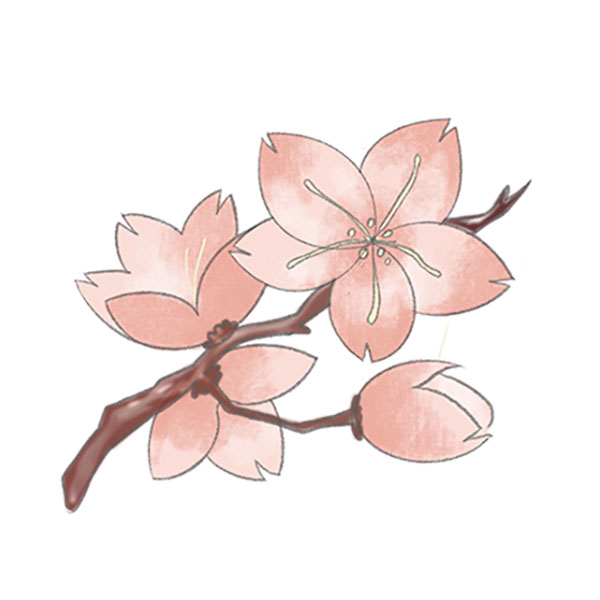
Draw rounded petals that partially overlap, forming the characteristic cup-like shape of tulips. Ensure each tulip has three visible petals to clearly define their recognizable shape. You can slightly vary each tulip’s orientation and openness for a more natural arrangement.
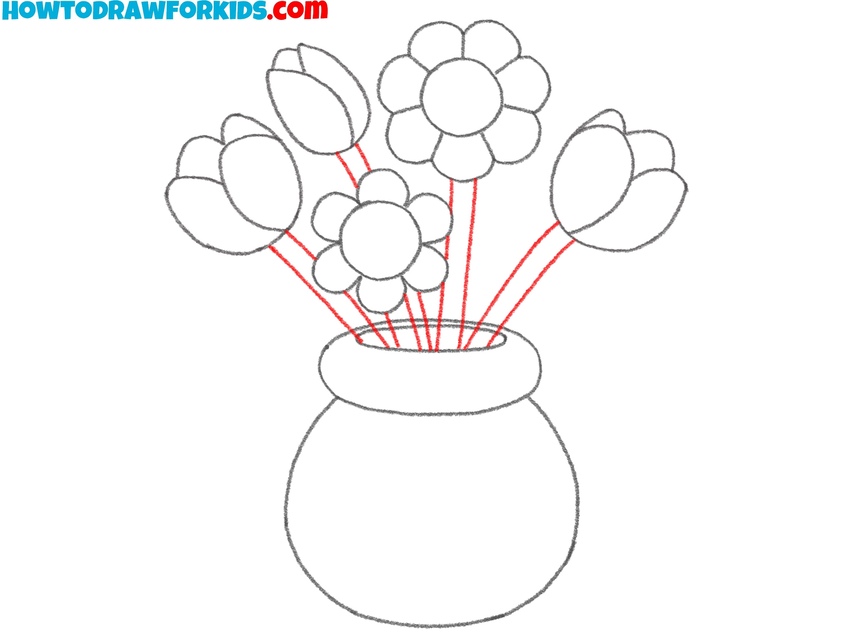
- Sketch flower stems.
Draw slightly curved lines from each flower down into the vase to create the stems. You can vary the length and angle of the stems to create a more lifelike bouquet. Avoid sharp, unnatural angles; gentle curves will make your drawing of flowers in a vase realistic.
- Clean up the sketch.
Now, erase all the unnecessary guidelines, including circles and overlapping lines within the flowers and vase. Strengthen any final outlines if they were accidentally erased. Be gentle while erasing to avoid damaging the paper. After this step, your drawing should look clean and polished.
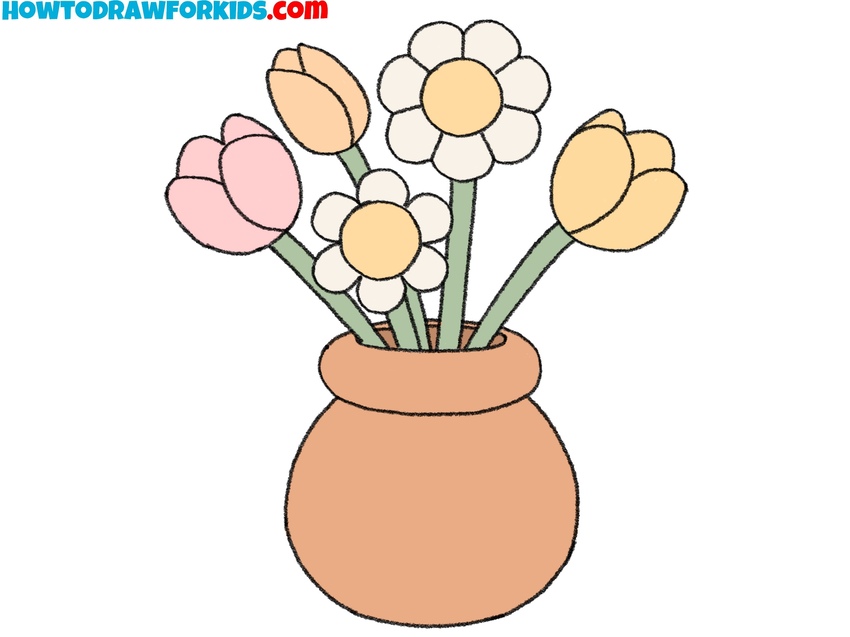
- Color the flowers and vase.
Select soft pastel shades such as pink, yellow, or peach for the flowers, and a complementary earth-tone color like terracotta or beige for the vase. Use green for the stems, creating a natural contrast with the flower colors. You can make your drawing of flowers in a vase more unique, using a different coloring scheme.

Simple Flowers in a Vase Drawing Tutorial
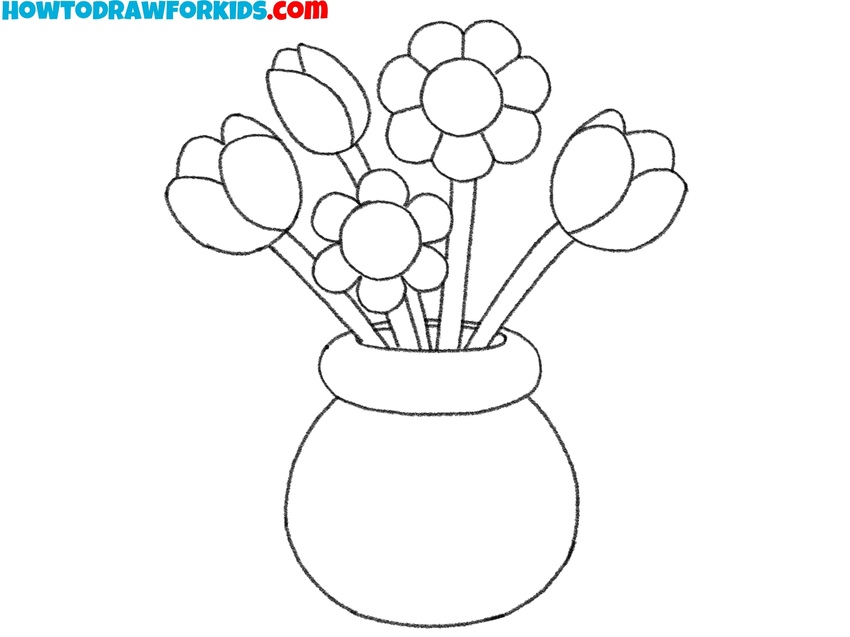
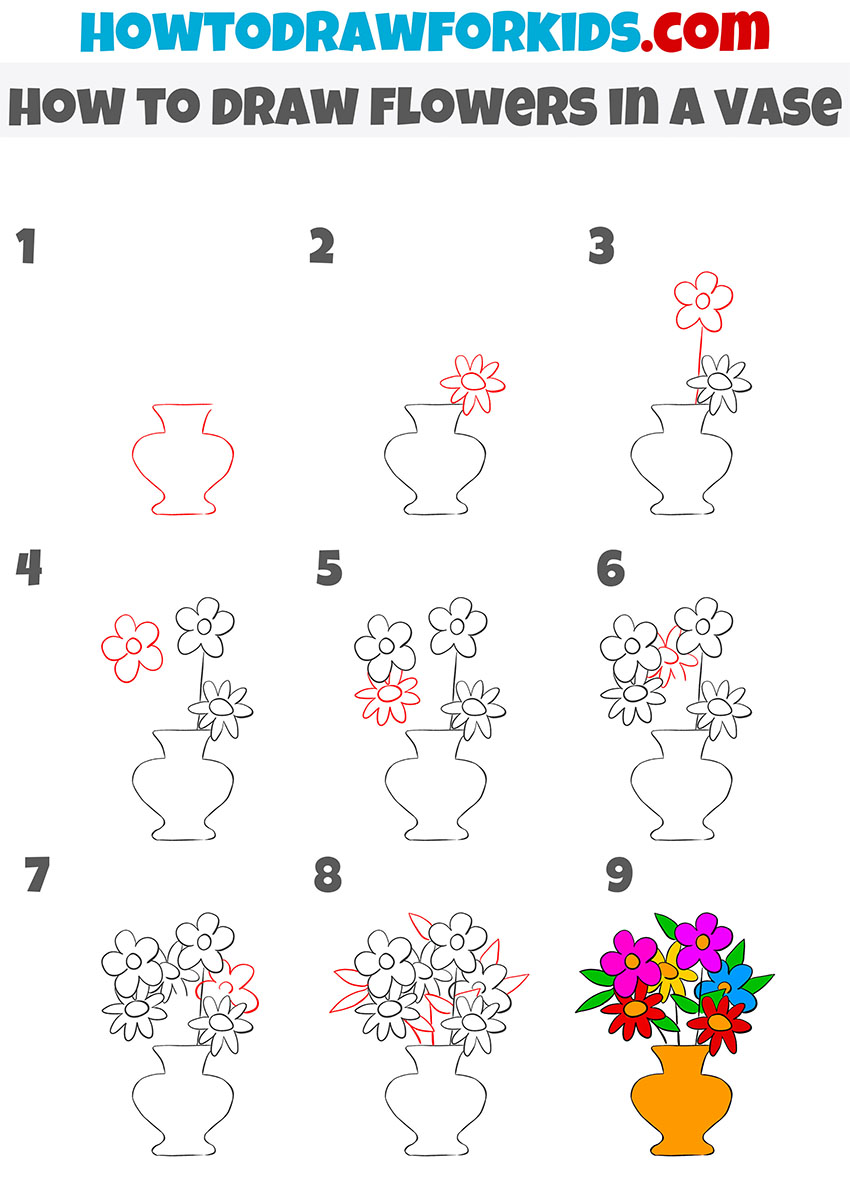
The most noticeable and important features of this method of drawing flowers in a vase are the simplified vase shape and the more stylized, cartoonish flower design, in contrast to the first drawing tutorial which used a bit more realistic flower forms and a more rounded vase.
To learn how to draw flowers in a vase in this technique, first sketch the outline of a simple, symmetrical vase at the center of the paper. Next, draw a basic flower shape with rounded petals on the right side, then add a second flower slightly above. Draw a third flower on the left side to form more complex composition. Proceed by adding a fourth flower on the left, closer to the vase.
Include stems by drawing thin lines connecting each flower to the vase. Continue by adding another flower in the bouquet. Draw pointed leaves around the flowers for a natural look. After completing all the leaves, carefully erase unnecessary guidelines. Finish the drawing flowers in a vase by coloring each flower brightly and distinctively. Use vivid colors such as red, pink, blue, and yellow for the petals, green for the leaves, and orange for the vase.
Conclusion
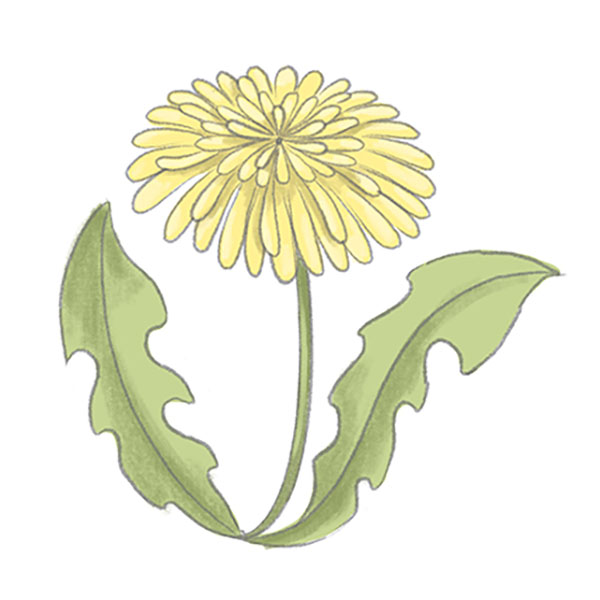
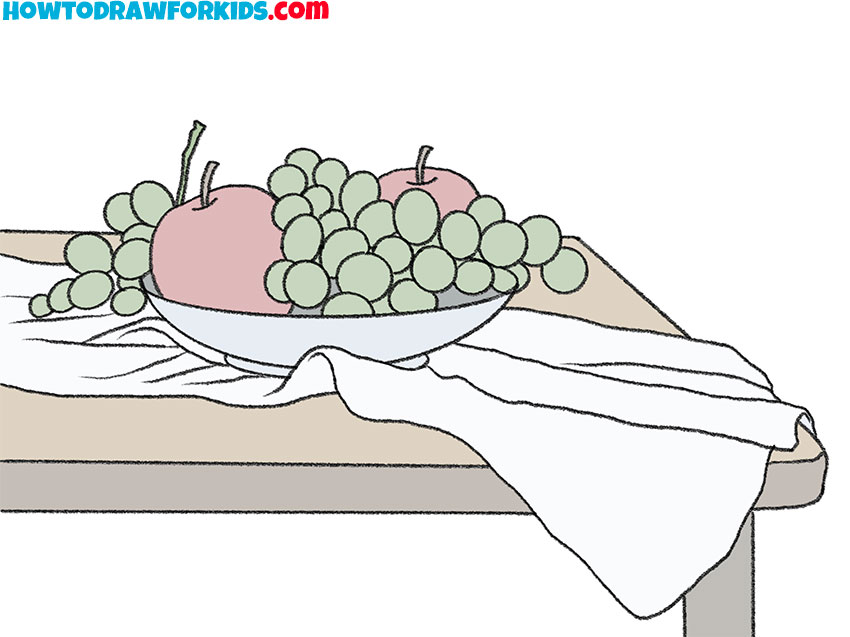
So, now you know how to draw flowers, and you have also learned how to draw flowers in a vase, which is certainly a more complex composition than drawing a single flower. It’s now time to create an even more detailed arrangement. To do this, try drawing chamomiles or other flowers in a vase placed on a table alongside other interesting objects.
For example, you might draw apples next to the vase. Or, you could incorporate other objects commonly found in still-life art. Adding these elements will make your final flowers drawing and overall composition more interesting.