How to Draw Scooby-Doo
I have prepared for you a new drawing lesson in which you will learn how to draw Scooby-Doo step by step easily and quickly.
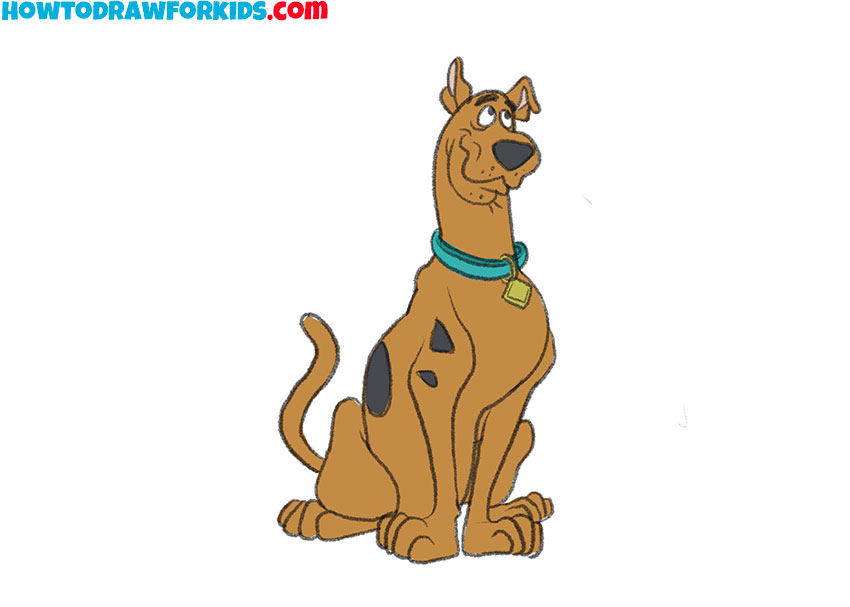
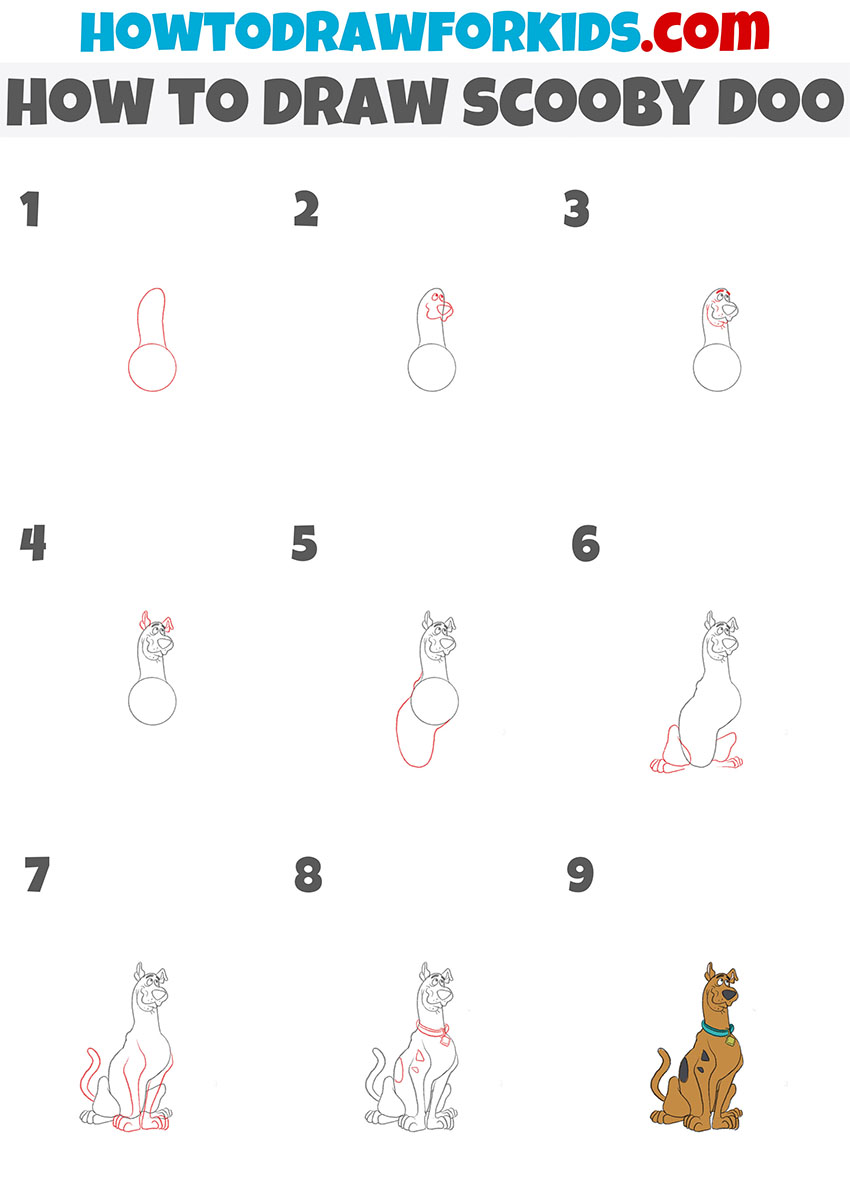
I suggest you complete this fascinating drawing lesson, in which you will learn how to draw Scooby-Doo step by step. This drawing lesson is dedicated to the image of cartoon characters. I am sure that each of you is familiar with this character.
Scoobert “Scooby” Doo is the main character in the Scooby Doo cartoon created by Hanna-Barbera. Scooby Doo is Shaggy Rogers’ pet and best friend.
I recommend that you prepare your art supplies and start following my simple step-by-step instructions right now.
Materials
- Pencil
- Paper
- Eraser
- Coloring supplies
Time needed: 35 minutes
How to Draw Scooby-Doo
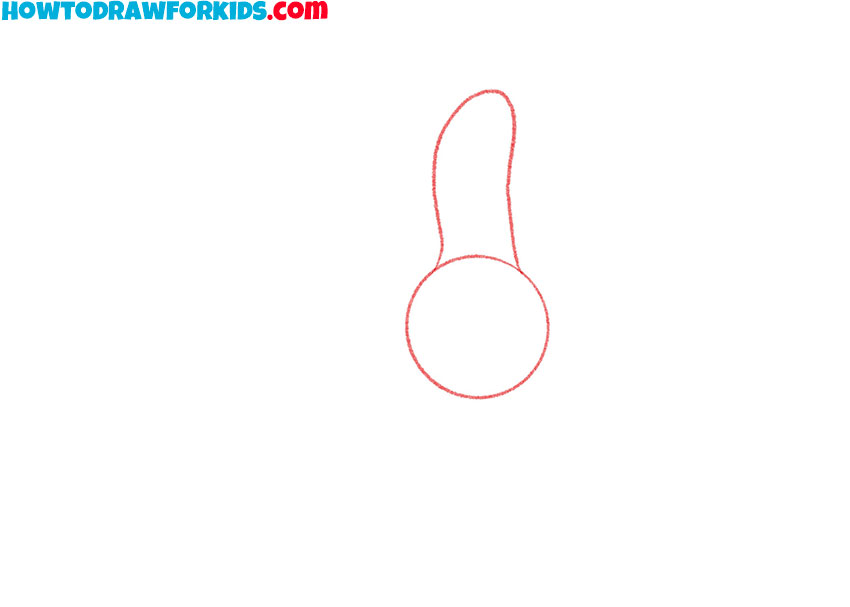
- Draw the contours of the character’s neck and torso.
Depict a circle and then add a long, curved line at the top of it.
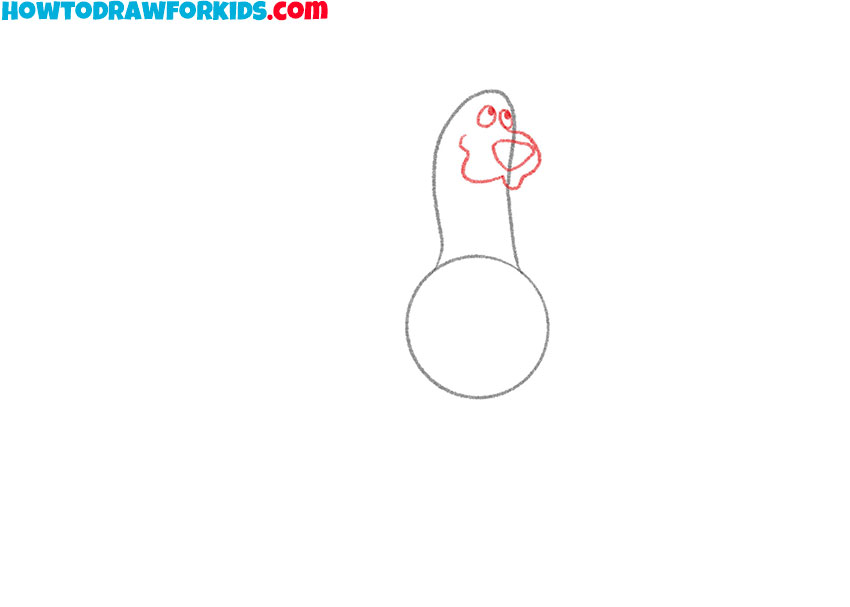
- Add the character’s head.
At the top of the curved line, add two eyes, the nose, and the front of the character’s head.
- Finish drawing the facial features.
Depict the eyebrows, chin and other elements on the character’s face using curved lines.
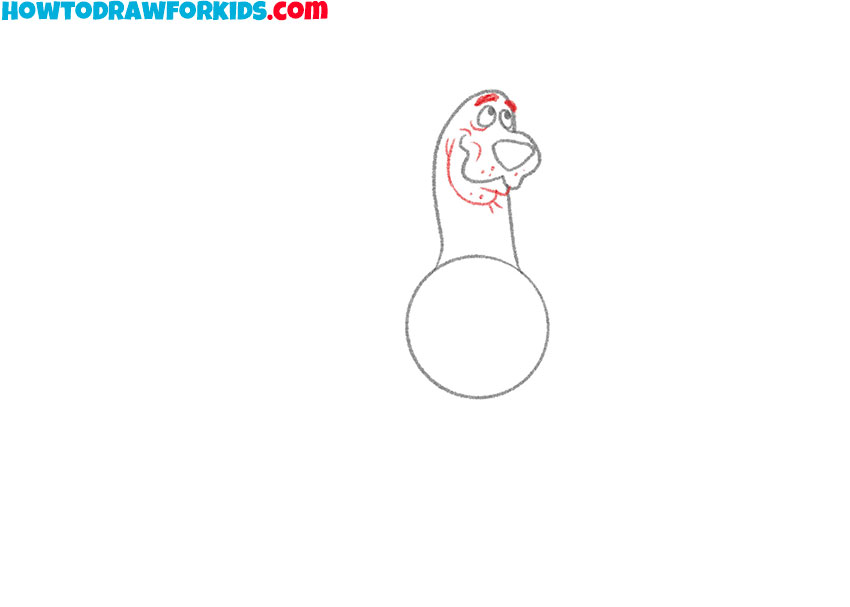
- Sketch out the ears.
At the top of the character’s head, draw two ears using curved lines of different lengths.
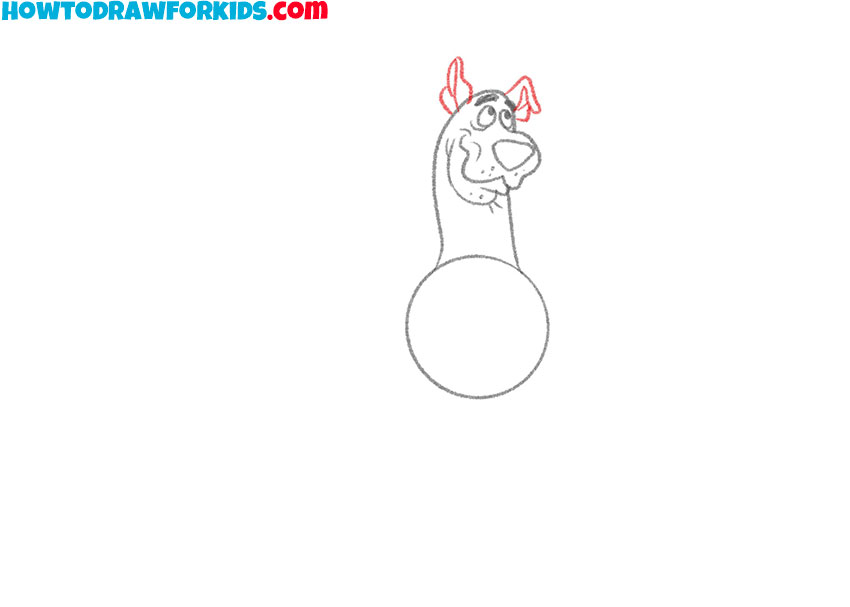
- Draw the lower part of the hero’s torso.
Add curved lines of varying lengths as shown.
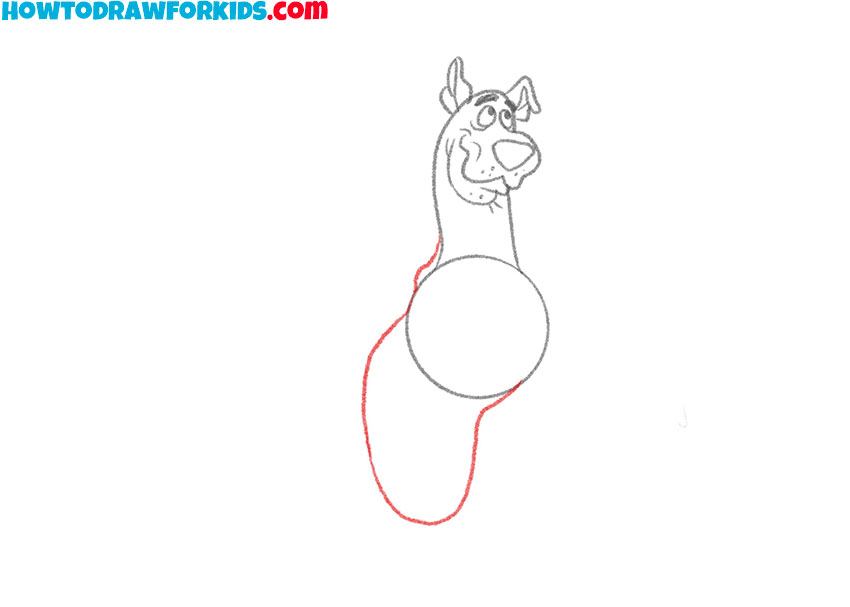
- Depict the Scooby-Doo’s hind legs.
On the right and left sides of the torso, add two paws using curved lines.
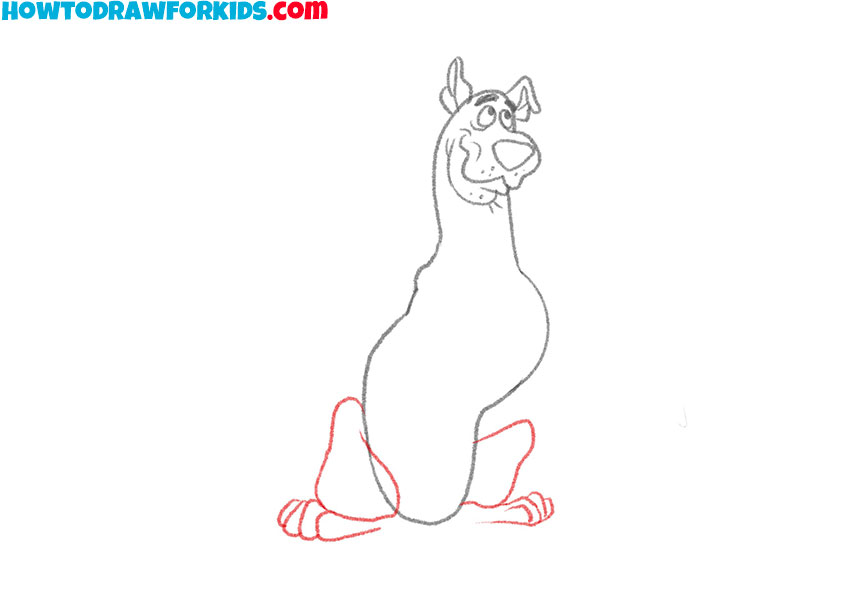
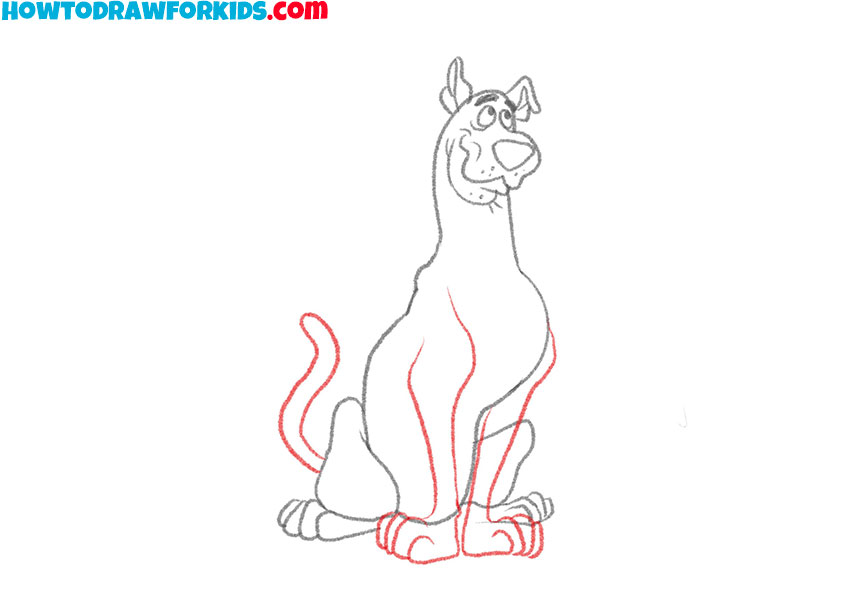
- Add the tail and front legs.
Draw the tail using wavy lines, and also add the large front paws of the dog.
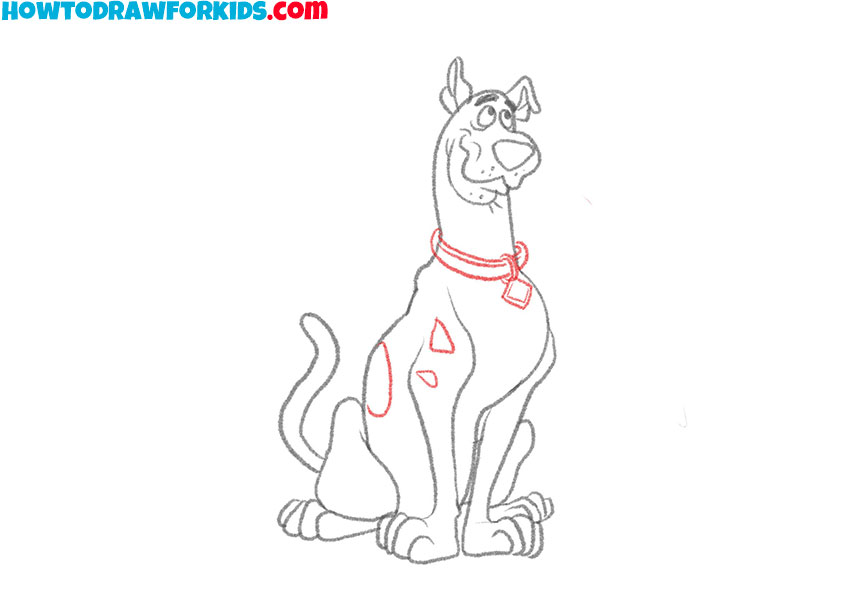
- Add details.
Depict the collar with the icon, add spots on the character’s body using straight and curved lines.
- Color the drawing.
To color the Scooby-Doo, use brown, pink, black, blue, and yellow.

For your convenience, I have prepared a PDF file in which you can find a short version of this tutorial and additional useful materials for completing it. Download this file to return to the lesson at any time.

