How to Draw Stacked Books
In this lesson, I want to show you how to draw stacked books. The instruction will be very interesting and useful for any novice artist.

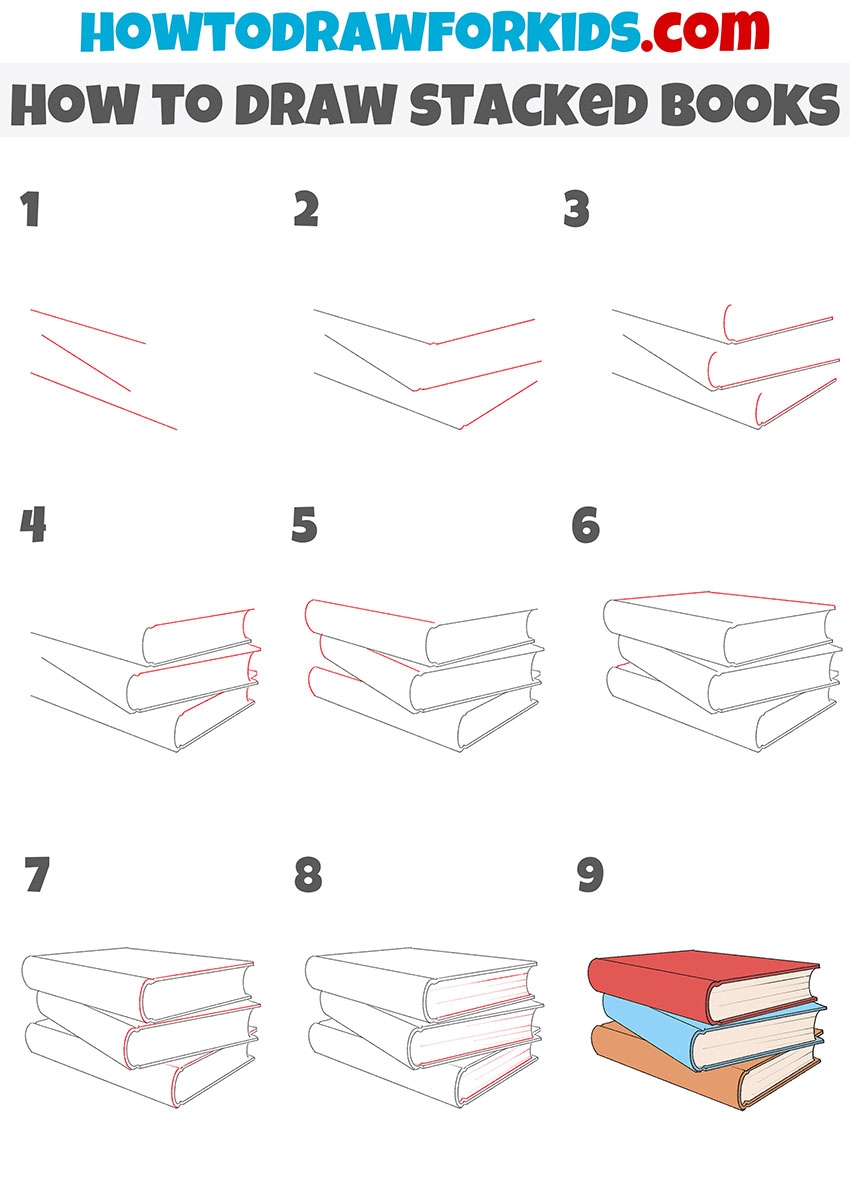
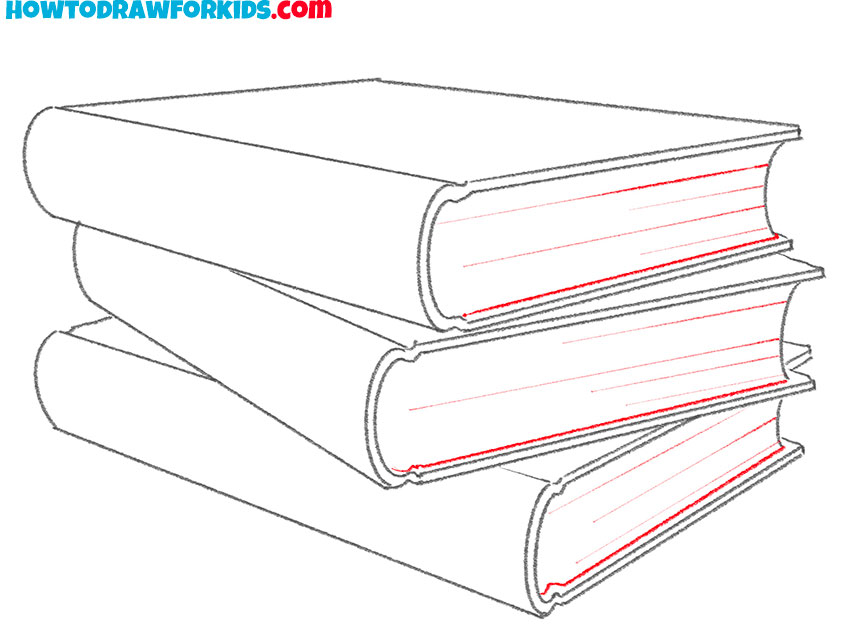
Now you will learn how to draw stacked books step by step. Here are three large books stacked together. This step-by-step guide may seem complicated to you, but in fact you will quickly complete this task, because the instructions are very simple and clear.
You must follow all nine steps in sequence and draw all the lines correctly in order to get a good result. This lesson will require your attention, accuracy, as well as spatial imagination. Be patient and take your time.
For coloring book covers, you can use the same colors as in the example, or you can choose any other colors you like.
Materials
- Pencil
- Paper
- Eraser
- Coloring supplies
Time needed: 30 minutes
How to Draw Stacked Books
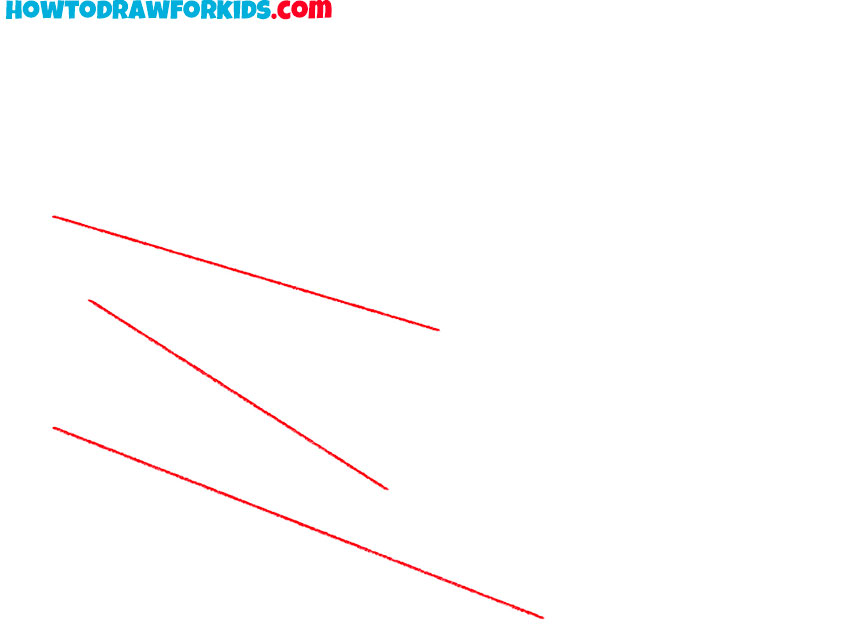
- Draw the outline of the book spines.
Depict three even straight lines in the same position as in the example.
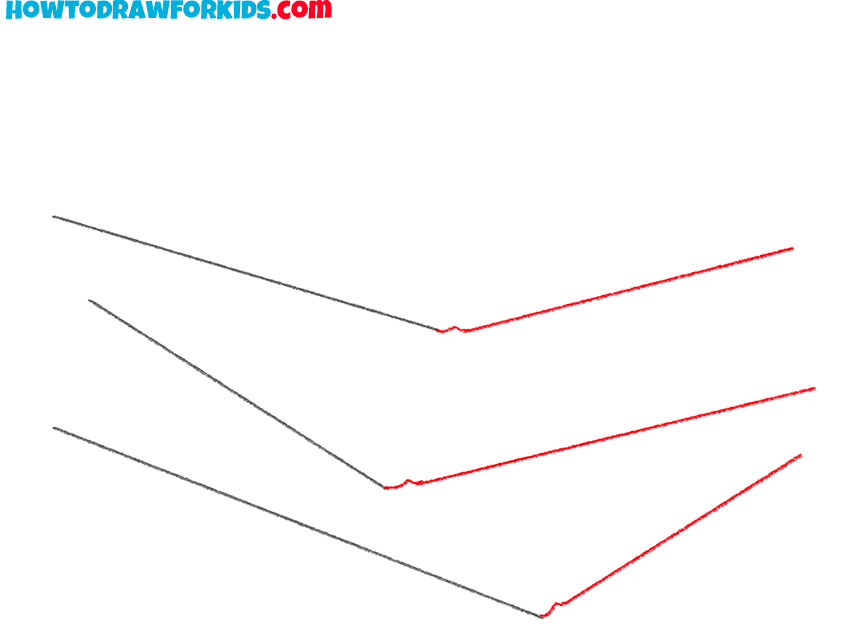
- Sketch out the side of the books.
Depict the side of each book. Try to depict all lines in the same position as in the example.
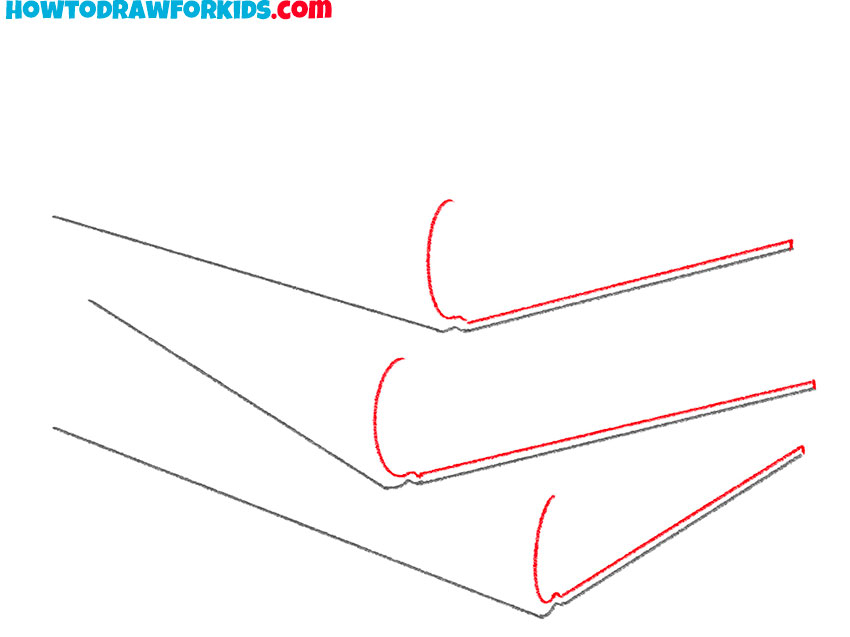
- Add details.
Draw the edges of the spines on each book and depict the thickness of the covers.
- Add more details.
Sketch out the top of the covers and the outline of the sheets.
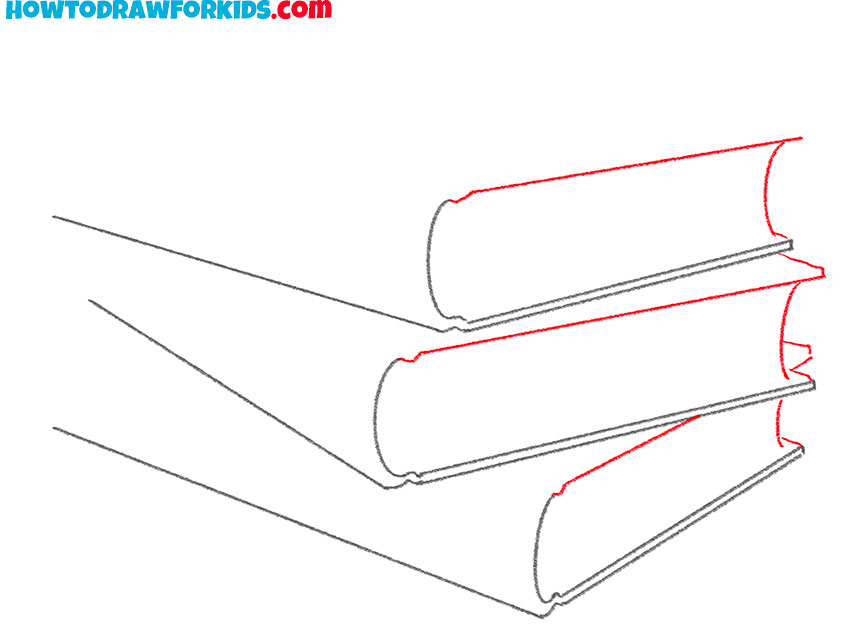
- Depict the rest of the book spines.
Draw smooth and rounded lines to depict the side of each book.
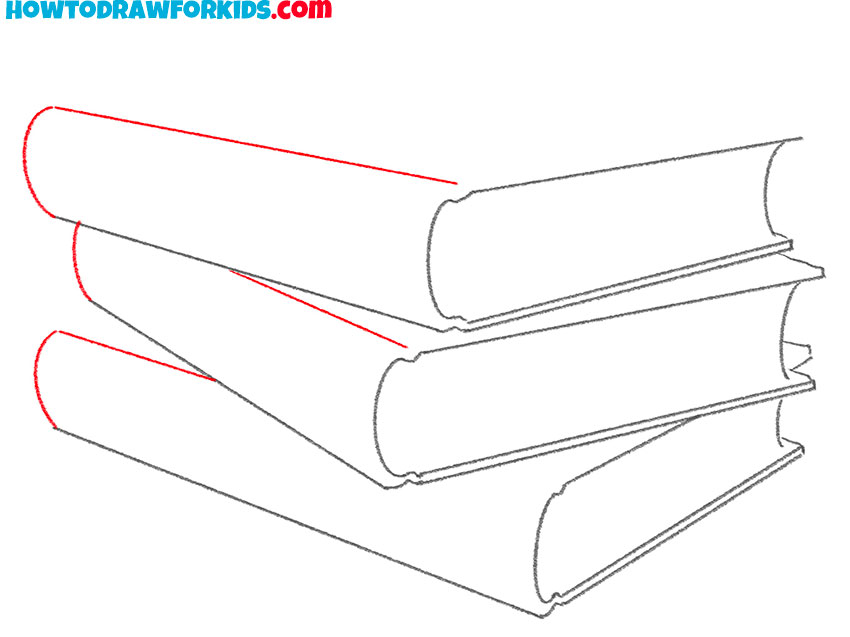
- Sketch out the top of the books.
At this stage, add the necessary straight lines.
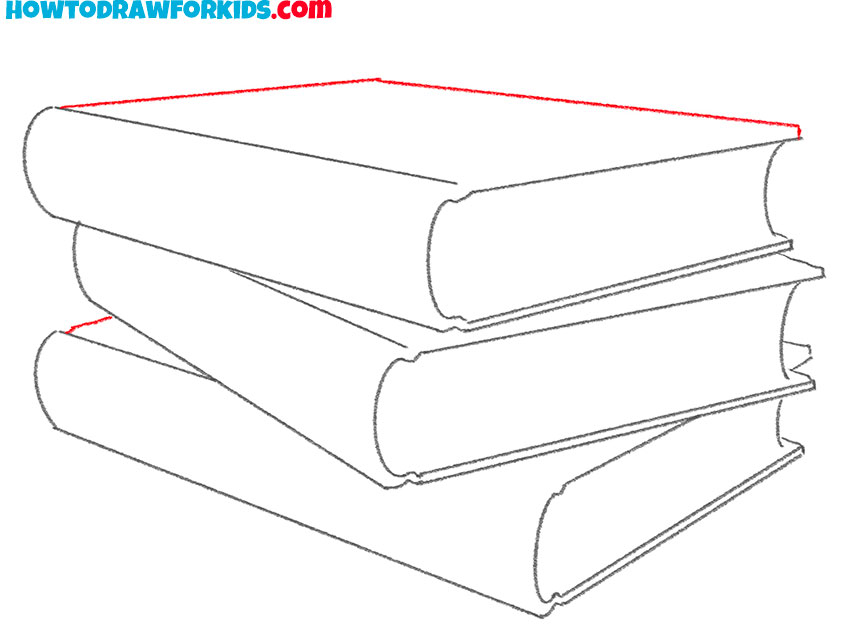
- Draw the thickness of the covers.
Depict the necessary lines that are parallel.
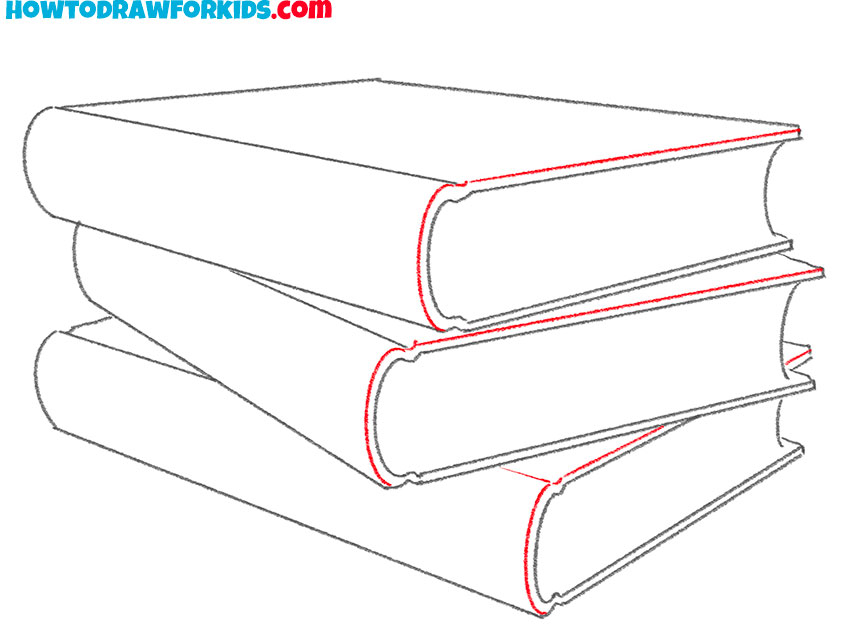
- Depict the book sheets.
Detail the edges of the books and book sheets.
- Color the stacked books.
Choose any color for the drawing.

I invite you to use the link and download the PDF file, which contains a simplified version of the manual and additional useful materials. Use this file at any time, even if you do not have access to the Internet.


This is very helpful and the steps are so easy to follow. Thank you