How to Draw the Titanic
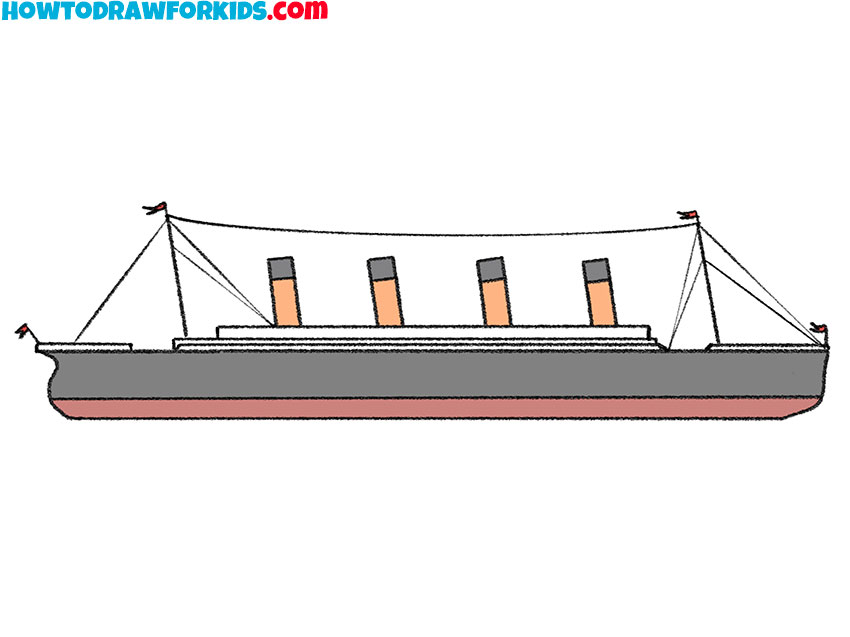
Follow eight clear steps and learn how to draw the Titanic in side view. Use simple construction lines to build the famous ocean liner and complete its silhouette.
Prepare to Draw the Titanic
In this tutorial, you will create a simple drawing of the Titanic step by step. The instructions are suitable for beginners and children because the ship is built mainly with straight lines.
The Titanic was a British passenger liner and the largest ship afloat when it entered service in 1912. It sank in the North Atlantic during its maiden voyage after colliding with an iceberg.
You have probably heard the tragic story of the Titanic before. The ship and its final voyage also became the subject of several films, including the 1997 movie “Titanic.”
The drawing presents the ocean liner in a simplified side view. Straight horizontal lines form most of the vessel, so a ruler may be helpful if you want cleaner edges.
Titanic Drawing Tutorial
- Pencil
- Paper
- Eraser
- Ruler
- Coloring supplies
Time needed: 30 minutes
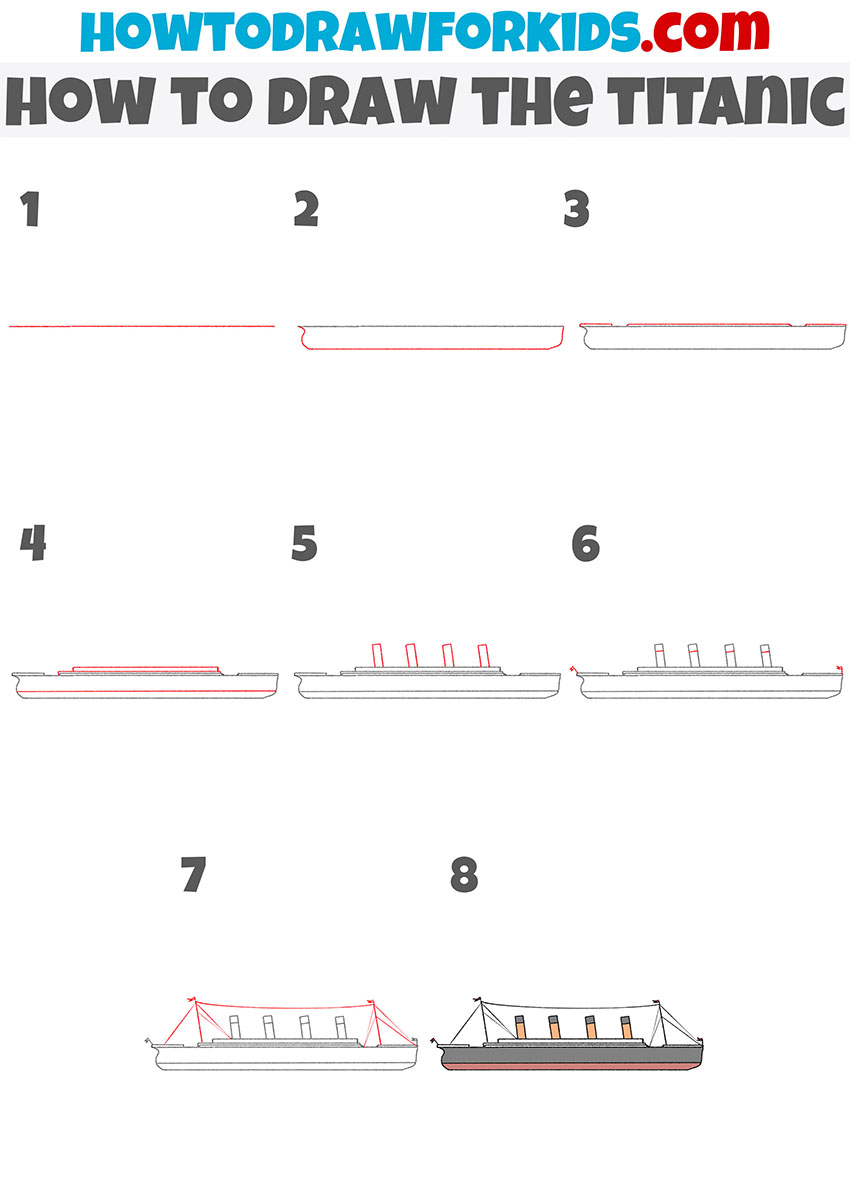
How to draw the Titanic step by step
- Start the Titanic’s hull.
Draw a long horizontal line across the lower half of the page. This line will form the upper edge of the Titanic’s hull, so leave enough room above it for the decks and funnels.

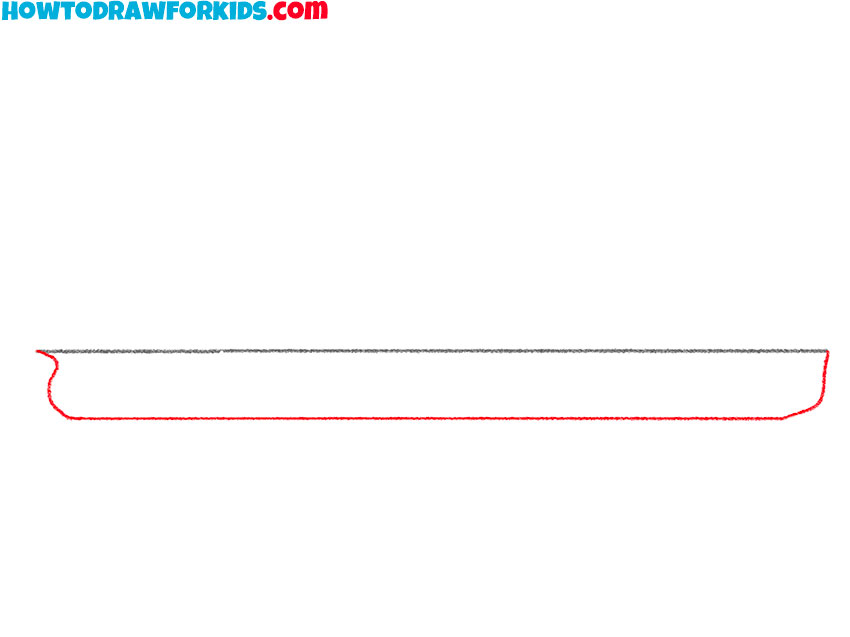
- Complete the ocean liner’s hull.
Add another horizontal line below the first one. Connect the ends with short curved lines to shape the bow and stern, completing the long hull of the ocean liner.
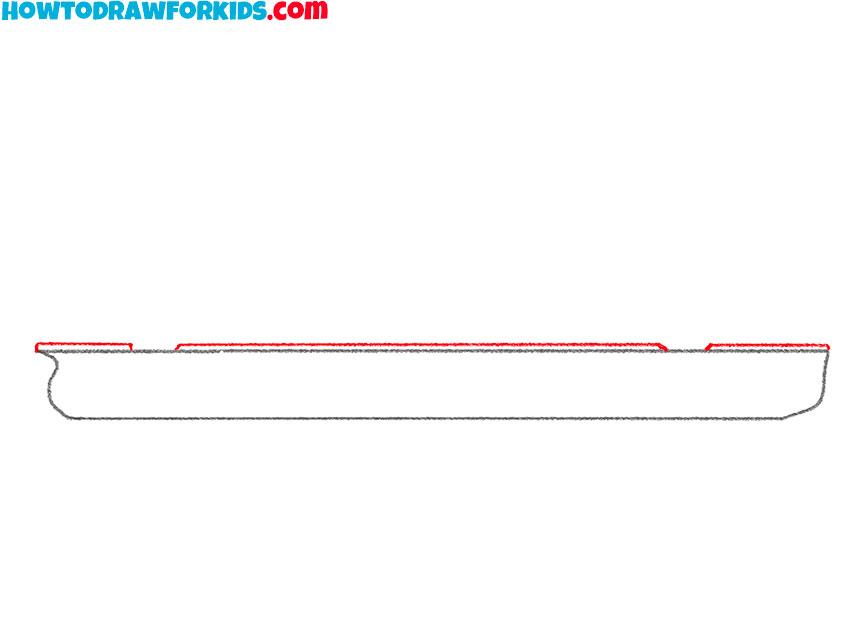
- Outline the Titanic’s lower deck.
Above the hull, draw a long narrow outline with small raised sections near its ends. Use horizontal and short vertical lines to form the first level of the ship’s superstructure.
- Add the upper decks.
Draw a long rectangular section above the center of the ship. Add horizontal lines inside this shape to divide the Titanic’s superstructure into several deck levels.
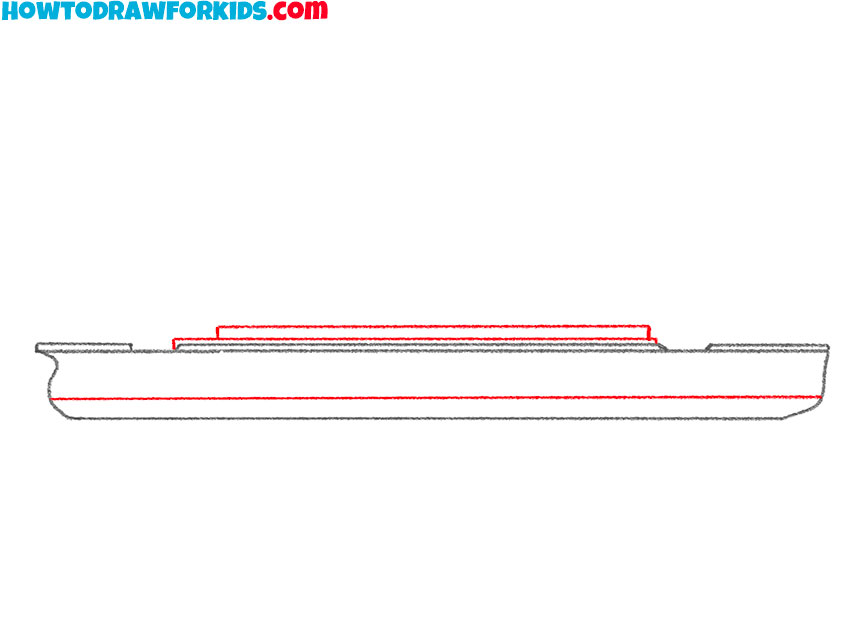
- Draw the Titanic’s four funnels.
Above the upper deck, draw four evenly spaced funnels. Form each funnel with two slightly slanted side lines and connect them across the top with a short horizontal line.
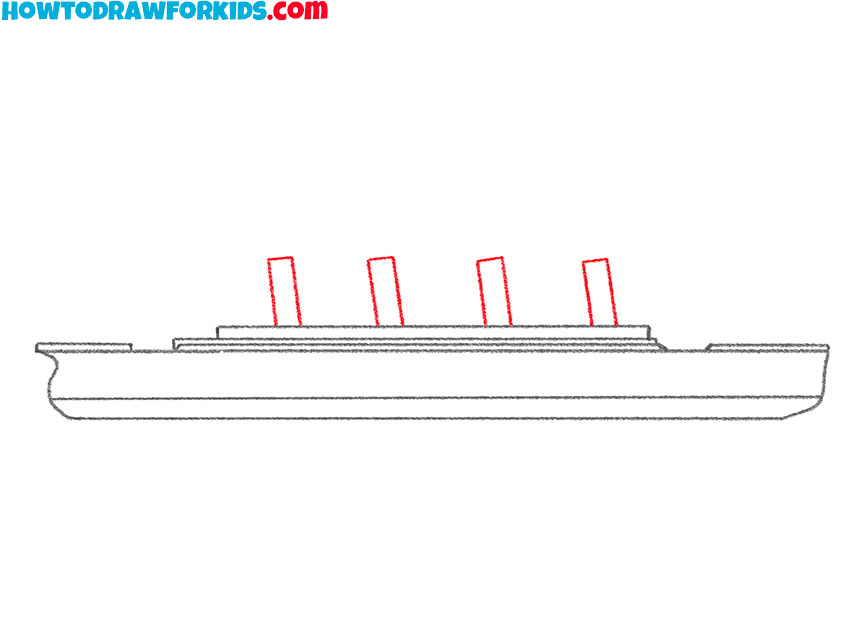
- Detail the funnels and ends of the ship.
Add a narrow band near the top of each funnel. Then draw a small flag at the bow and another at the stern, using short straight lines for the poles and simple angular shapes for the flags.
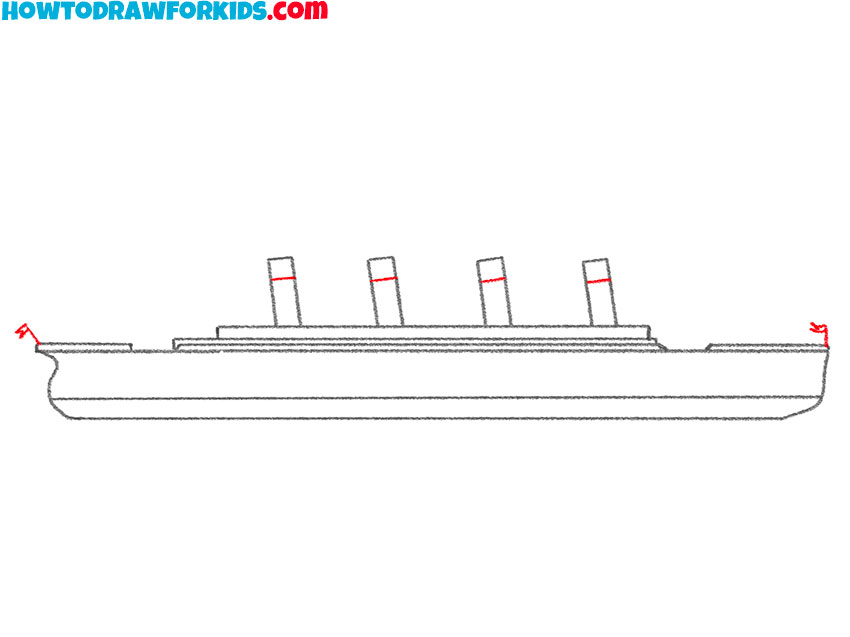
- Add the masts and rigging.
Draw a tall mast near each end of the Titanic. Connect the masts with a slightly curved line, then add diagonal rigging lines extending down toward the decks and the ends of the hull.
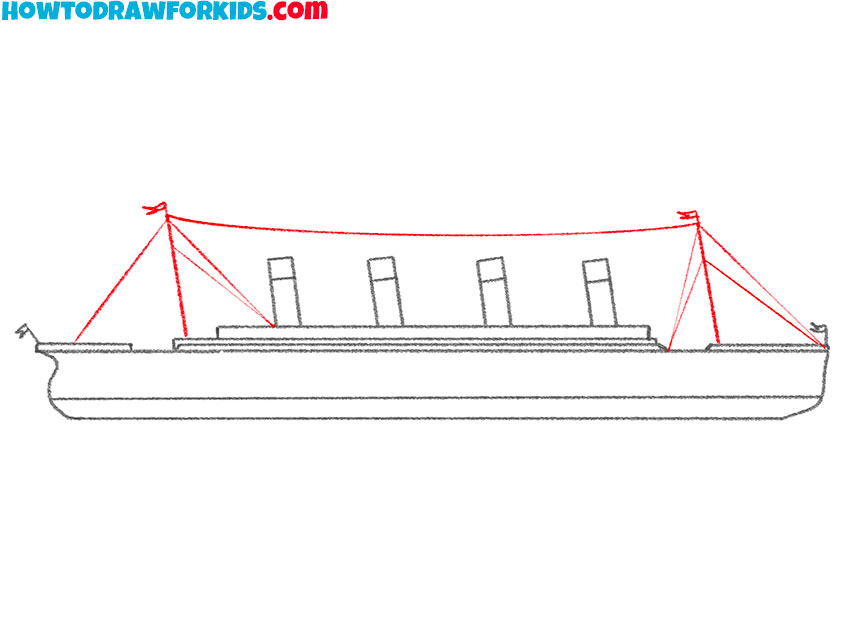
- Color the Titanic drawing.
Color the upper part of the hull gray and fill the lower section with dark red. Use orange for the funnels, add dark caps, and leave the upper decks mostly light.
Titanic Drawing Printables
Download the PDF file to save a shortened version of this tutorial and use the additional practice materials without an Internet connection.
Conclusion
The Titanic drawing is now complete. This side-view design demonstrates how a large passenger liner can be constructed with a clear sequence of simple lines.
For another vessel with a modern design, continue by drawing a cruise ship. Its taller structure offers a different way to arrange the decks above the hull.
You can also add a related subject to the scene by drawing an iceberg. Place it farther across the page to create a simple North Atlantic setting.