How to Draw Thomas Jefferson
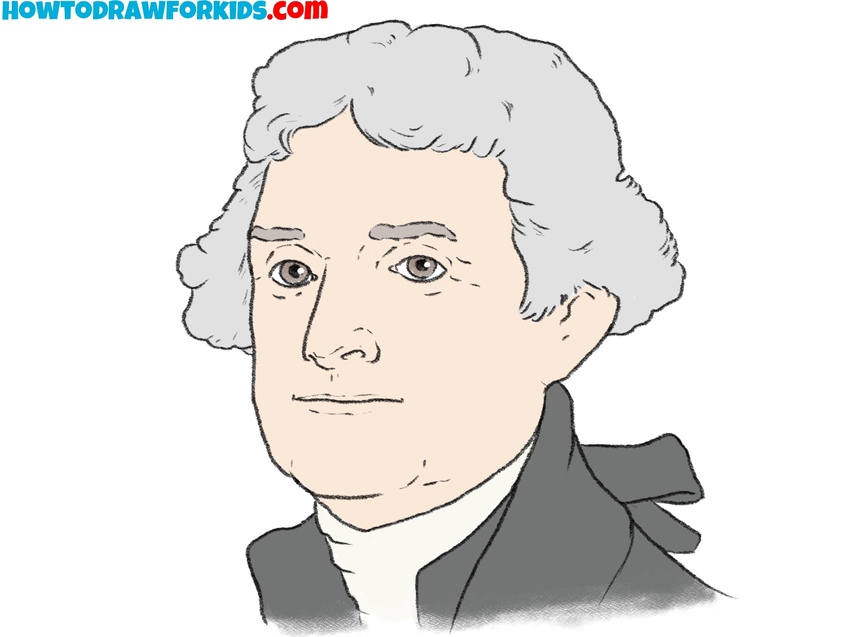
This tutorial will show you how to draw Thomas Jefferson – the third President of the United States and one of the Founding Fathers.
How to Draw Thomas Jefferson: Introduction
As in previous lessons on drawing U.S. presidents, such as the lesson on how to draw George Washington, this lesson on how to draw Thomas Jefferson focuses not only on creating a portrait of this character but also on how to draw the faces of other presidents, political figures, and well-known individuals.
Additionally, the steps in this simple lesson will guide you in noticing small details and facial features, emphasizing the importance of capturing even insignificant elements. These steps will also teach you how to recreate these details on paper in a simple and recognizable form.
An important aspect of this lesson is the opportunity to draw a figure from the 19th century. This includes learning how to depict details such as hairstyle, costume, and facial expression, which are important for creating authentic characters.
By combining all the knowledge gained in this tutorial on how to draw Thomas Jefferson and practicing the techniques covered, you can develop the ability to draw the third president of the United States with the skill of a professional portrait artist.
Thomas Jefferson Drawing Tutorial
Materials
- Pencil
- Paper
- Eraser
- Coloring supplies
Time needed: 40 minutes
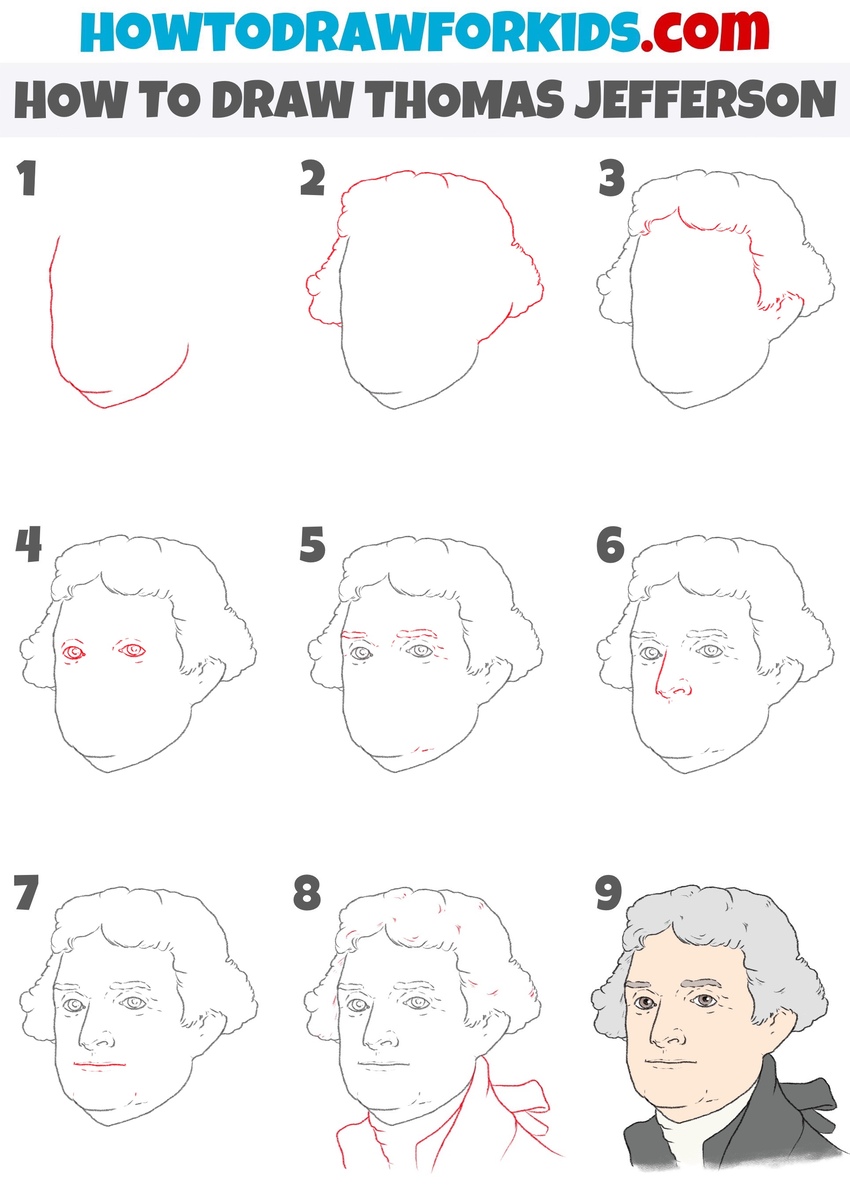
How to Draw Thomas Jefferson
- Sketch the shape of the face.
Start the drawing by creating the basic outline of Thomas Jefferson’s face. Sketch a smooth shape for the lower part of the face, focusing on accurately illustrating the proportions of the jawline and chin. Pay attention to the width and height of the face, as this will influence the placement of the facial features.

- Start drawing the hair of Thomas Jefferson.
Next, move on to outlining Thomas Jefferson’s distinctive 18th-century hairstyle. Use curved, rounded lines to create the general shape of his hair. Start above the head and extend the lines outward to form the voluminous, wavy shape.

- Finalize the shape of the hairstyle.
Finalize the shape of the hair by adding the bottom edge of the hairstyle. To do this, draw the bangs of the president with a series of short, curved lines. Next, draw the hair on the temples with smooth lines, forming characteristic outlines. Draw the ear and the details inside its shape.

- Outline the president’s eyes.
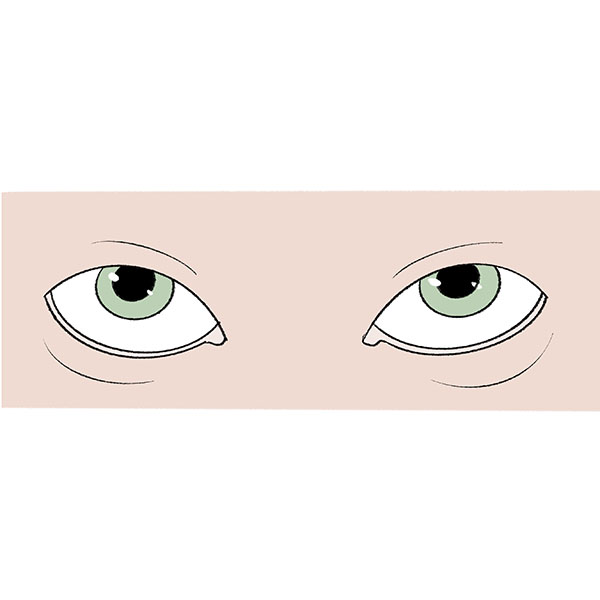
Lightly sketch two almond-shaped outlines, drawing the eyes roughly midway down the face, slightly closer to the top than the chin. Detail the upper and lower eyelids by drawing soft curved lines. Pay attention to the size of the eyes. Inside each eye, draw a small circle for the iris and a smaller circle within it for the pupil.

- Add the eyebrows and creases.
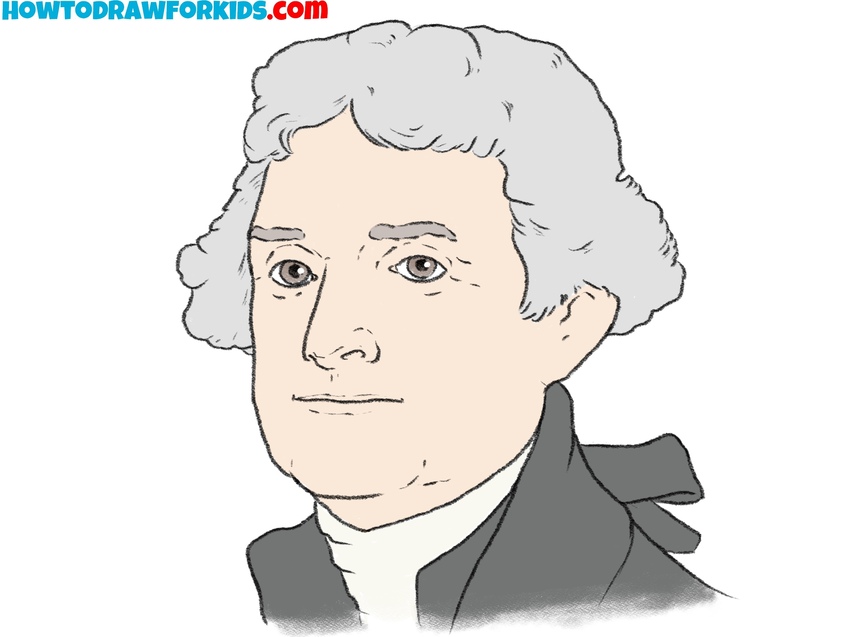
Thomas Jefferson’s eyebrows were slightly arched but not overly thick. So use smooth, soft strokes to draw the eyebrows. You can detail the eyebrows adding lines of hair inside the contours. Draw light lines extending from the corners of the eyes to illustrate creases and natural facial details.

- Sketch the nose of the president.
The nose is a central feature of the portrait, so take care to draw it correctly. Start drawing the nose by sketching the bridge as a slightly curved line. At the bottom, form the tip of the nose with a small, rounded shape. Add the nostrils on either side of the nose, using light curved lines.

- Draw Thomas Jefferson’s mouth.
Start drawing the mouth with a soft horizontal line below the nose. Above this line, sketch the upper lip as a gentle curved line. Below the center line, draw the lower lip as a rounded curve, slightly fuller than the upper lip. Keep the lines of the lips smooth and neutral in expression.

- Illustrate the clothes of the president.
Now, draw Thomas Jefferson’s period-specific clothing, starting with the collar of his shirt. Add the folds of the cravat. Sketch the outline of his coat, focusing on the sharp lapels and design common to the 18th-century style.

- Color the drawing of Thomas Jefferson.
In the final step, refine all the lines in your Thomas Jefferson drawing. Use an eraser to clean up any guidelines. Once the lines are finalized, add color to the drawing of Thomas Jefferson. Use light beige tones for the skin, gray or white for the hair, and darker shades for the coat.
Advanced Techniques
Once you’ve completed the basic drawing of Thomas Jefferson, consider adding shadows and highlights to make the artwork more realistic. Use light shading to define the contours of the face, such as the cheekbones, nose, and jawline. Add highlights to areas where light would naturally fall, like the forehead and upper cheeks, to create a three-dimensional effect.
Try to learn how to draw Thomas Jefferson’s face from different angles, such as a profile view or a three-quarter perspective. Experimenting with angles will improve your understanding of facial proportions and help you illustrate the subject’s likeness more effectively.
Challenge yourself further and draw Thomas Jefferson’s full body. Study historical references to convey his posture, clothing, and overall proportions. Pay attention to the details of his attire, such as his coat and cravat, and incorporate them into your drawing to create a complete and historically accurate image.
Finally, practice drawing Thomas Jefferson with different facial expressions. Whether it’s a slight smile or a thoughtful gaze, experimenting with expressions will help you convey emotions and add more personality to your portrait. Focus on subtle changes in the eyes, eyebrows, and mouth to achieve a realistic and expressive result.
Conclusion
This lesson covered how to draw Thomas Jefferson in nine simple steps. It is important to note that the techniques learned here can also be applied to drawing other historical figures.
If you found this lesson helpful, consider following me on Pinterest, YouTube, and other social media platforms to stay updated on new tutorials and posts.

