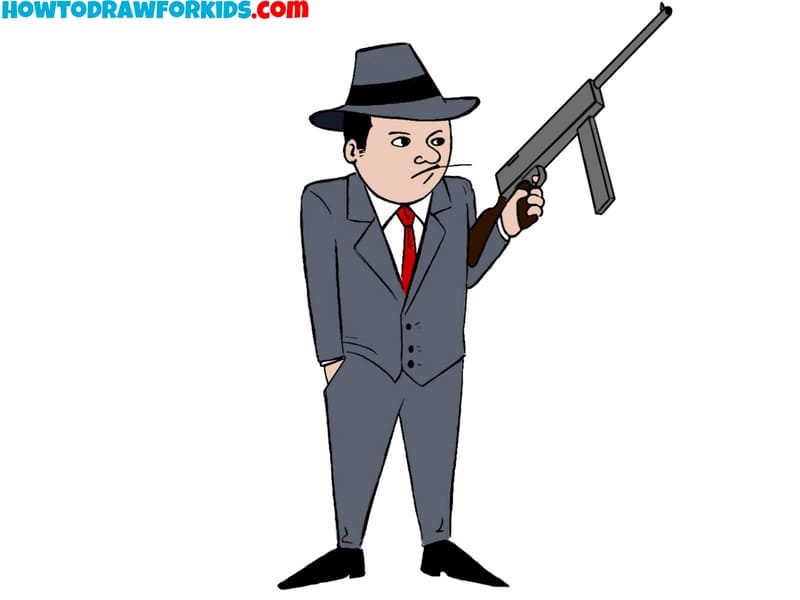
How to Draw a Gangster
This step-by-step tutorial on how to draw a gangster will show you how to create a character from the scratch.
How to Draw a Gangster: Basic Information
By guiding artists through the creation of a unique character, this tutorial on how to draw a gangster introduces key aspects of character design. From facial features to clothing details, young artists learn how to create a complex character, training their understanding of how to portray them on paper.
The gangster’s signature accessories, like a gun, emphasize its persona, allowing young artists to learn how context influences design. These accessories provide additional complexity to the sketched character, teaching artists how to incorporate different elements.
The tutorial also highlights the importance of detail, from the facial expressions to the accessories, encouraging young artists to focus on the nuances that contribute to a complete drawing. This attention to detail helps them refine their skills, making their artwork more polished and professional.
Gangster Drawing Tutorial
Time needed: 50 minutes
How to Draw a Gangster
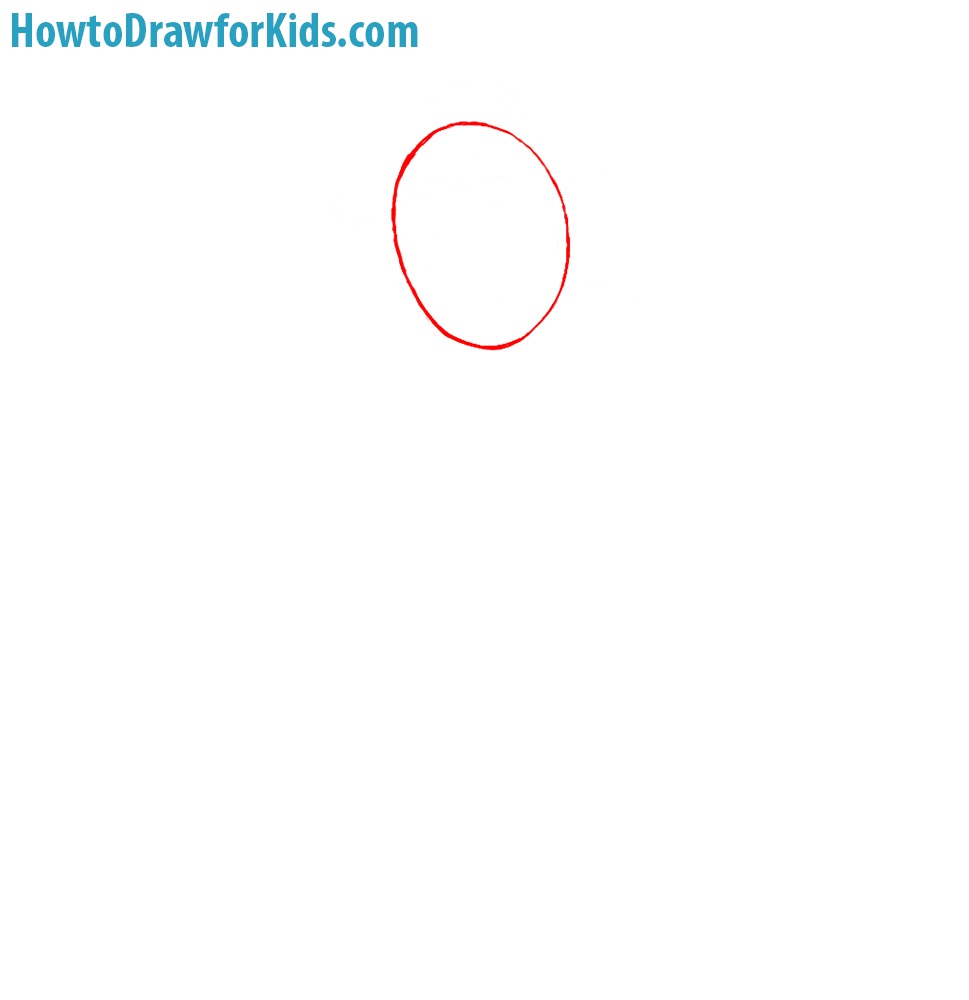
- Shape the head.
Start by drawing an oval shape for the head, which serves as the base for the entire character. This oval represents the outline of the head, giving structure to the subsequent facial features.
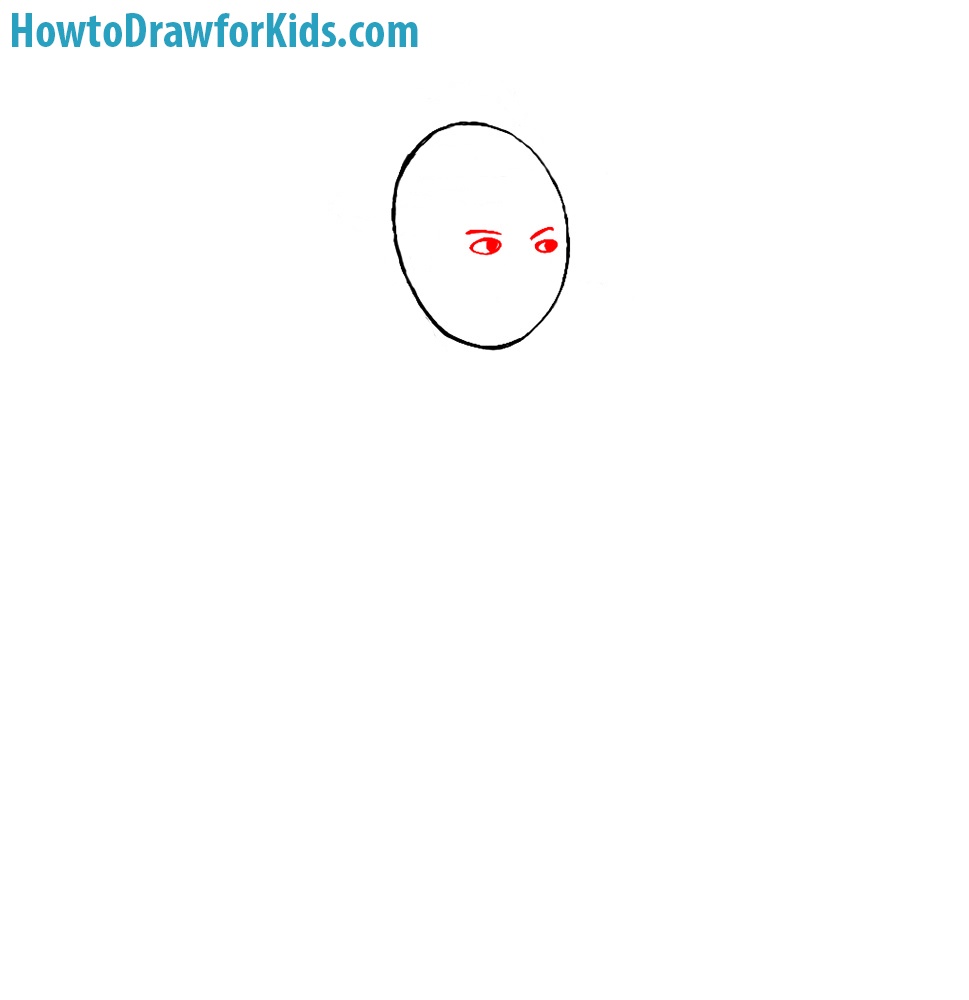
- Draw the eyes.
Sketch two eyes within the oval. Draw small circles or ovals, placing them symmetrically. Include pupils within each eye to give a focused expression. Then draw the eyebrows above the eyes.
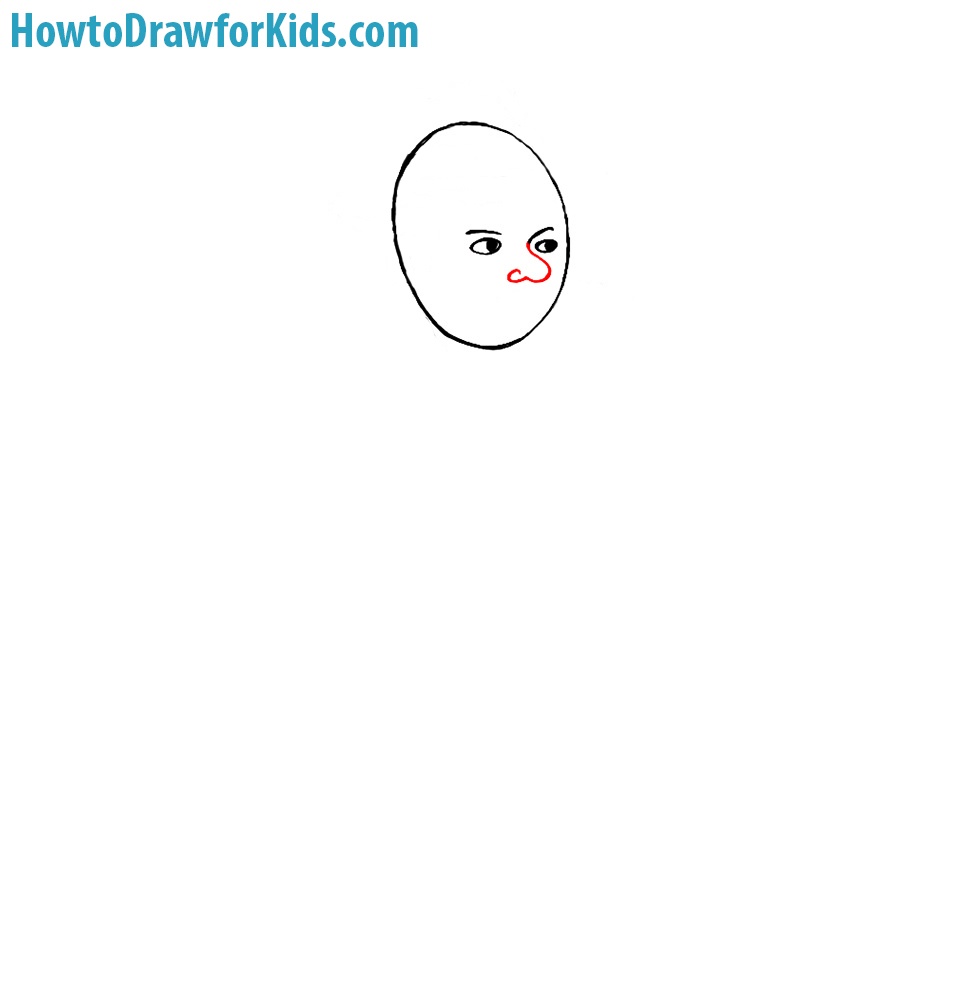
- Draw the nose.
Sketch a small, simple curve for the nose, centered between the eyes and mouth area. This minimalistic style illustrates to the character’s facial expression, making it appear realistic yet stylized.
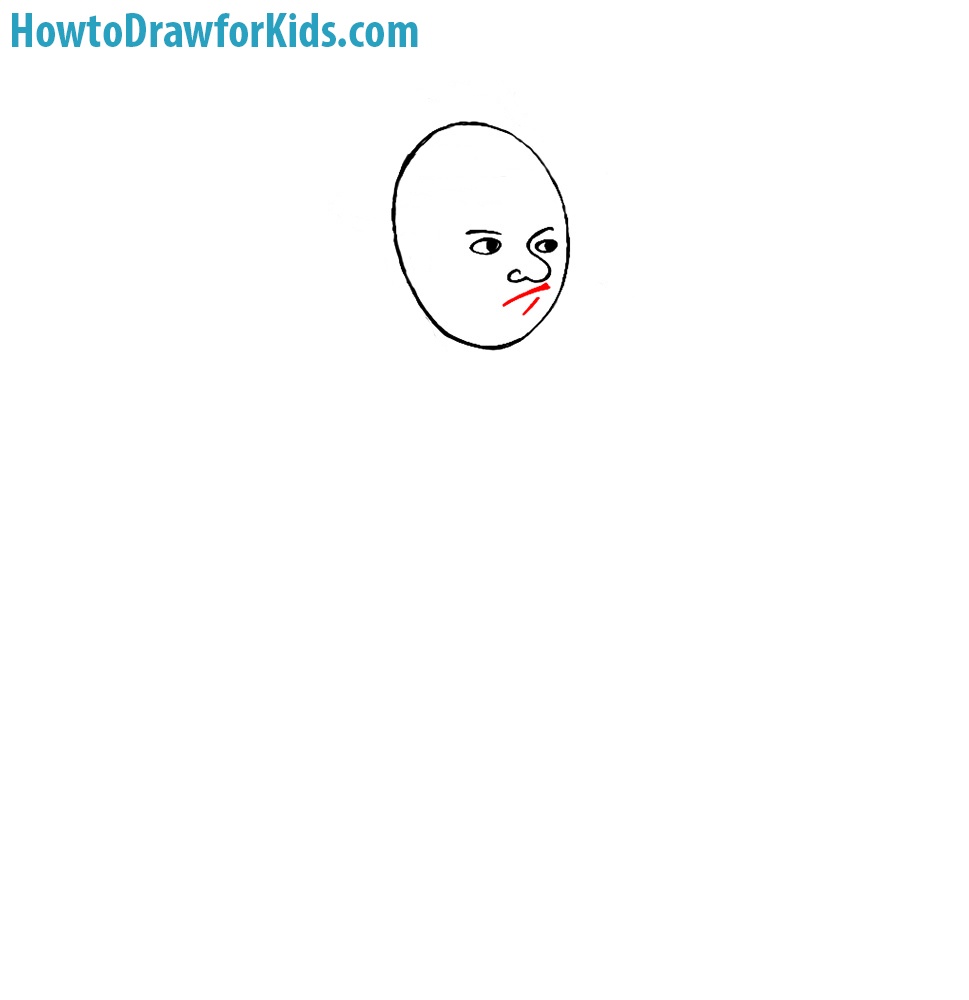
- Illustrate the mouth.
Just below the nose, sketch a mouth using a slightly curved line. Adjust the curve as needed, giving the character a nuanced look, and balancing it between the nose and chin.
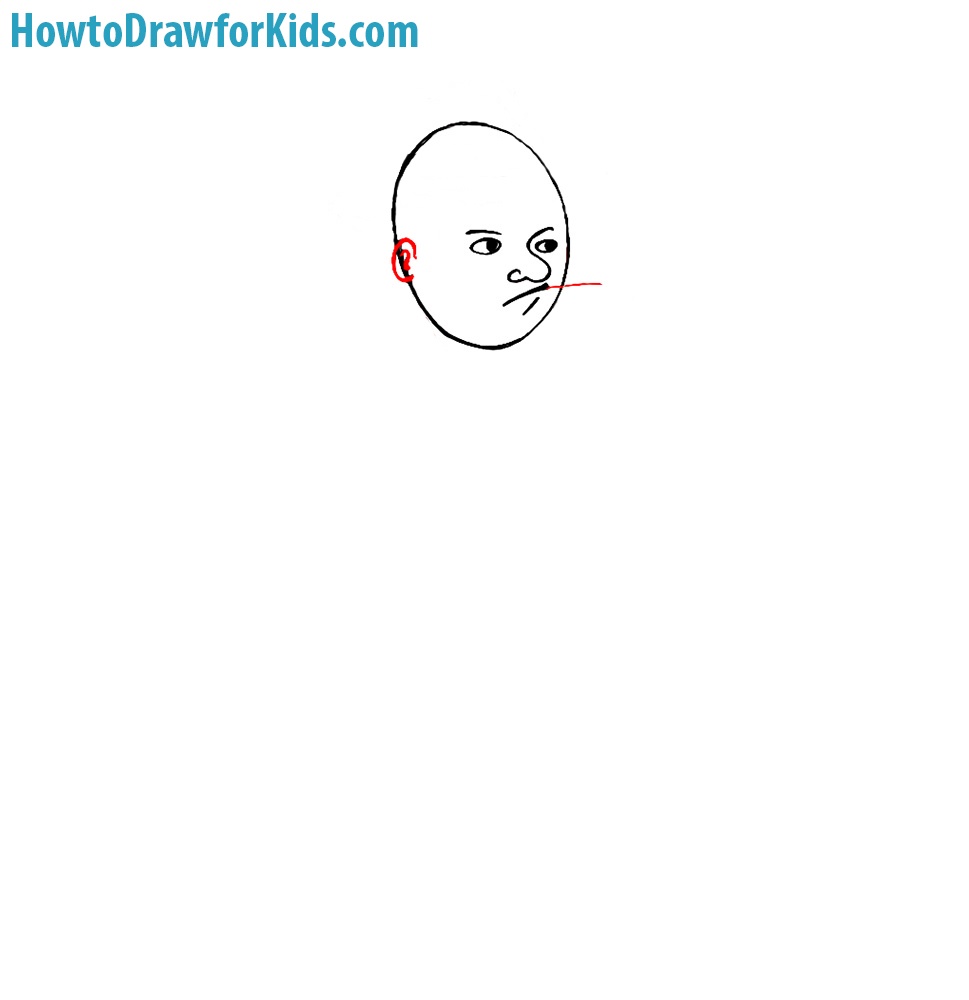
- Draw the toothpick and ear.
Draw a straight line from the mouth area, representing the toothpick, extending outward. Then draw the ear on the side of the head, near the eyes, providing a necessary balance to the facial features.
- Add the hat.
Draw a hat on the head, starting with a wide brim extending outwards. Include a crown on top to complete the classic look. Make sure the brim and crown are proportional to each other.

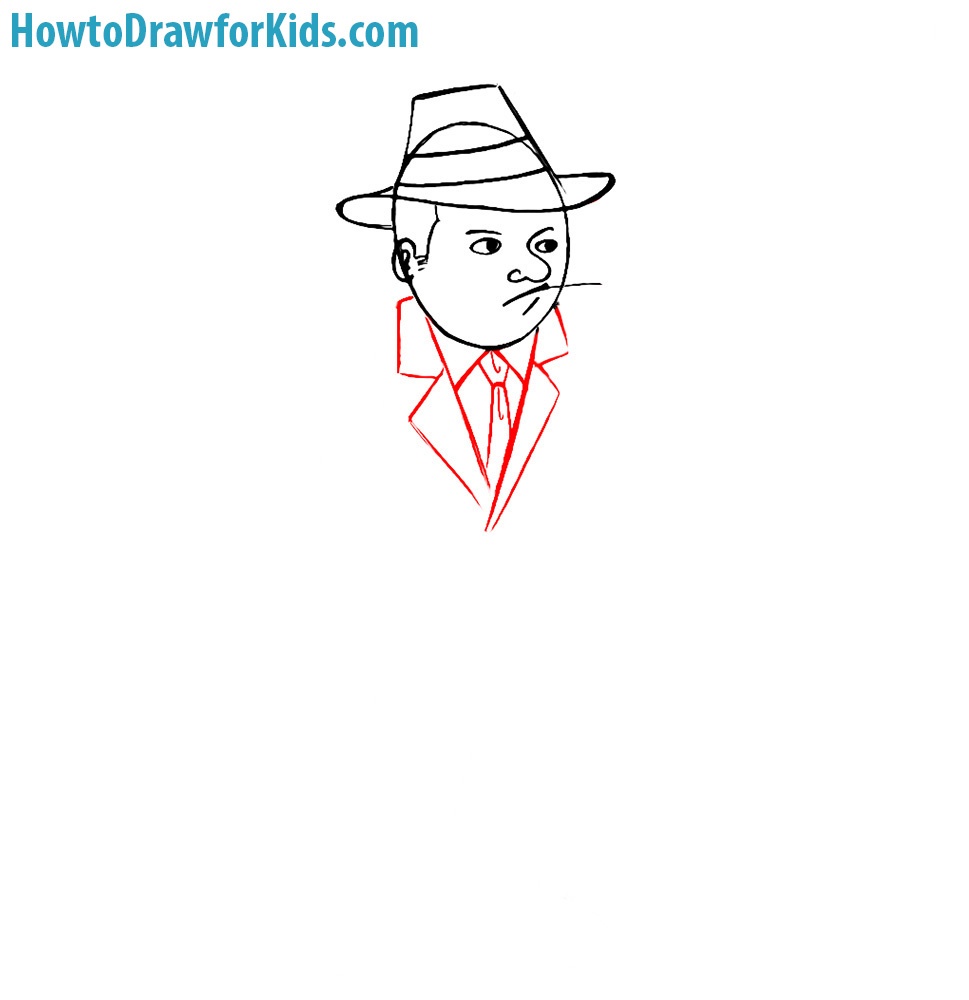
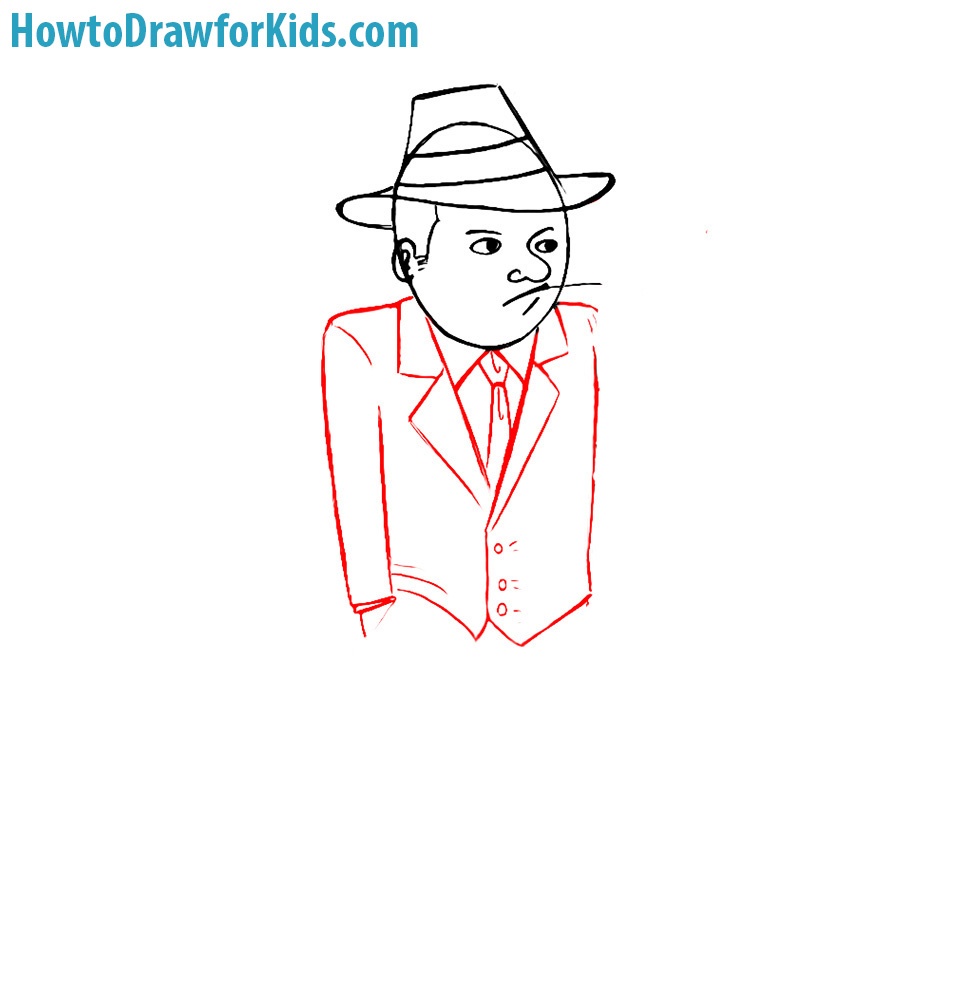
- Illustrate the collars.
Below the head, draw two symmetrical triangular shapes for the collars of the suit jacket. Then draw the tie using a series of simple lines. Add a fold to the top of the tie for more realistic look.
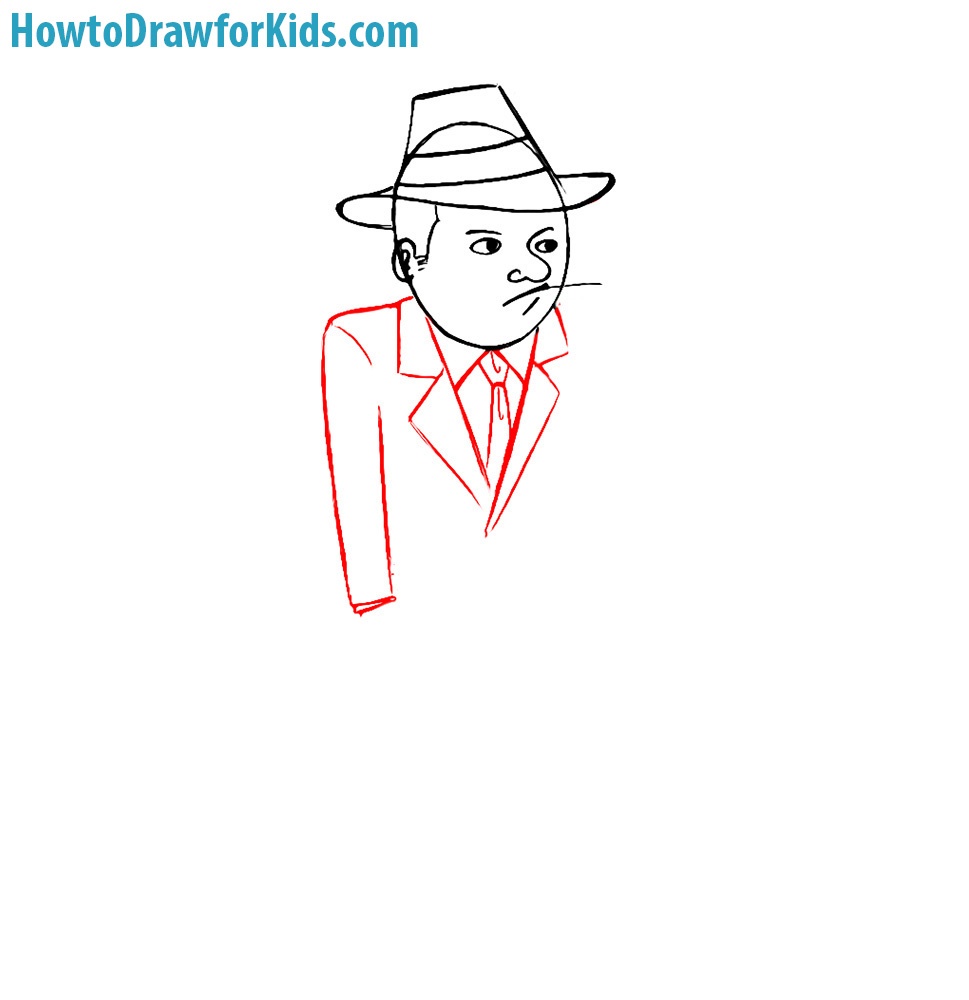
- Add the right arm.
Sketch the right arm, extending outward from the shoulder. In my example the arm is straight, but you can add a slight bent at the elbow. Illustrate some folds and seams for more realism.
- Detail the lower part of the jacket.
Extend two lines downward from the collar area to form the lower part of the jacket. Create a slight flare at the bottom, representing the jacket’s open nature, and bring these lines to a meeting point.
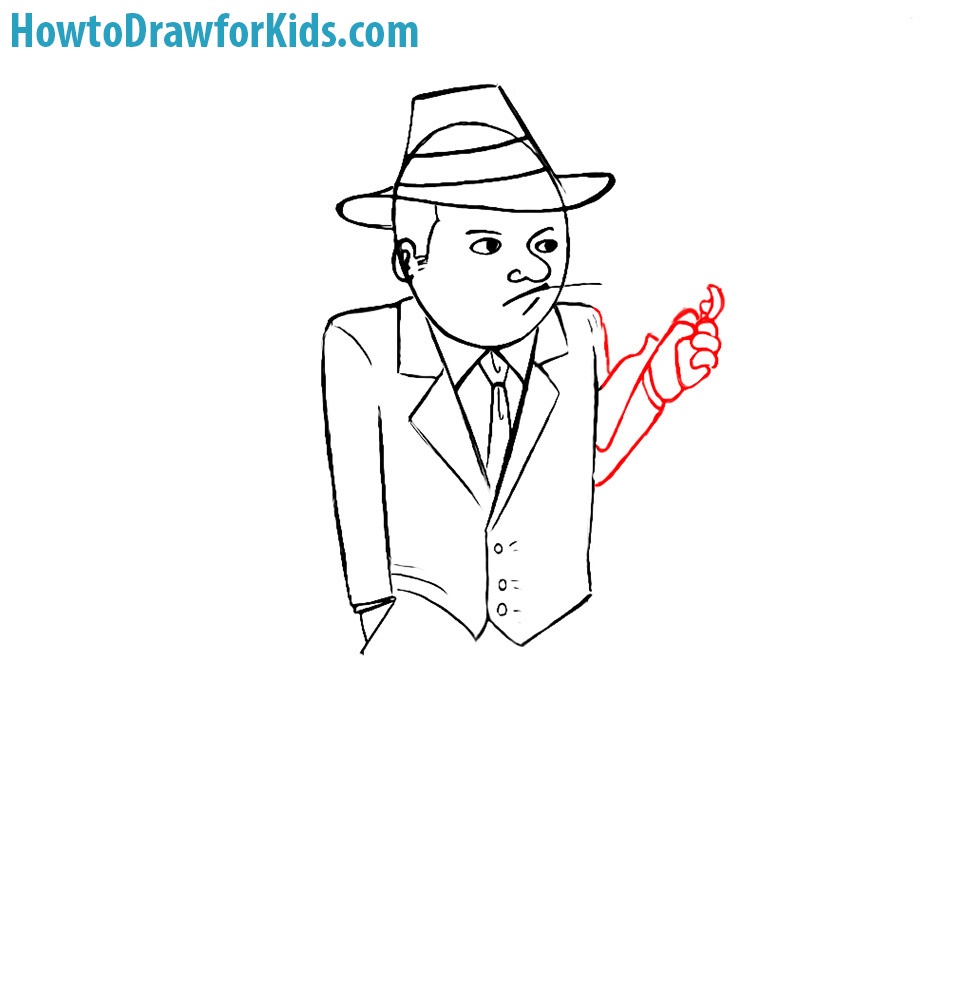
- Draw the left arm.
Draw the left arm extending from the shoulder. In the same step draw the hand, fingers and the part of the Tommy gun in the hand of the cartoon gangster.
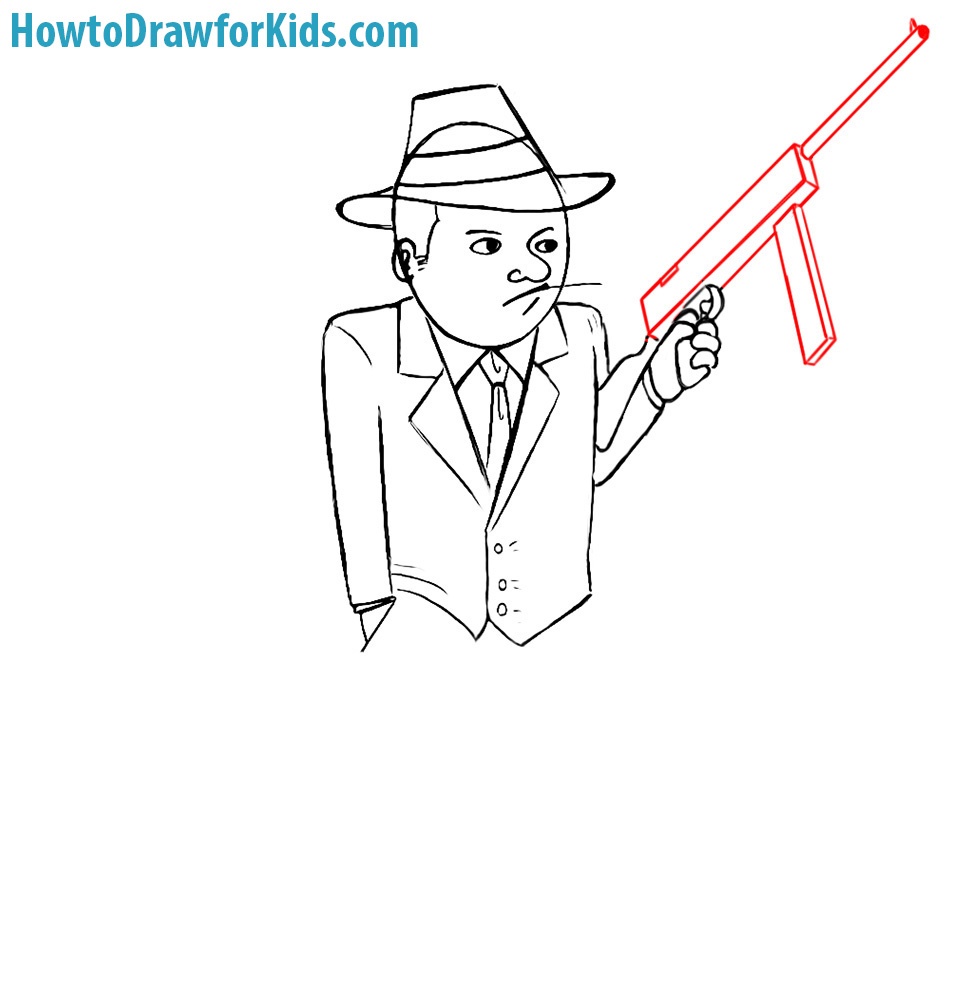
- Add the gun.
Draw a gun in the right hand. Create an elongated rectangular barrel with a handle, making sure it’s held naturally. Add details such a sight or magazine.
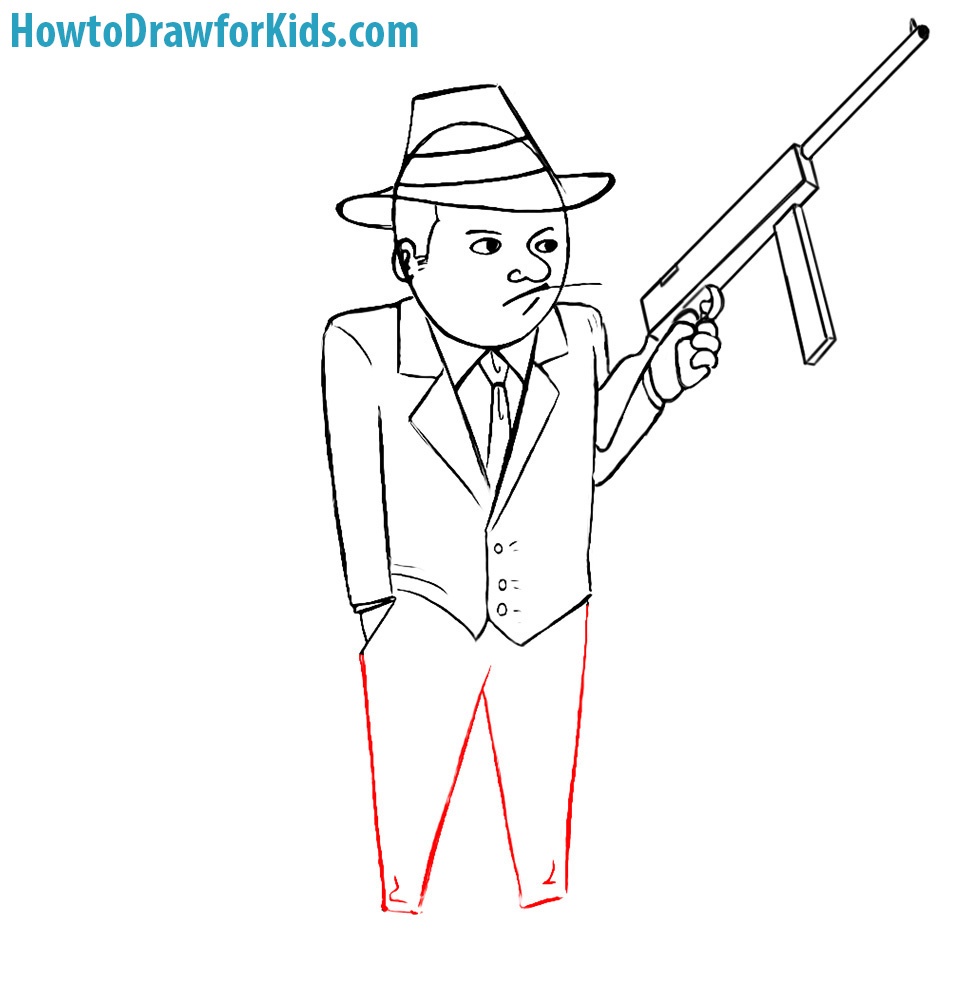
- Draw the legs.
Below the jacket, draw four straight lines down for the legs. The legs should gradually tapper downwards to create a realistic and natural look. Add folds at the bottom for even more realism.
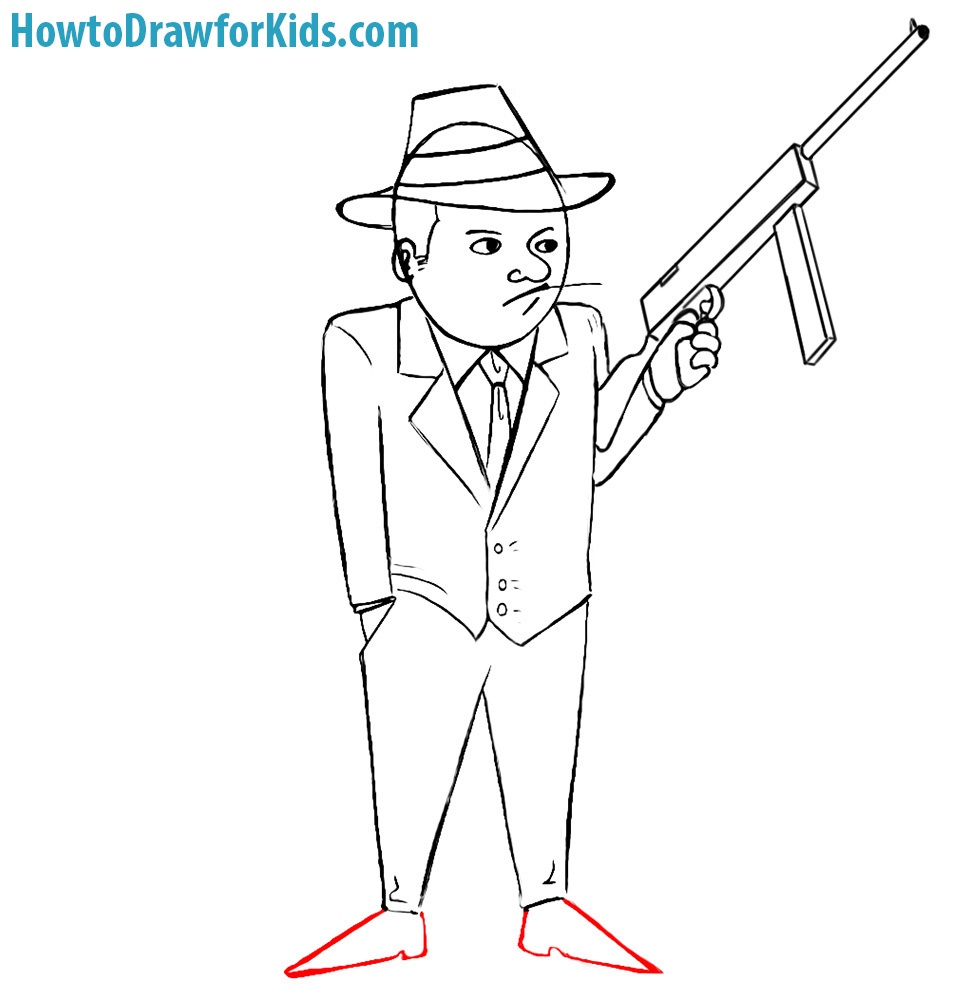
- Add the feet.
Draw two triangular shapes for the shoes at the bottom of each leg. You can add laces and seams to make the shoes more realistic. This completes the formal look.
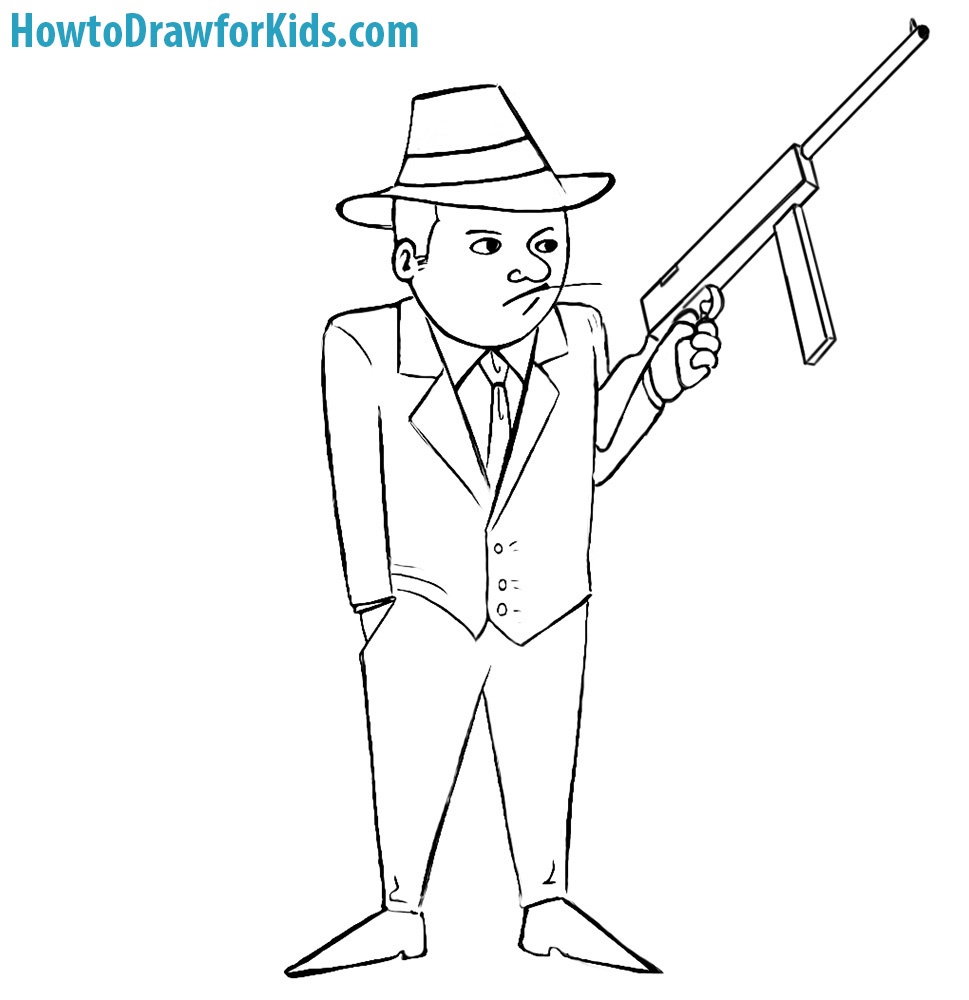
- Erase the guidelines.
Refine the entire drawing, smoothing lines and adjusting proportions. Erase any guidelines or sketch marks, leaving a clean final outline. This step is preparing the drawing for the final touches.
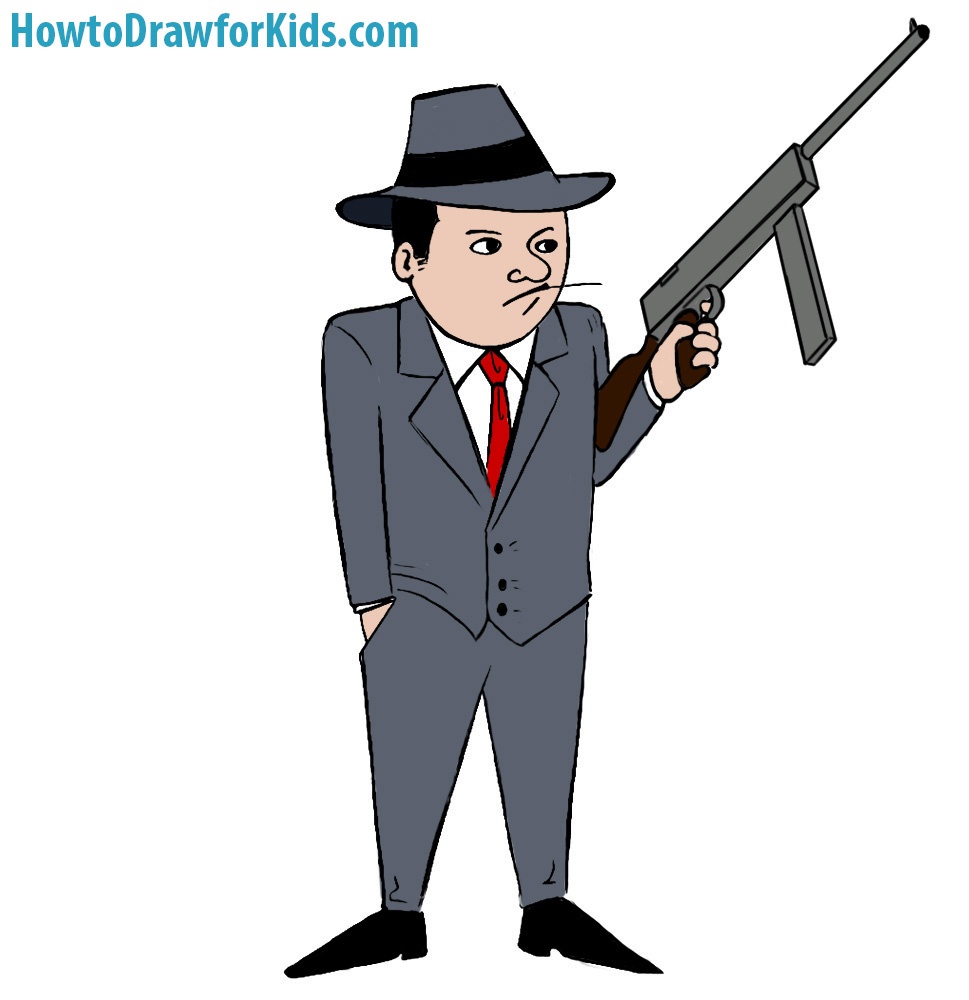
- Color your drawing.
Add color to the character, choosing shades that complement its serious style: a dark suit, matching shoes, and hat, with minimal color accents for details. This completes the character, making the art finished.
Conclusion
Congratulations on completing the drawing lesson! This tutorial guided you step-by-step on how to draw a gangster character, created for kids.
You learned how to construct and refine the character’s head, features, clothing, and accessories, achieving a cartoonish but complete and complex look. Remember, this is just one of many drawing lessons available. For more drawing exercises, don’t forget to check my other tutorials, offering a variety of topics to draw.
Share this lesson with your friends and family, encouraging them to become artists too.


no
I actually love this lesson. It’s makes it easy for kids to know how to draw.