How to Draw a Fruit Bowl
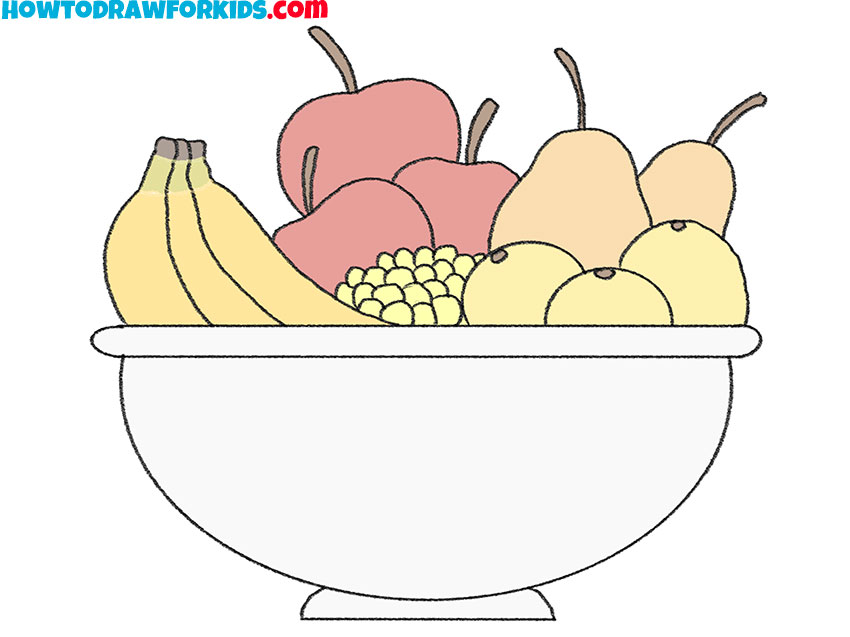
A bowl of fruit is a useful subject for practicing how several simple forms overlap in one drawing. In this tutorial on how to draw a fruit bowl, you will arrange each piece so the whole group looks believable.
Prepare to Draw a Fruit Bowl
Begin by drawing the bowl because it determines the size and placement of everything else. Once the bowl is finished, add the larger fruits first, then fill the remaining spaces with smaller ones.
This order makes the arrangement easier to keep balanced and helps you avoid running out of room.
Most of the objects in this tutorial are based on simple shapes, so focus on their overall outlines before adding small details.
Pay attention to how the fruits overlap each other, since those overlaps create the feeling that they are resting naturally inside the bowl.
Fruit Bowl Drawing Tutorial
Materials
- Pencil
- Paper
- Eraser
- Coloring supplies (red, yellow, orange, green, and purple)
How to Draw a Fruit Bowl Step by Step
Time needed: 30 minutes
How to draw a fruit bowl step by step
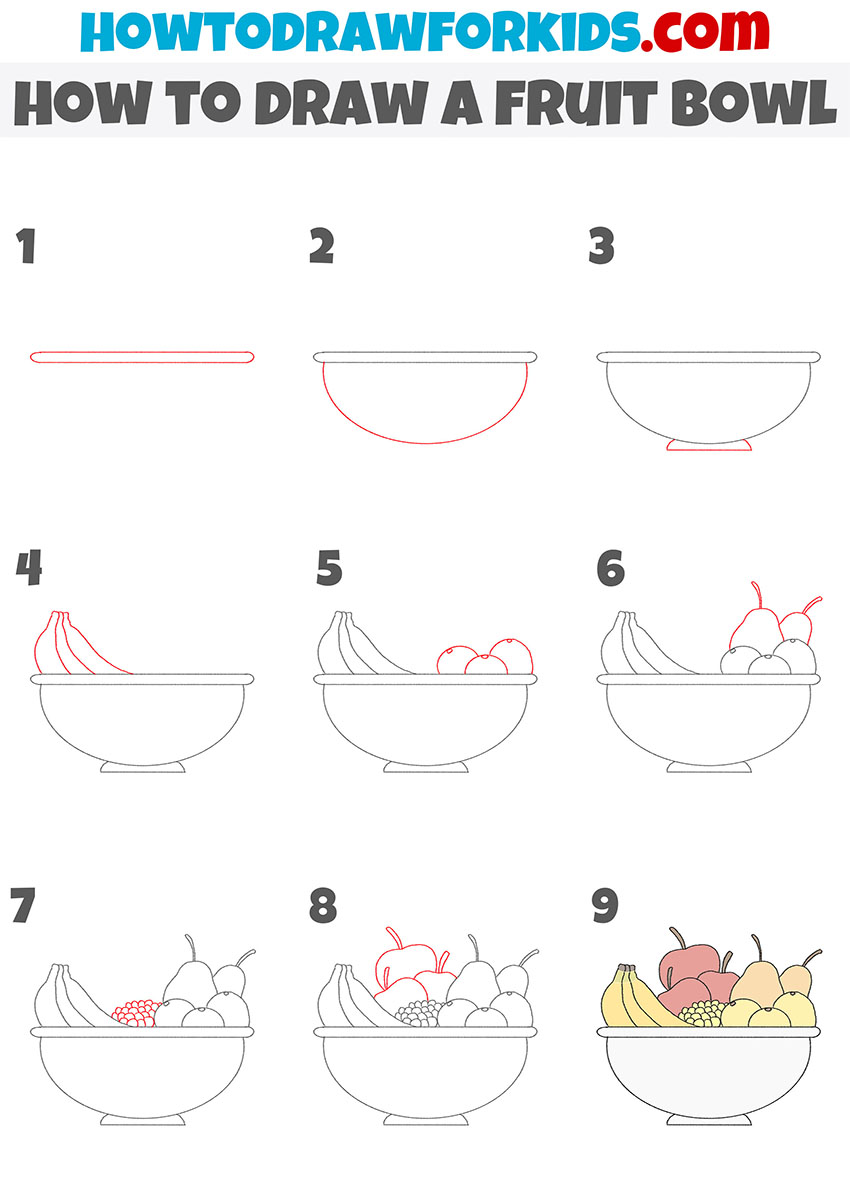
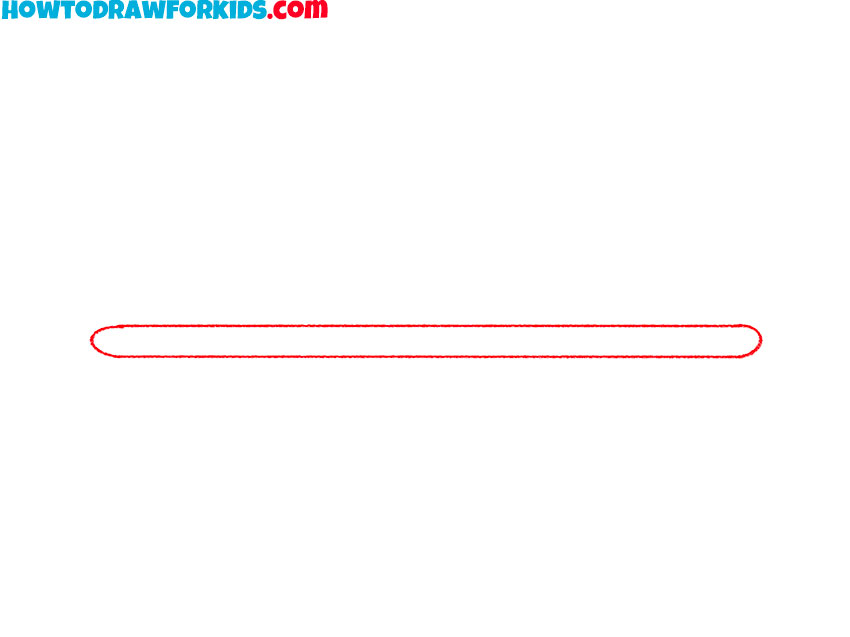
- Outline the fruit bowl rim.
Choose the width of the fruit bowl, then draw a long, narrow rectangle near the lower half of the page. Leave plenty of open space above it for the fruit arrangement.
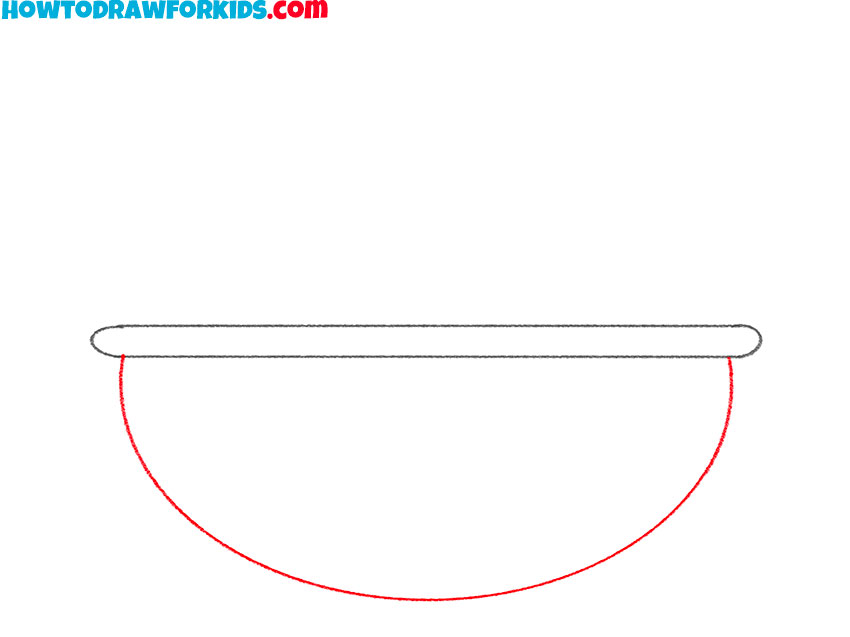
- Draw the main part of the bowl.
Add a wide curved line beneath the rim to form the main part of the bowl. Join its ends to the lower corners of the rectangle so the two sections connect cleanly.
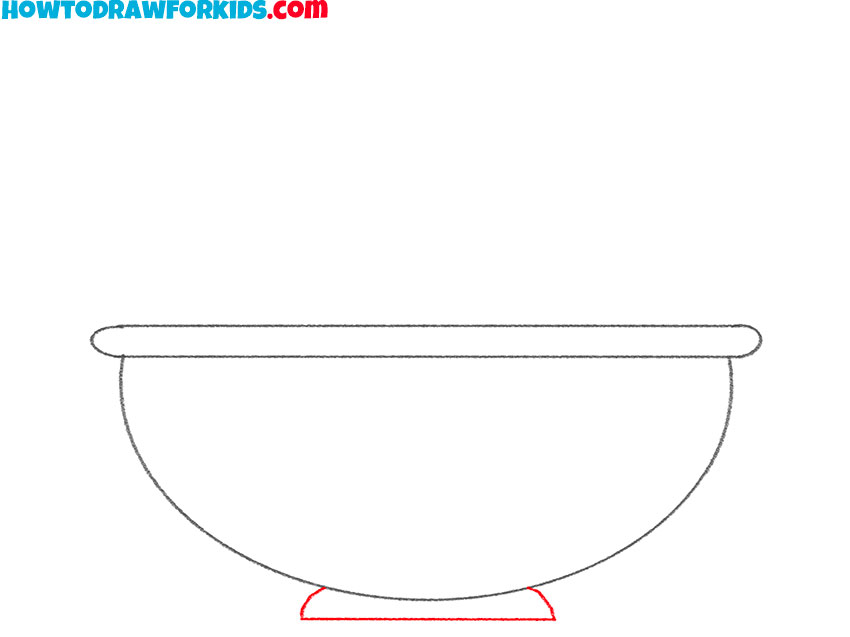
- Sketch the bowl base.
At the bottom, add a short horizontal line for the base. Connect it to the bowl with two small curved lines, placing the base directly below the center of the rim.
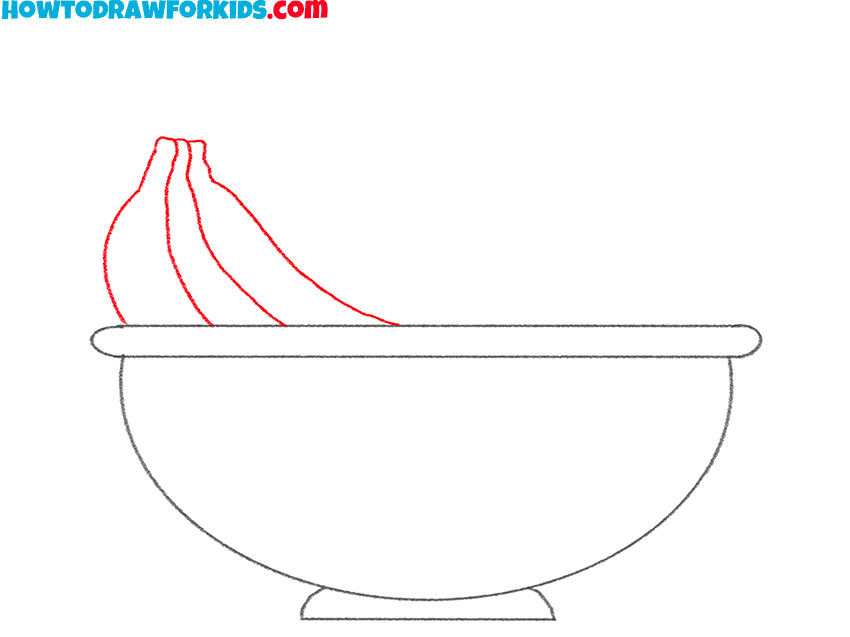
- Add bananas to the fruit bowl.
On the left side, draw the bananas with three long curved forms that meet near the stems. Let their lower edges disappear behind the bowl rim.
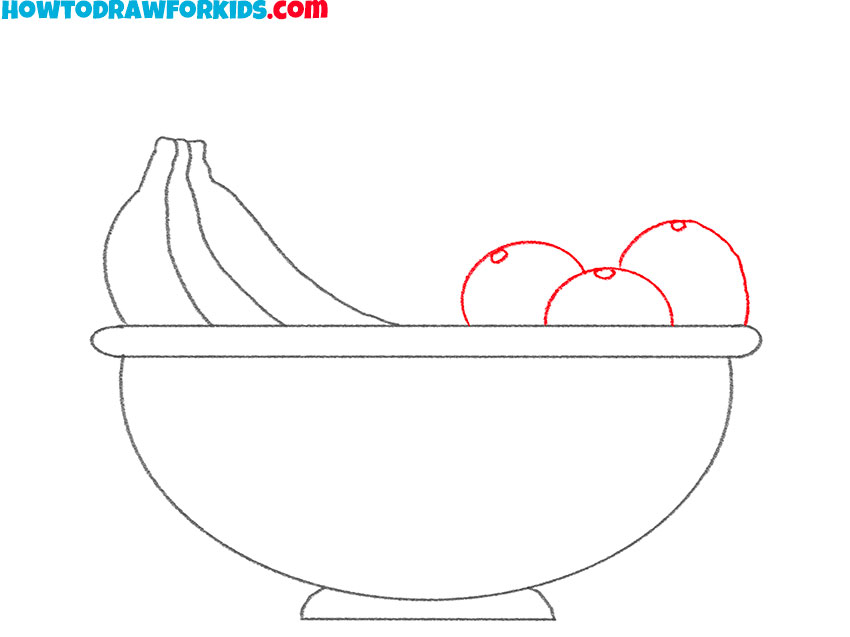
- Sketch the oranges.
On the right side of the bowl, sketch the oranges as several overlapping circular forms. Add a small mark near the top of each visible fruit.
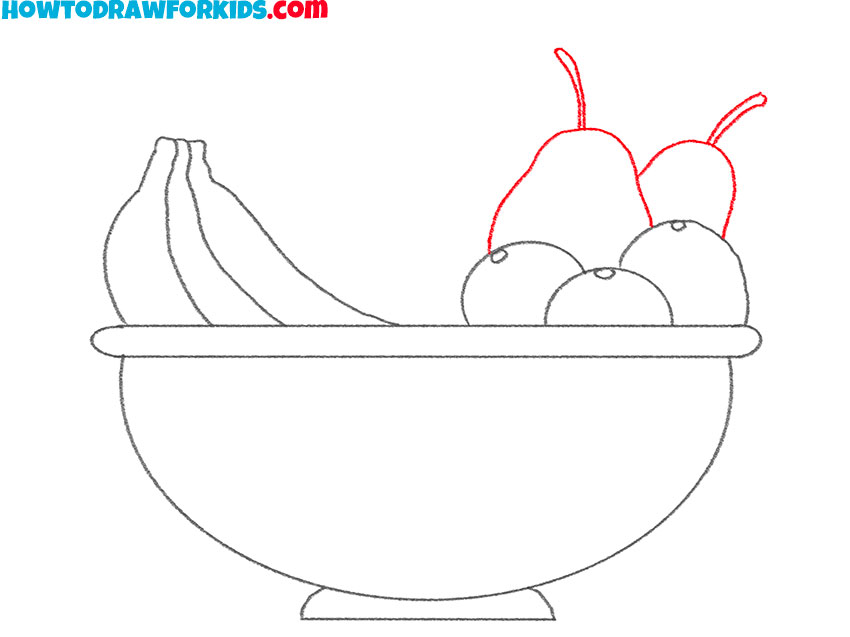
- Draw two pears.
Above the oranges, draw pears with narrow upper sections and fuller lower sections. Place one slightly behind the other, then add the short stems.
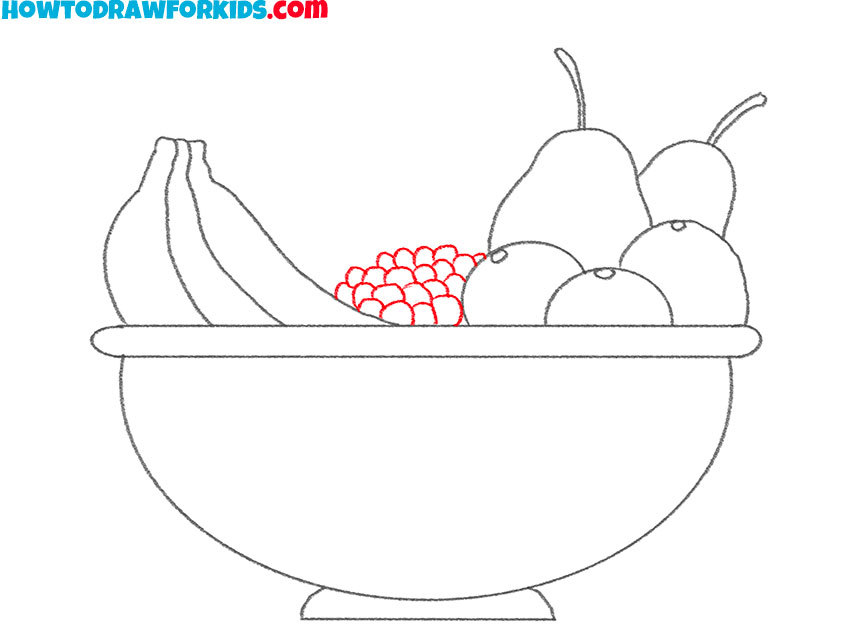
- Add a bunch of grapes.
Fill the center by drawing the grapes as many small overlapping circles. Arrange them in a bunch that overlapped by the bananas and oranges.
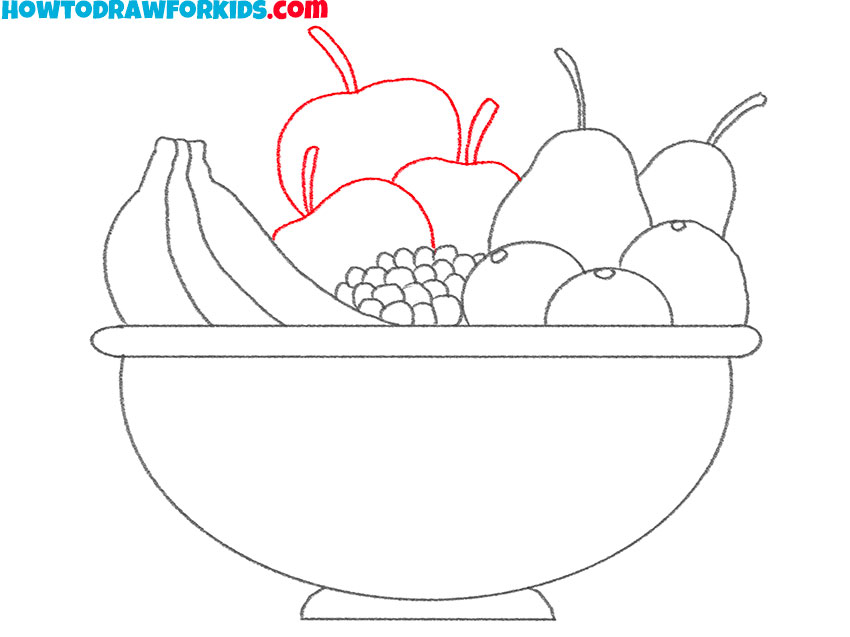
- Complete the fruit arrangement with apples.
Above the grapes, sketch the apples with slight dips at the top. Overlap their outlines and add a short stem to each visible apple.
- Color the fruit bowl drawing.
Color the bowl light gray. Use yellow for the bananas, red and green for the apples and pears, orange for the citrus fruit, and purple for the bunch of grapes.
Fruit Bowl Drawing Printables
Download the PDF to use a shorter version of the tutorial offline. The file also includes worksheets for coloring and extra drawing practice.
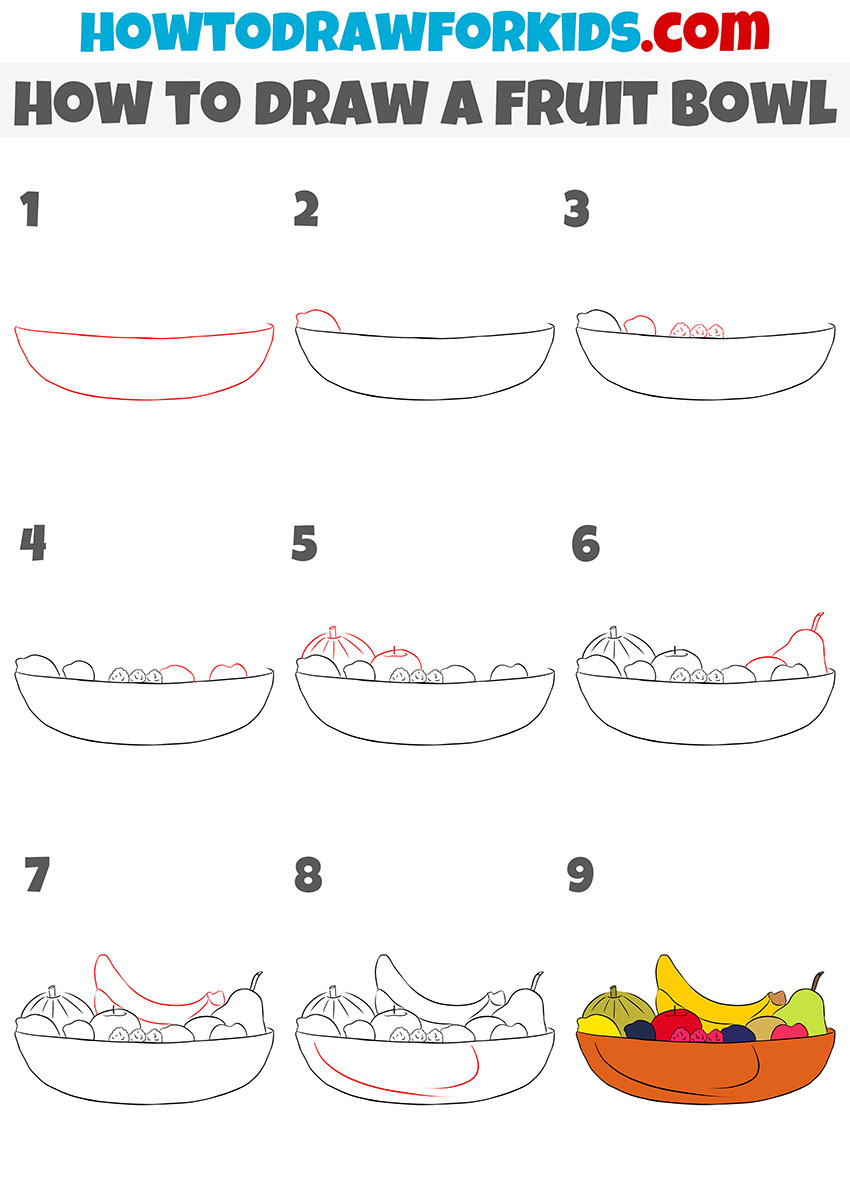
Bonus Fruit Bowl Drawing Tutorial
The next version uses a lower, wider bowl and changes the placement of the fruit. It is useful when you want to practice a similar arrangement without repeating the first composition.
This bowl has an elongated base, so the fruit spreads farther across the page. Begin with the large outer shape and check its width before placing anything inside it.
The fruit also differs from the first version. Use the new arrangement to practice fitting forms into open spaces without making the outlines difficult to read.
Ideas for Your Fruit Bowl Drawing
A few surrounding objects can turn the fruit bowl into a larger scene. Choose details that suit the setting instead of filling every empty area.
- Breakfast table: Place the bowl on a table and add a napkin beside it. You can also draw a glass of water near one edge.
- Picnic setting: Add a checkered cloth beneath the bowl and sketch the table with only the visible edges.
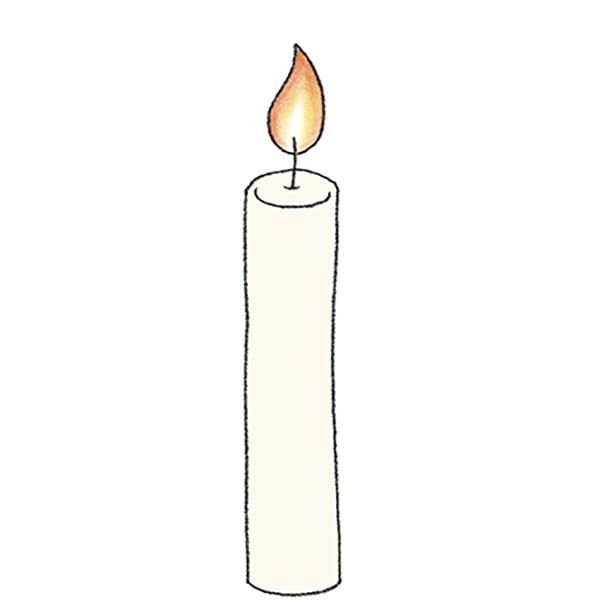
- Holiday centerpiece: Place small decorations beside the fruit and draw a candle behind the bowl.
- Still life setup: Add a plain wall and a folded cloth in the background. Simple surroundings will leave the fruit as the main subject.
- Fruit stand: Draw a small sign behind the bowl and place a few separate pieces of fruit nearby.
Conclusion
The bowl gives the drawing one clear base, while the overlapping fruit creates the main part. Even when the pieces differ slightly from the example, the arrangement will work if their outlines remain separate.
For another drawing practice with a similar subject, try to draw a strawberry. Its uneven outer edge offers a different kind of shape.
You can also draw a watermelon and place it beside the bowl. Its larger form can help you build a wider still life composition.
Share your result in Pinterest and write which fruit or food item you would like to draw next.