How to Draw a Thermometer
Let’s find out how to draw a thermometer, one of the main tools of any medical doctor, nurse and other hero of the hospital.

How to Draw a Thermometer: Basic Information
One of the most important aspects of drawing a thermometer is getting the proportions right. This exercise will help you train a keen eye for proportion, as the thermometer has a distinct shape that must be accurately depicted. Ensuring the side edges are evenly spaced and the curves are symmetrical teaches you to observe and replicate proportions meticulously.
Precision is also really important when drawing the parallel lines that form the sides of the thermometer. This tutorial will help you practice drawing clean, straight lines and smooth, consistent curves. Precision in line work is a fundamental skill for any artist, as it affects the clarity and quality of the drawing.
Adding details, such as the mercury in the reservoir and the measurement scale, requires careful attention and a steady hand. Learning to add intricate details with precision improves your observational skills and trains your ability to convey small details and fine elements in your artwork.
A thermometer is a functional object with a specific purpose. Drawing it helps you understand the importance of functional design in art. This knowledge is useful for creating illustrations of tools, gadgets, and other functional items, as it ensures your drawings are not only visually accurate but also logically constructed.
Thermometer Drawing Tutorial
Materials
- Pencil
- Paper
- Eraser
- Coloring supplies
Time needed: 30 minutes
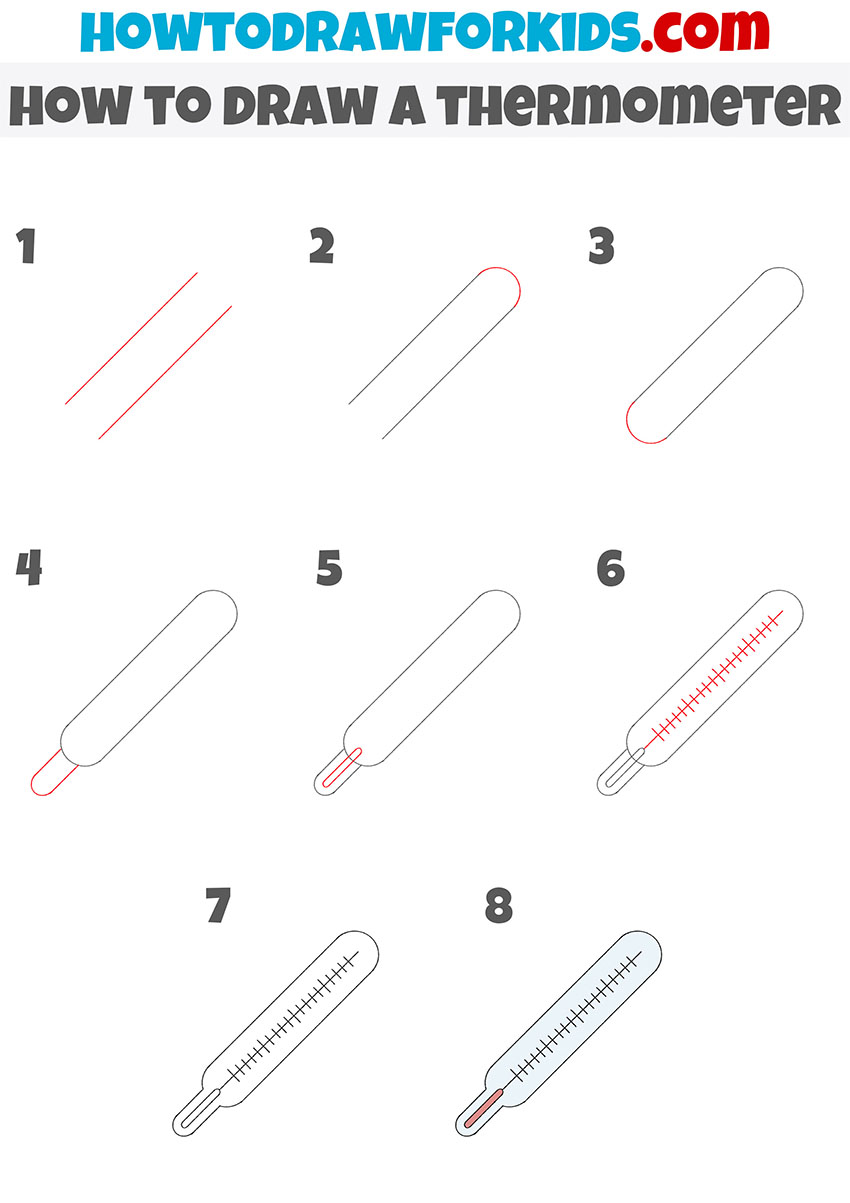
How to Draw a Thermometer
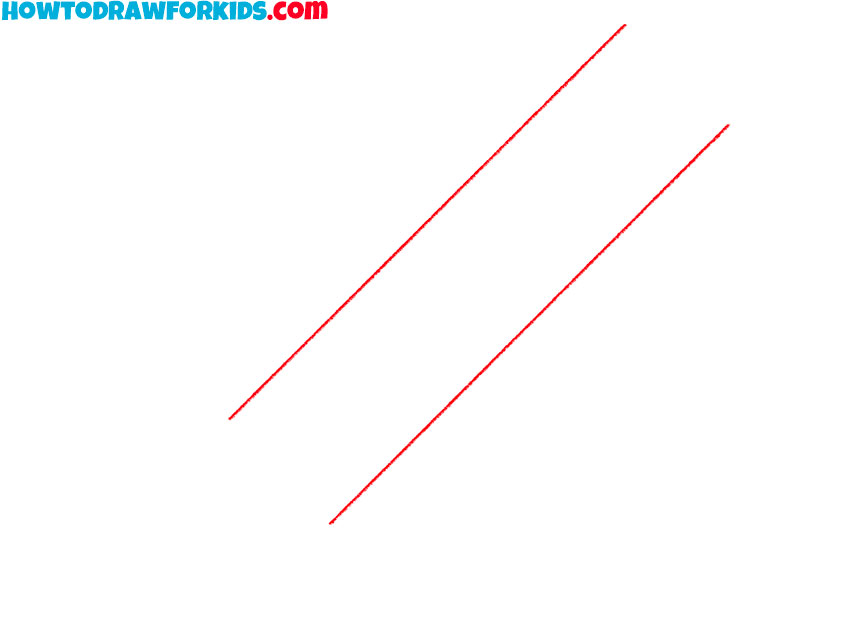
- Draw the side edges.
Begin by drawing two parallel diagonal lines to form the side edges of the thermometer. These lines should be evenly spaced and of equal length to ensure symmetry. They will serve as the primary structure of the thermometer.
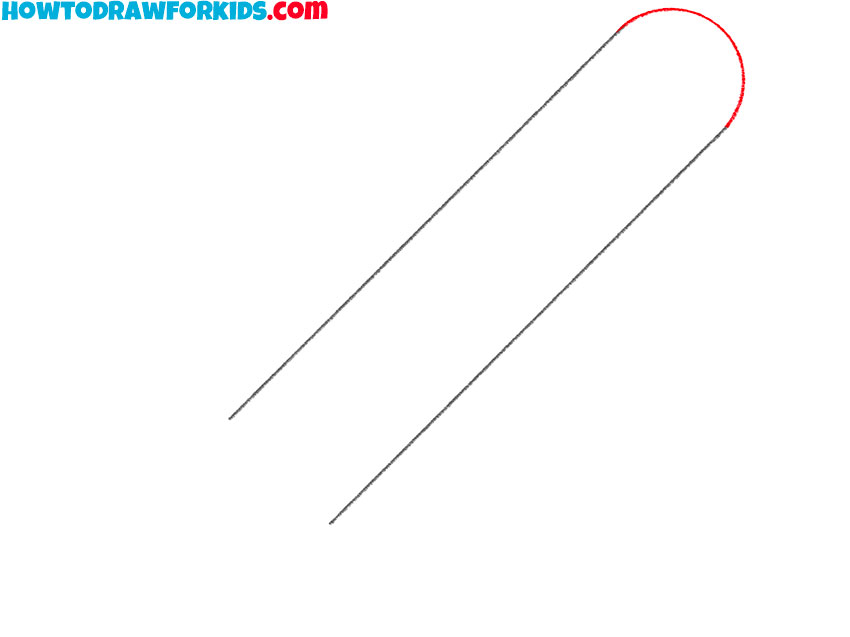
- Draw the top end of the thermometer.
Next, connect the top ends of the parallel lines with a curved line to form the back of the thermometer. This curve should be smooth and even, matching the shape you envision for the thermometer. Make sure the line is smooth and even.
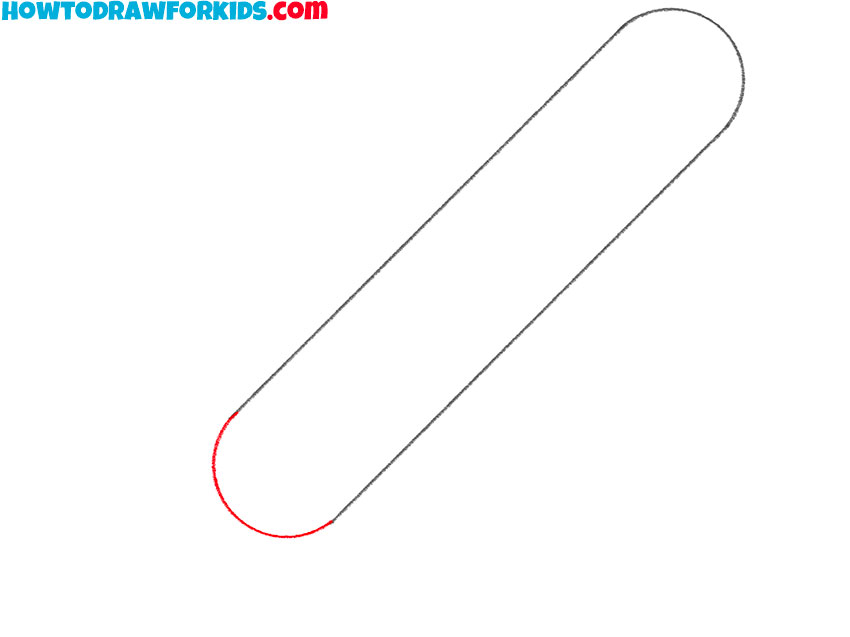
- Add the second end of the thermometer.
Connect the bottom ends of the parallel lines with another curved line, forming the second end of the thermometer. This curve should be similar in style to the first curve, completing the basic outline of the thermometer. Don’t make this line too dark to make it easier to adjust later.
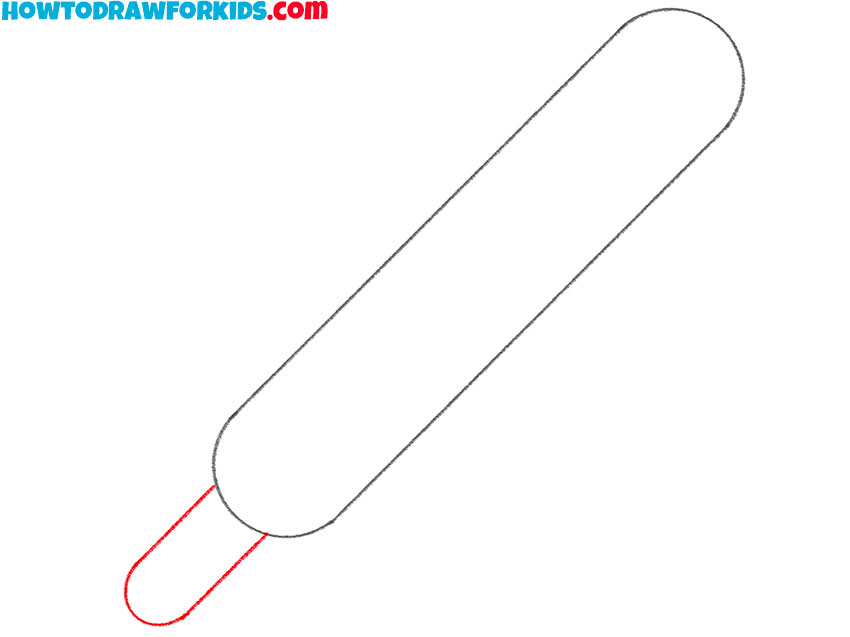
- Illustrate the reservoir.
At the bottom of the thermometer, draw a small and elongated oval shape to represent the reservoir where the mercury or colored liquid will be. This oval should fit seamlessly within the existing outline, slightly extending beyond the front curve.
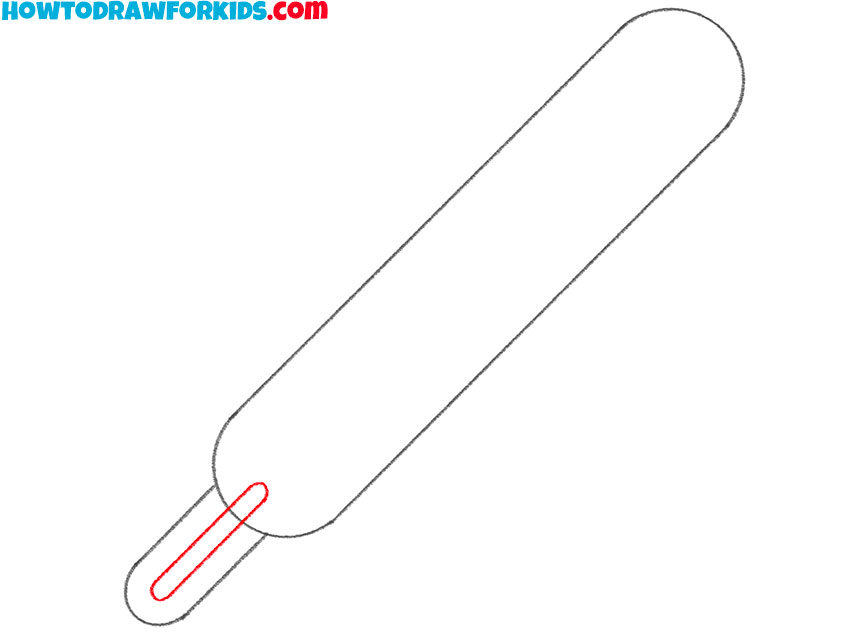
- Add the mercury inside the reservoir.
Inside the reservoir of the thermometer, draw a smaller, inner oval or a shaded area to represent the mercury or red liquid inside. This inner shape should be centered and slightly smaller, fitting neatly within the outer oval. The inner shape should follow the contour of the outer oval closely.
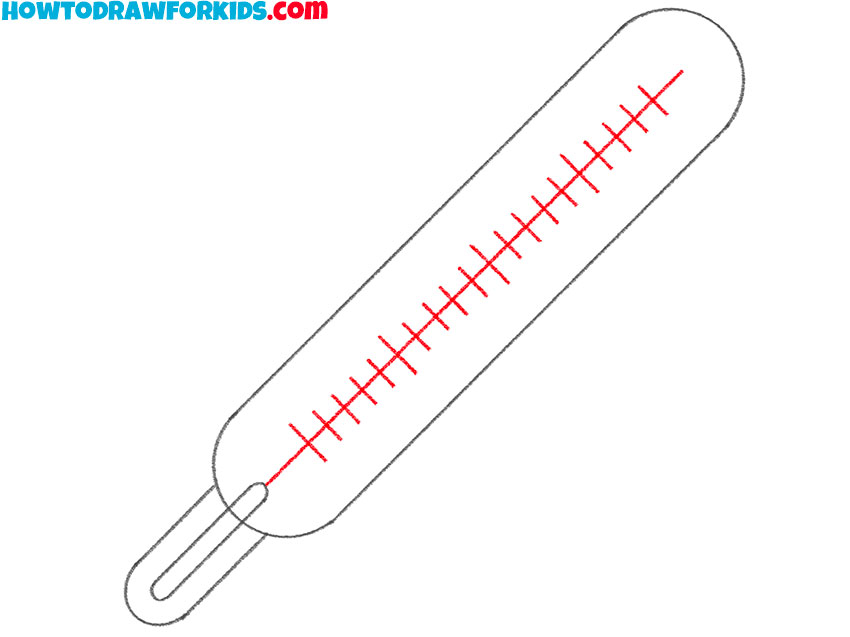
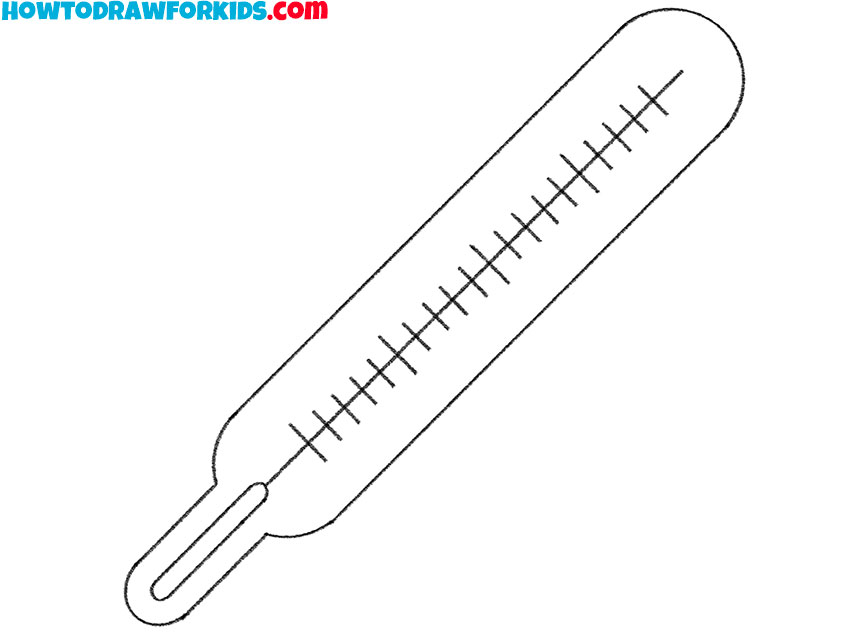
- Draw the scale.
Sketch a straight line that goes from the mercury to the opposite side of the thermometer. Then add a series of short, evenly spaced lines along the length of the thermometer to represent the measurement scale. These lines should start just above the reservoir and extend to the top.
- Erase the guidelines and refine the drawing.
Review the overall shape and details to ensure everything looks accurate and proportional. This step is very important for cleaning up your artwork and preparing it for final touches. Pay close attention to symmetry and alignment, making any adjustments needed to perfect the sketch.
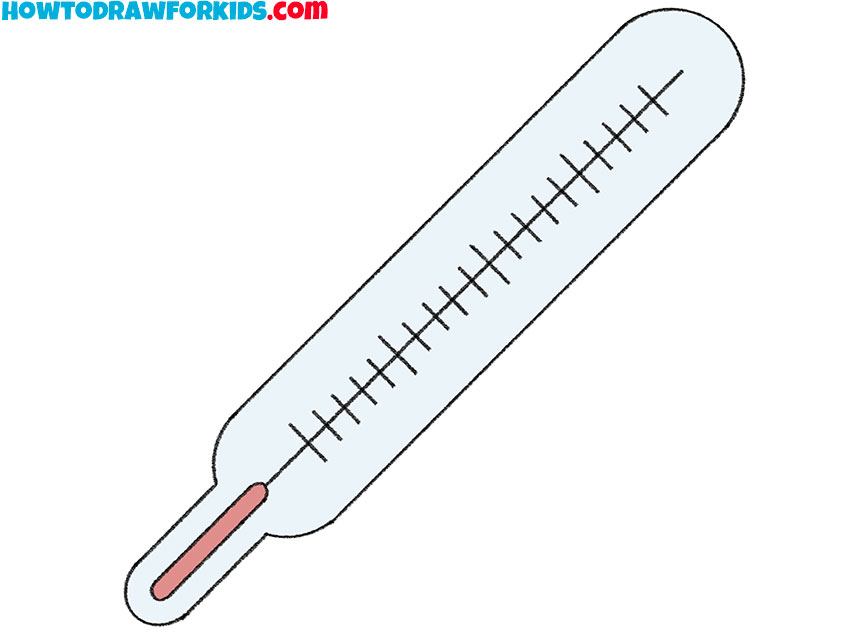
- Color the thermometer.
Typically, the reservoir is colored red to represent the mercury or liquid inside. You can also add shading to the body of the thermometer to give it a three-dimensional look. Adding these finishing touches makes the thermometer drawing look more realistic.
Additional Content
I’ve prepared a special PDF that condenses this thermometer drawing tutorial into a simple, easy-to-follow format. This guide includes all the steps, making it ver useful for kids who want a quick and convenient reference.
You can download this PDF for free, providing a handy resource to use anytime, even without internet access. Train your skills with this cool guide, and enjoy the process of drawing your own thermometer!
How to Draw a Thermometer: Technical Tips
Well done, young artists! You’ve just finished an amazing drawing of a thermometer. Every great artist pays attention to the little details, the technical nuances that make a drawing go from good to great. Here are some cool tips to make your thermometer look super accurate:
- A real thermometer has lots of little lines. Each line stands for a temperature degree. Try to put at least 10 lines on your thermometer’s scale to make it look real.
- Outdoor thermometers are usually longer with a larger scale for easy outdoor reading. Medical thermometers are smaller and have a tighter scale for precise readings. Cooking thermometers often have a metal probe and are designed to withstand high temperatures.
- Decide if your thermometer is a traditional mercury one, with a silver line indicating the temperature, or a modern digital type with a numeric display. Using color coding on the temperature scale, like blue for cold and red for hot, can also add a fun and informative touch.
- To give your thermometer a more realistic and three-dimensional look, add small reflective highlights along the glass surface. These highlights should follow the contour of the thermometer and be placed consistently on one side to simulate light reflection.
- To simulate the glass surface of the thermometer, use light shading and subtle gradients. Focus on making the body of the thermometer appear transparent yet reflective, which can be achieved through careful blending and highlighting.
Conclusion
Congratulations on completing the thermometer drawing tutorial. You’ve learned techniques to train your drawing skills, such as symmetry and detailing. These skills are really vital for drawing thermometers and for improving your overall artistic ability.
There are a lot of cool things waiting for you to draw on my website. If you enjoyed drawing the thermometer, you’re going to love learning how to sketch a stethoscope, or even a whole scene with a doctor and a nurse – they’re the superheroes of the hospital!
Share your artwork with friends and family, and say them to try this tutorial too. Be sure to subscribe to me in social media, to always know about my newest drawing tutorials.