How to Draw a Carpet
Boost your art skills with my simple tutorial on how to draw a carpet. This tutorial is crafted to make the learning process both enjoyable and easy to follow.
First I’ll show you how to illustrate this interior element, then I’ll tell you how you can weave it into a more complex artwork and how you can improve your overall drawing skills with this instruction.
How to Draw a Carpet : Basic Information
When approaching the task of drawing a carpet, one of the key elements to focus on is perspective. Carpets are typically viewed from above in an almost flat manner, but by introducing a slight perspective – as outlined in this tutorial – young artists can create a more three-dimensional appearance, giving the impression that the carpet is lying on a flat surface. This involves understanding how to properly angle the side and edge lines to suggest depth, making the carpet appear more realistic.
Another really important detail in carpet drawing is symmetry. Carpets often feature highly symmetrical patterns, which require careful planning and execution. This tutorial encourages precision in the replication of patterns, ensuring that each side mirrors the other accurately. This practice not only enhances the visual appeal of the carpet but also reinforces the artist’s ability to maintain balance and uniformity in their work.
The decorative elements within the carpet also demand attention. Patterns in carpet design can range from simple geometric shapes to complex arrangements that might include floral or abstract motifs. Young artists are taught to methodically add these patterns, starting with larger, foundational shapes and gradually adding smaller, more detailed designs. This layered approach helps in managing the complexity of the design without becoming overwhelming.
So grab your pencils, and let’s get drawing a carpet. By the time we’re done, you’ll be able to add a beautiful carpet to any room you draw in the future. And who knows? Possibly you’ll design carpets so lovely that even the storybook characters will want one in their castles!
Carpet Drawing Tutorial
Materials
- Pencil
- Paper
- Eraser
- Coloring supplies
Time needed: 30 minutes
How to Draw a Carpet
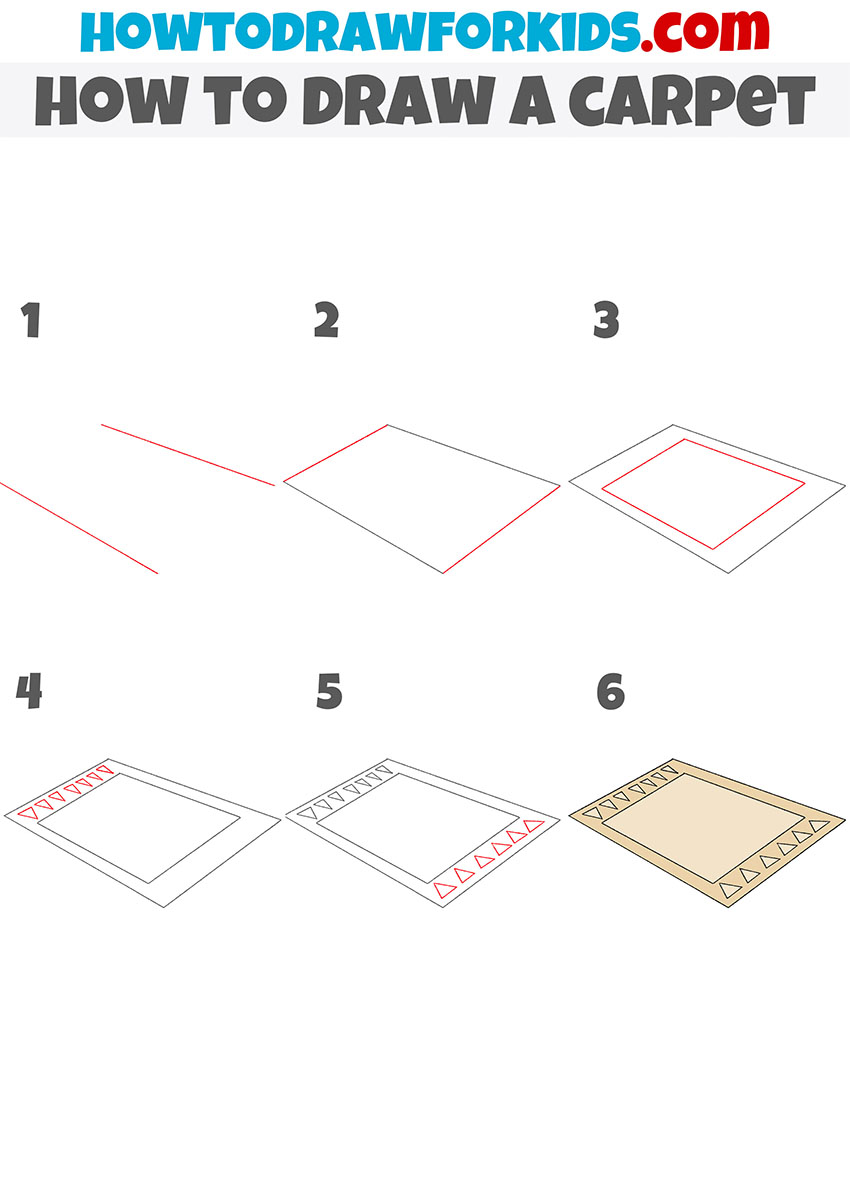
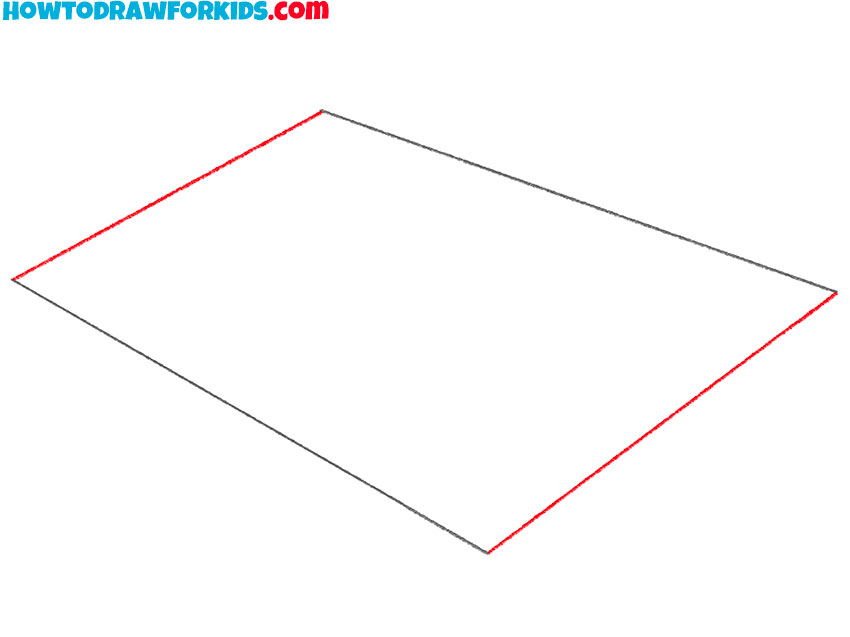
- Draw the side edges of the carpet.
Begin by drawing two slightly slanted lines, starting from the lower part of your paper and converging slightly as they move upwards. These lines represent the side edges of the carpet and will help in creating a three-dimensional perspective.

- Add the remaining edges.
Connect the top ends of the side edges with a horizontal line, and mirror this at the bottom with another horizontal line connecting the starting points. This step forms a trapezoidal shape, completing the basic outline of the carpet in perspective.
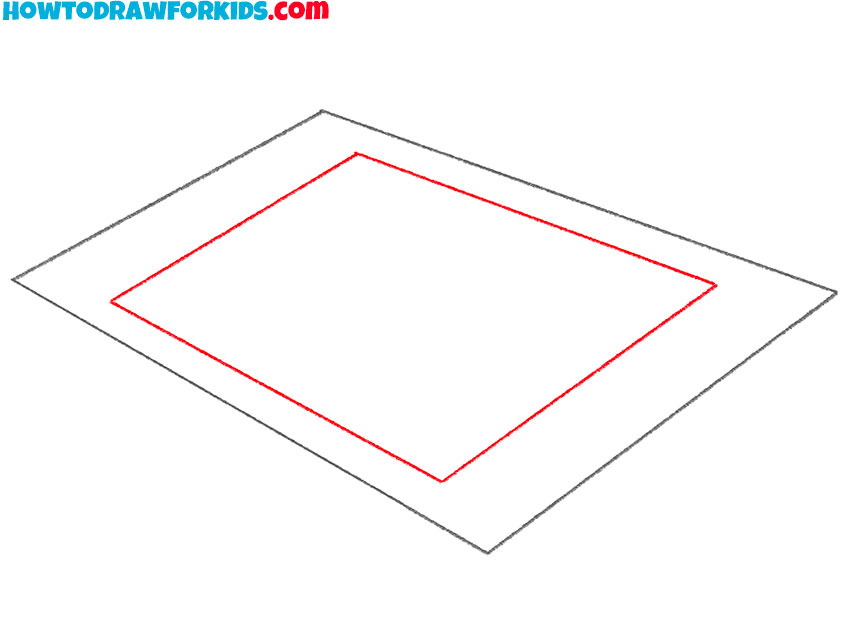
- Sketch the middle of the carpet.
Inside the trapezoidal outline, draw a smaller, parallel trapezoid to create a border within the carpet. This inner trapezoid will be the main design area and should be centered evenly within the outer edges. This is pattern serves as the basis for more detailed patterns that you can add at your discretion.
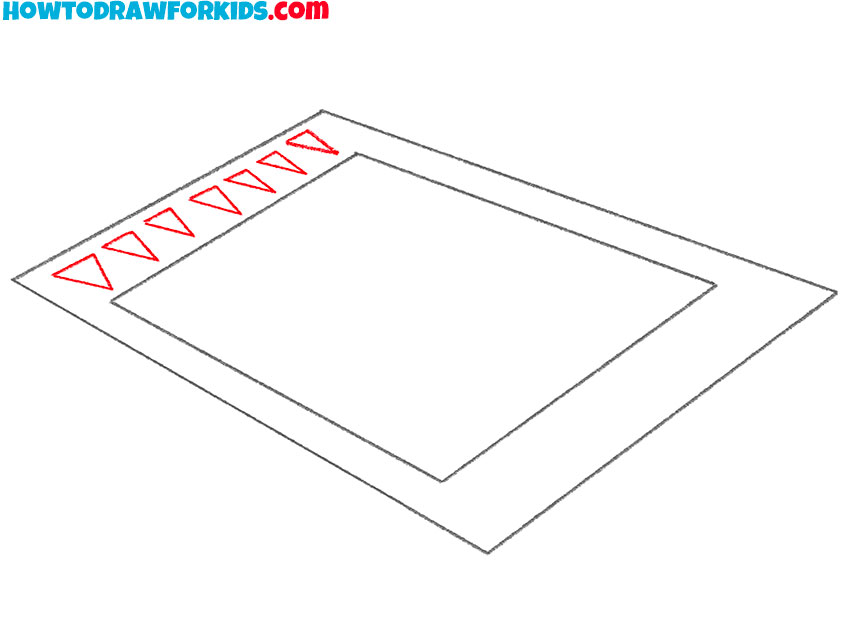
- Depict the design on one side.
Begin adding decorative elements by sketching a row of small triangles along the inner border of the main rectangular pattern. These triangles should have their bases on the line of the inner trapezoid and points facing inward, creating a simple yet elegant pattern.
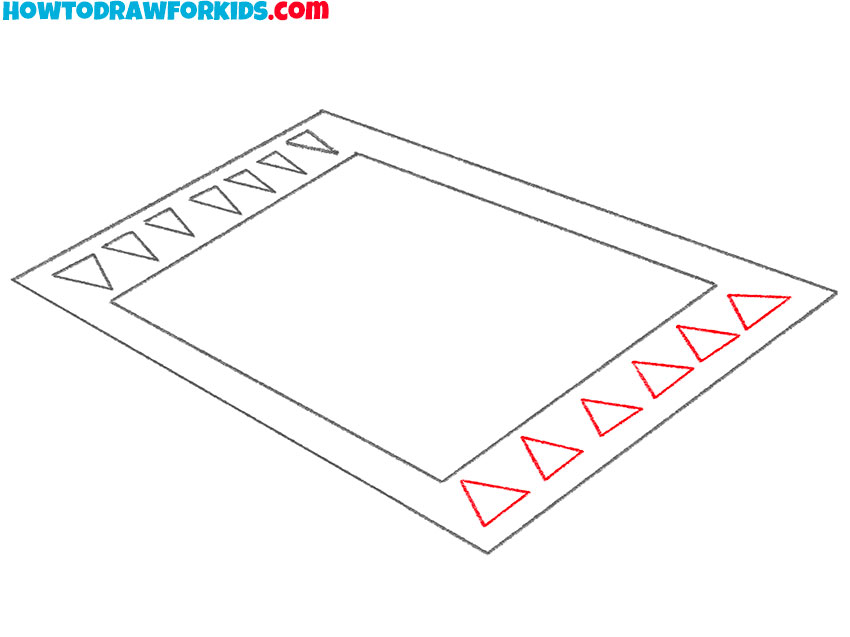
- Add the pattern on the other side.
Within the central area of the carpet, continue to add patterns. Repeat the triangle motif or introduce new shapes to fill the opposite side of the carpet. The size of the triangles on this side should be slightly larger to convey the perspective in the drawing.
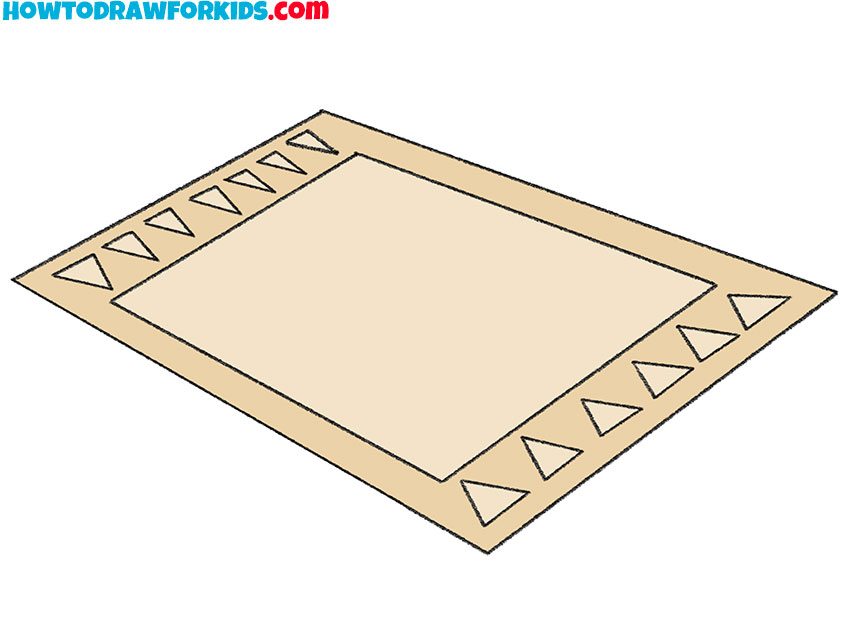
- Color your carpet drawing.
Choose a color palette that reflects traditional carpet colors or go for something more vibrant and modern depending on your style. Color the background in a uniform shade, and use contrasting colors for the patterns to highlight them.

Additional Content
I’ve put together a PDF file for you, a handy pocket version of my carpet drawing lesson! This downloadable guide is perfect for on-the-go art sessions. No internet? No problem! This PDF is your trusty sidekick, ready to guide you through the carpet drawing process anytime, anywhere. So why wait? Download it now, and start practicing!
How to Draw a Carpet Even Better
Pick up your pencils and markers, as we’re set to enhance your carpet drawings significantly! This guide provides a variety of simple techniques that can turn a basic carpet drawing into something much more interesting:
- Introduce interesting patterns to the interior of the carpet, such as zigzags or polka dots, to add complexity and visual appeal.
- Improve your artwork with the application of vivid and vibrant colors. Choosing the right palette can make your carpet drawing much cooler, making it pop off the page. Think about how colors interact and complement each other.
- Carpets often feature decorative fringes that can be both fun and challenging to draw. Experiment with different styles of fringes – knotted, twisted, or loose threads – at each end of your carpet.
- The texture of a carpet is its soul. Work on shading techniques to simulate the fluffy or silky textures typical of carpets. Practice varying the darkness and lightness of your strokes to achieve a lifelike texture.
- Place your carpet in a setting. This could be an indoor scene, where the carpet lies under a softly lit lamp by a comfy sofa, or maybe includes a pet snoozing contentedly atop. Alternatively, position your carpet outdoors in a picnic scene complete with a checkered basket.
- You can also transform your carpet into a magical flying one? Sketch a breathtaking view above the clouds, under a clear blue sky, adding an element of fantasy to your artwork.
Avoiding Common Mistakes in Carpet Drawing
When drawing a carpet, artists often encounter common pitfalls that can detract from the realism and beauty of their artwork. To help you create more accurate and visually appealing carpet drawings, here are detailed solutions to common mistakes, crafted to enhance both your technique and the final outcome of your work.
The main mistake is to ignore perspective if you are not drawing the carpet strictly from above. To ensure your carpet drawing looks really good, practice drawing with one-point perspective. Position a vanishing point on your horizon line where all perspective lines converge. Start by drawing the horizontal edges of your carpet, then extend lines from each corner toward this vanishing point, creating a believable perspective effect.
Another mistake is not respecting the boundaries of the patterns. Maintaining even border widths is really important for a neat finish. Use a ruler to draw initial outlines and check the uniformity of the borders frequently as you draw. If using freehand, lightly sketch the borders first and make adjustments before finalizing them with a darker, more definitive line. This method ensures straight, consistent borders.
For patterns, start with a basic geometric shape or a simple repeating pattern, sketching it lightly for easy correction. As confidence grows, add complexity with additional elements or variations, ensuring they enhance rather than dominate the design.
Choosing the right colors is vital. Plan your palette by selecting a main color and complementary colors. Test interactions on a separate paper, applying colors gradually with pencils or markers, starting from lighter to darker shades.
For texture, observe different carpet types and mimic the direction and length of fibers with appropriate shading techniques, like stippling for rough textures or soft, circular strokes for a fluffy look. Make sure your strokes align with the carpet’s weave to make the artwork more realistic.
Scale and proportion are also very important for carpets to fit naturally within their environment. Plan the scene layout with a basic sketch to establish the carpet’s placement relative to other objects. Using a grid can help maintain proportion and scale accurately.
Fringe accuracy enhances a carpet’s authenticity. Study real fringes and vary the length and spacing of the strands in your drawing. Incorporating slight curves and simulate natural wear and displacement.
Allow for slight deviations in pattern lines to create a handcrafted effect. Incorporate intentional slight wobbles or variations in line thickness, giving your carpet a sense of authenticity.
Finally, consider how the carpet interacts with its environment. Adjust color intensity and shading according to the light sources and shadows from surrounding objects. This anchors the carpet realistically within its setting and adds depth to the overall scene.
Conclusion
We’ve now completed our carpet drawing lesson, but there’s plenty more to sketch and draw. I encourage you to visit my social media pages subscribe to my YouTube channel. It’s a great way for young artists like you to connect and share your work.
On my website, you’ll find numerous drawing tutorials, including ones on how to draw a rose or a dog. Each lesson is designed to be really simple, ensuring that even beginners and children can easily learn and enjoy the process of drawing.