How to Draw a Bow Tie
Even small details can require careful focus, and in this lesson on how to draw a bow tie, we’ll give them the attention they deserve.
Now you will learn how to draw a bow tie. This is a versatile type of tie that can be worn by both men and women.Such a tie consists of a fabric ribbon that is tied around the collar in a symmetrical knot. There are two types of bow ties.
In the first case, you need to tie a knot and form a bow yourself, and in the second case, the bow is formed in advance, and such a tie is fixed on the shirt with a fastener or with an elastic band.
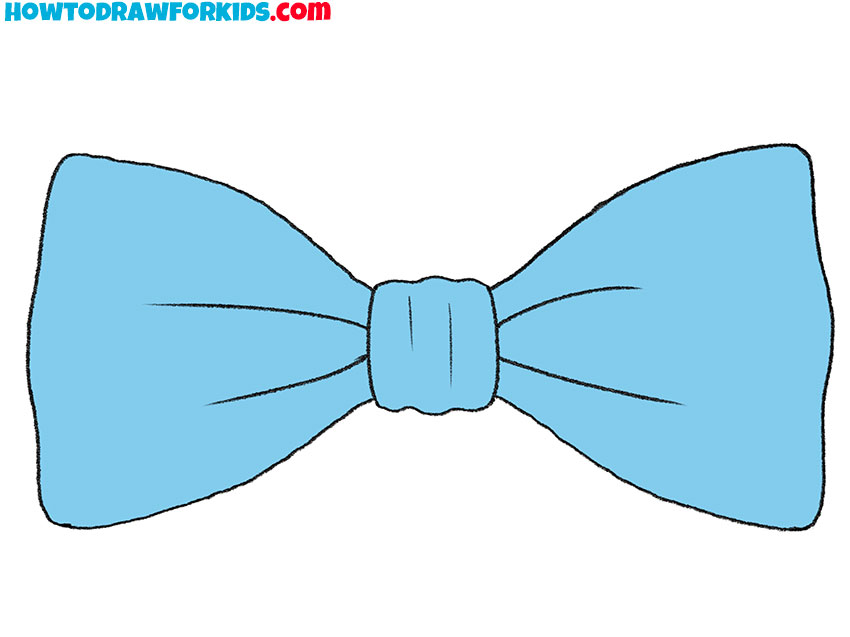
The picture shows a beautiful bow tie that has a knot in the middle and two folds of fabric on the sides. It looks very elegant.You can easily draw such a tie if you are careful and patient. The lesson consists of several simple steps, each of which involves one simple action.
The skills you will learn in this lesson will be useful to you in the future, because such an object can be used in various other situations. For example, you can easily draw a bow on a dress or on your hair, since this object has the same shape.
Materials
- Pencil
- Paper
- Eraser
- Coloring supplies
Time needed: 15 minutes
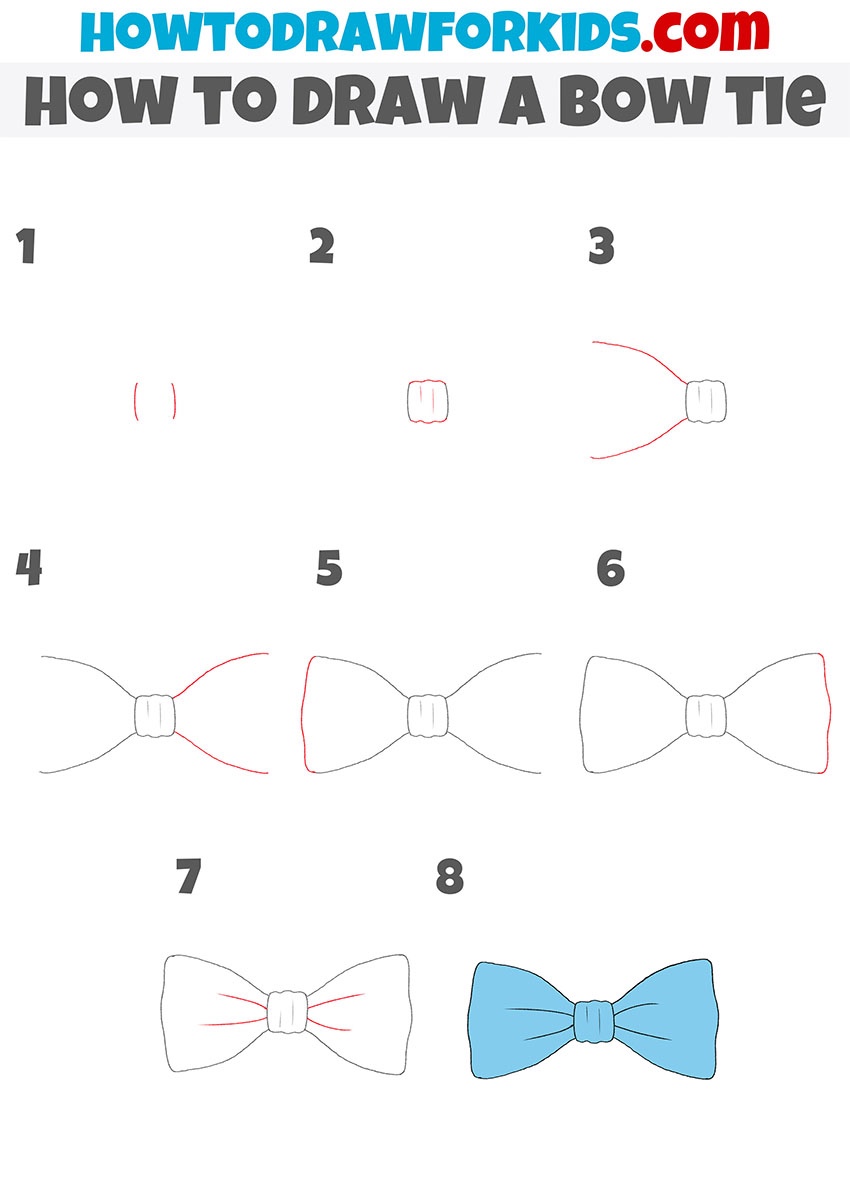
How to draw a bow tie step by step
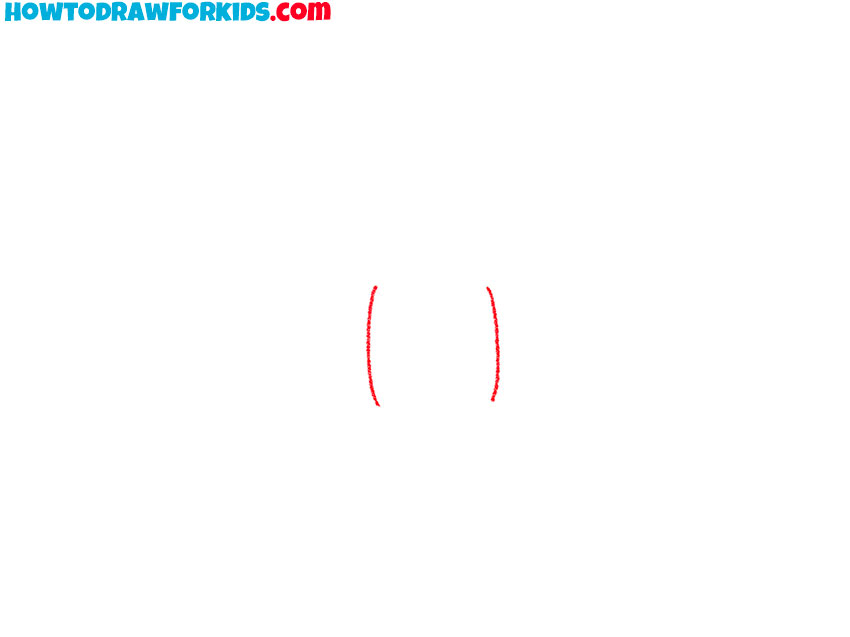
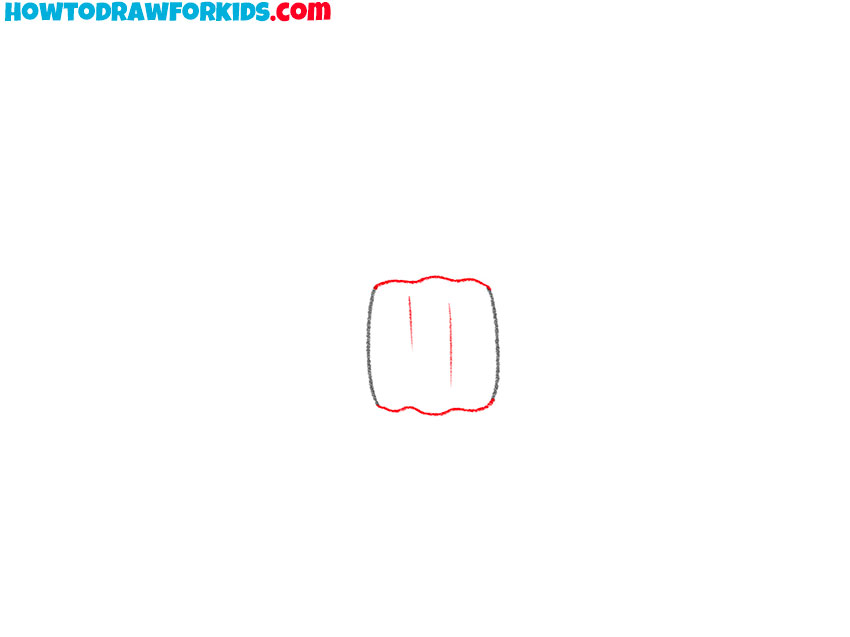
- Sketch the left and right edges of the knot.
First, sketch two short curved vertical lines placed close together. This will form the core area that holds the bow tie together. These curves help you define the width of the central knot before adding the sides. Make these side edges symmetrical but not perfectly identical.
- Add the top and bottom knot edges.
Connect the two short curves drawn earlier by joining their top and bottom with horizontal lines, forming a small rectangular shape for the knot of the bow tie. This rectangle represents the tied center of the bow tie. Add two short inner lines inside the rectangle to represent folds in the fabric.
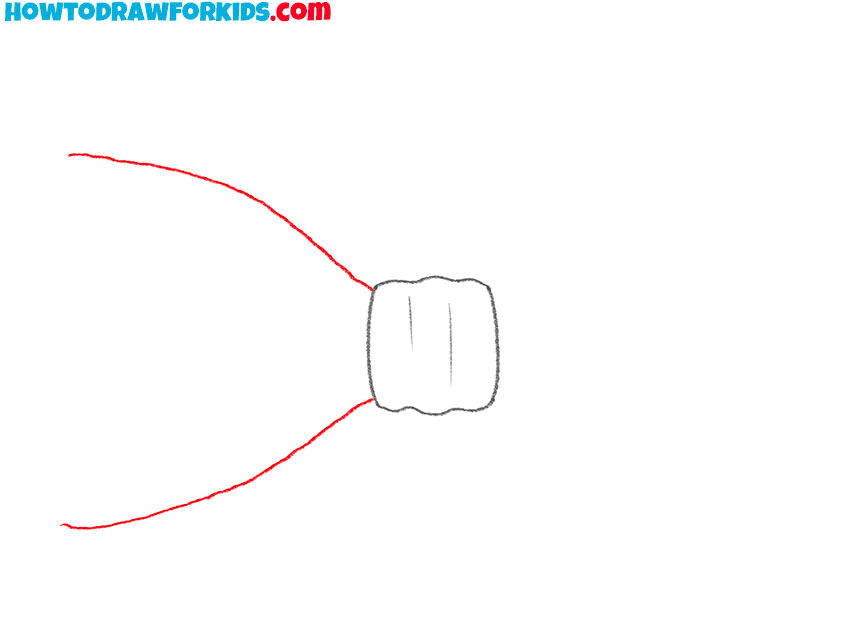
- Start drawing the left side of the bow tie.
Begin shaping the left part of the bow tie by sketching two smooth curved lines extending from the left side of the central knot. These two curves define the top and bottom edges of the left half of the bow. The distance between these lines should gradually increase from the knot to the edge.
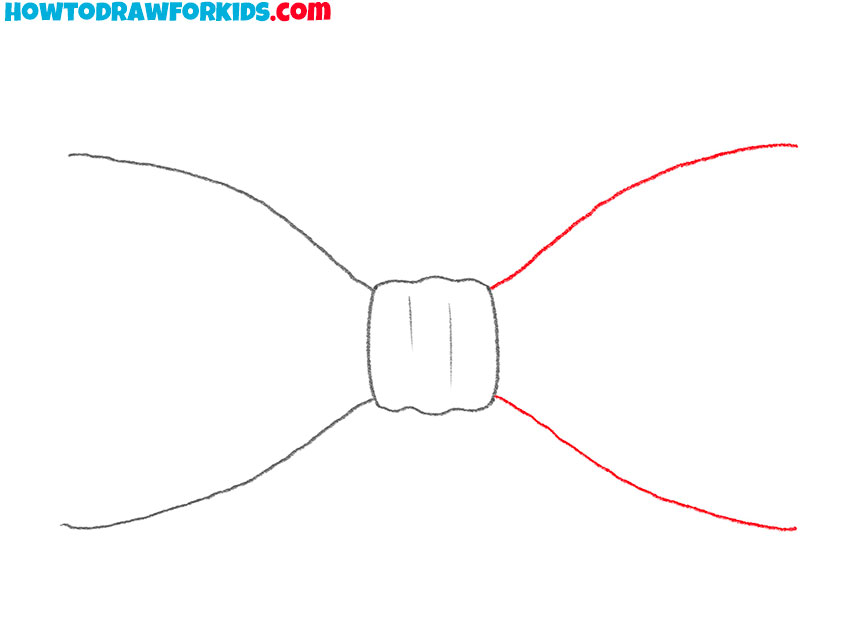
- Start sketching the right tie part.
Now repeat the same process on the right side of the knot to create the other half of the bow tie. Extend two smooth curves outward – one for the top edge and one for the bottom. Make sure they mirror the left side in length and direction.
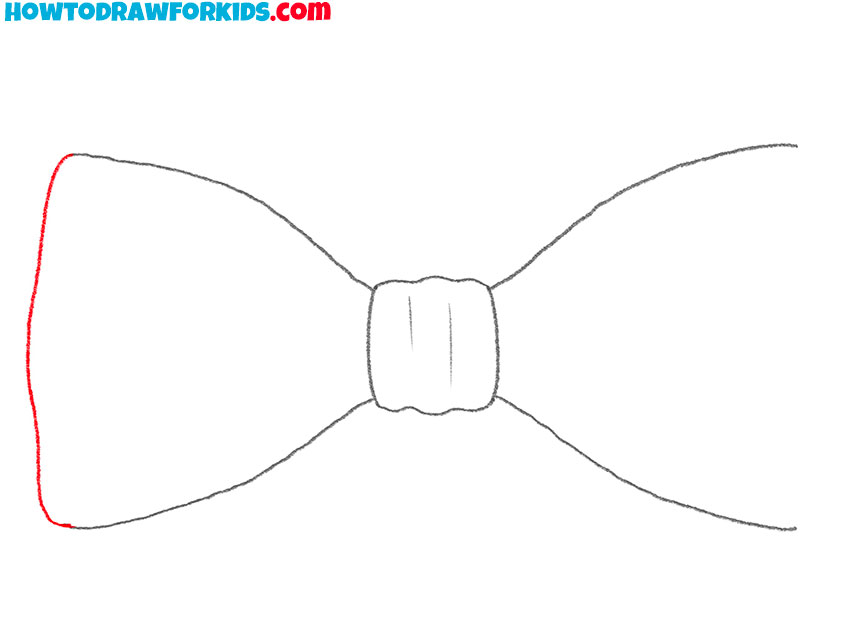
- Draw the side edge of the left bow section.
Close the shape of the left bow section by adding a curved vertical line that connects the outer ends of the two previously drawn edges. This line represents the side edge of the left half of the bow tie. Don’t try to use straight lines, instead use a smooth shape.
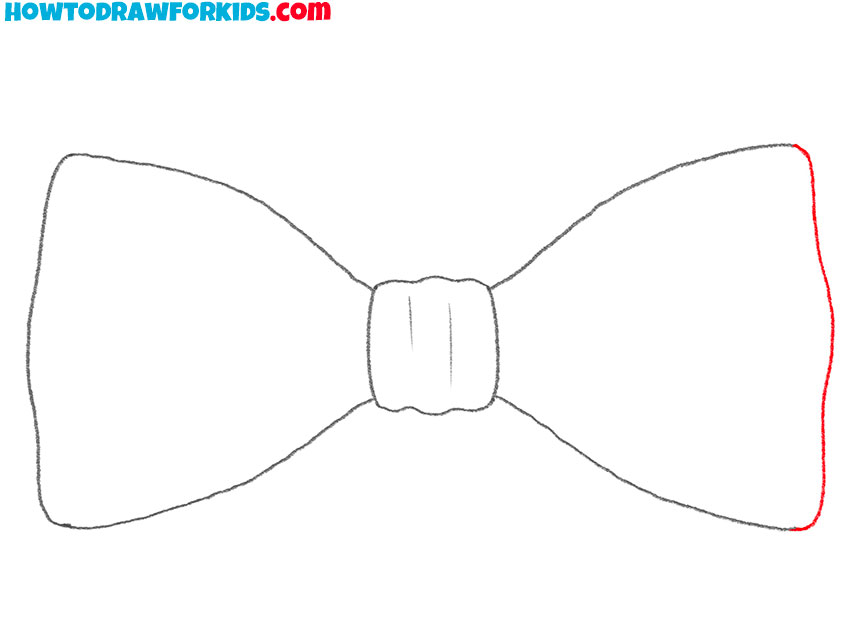
- Close the outer shape on the right.
Finish outlining the main structure by repeating the same step on the right side. Connect the ends of the upper and lower curves with another smooth line to form the side edge of the right bow section. Keep the curve consistent with the left one.
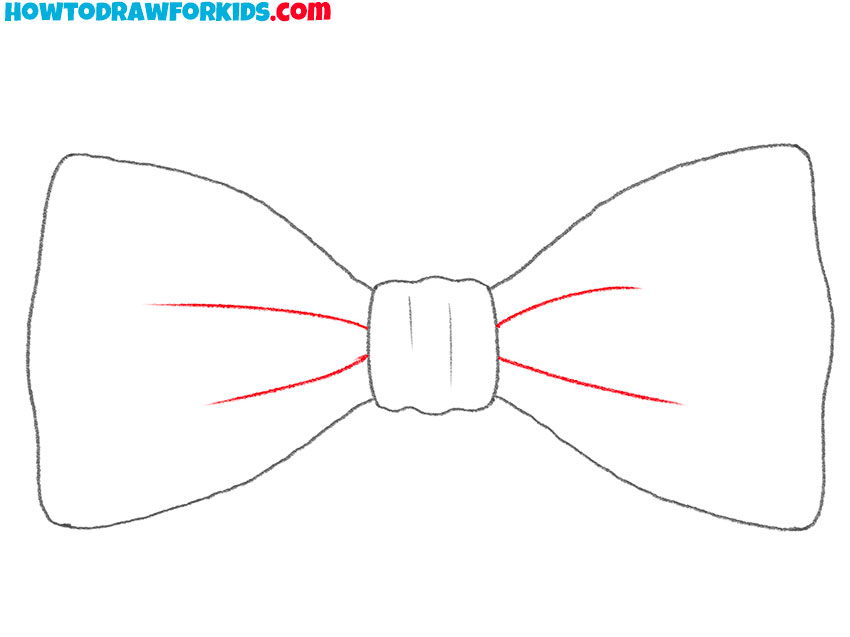
- Draw the inner creases of the bow tie.
Enhance the realism of your bow tie drawing by sketching a few lines inside each side of the bow. These lines should extend outward from the knot, following the direction of the fabric flow. You can also add more small creases inside the knot to show the tied fabric’s compression.
- Add color to the knot and sides.
Finish your drawing by filling the bow tie drawing with simple and flat color. A classic option is a light or bright blue, but any shade works depending on the style you prefer. If you want a more formal version, choose black, red, or dark navy.

The bow tie is ready! You can now download a PDF of the short version of this guide. Thanks to this, the lesson will be available to you at any time, even in the absence of the Internet.