How to Draw a Flower in a Pot
Welcoming you to my lesson on how to draw flowers in a pot, I’ve designed this guide to make drawing accessible and really fun.

How to Draw Flowers in a Pot: Basic Information
Drawing a flower in a pot involves combining organic shapes (the flower and leaves) with geometric shapes (the pot). This helps artists learn to balance different forms within a single composition. Pay attention to how the smooth, flowing lines of the flower contrast with the more rigid, defined lines of the pot.
In this tutorial, you will learn how to maintain the correct proportions between the flower, stem, leaves, and pot. By understanding and applying proportional relationships, you can create drawings that are visually pleasing and accurate. Pay attention to the size of each element relative to the others to ensure harmony in your composition.
Symmetry plays a vital role in drawing, especially when drawing natural objects like flowers in a pot. This tutorial will help you practice symmetry by guiding you through the placement of petals around the flower’s center.
And what is important, here I will share with you how to draw a flower in a pot in three different ways. Each of them will have its own characteristics, so try them all to master the skill of drawing flowers and other plants in a pot or vase as comprehensively as possible.
Flowers in a Pot Drawing Tutorial
Materials
- Pencil
- Paper
- Eraser
- Coloring supplies
Time needed: 30 minutes
How to Draw a Flower in a Pot Step-by-Step
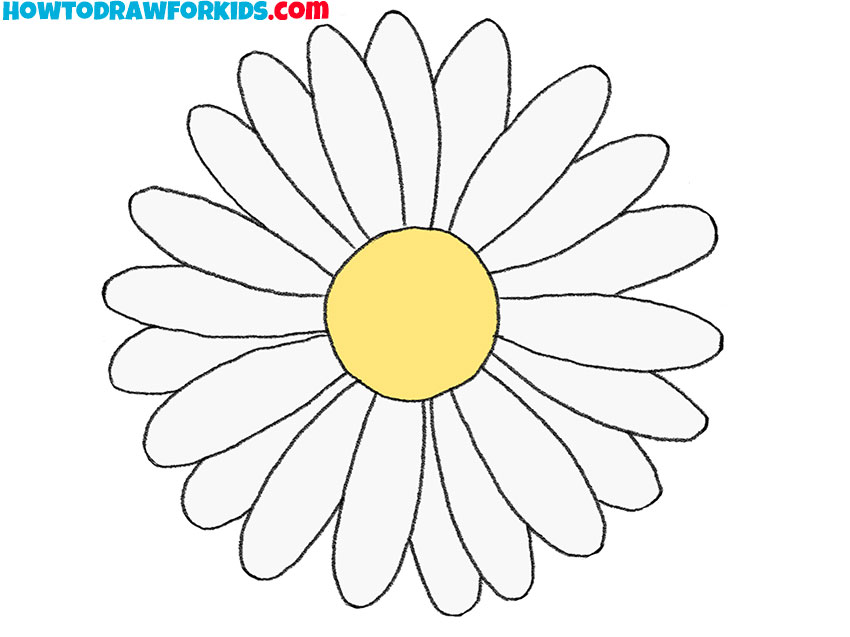
- Draw the flower center.
In this step, you begin by drawing a simple circle in the middle of your paper. This circle will serve as the center of the flower and will guide the placement of the petals in the subsequent steps. Make sure the circle is not too large, as it should leave enough space around it for the petals to be drawn comfortably.

- Draw the first four petals.
Next, draw four elongated oval shapes extending outwards from the center circle, representing the initial petals. Position these petals evenly around the center, with one at the top, one at the bottom, and one on each side. The petals should be roughly the same size and shape.

- Add more petals.
Continue by filling in the spaces between the first four petals with additional oval shapes to create a full circle of petals around the center. Aim for a total of eight petals, ensuring they are evenly spaced and similarly sized to maintain the flower’s symmetry.

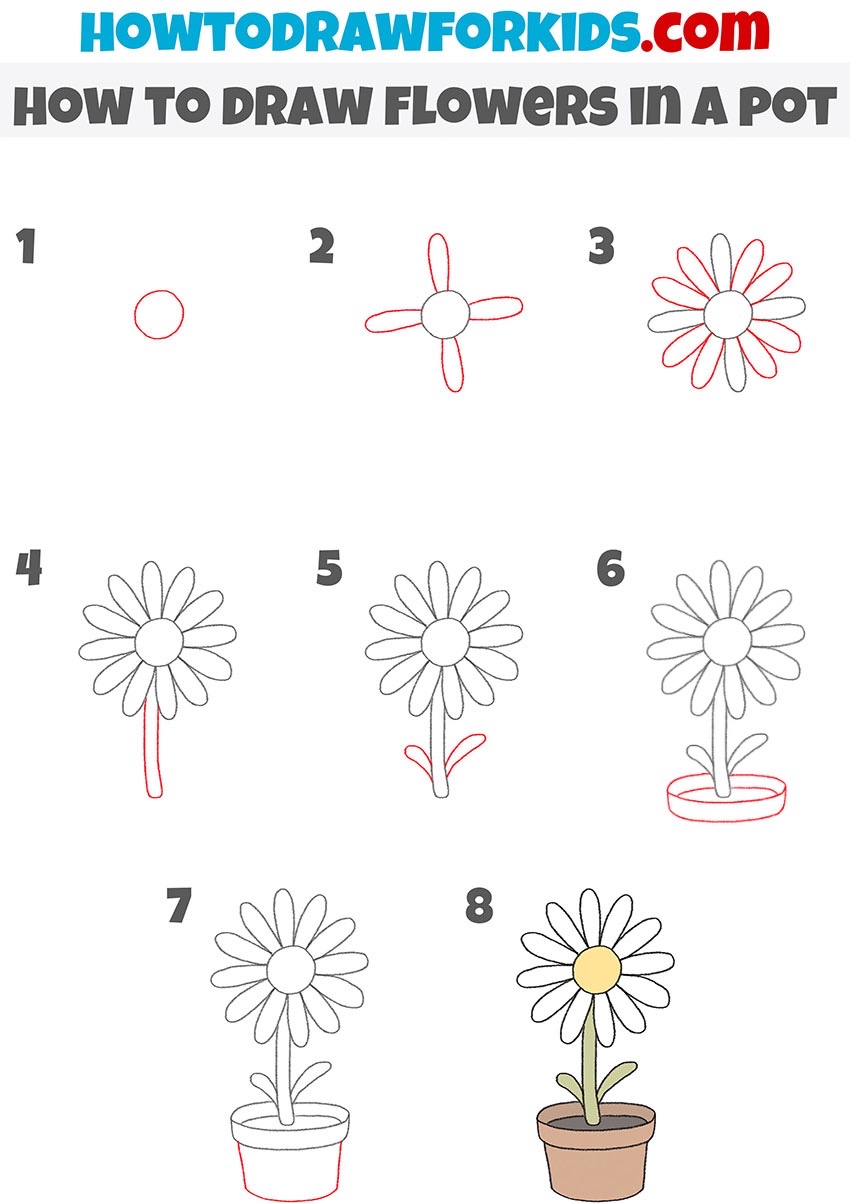
- Draw the flower stem.
Extend two straight or slightly curved lines downward from the bottom of the center circle to form the stem of the flower. The stem should be proportionate to the flower’s size, not too thick or too thin. A well-drawn stem provides structural integrity to the flower, making it look more realistic and complete.
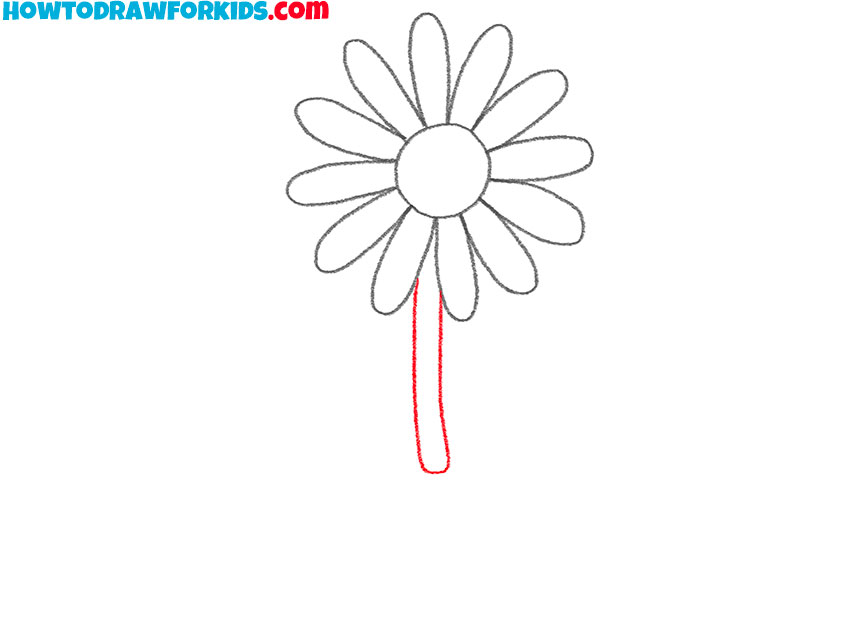
- Add leaves to the stem.
Now, draw two leaves at the base of the stem. Each leaf should start with a curved line extending outward from the stem and then looping back to connect with the stem, forming an almond shape. Position the leaves on opposite sides of the stem to create a natural look.
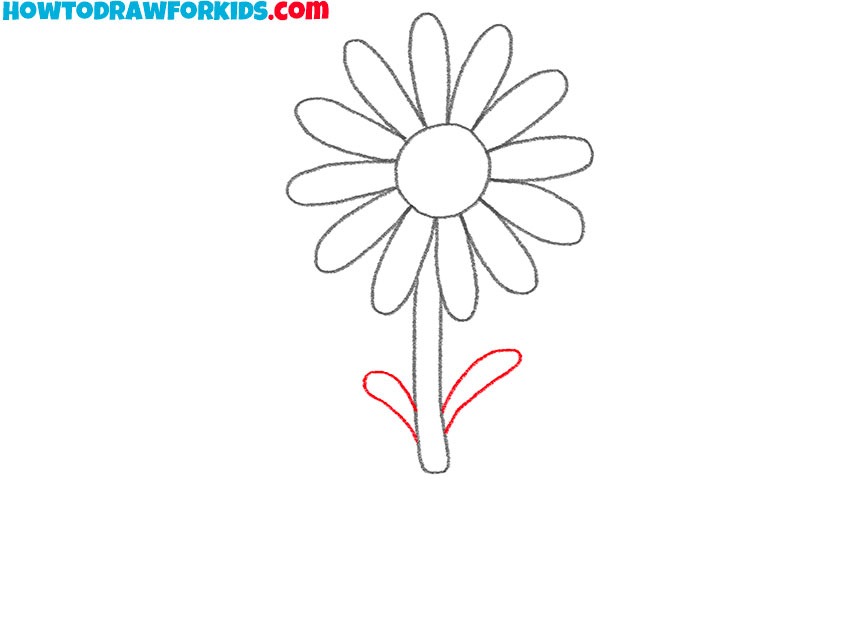
- Draw the pot rim.
Start by drawing an oval shape around the base of the flower stem. This oval represents the top edge of the pot. Next, from the sides of the oval, draw two short, vertical lines downward. These lines will form the sides of the pot. Finally, connect the bottom ends of these lines with a curved line.
- Finish drawing the pot.
Draw two straight lines extending downward from the edges of the rim, and connect them with a curved line at the bottom to form the sides and base of the pot. Pay attention to the proportions and curves to make the pot look realistic and well-integrated with the rest of the flower.
- Color the flower and pot.
Color the center circle a bright yellow, the petals a vibrant white, and the leaves a rich green. The stem should also be green, matching the leaves. For the pot, choose a warm brown or terracotta color to give it a natural appearance.

Additional Content
In addition to the step-by-step tutorial, I’ve also compiled a free PDF file for you to download. This portable guide is designed to supplement your drawing practice, perfect for moments when you’re away from the screen. It’s filled with exercises to refine your technique.
While the main lesson offers a foundational approach, this PDF provides you with the tools to continue your training. It’s rich with activities that build upon what you’ve learned, crafted to deepen your understanding of form and composition in the art of drawing.
Drawing Flowers in a Pot: Alternative Techniques
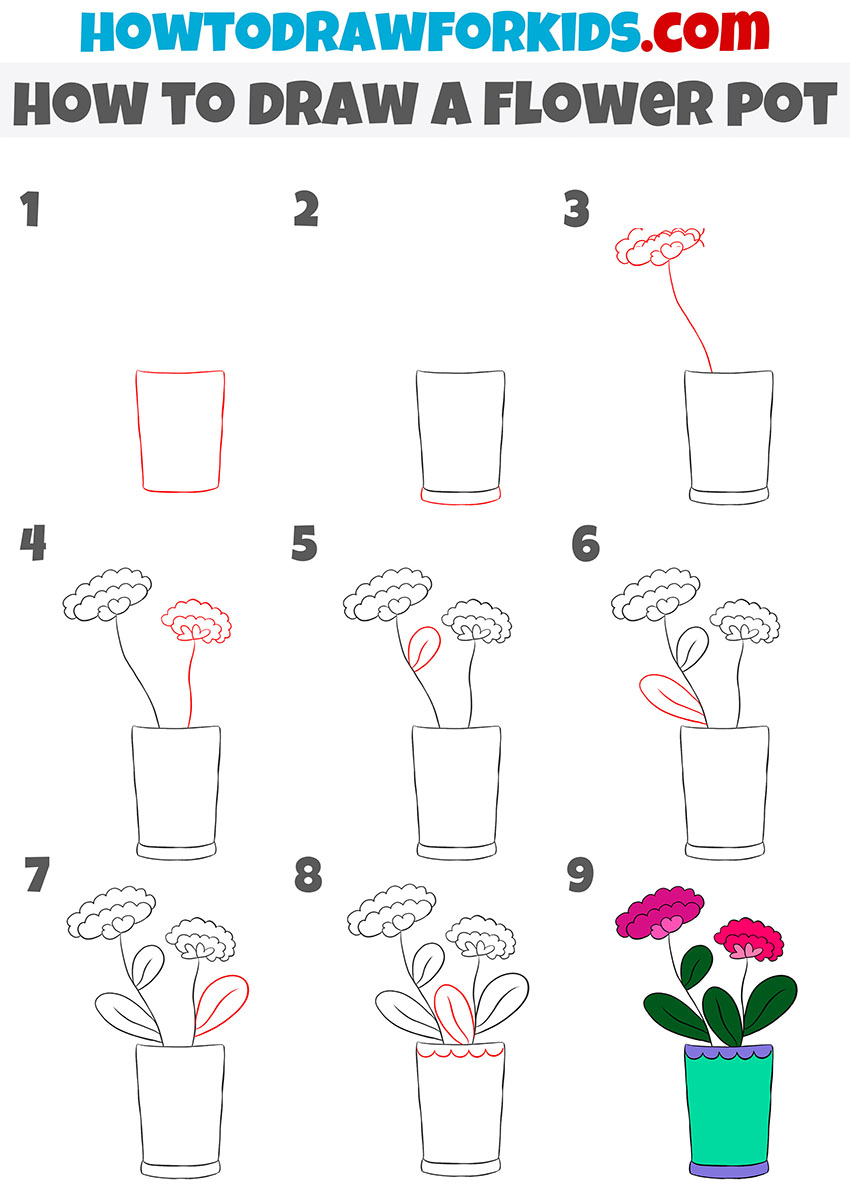
Drawing Two Flowers in a Pot
This additional tutorial offers an alternative approach to drawing a flower in a pot, providing a new perspective and set of techniques to complement the first tutorial. The key differences lie in the overall appearance, the simplicity of shapes, and the sequence of steps.
In this tutorial, you start by drawing the pot, a straightforward shape that forms the base. Next, you draw the flowers with simple, cloud-like outlines for the petals, followed by stems that rise gracefully from the pot. Leaves are added in a similar simple style, enhancing the plant’s look without complexity. The final steps involve detailing the pot’s base and coloring the entire drawing.
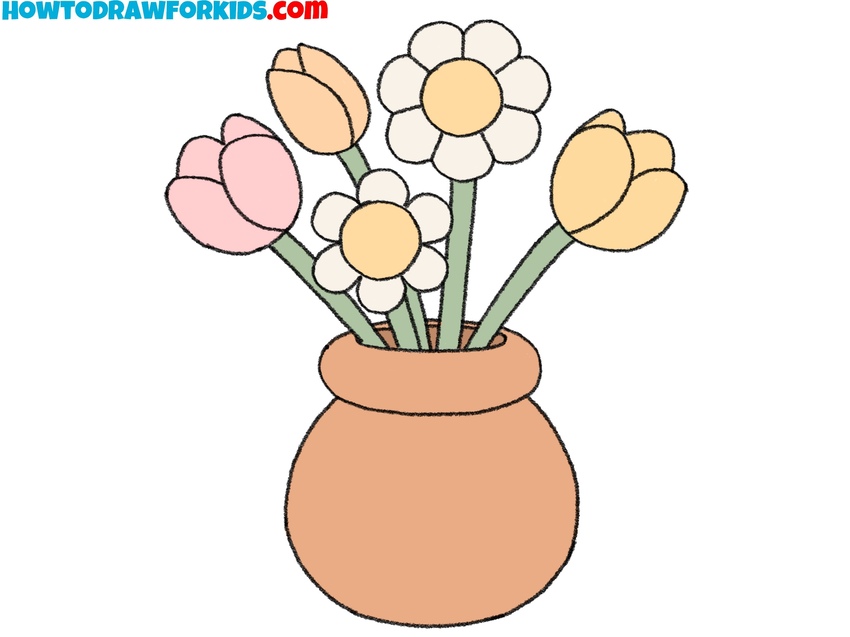
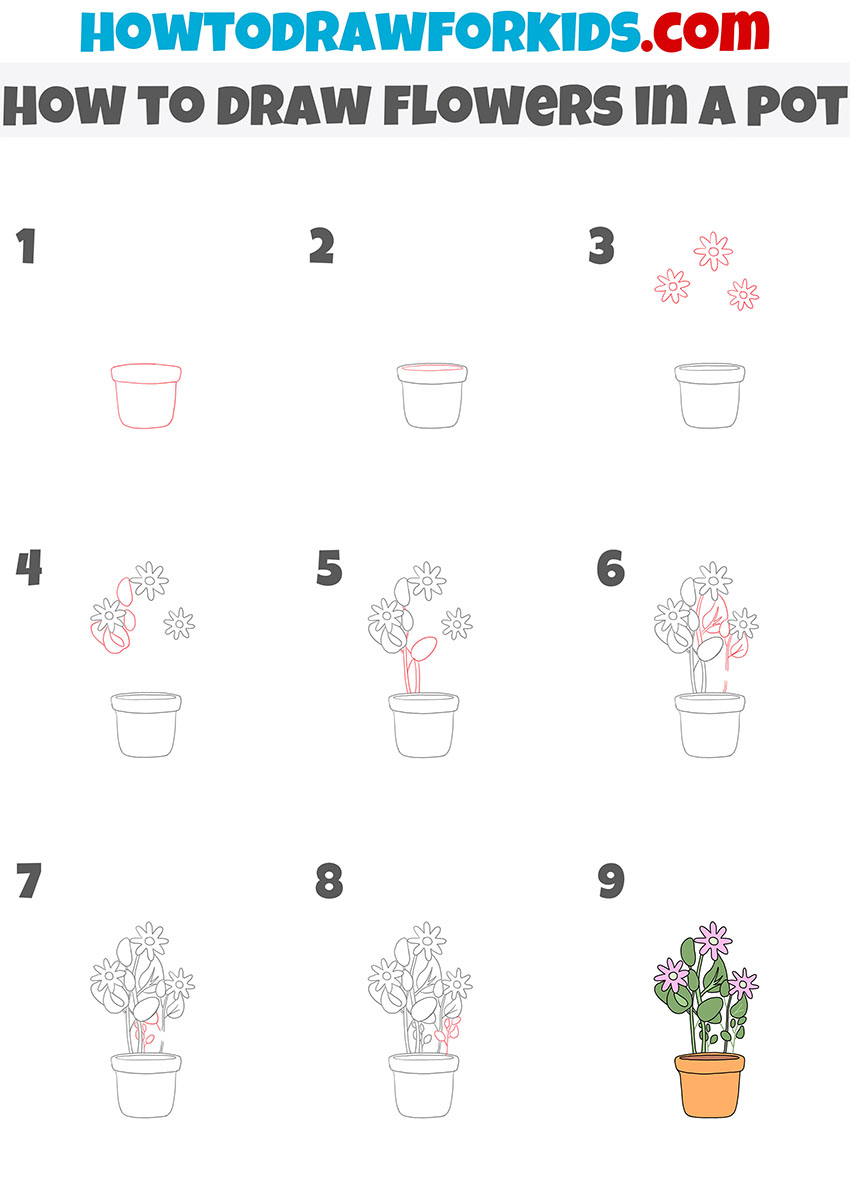
Adding More Flowers and Details
This additional tutorial provides another approach to drawing flowers in a pot, training the skills learned from the first tutorial. Unlike the first tutorial, which focused on drawing a single flower, this one demonstrates how to draw multiple flowers, offering a more complex and enriched composition. The distinctive features of this tutorial include the inclusion of multiple flowers, the varied shapes and sizes of the blooms, and the additional details of the leaves and stems.
Begin by drawing the flower pot, creating a solid base for your drawing. Then, draw multiple flower shapes above the pot, varying the size and placement to create a dynamic arrangement. Add stems and leaves, ensuring they are proportionate and connect naturally to the flowers and the pot.
This tutorial emphasizes creating a fuller, more detailed scene with multiple elements interacting within the composition. The sequence of steps builds complexity gradually, making it accessible for young artists while still challenging them to improve their skills in drawing, composition, and detail. The final step traditionally involves adding colors.
Drawing the World Around Your Potted Flowers
As we conclude our drawing session and review the potted flowers we have created, it is beneficial to consider how we can further enhance our drawings. Here are several suggestions to enrich the context of your floral artwork, each one aimed at adding a more vibrant and realistic scene.
- Position your pot on a patch of grass. To achieve this, use short, swift strokes to represent blades of grass, adding texture and a natural element to the ground around your pot.
- Introduce companion plants into your composition. Draw smaller, simpler flowers or a trailing vine alongside the pot to create a more complete and lush garden look, enhancing the overall fullness of your drawing.
- Pay attention to the light source in your drawing. Determine where the light is coming from and add shadows accordingly on the opposite side of the pot. This technique will help ground your flower in its space, providing a sense of realism.
- Place your flower pot on a table to suggest an indoor setting. This can be indicated by drawing the play of wood grains or the reflection of light on a glass surface, adding an element of interior decor to your artwork.
- Add context and depth by sketching a background behind your flower pot. This could be a brick wall or a wooden fence drawing. Use perspective lines to ensure the background elements are proportionate and realistically positioned relative to the flower pot.
Conclusion
In this tutorial, I demonstrated how to draw flowers in a pot through a series of progressive steps. We began with drawing a single flower in a pot, focusing on the basics of shape and proportion. Next, I showed how to add a second flower, starting the drawing from the pot to create a balanced composition. Following that, we explored how to draw multiple flowers, incorporating different details to enhance the complexity and visual interest of the drawing
Additionally, you have access to a free PDF that will further help you practice and refine your drawing skills, providing additional exercises and tips.
Now that you’ve mastered these techniques, here are some ways to stay engaged and share your progress: If you found this tutorial helpful, please share it with your friends and family. Don’t miss out on future tutorials and drawing tips. Subscribe to my newsletter to stay updated on new content and exclusive drawing guides.
Visit my website to check more tutorials on various drawing subjects. Share the drawings you’ve created using this tutorial in the comments on Pinterest. I’d love to see your artwork and celebrate your progress with you!