How to Draw a Microphone
In this guide, I’ll show you how to draw a microphone using simple straight lines and basic circles, keeping the process easy to follow.

How to Draw a Microphone: Introduction
A microphone is a fairly simple object to draw, but there are some nuances to keep in mind. Additionally, you can depict a microphone in various styles, from a basic version, as shown in my example, to a more complex and nearly realistic one. Each of these approaches has its own specifics, which I will cover in this simple lesson on how to draw a microphone.
We will start by sketching the microphone in its simplest form, focusing on basic shapes and lines. However, I will also explain how to refine the drawing to make it more realistic and three-dimensional. If you want to create a more believable representation of this device, small adjustments in shading and detail will help achieve that effect.
In addition to learning how to draw a microphone, this lesson will be useful for improving your ability to create proportional and symmetrical drawings. We will carefully consider the placement of different elements and how they relate to each other, which is essential for achieving a complex composition.
Mastering these principles will greatly help when drawing other, more complex objects. Understanding how to maintain symmetry and proportion will make your drawings look more polished and accurate, regardless of what you choose to illustrate.
Microphone Drawing Tutorial
Materials
- Pencil
- Paper
- Eraser
- Coloring supplies
Time needed: 20 minutes
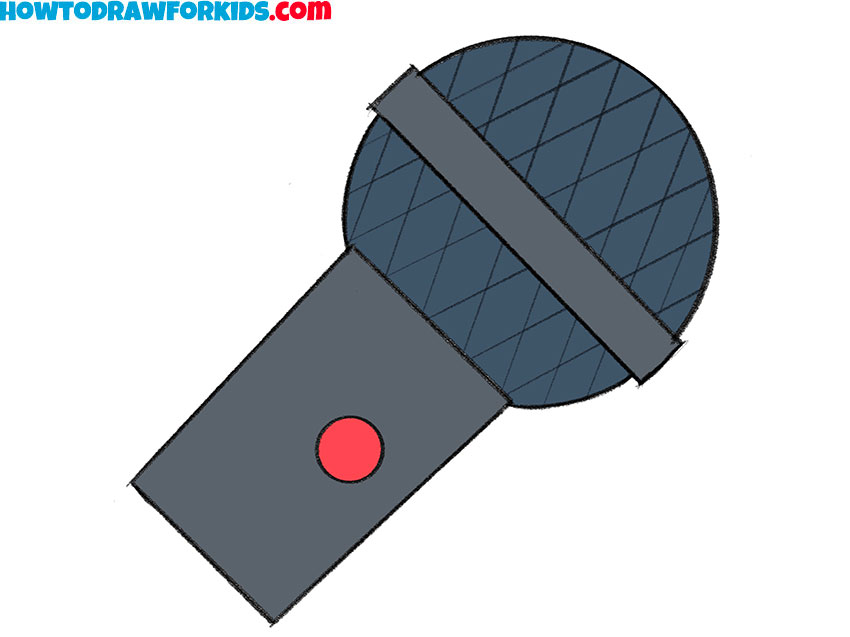
How to Draw a Microphone
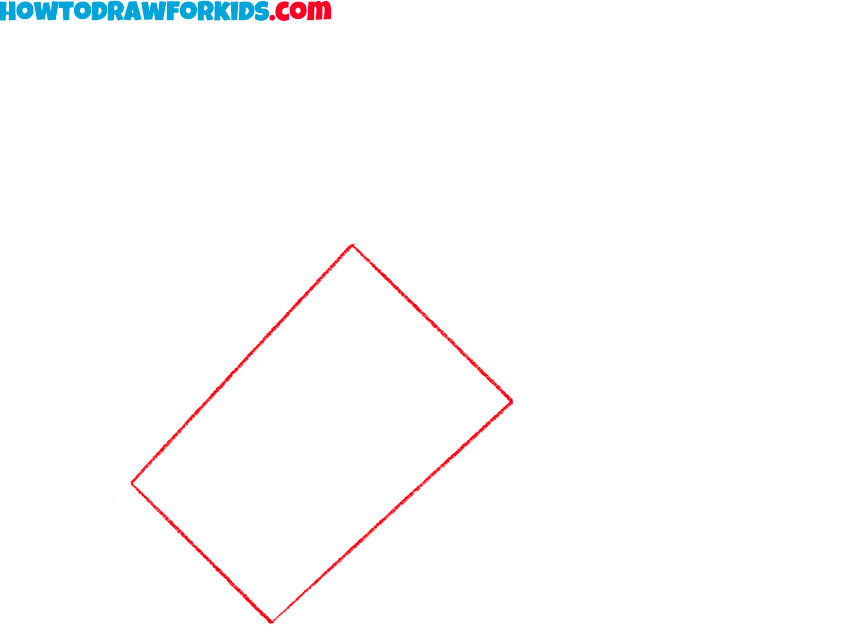
- Draw the microphone handle.
Start by drawing a slightly tilted rectangle. This will serve as the base for the microphone handle. Make sure the shape is even symmetrical, as this will affect the final look of the microphone. You can use a ruler to ensure the lines are straight. At this stage, keep the lines light, as they may need adjustments.
- Sketch the microphone head.
Next, add a large circle on top of the rectangle to form the microphone head. The circle should overlap the top part of the handle slightly, as microphones typically have a smooth transition between the head and handle. If you find it difficult to draw a perfect circle, you can use a round object as a guide.

- Add a button.
Now, draw a small circle on the handle to represent a button or power switch. This detail is often seen on handheld microphones, providing an additional element of realism. The button should be placed slightly above the center of the handle but not too close to the microphone head.

- Draw the band around the head.
To the microphone look more realistic, add two parallel curved lines across the microphone head, right at the center. This section represents the metal band that often separates the mesh head from the rest of the microphone. The band should follow the natural curve of the microphone head.

- Add the mesh texture.
Now, draw diagonal lines across the microphone head to create a mesh pattern. Start by adding lines slanting in one direction, ensuring they are evenly spaced. Then, add another set of diagonal lines crossing over the first set to form a crisscross pattern. This texture mimics the woven metal grille.

- Finalize the outline.
Go over the entire microphone drawing, erasing any unnecessary guidelines and smooth out any uneven lines. At this stage, you can slightly adjust the proportions if needed. If any lines look rough or inconsistent, take your time to correct them.

- Color the microphone.
Use a dark shade for the microphone head, typically black or dark gray, and a slightly lighter or darker shade for the handle. The button can be colored red or any other color to make it stand out. If you want to improve the realism, add subtle shading along one side of the microphone to illustrate a light source.

Additional Content
I hope you have done a good job drawing the microphone step by step. You can tell us your impressions of this lesson in the comments. I have prepared a short version of this tutorial in PDF format, which you can download and use at any time convenient for you.
Conclusion
As I mentioned earlier, this lesson on how to draw a microphone is very simple, and I hope it didn’t cause any difficulties during the drawing process. Let me know if this lesson was as easy as it seems or if you encountered any challenges.
Additionally, you can visit the electronics category on my website to learn how to draw other devices. For example, try drawing a phone using even simpler and more basic shapes. Or, if you want a greater challenge, check out my tutorial on drawing a robot. In any case, I highly recommend exploring this category and others for a broader understanding of drawing topics.
You can also visit the coloring category on my website to improve your coloring skills and have a fun experience.
To make sure you don’t miss any new drawing lessons, coloring pages, or other content that I regularly publish, follow me on Pinterest. I always post new articles and updates there to keep you informed. If you prefer video tutorials, you can also subscribe to my YouTube channel, where I share video lessons and demonstrate how I create drawing tutorials and coloring pages.