How to Draw a Portrait
In this lesson, you will learn how to draw a portrait step by step. I prepared this lesson for kids and beginners, so it’s quite simple.
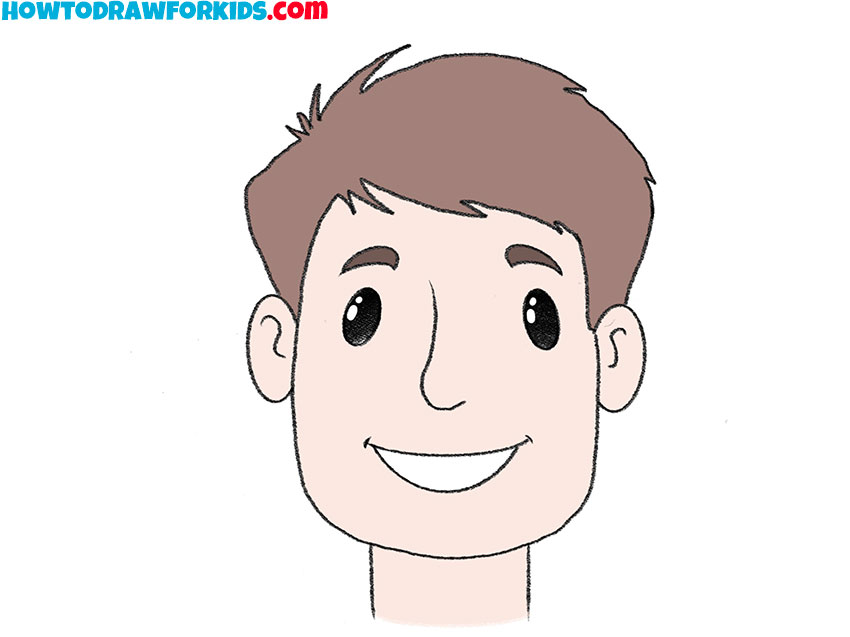
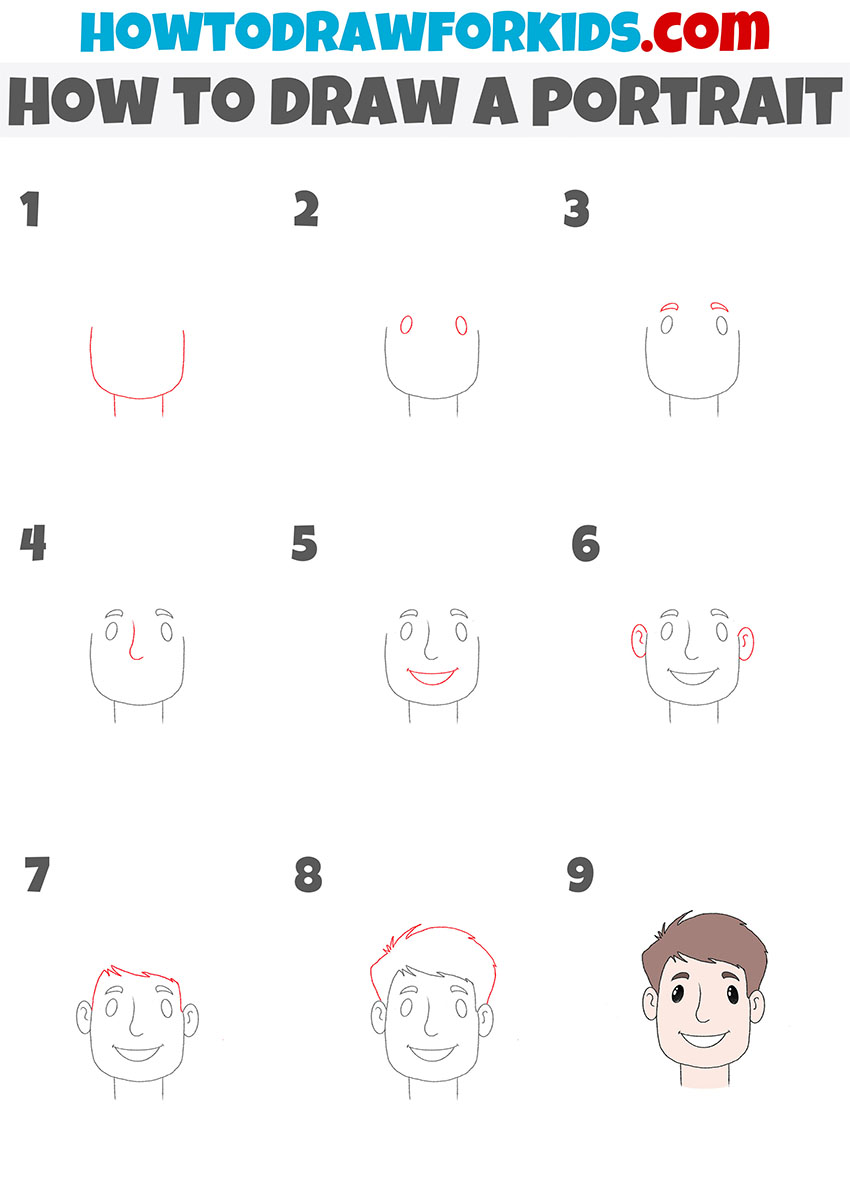
I am glad to invite you to complete this fascinating drawing lesson, in which I will tell and show you how to draw a portrait step by step. A portrait is a picture of a person.
Completing this lesson will greatly help you improve your artistic skills, as the ability to draw a portrait is one of the most important for any artist.
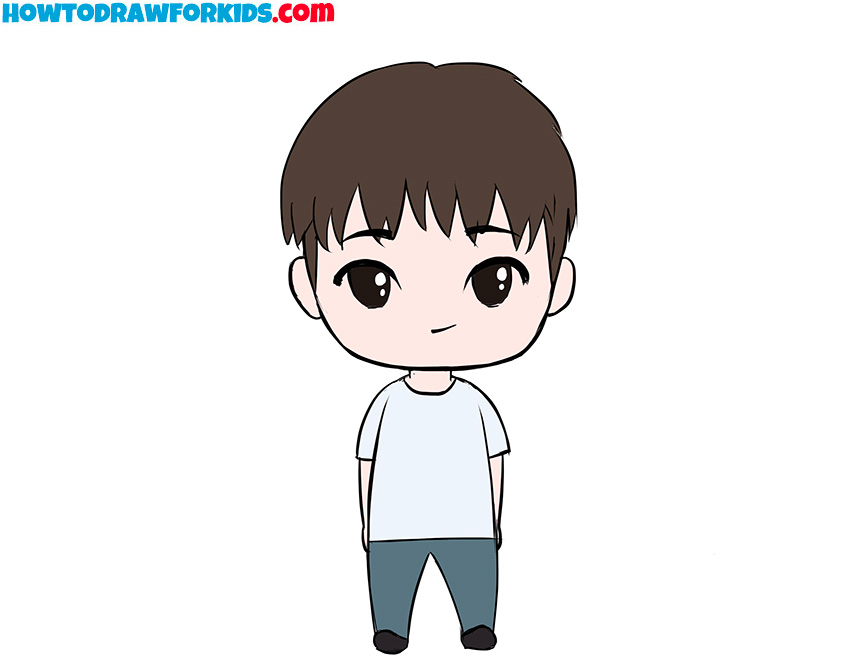
After you learn how to draw a portrait of a person with the help of this drawing lesson, you will be able to draw a portrait of other people or characters in the future. The portrait you draw with this tutorial will be done in a cartoon style.
Materials
- Pencil
- Paper
- Eraser
- Coloring supplies
Time needed: 30 minutes
How to Draw a Portrait
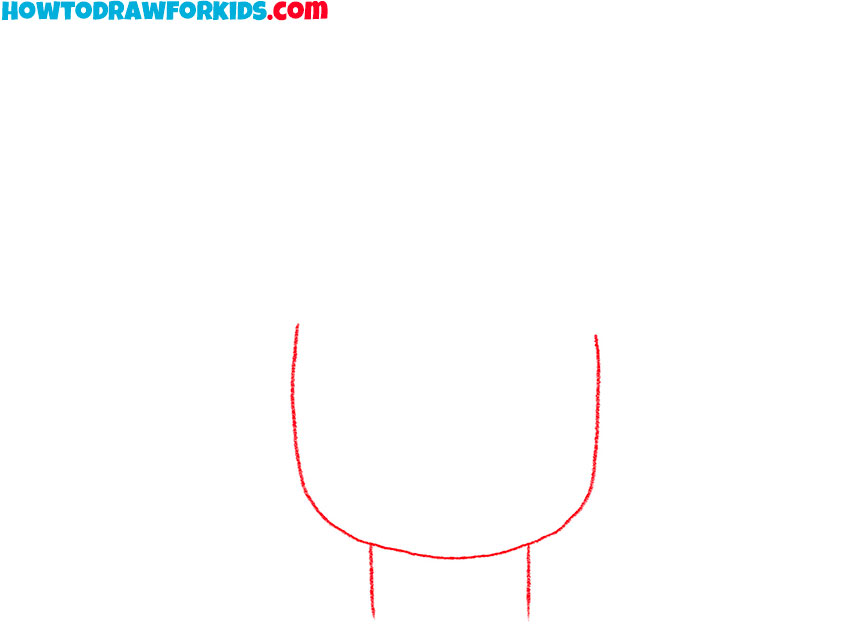
- Draw the bottom of the head and neck.
Depict one curved line as well as two straight lines at the bottom of it as shown.
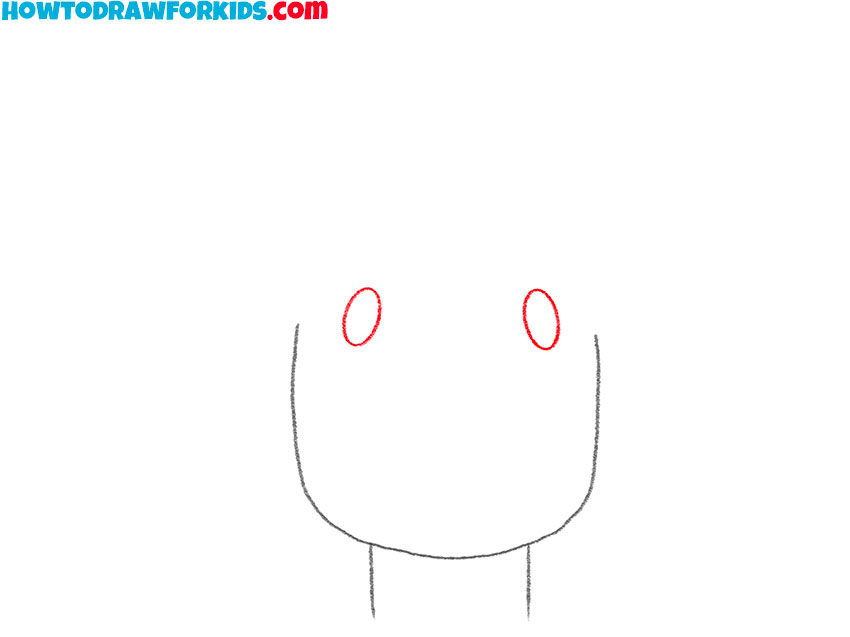
- Sketch out the eyes.
To draw human eyes, you should draw two identical ovals.
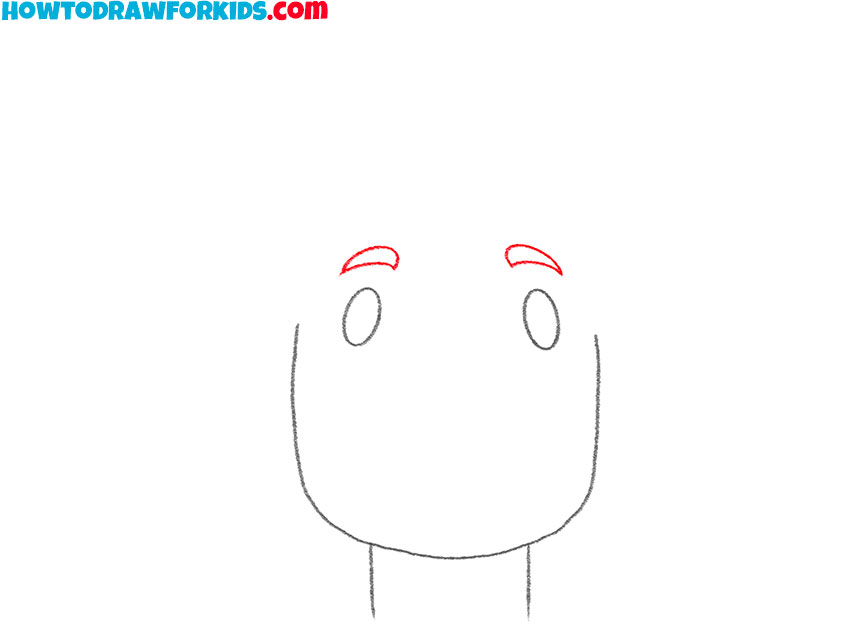
- Depict the eyebrows.
Above the previously drawn eyes, depict two symmetrical eyebrows using curved lines.
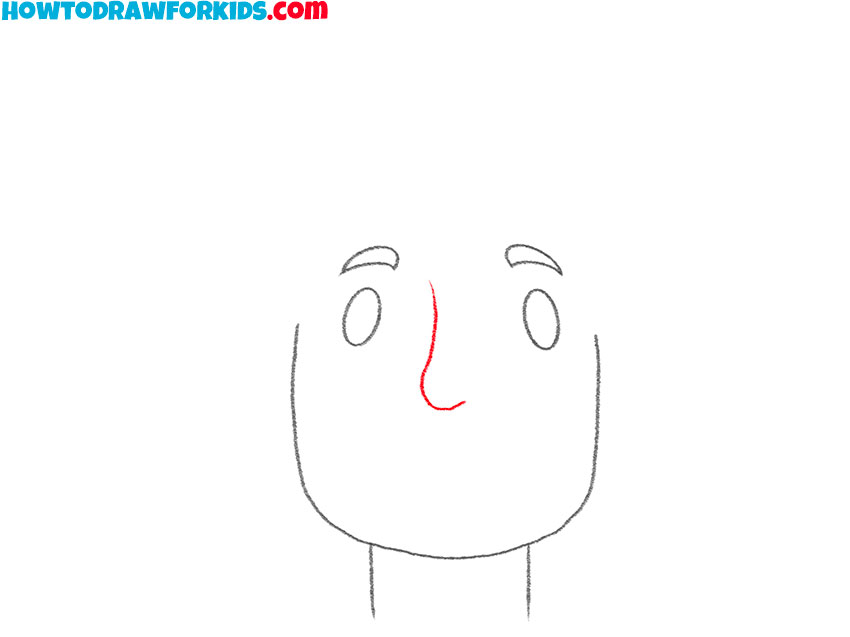
- Add the nose.
Draw a long, curved line between the eyes to draw the person’s nose.
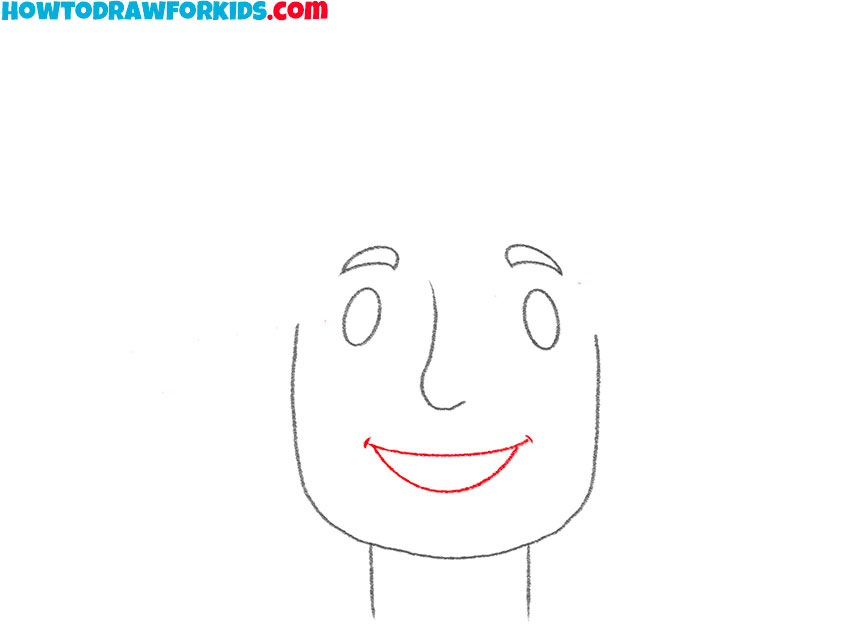
- Draw the mouth.
At the bottom of the person’s face, draw the mouth using two arcs and two short lines.
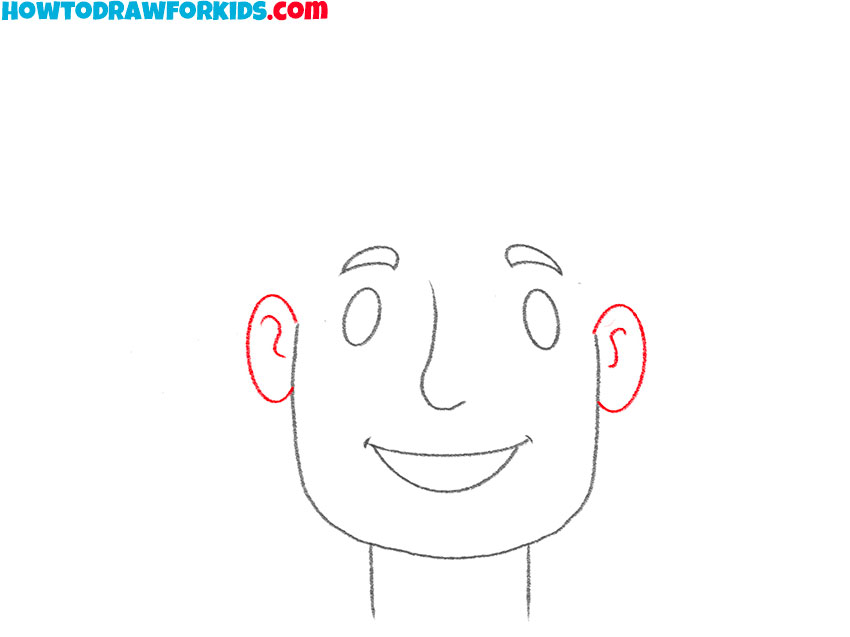
- Sketch out the ears.
On both sides of the head, draw two ears in the form of incomplete ovals and curved lines.
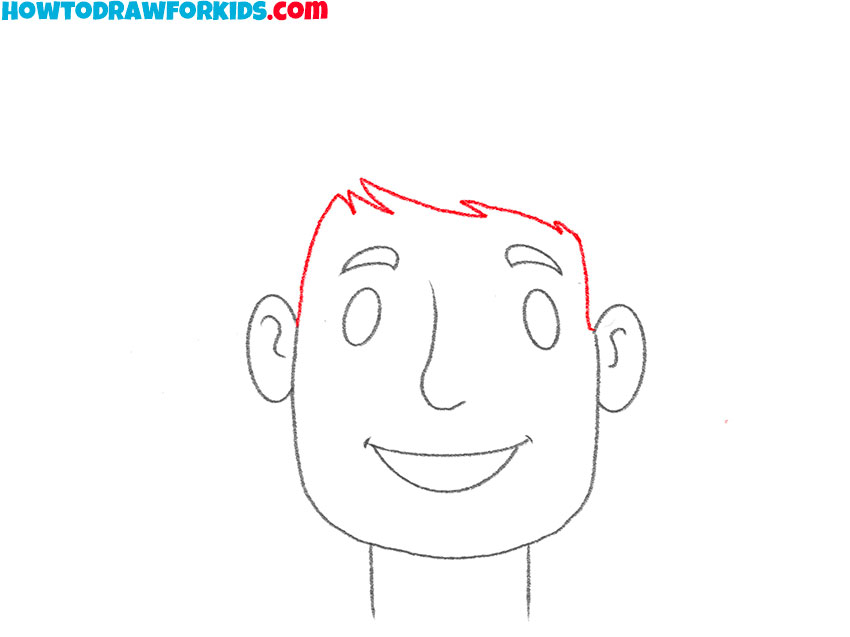
- Depict the bottom outline of the hair.
At the top of the head, add some curved lines as shown.
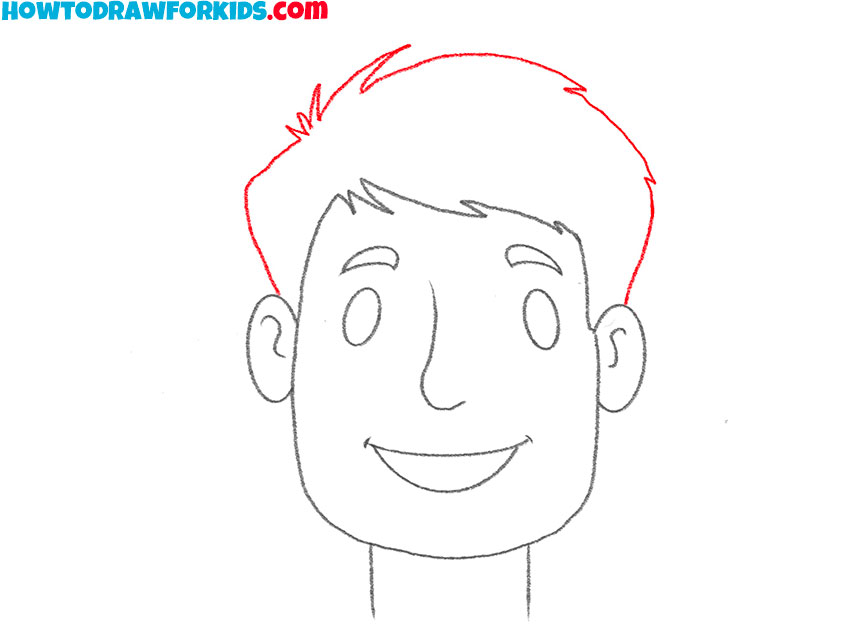
- Add the top part of the head.
Draw curved lines from one person’s ear to the other, as shown.
- Color the portrait.
Choose any colors for drawing.

As usual, I’ve prepared a PDF file that contains a short version of this lesson, as well as additional useful materials for your training. Download this file so as not to lose it and return to this lesson at any time convenient for you.

