How to Draw a Watermelon
In this delightful journey of artistic creation, the first stroke is a whimsical arc, hinting at the luscious curve of our subject. This beginning is crucial, for it sets the stage for a watermelon that looks ready to be sliced and shared. Each step in learning how to draw a watermelon is about transforming the ordinary into the extraordinary.

How to Draw a Watermelon: Basic Information
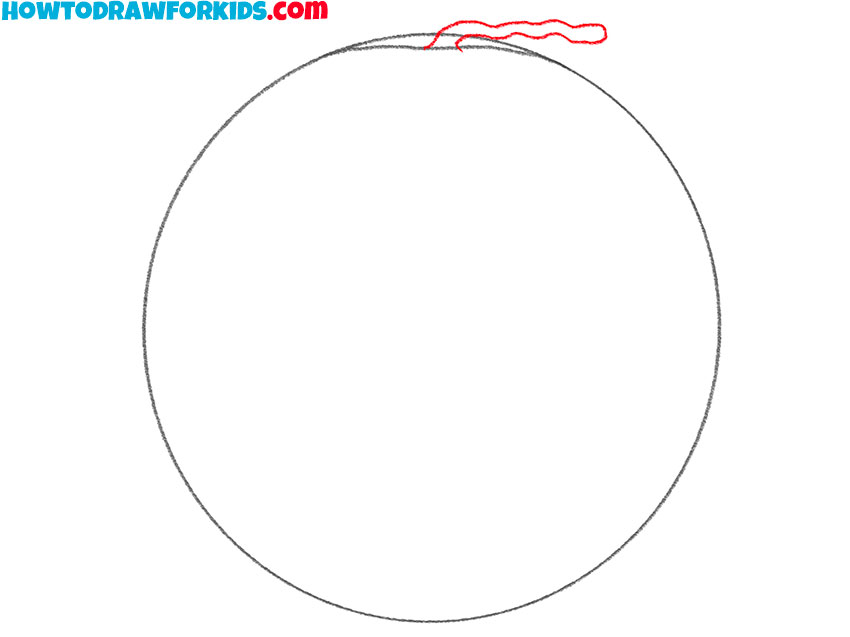
As you peer into this image, imagine the summer breeze and the sweet aroma of a ripe watermelon. In the first few strokes, we capture the essence of simplicity – a circle. It’s the canvas on which our watermelon will burst into its full glory. The key to learning how to draw a watermelon lies in observing its fundamental shapes and lines.
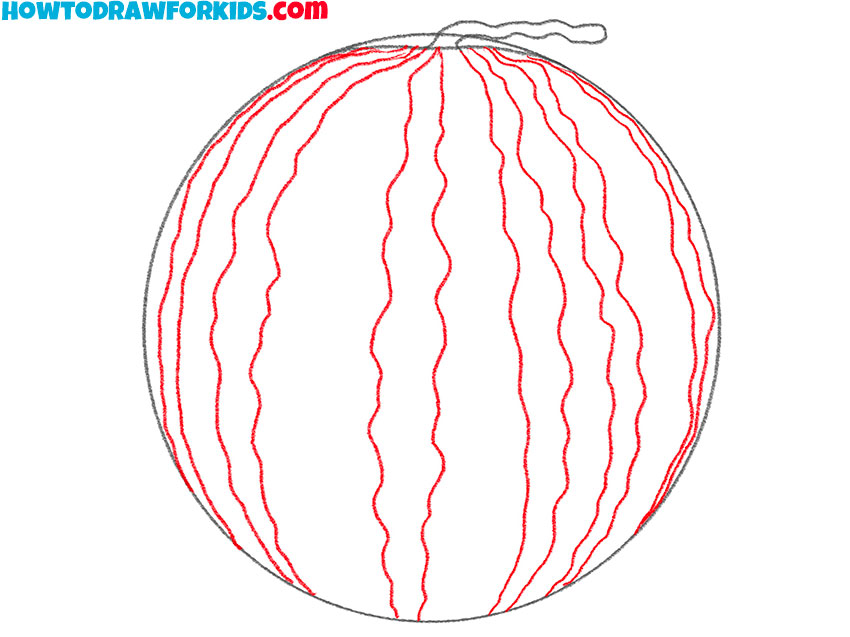
Transitioning from the second to the third step, we etch in the curved lines, hinting at the watermelon’s distinctive stripes. It’s these details that bring our fruit to life, transforming a plain circle into a vibrant, sun-kissed watermelon. With each line, we come closer to the satisfaction of creating something wholesome from a mere outline.
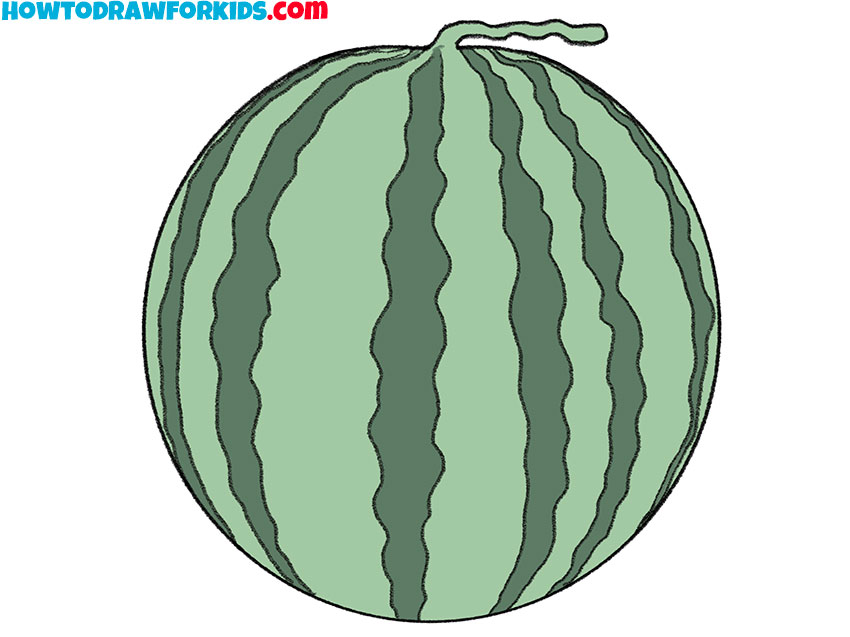
Completing the journey, we see our watermelon take form, the green rind contrasting with the black seeds, each one drawn with care. This method, crafted to draw a watermelon, was designed to encourage my readers to delight in the creation of something as refreshing to the eye as it is in taste.
Watermelon Drawing Tutorial
Materials
- Pencil
- Paper
- Eraser
- Coloring supplies
Time needed: 25 minutes
How to Draw a Watermelon
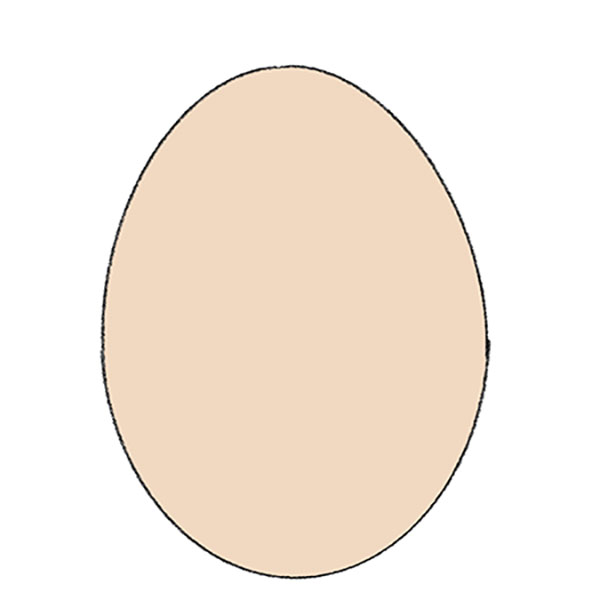
- Draw the outer outline of the watermelon.
To complete this simple step, you need to draw one circle.

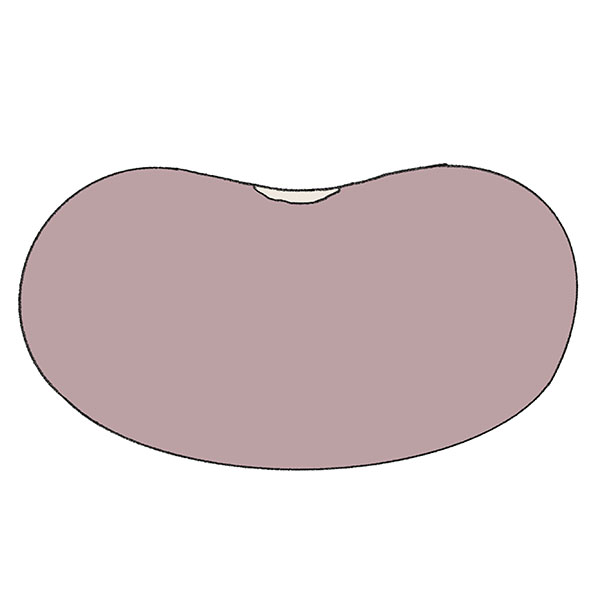
- Add the top of the watermelon.
At the top of the previously drawn circle, add a small curved line.

- Sketch out the stem.
Near the previously drawn curved line, add the stem using a long, wavy line.
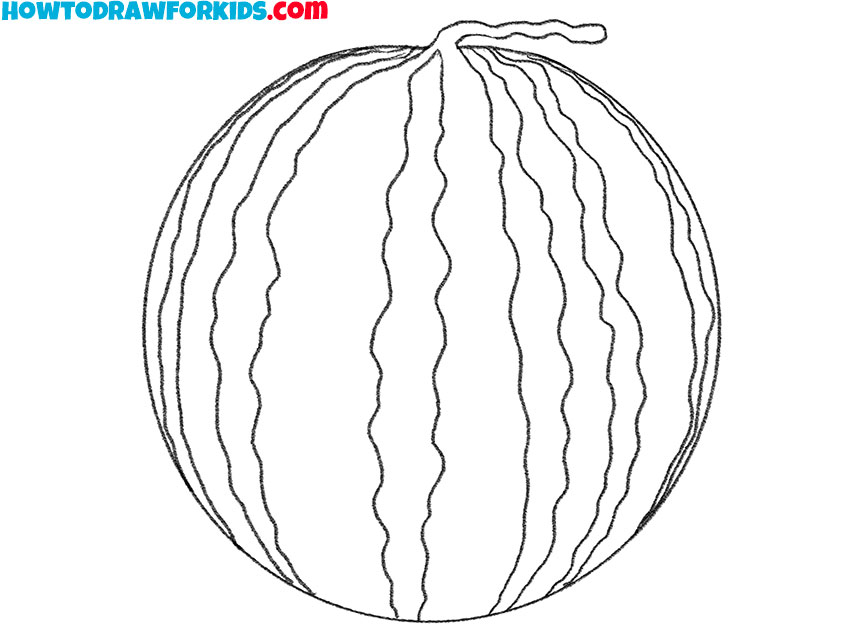
- Add details.
Draw many wavy lines on the surface of the watermelon.
- Correct inaccuracies.
Use the eraser to remove any unnecessary guidelines.
- Color the drawing.
To color the watermelon, use two shades of green.
Additional Content
Venturing beyond the digital canvas, I’ve compiled a concise PDF companion for this drawing tutorial, available for download and use, connectivity notwithstanding. The absence of step-by-step guidance within its pages is intentional; it is an invitation to independence, offering supplementary materials to refine your drawing skills post-lesson.
The PDF is not a mere echo of the lesson but a standalone tool. It encourages you to apply the concepts you’ve learned and expand upon them, fostering growth and confidence in your artistic journey. Imagine it as a silent mentor, there to guide without leading, allowing your intuition and newfound knowledge to take the reins.
Consider this downloadable resource an artistic nudge towards autonomy. It’s packed with exercises and ideas to challenge your hand and mind, ensuring that the end of one lesson marks the beginning of your next creative exploration. It’s here to ensure that the foundations laid by the lesson evolve into a personal style uniquely your own.
Alternative Drawing Techniques
In the realm of creativity, one pathway often leads to another. That’s why, in addition to the main lesson, I’ve devised an alternative technique to drawing a watermelon that’s even simpler. This new approach is designed to boost your confidence and enhance your drawing finesse with minimal complexity.
This fresh method strips the process to its core, perfect for those who find beauty in brevity or are short on time. It’s about getting back to basics and honing the essentials, providing a foundation upon which you can layer more intricate skills in the future. It’s my way of ensuring that learning to draw remains as accessible and enjoyable as possible.
With each simplified stroke, your muscle memory will improve, gradually building a more intuitive understanding of shapes and shades. It’s all about making the art of drawing a part of your daily routine, ensuring continuous improvement.
How to Draw a Watermelon for Kindergarten
Embracing the joys of drawing with youngsters in mind, I designed a method to sketch a watermelon in just four effortless steps. This technique starts with the basics, guiding little hands through the creation of simple shapes and lines. With a clear focus on fun, each stage is a building block, easily accomplished and full of delight.
First, the child crafts a round shape, the canvas for our fruit. Following this, curved lines are drawn to imitate the watermelon’s rind. The simplicity of these lines is key, offering room for error without the frustration. Next, we add a small detail at the top – a gentle curve for the stem end – grounding the fruit in reality.
Color brings our drawing to life, the final step where young artists can mix greens and reds, learning about blending and the magic of colors. This method does more than just teach drawing; it fosters fine motor skills and instills confidence in budding creatives. Each step, clear and concise, ensures understanding and success, leaving a sweet taste of accomplishment.

Watermelon Drawing Tricks for Budding Artists
In crafting the perfect watermelon drawing, a pinch of creativity goes a long way. Let’s uncover some tips and tricks to enhance your sketches:
- Start with Light Strokes: Use a light touch for the initial shapes, making it easy to correct and overdraw.
- Curves and Lines: Practice the curve of the watermelon’s rind. A smooth, steady hand will make your fruit look more natural.
- Shading Skills: Teach shading by gently pressing harder with the pencil for the bottom of the watermelon, where shadows naturally occur.
- Coloring Inside the Lines: Encourage staying within the lines to make the coloring process a game of precision.
- Exploring Textures: Show how different pencil strokes can create the illusion of texture for the watermelon’s surface.
- Blending Colors: Introduce the concept of color blending, using a finger or a piece of tissue to merge the reds and greens.
- Detailing with Delight: Add small details like seeds or stem texture to bring your watermelon to life.
- Embracing Imperfections: Sometimes the beauty lies in the imperfections. Teach that each irregular line adds character.
- Patience is Key: Remind that patience is important. Rushing might lead to a less detailed work.
- Practice Makes Perfect: Finally, encourage repeated practice. The more they draw, the more they improve.
Concluding this artistic journey, remember, each tip is a stepping stone towards mastery. Employ these strategies, and watch as each watermelon you draw bursts with more flavor and dimension. Keep experimenting, keep learning, and most importantly, keep enjoying the process of drawing.
Drawing Watermelons and Summer Scenes
Embark on a journey beyond the rind of your watermelon drawing by adding these elements to your artwork:
- Picnic Basket Charm: Draw a quaint basket beside your watermelon. Begin with an oval base, add a handle arching over, and weave your basket with interlocking lines.
- Summer Vibes with Sunglasses: Place a pair of stylish sunglasses atop the watermelon. Start with two ovals and connect with a sleek line for the bridge.
- Slice of Sunshine: Above your watermelon, sketch a bright sun. Radiate warmth with lines stretching out from a cheerful circular center.
- Beverage Companion: Next to your watermelon, why not add a refreshing drink? A cylinder topped with a circle for the opening, don’t forget a straw!
- Fluttering Friends: Butterflies can add whimsy to your scene. Draw simple wings with patterns and add a body in the middle.
- Checkered Blanket: Underneath, a checkered blanket grounds your setting. Create this by drawing intersecting horizontal and vertical lines forming squares.
In closing, every extra detail you incorporate doesn’t just fill the space but brings context and life to your watermelon. Keep these imaginative additions in your creative toolkit, and your drawings will transform from simple sketches to vibrant scenes bursting with life and story.
Conclusion
The conclusion of our watermelon drawing is just a single slice of the whole fruit. There’s a plethora of themes and subjects awaiting on my site, from the rustic beauty of pies to the wintery wonder of mistletoe. Each tutorial is a door to a new skill, ready to be unlocked and mastered.
Should the muse of inspiration whisper, join me on social media to catch the whisperings of upcoming lessons. Your feedback fuels our artistic journey; share your desired topics under this lesson. Together, let’s keep the pencils moving and the colors blending into endless possibilities.